Game 4 – Boarding Action
Off the coast of Val Verde, two cartel lieutenants are meeting about this month’s pay with the gold bars sitting on the meeting room table. The two groups are enjoying the delights of a pleasure yacht. Unfortunately, their partying and lax attitudes to sentry duty has allowed a small team of operators to sneak on board. Splitting into two groups, they set off to do perform a HVT extract on the high seas. Will they be able to grab the targets?
The sides were as follows:
Operators:
All operators have body armour, pistols, personal med kits, frag and stun grenades.
- Team 1:
- Elite with Carbine (Red Dot and Laser)
- Elite with Battle Rifle (Red Dot and Laser)
- Elite with SMG (Red Dot and Laser) “Pointman”
- Elite with Carbine, Automatic Shotgun, breaching charge and breaching tools
- Team 2:
- Elite Team Leader with Carbine (Red Dot and Laser)
- Elite with Carbine (Red Dot and Laser)
- Elite with SMG (Red Dot and Laser) “Pointman”
- Elite with Carbine, Combat Shotgun, breaching charge and breaching tools
Cartel:
- Sicario Faction:
- 1 Civilian VIP
- 1 Trained Squad Leader with Assault Rifle
- 4 Trained with Assault Rifle
- 1 Trained with LMG
- Gangers Faction:
- 1 Civilian VIP
- 1 Militia Squad Leader with Assault Rifle
- 7 Militia equipped with a mix of SMGs, machine pistols and assault rifles.
Additionally, there are several civilians on the boat. These are working for the cartel but not the main combat troops. If a 6 is rolled on the civilian reaction table something different from the rulebook happens. Rather than attacking the nearest figure, they are simply converted into another fighter for the cartel player; there is also a roll off to see if they are armed with a pistol or a machine pistol. These figures are still civilians and so are not particularly skilled. That said, they could be a nasty surprise if left unsecured.
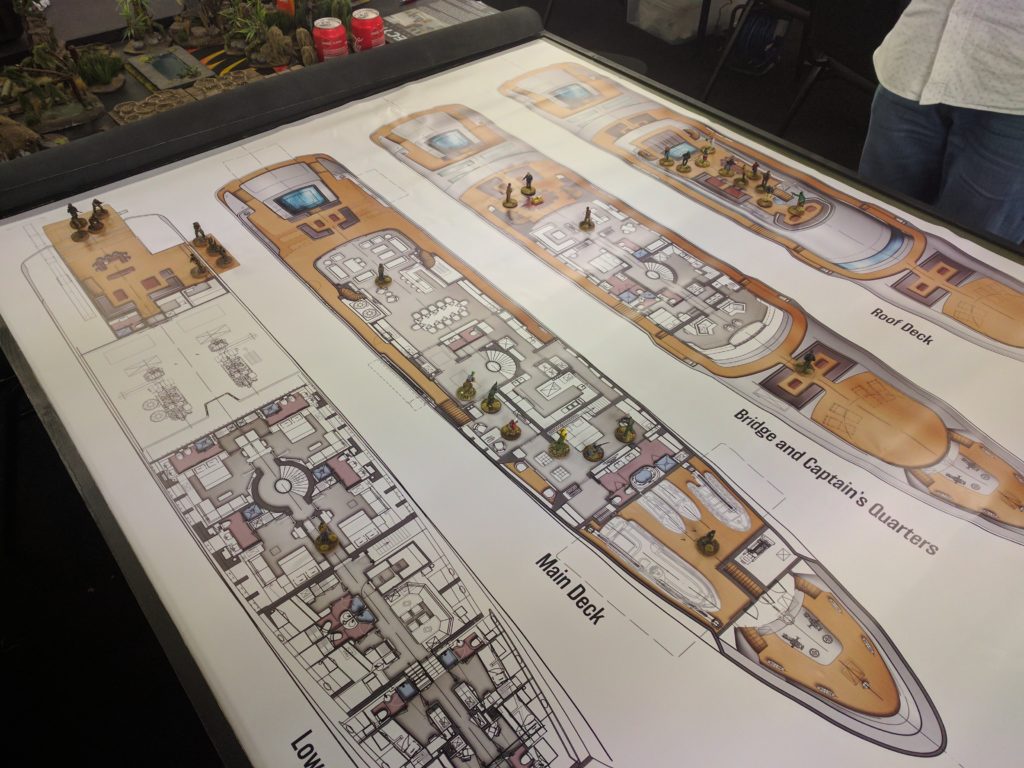
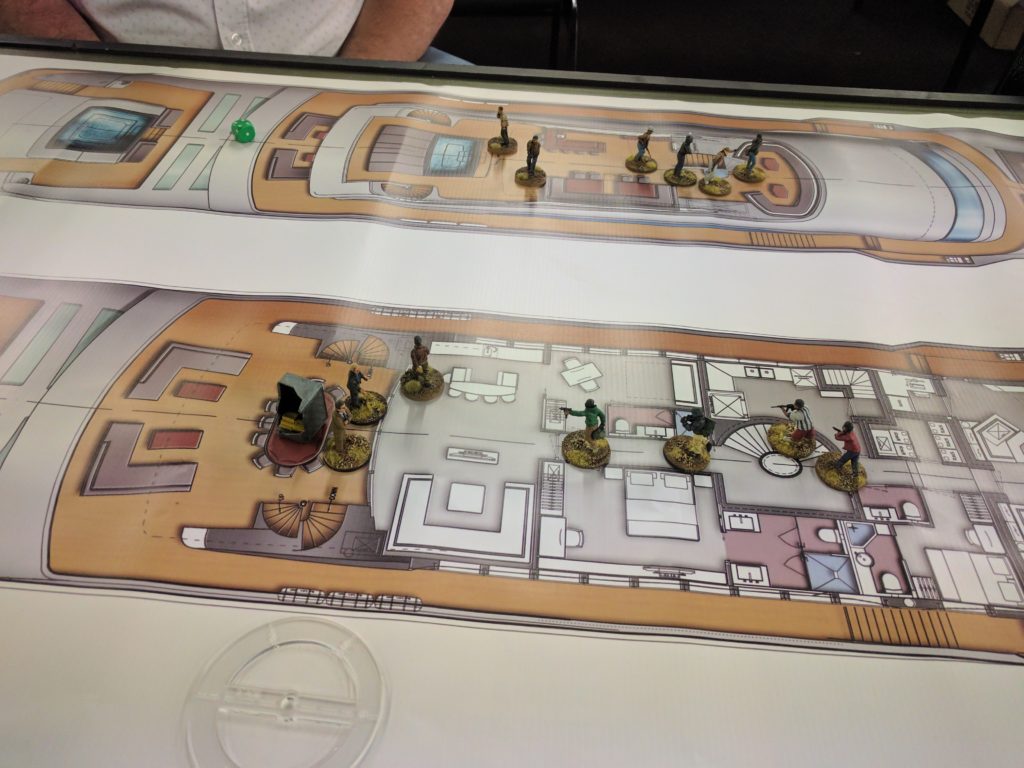
The operators start on the bottom deck. The two factions of cartel start separately, with the VIPs on the Bridge and Captain’s Quarters deck. Above them on the roof deck, the cartel are enjoying the sun and partying away. Below the meeting, the team of sicarios are patrolling through the ship (aka doing their job).
The original plan for the operators was to sneak around as much as possible. However, two turns in the sicarios had just glimpsed Team 1 sneaking past the pool. They were able to put some fire down on the Pointman (lightly wounding him but mostly saved by his body armour) which alerted the rest of the boat. In response, the breacher in Team 1 swept his AA12 around and filled the lead target full of buckshot. Despite being injured, the SMG equipped point man was also able to put a burst into the last sicario visible and drop him. Team 1 then consolidated to protect the flanks while starting to clear the interior.
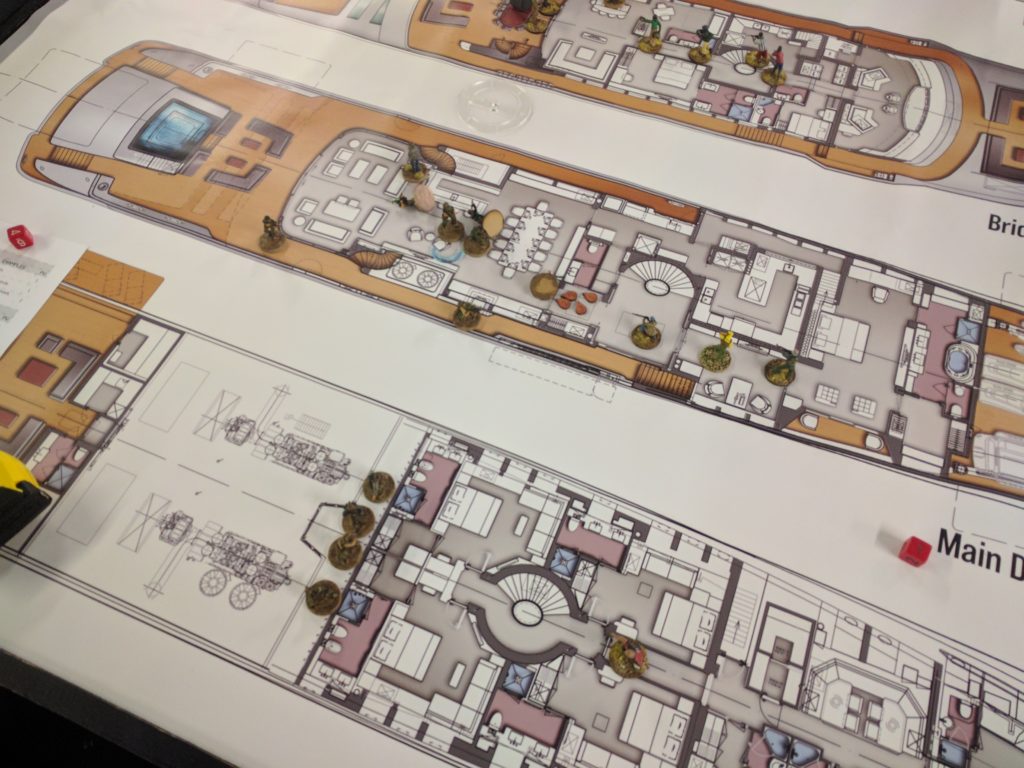
On the deck below, Team 2 were stacking up to breach the wall of the engine room so they could push through the rest of the deck. However, this activated one of the civilians. It seems like the Cartel VIP’s flunkey had finished being sea-sick and was now ready to investigate the strange noises going on in the ship.
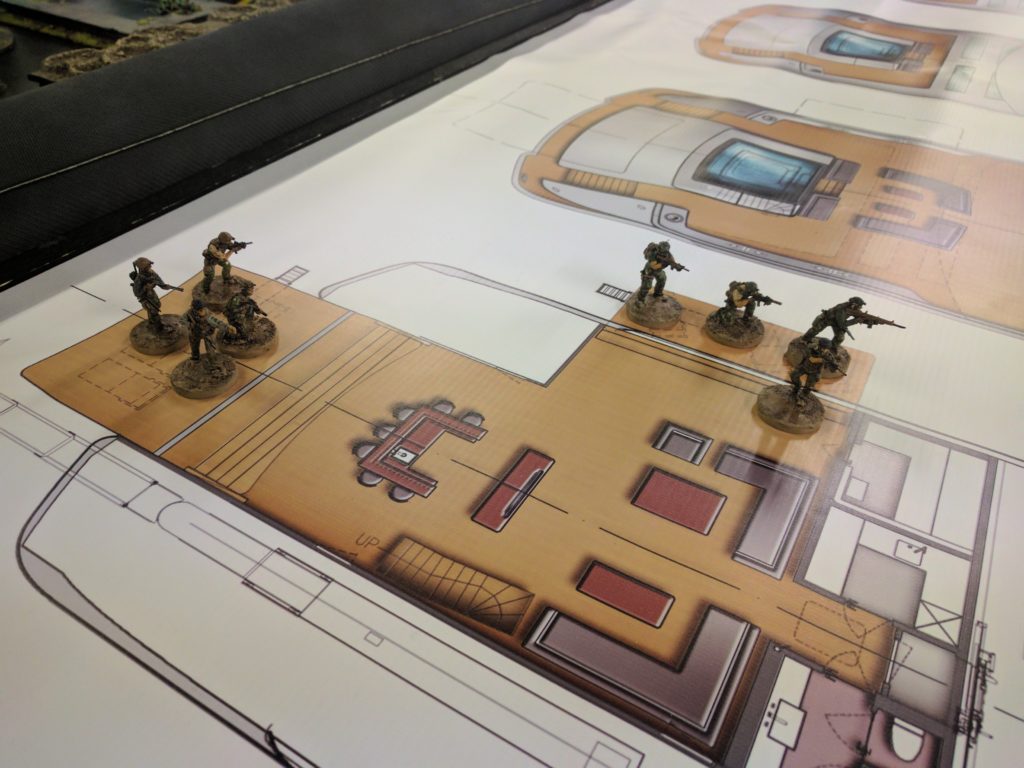
On the top deck, the gangers stopped the party and started to form up and head downstairs to secure their boss. Several of these civilians started panicking before almost all were converted into pistol wielding goons.
Back on the middle deck Team 1 was tactically clearing the rooms, beginning with the dining area. The Sicarios opened up with a LMG, putting some suppression down and a lot of bullets through the furniture. Seconds later, the rest of the operators were able to incapacitate the gunner before he caused too much damage. This fire also put a ton of suppression points on the now injured bad guy.
The bottom deck saw Team 2 attempt a breach. The charge was placed but rather than create an entry hole, it simply caused some damage to the wall. The breacher would have to manually expand the gap. On the other side, Fatty heard the loud noise and moved to investigate.
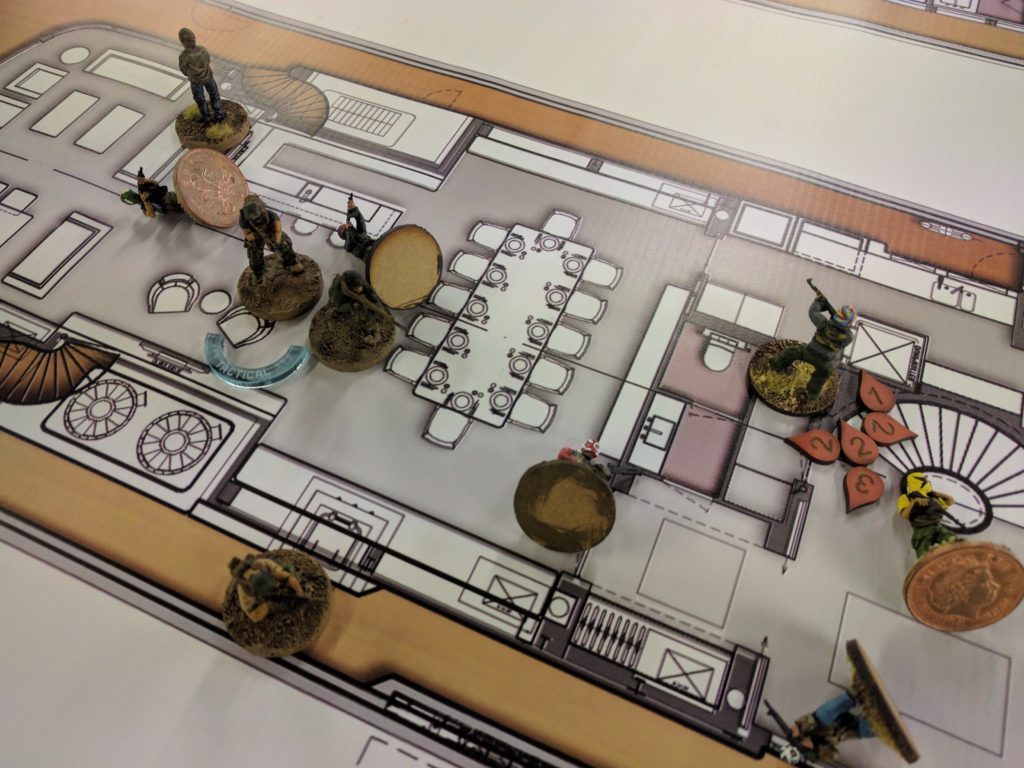
As Team 1 moved forward to clear the deck, they flung a frag grenade to clear one of the corridors. This grenade wiped out two more of the trained Sicarios and finished off the gunner, moving all of the suppression onto the final enemy waiting in one of the side rooms to ambush the operators.
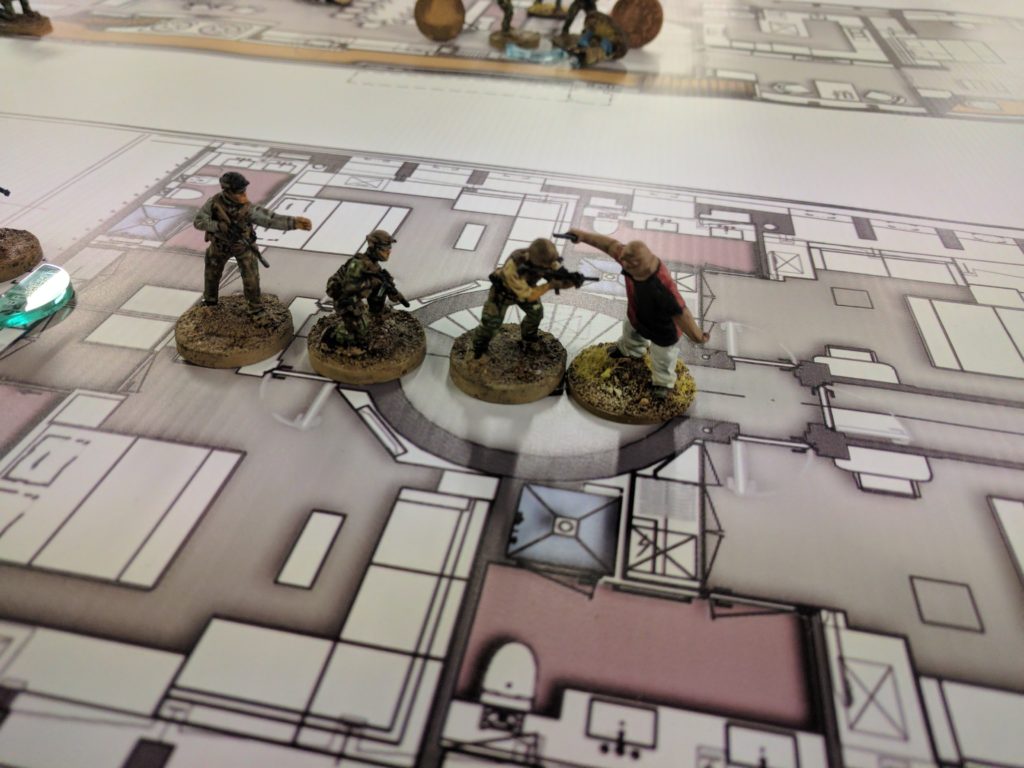
Team 2 finally busted through the wall and found themselves facing Fatty down the corridor. Rather than just shooting him, I decided I was going to try to secure as many civilians as possible (I blame long sessions of SWAT 4). A rush into combat, a few rolls, and the Pointman was slapping on the plasti-cuffs.

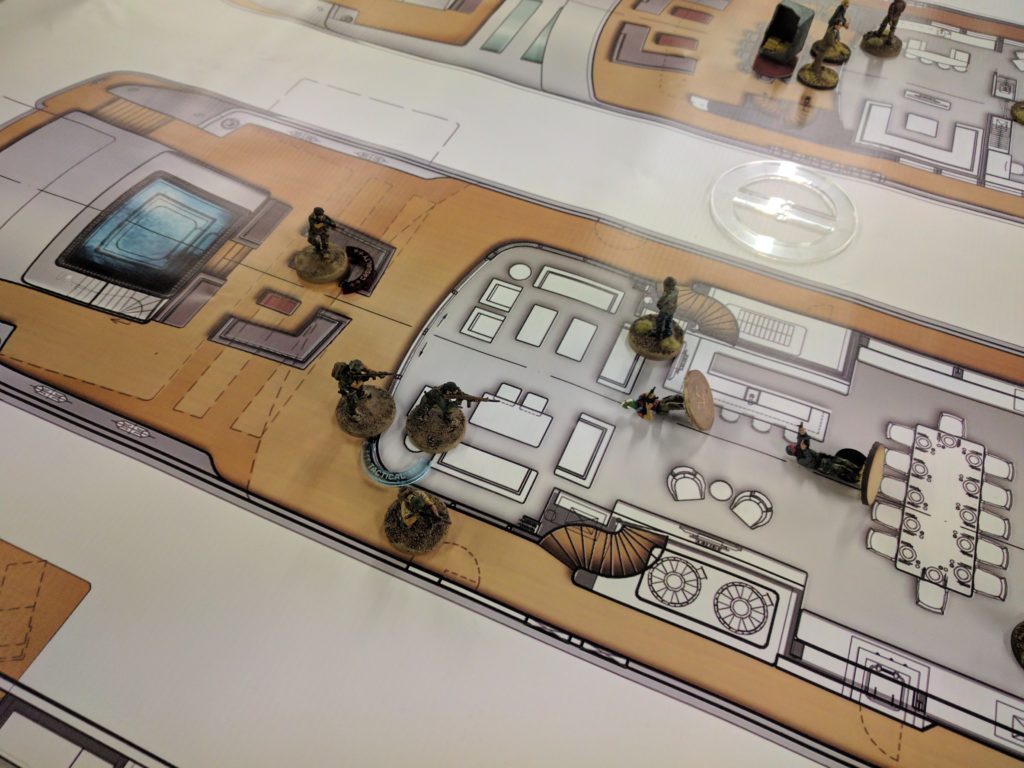
Team 1 continued to sweep through the deck to prevent anyone trying to flank them. As mentioned before, this poor sicario in the middle of the picture is drowning in suppression points, making him easy prey to the operators.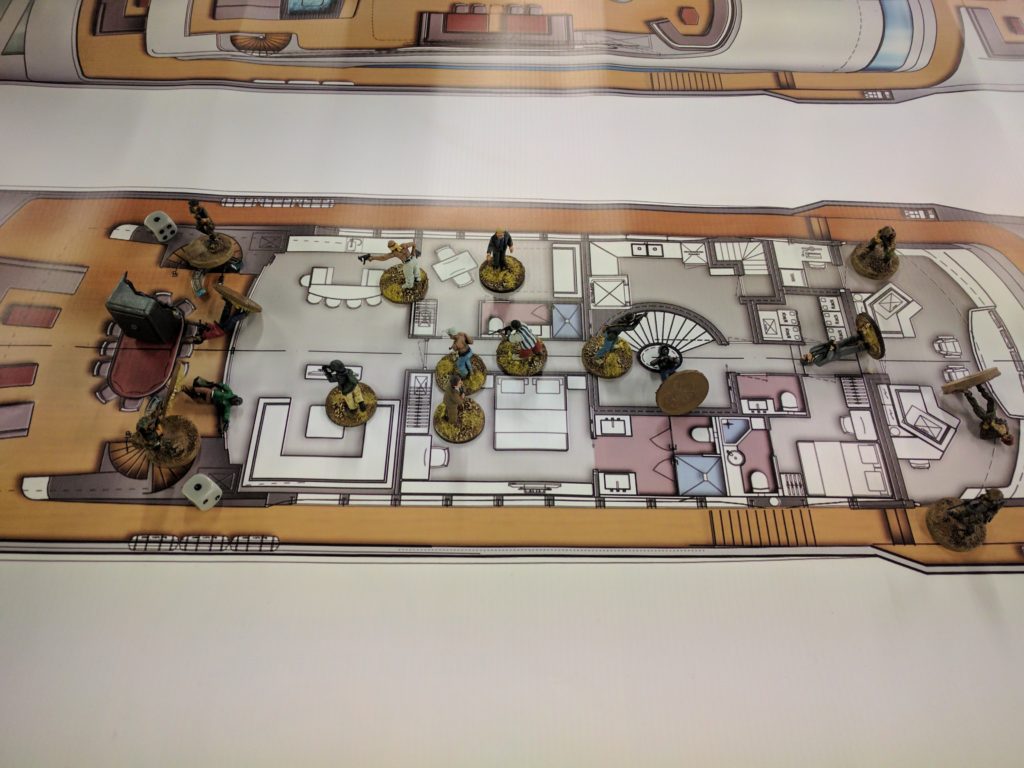
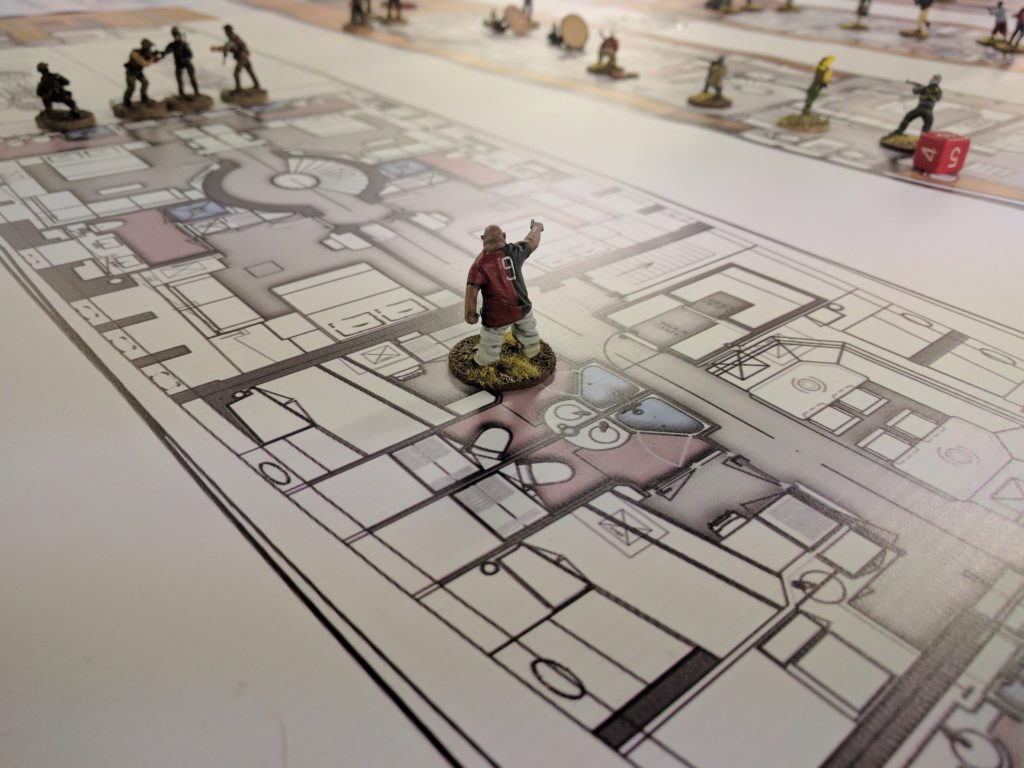
There were a few turns between the last picture and this one. I spent my time moving through the ship, cuffing civilians and cartel fighters such as the suppressed sicario to prevent any nasty surprises. The gangers spent that time fortifying the deck, setting up overwatch on the staircases and using the converted civilians as alarms against the operators sneaking up. It was going to be a pig to clear out.
The picture actually shows the start of the final assault. After using the leg up move to get Team 2 onto the correct deck and positioning most of Team 1 at the bottom of the stairs, my last operator stood in the pool and flung a stun grenade into the meeting room to hit as many people as possible. It was a hard throw but he managed to hit it dead on. Team 1 then started up the staircases. The stun grenades had reduced the effectiveness of the overwatch but it still put some suppression down on my assaulters. From the other end, Team 2 traded shots through the glass on the bridge. They easily took out the armed civilians before advancing inside to trap the gangers in a pincer move.

The final turn saw the operators continue moving forward. What was interesting was that the cartel had taken the initiative at this point as they were the only ones shooting (my operators were too busy rushing into close combat to prevent them being shot at). This led to the operators taking casualties, with both breachers finishing the game with 5 turns of the bleedout. That said, as the Team 2 breacher took his hit, his sidearm shot took out the militia squad leader and killed him. As the clock ran out, it was safe to say the operators were in charge of the boat.
Once the mission was over, both myself and Craig sat back and breathed out for the first time in a while. That final assault was on a knife-edge – a few fluffed rolls or the enemy armed with some more destructive weapons (like a combat shotgun) and it would have been a very different. Many of the advantages of the operators are tempered due to the close quarters, you can’t clear your way through with explosives. Fighting across 2D ship plans was something really different from usual and I would love to see someone make an actual MDF ship with all the interior rooms.
Big thanks to Harry from Warmill for letting us play across his excellent shipping plans. It was a really unique battle and a great end to the weekend.