In the last Project Humvee post, I has a chunk planning out Vehicle 3 in the project. Well, this week I managed to get around to assembling and painting it in preparation for next week’s game.
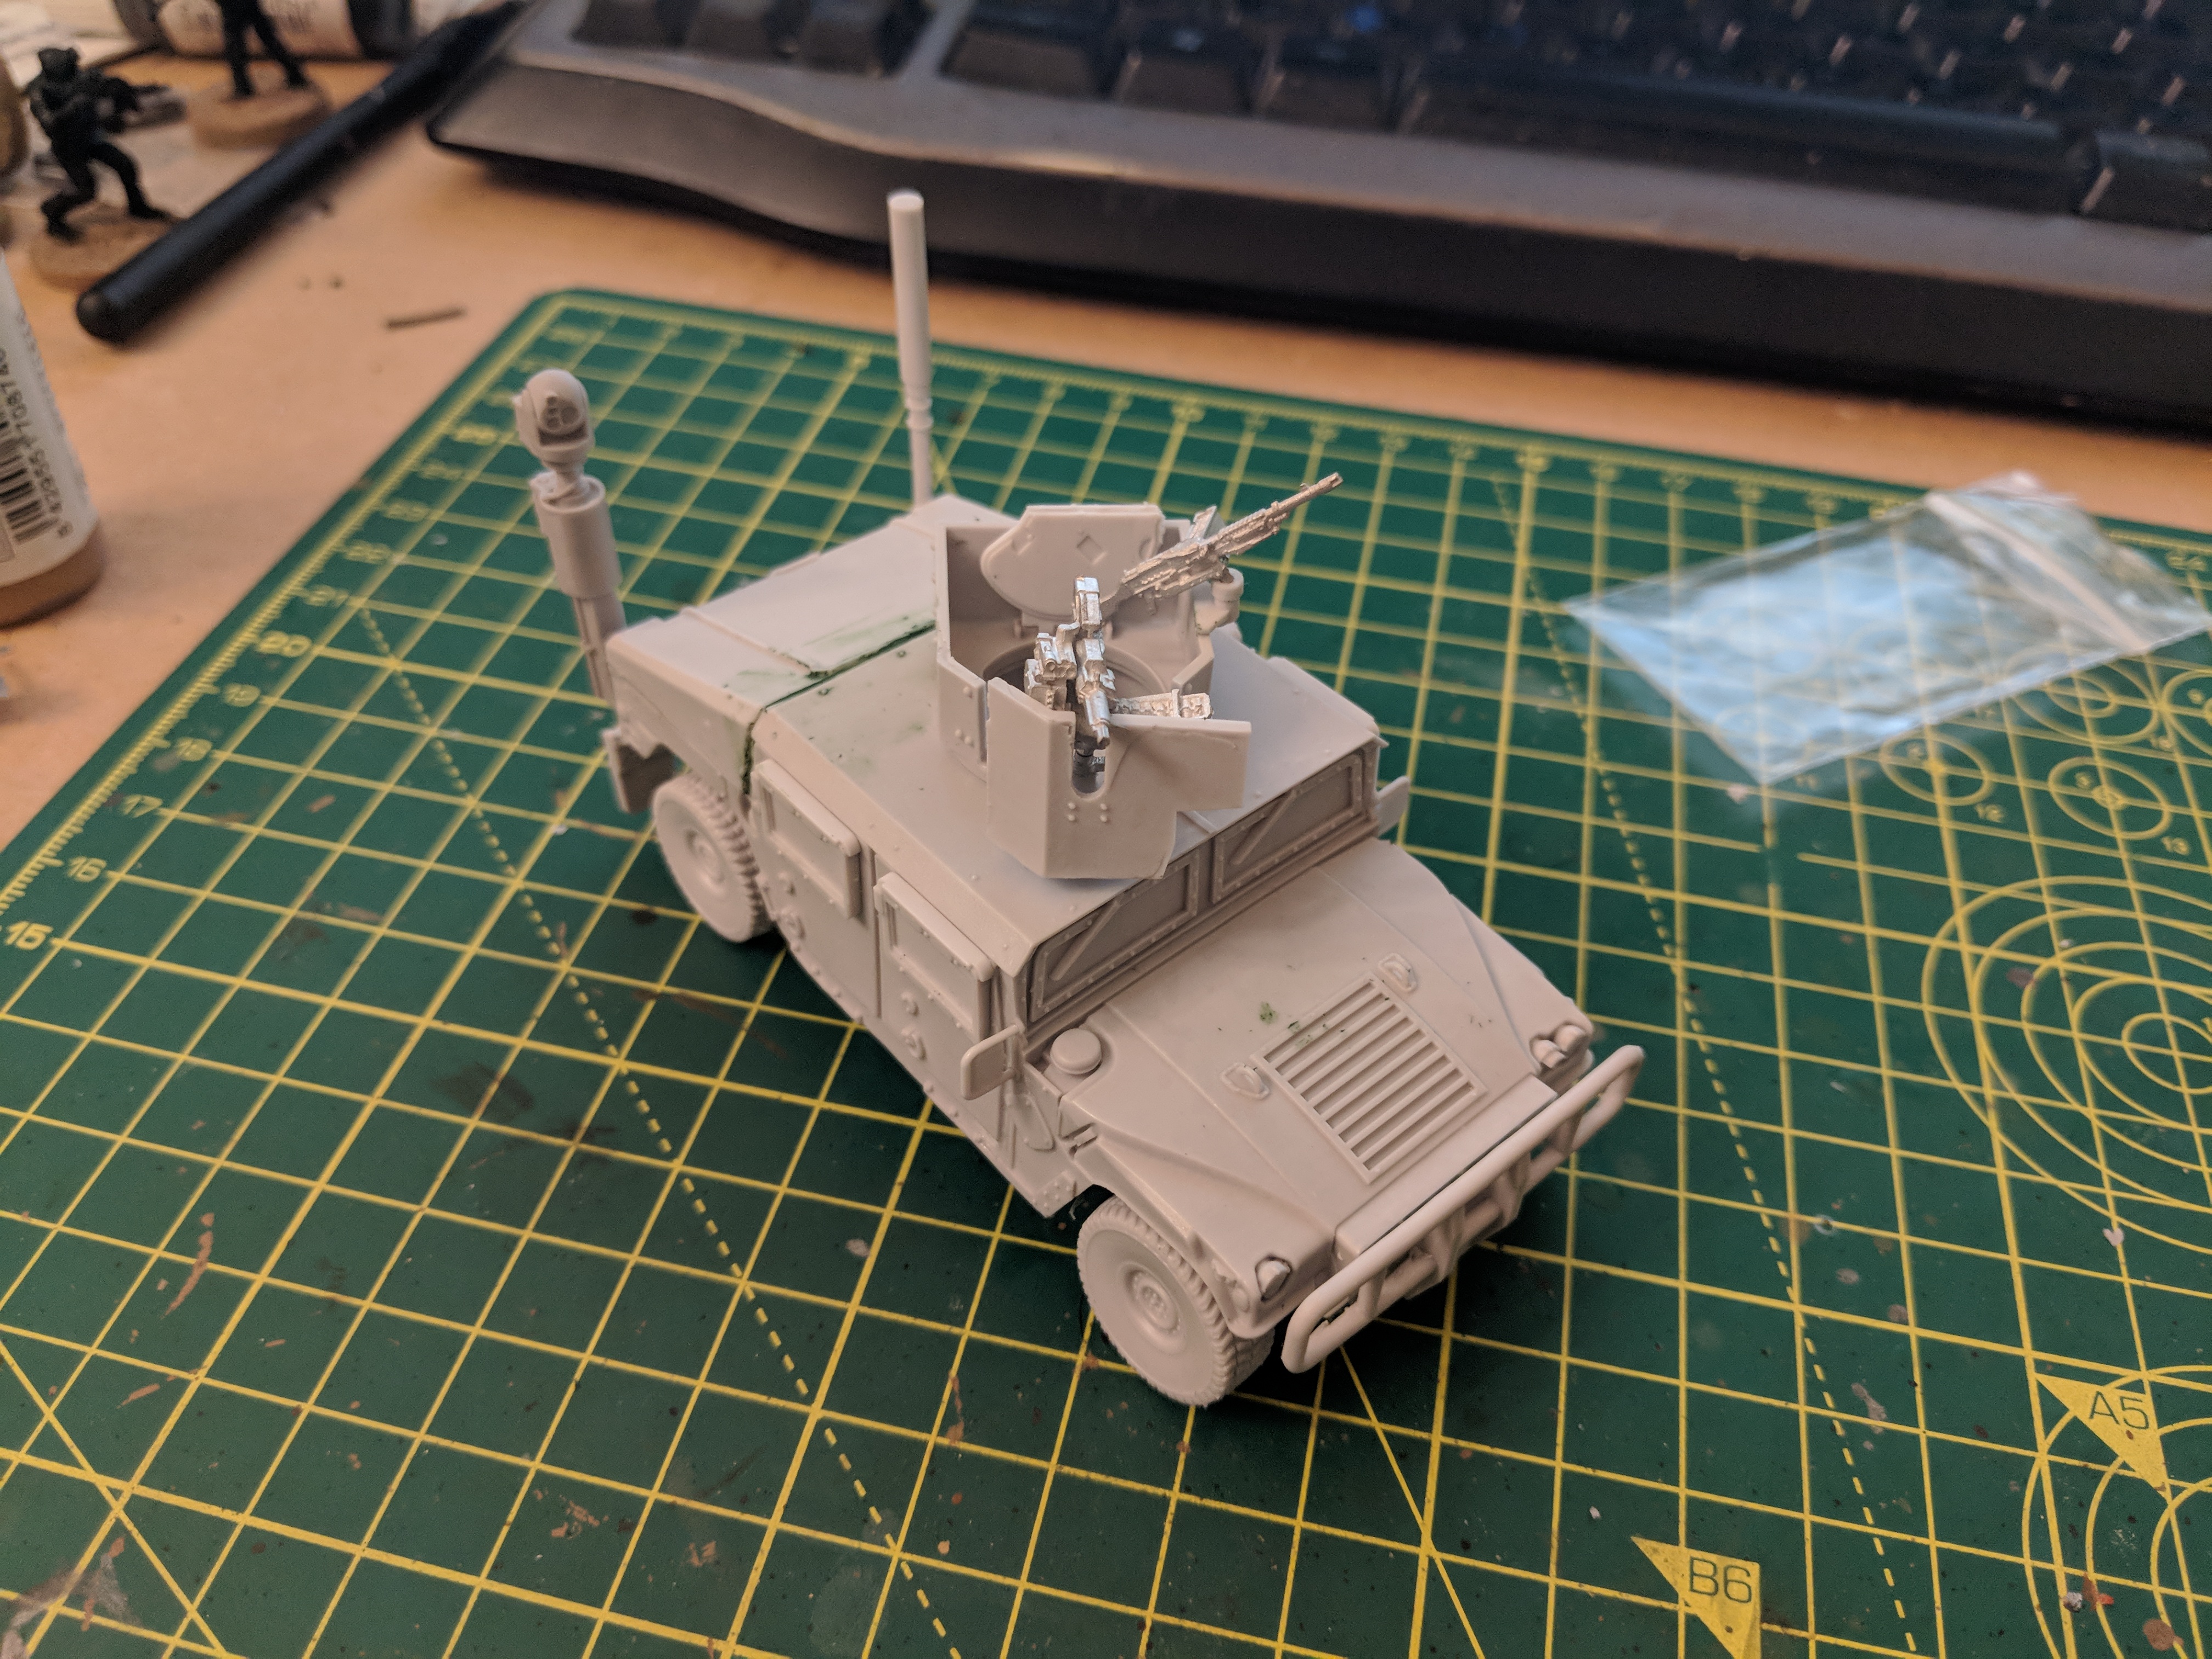
First stage was assembly. This was exactly the same as mentioned in back in the first post of Project Humvee. Vehicle 3 is actually the exact same setup as the Vehicle 1 (using HMV Upgrade Alfa) except with the addition of two rear mounted aerials. One is from HMV Upgrade Charlie while the other is the FLIR setup from the Comms and Countermeasures pack included in the Version 2 of Spectre’s stowage.
In the past, when buying items from Spectre, I usually get everything I need in the first wave and so only see items from the original casting run. This time, the delay has allowed Spectre to iterate on their resin process and so this vehicle is actually slightly different from the original release. I noticed that the detail on this vehicle seemed much crisper than the original run. This helped with assembly as the armoured window pieces seemed to fit much more easily into the slots. More importantly, some of the mould slip and air bubbles that I noticed on the original vehicles are no longer present. On the other hand, there did seem to be a bit more material to clean up on the underside. It’s always easier to remove material than try and fill out elements, so if it means a bit of extra prep time it’s a price I’m willing to pay
However, I did have a slight issue in the latest delivery involving the rear door and the rear cover from Upgrade Alfa. Both seemed to be fractionally oversized compared to the chassis, leading to some misaligned tabs and small gaps. Having compared the chassis with my other HMVs, it seems that it was the correct size so the other elements were at fault. However, this wasn’t anything that couldn’t be solved with an application of a craft knife and liquid green-stuff and so I got the vehicle built up anyway. I’ve mentioned this to the Spectre team, and they are investigating.
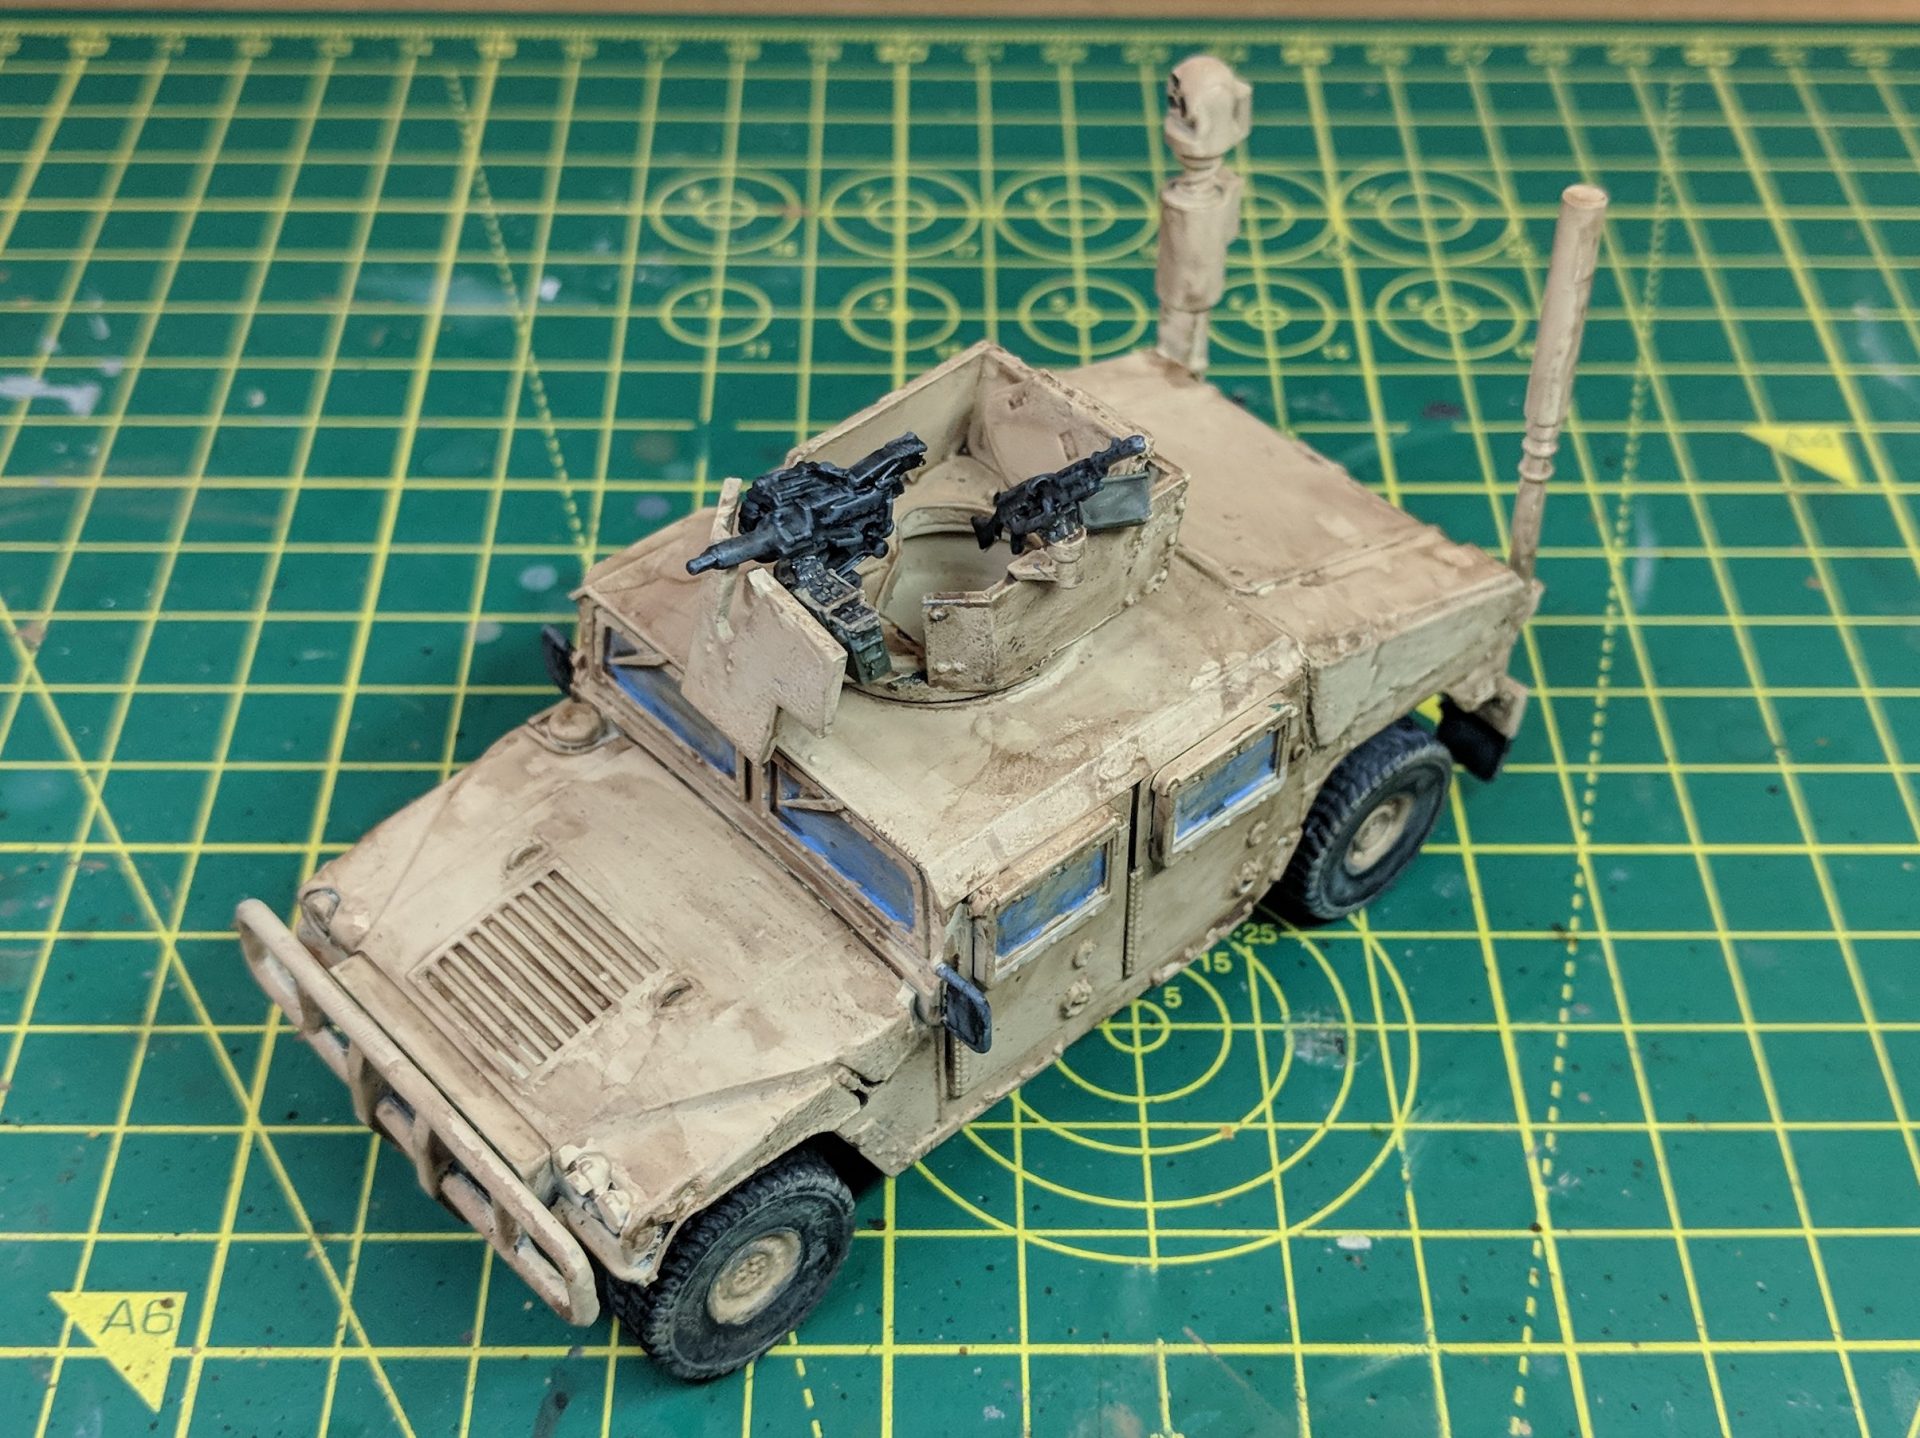
Painting on this vehicle was the same as the other Humvees. Literally the same. Go check out my method in the previous post.
The other part of assembling Vehicle 3 was setting up the turrets to go with it. I picked up a pair – one designed to go on the new vehicle and another to give me options for the SF truck.

As in the last article, I decided to go with the combination of an automatic grenade launcher and medium machine gun for one of the turrets. This lets the gunner pick between the weapons depending on the situation. The MMG is mounted on the weapon position from HMV Upgrade Charlie, with a small hole drilled into it. I skipped the stowage on this seeing as it already has a lot going on.
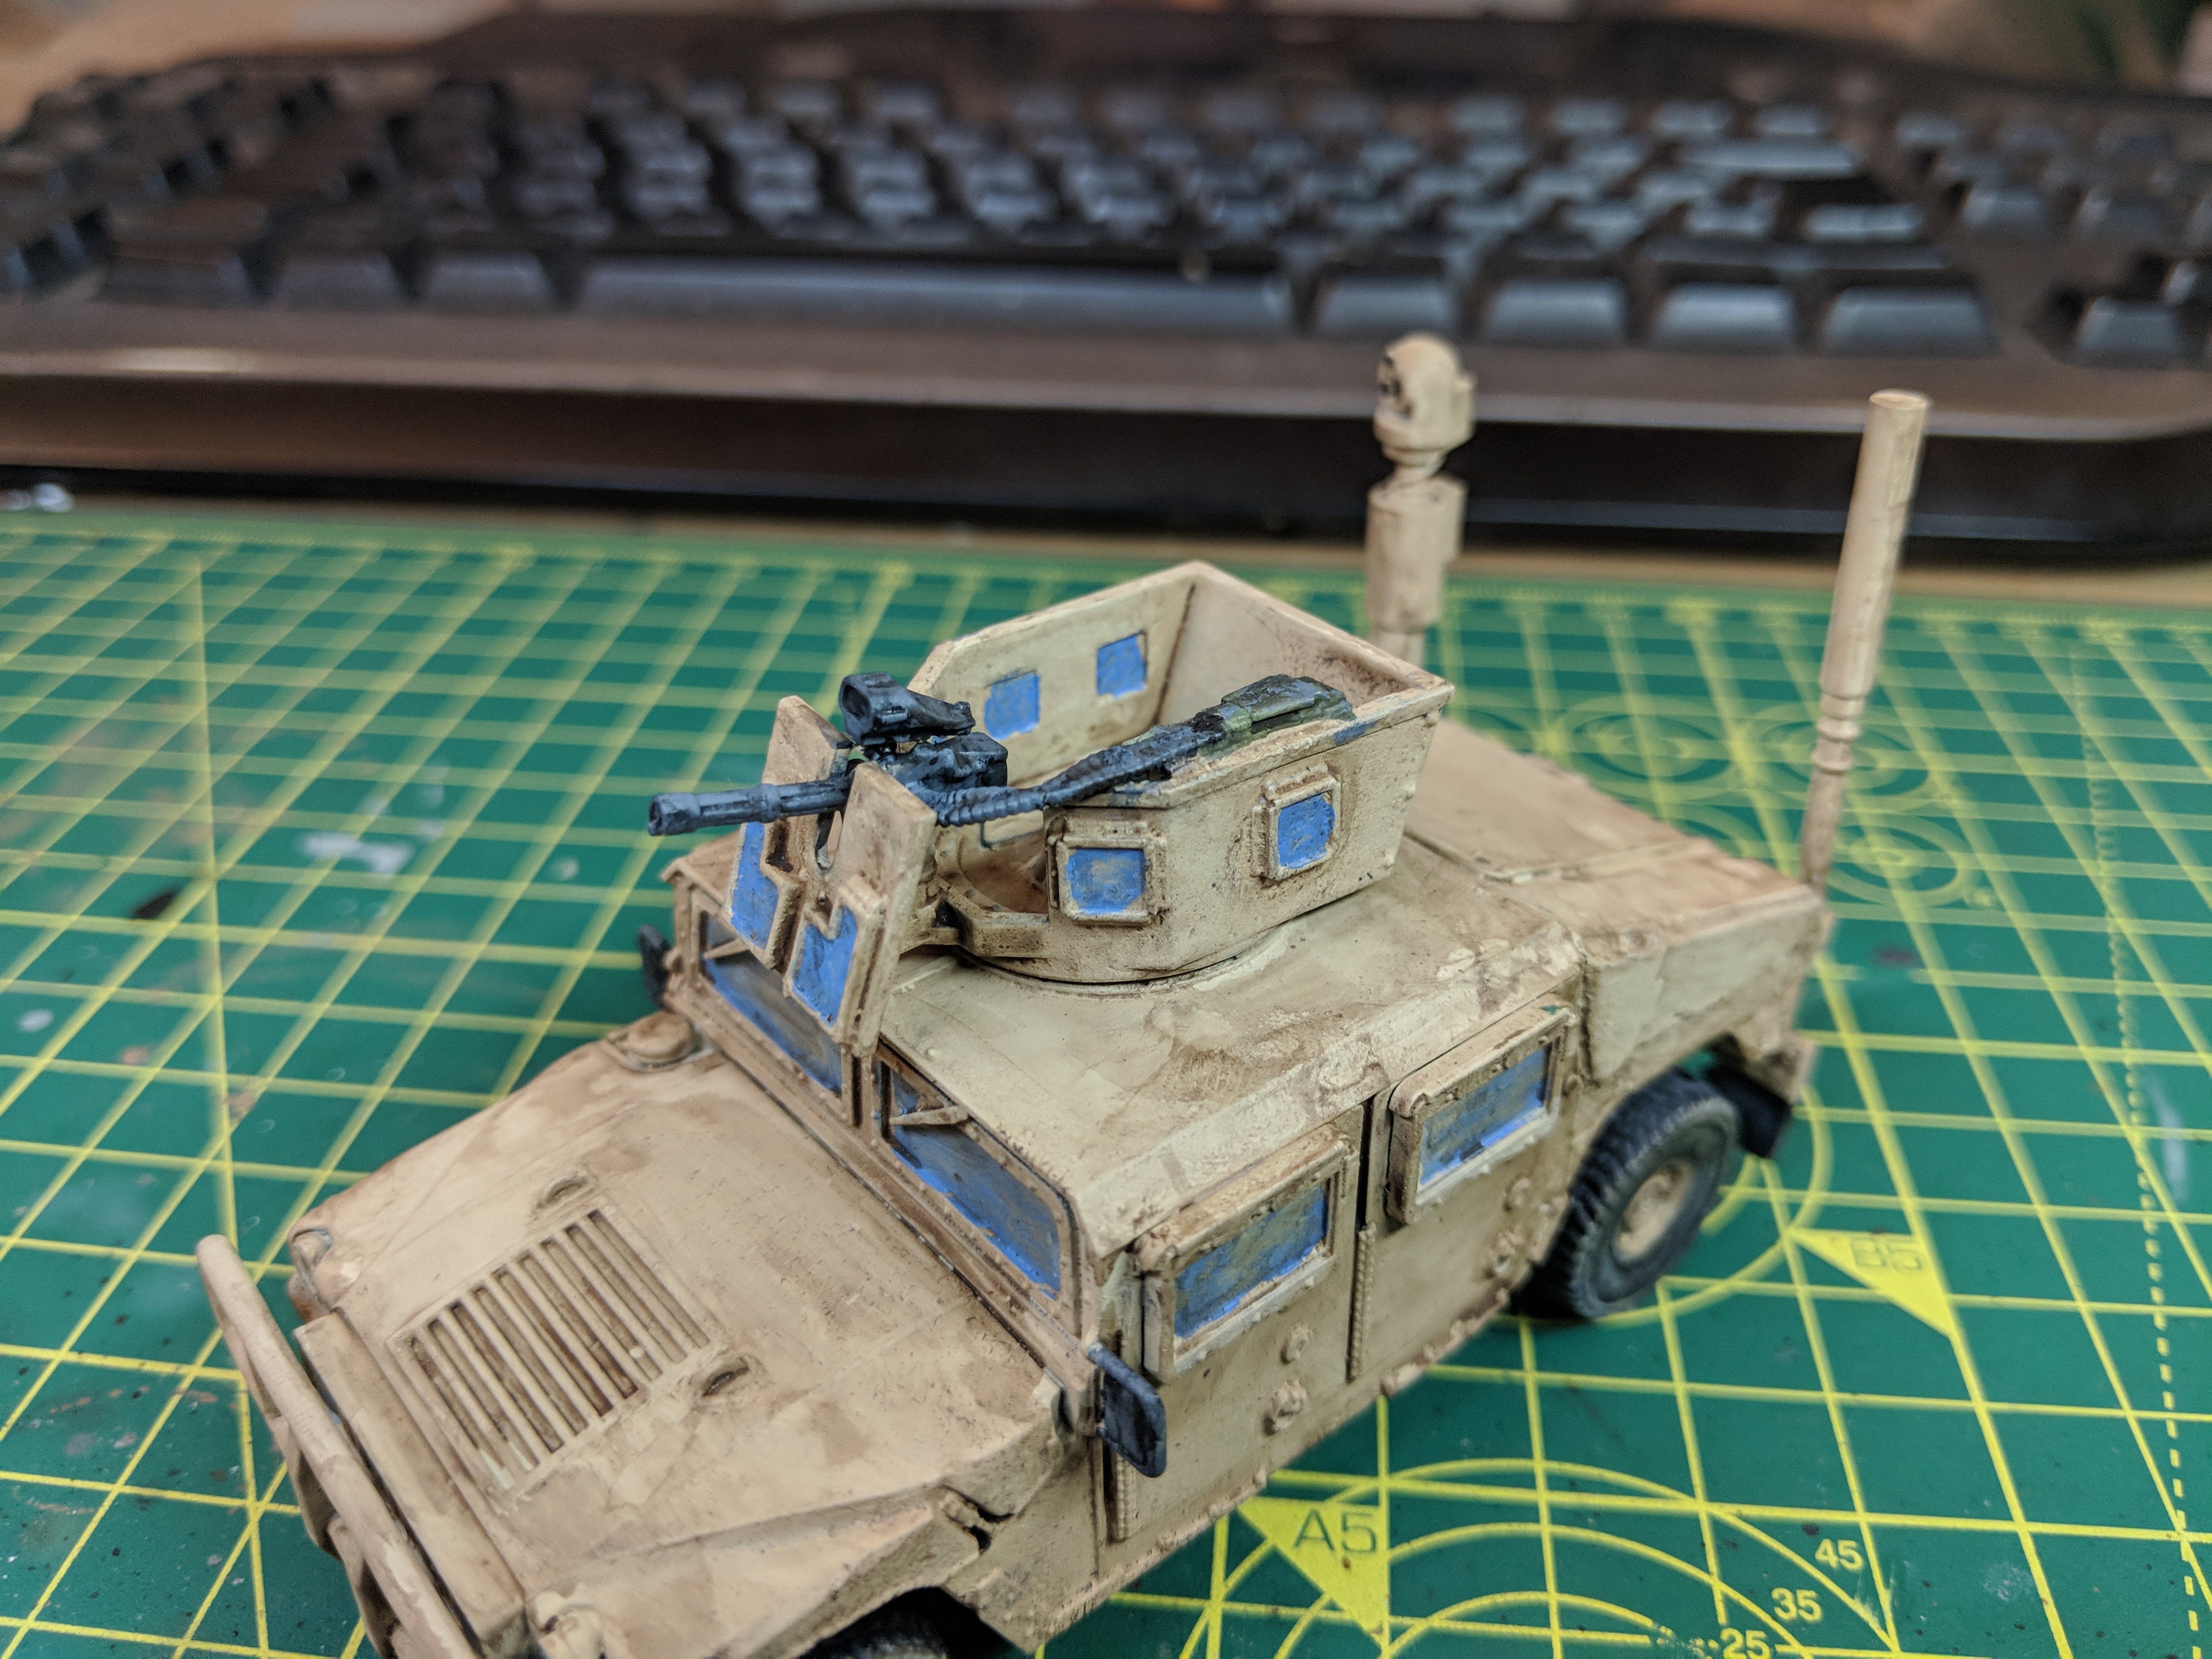
For turret two, I picked up the minigun. As I couldn’t bend the belt enough to allow it to drop into the turret, I decided to mount it on one side. True it covers up the side port and requires the hatch to be removed but on the plus side, it does give the gunner easy access to the ammo box. Again no stowage as it looks uncomfortable enough.
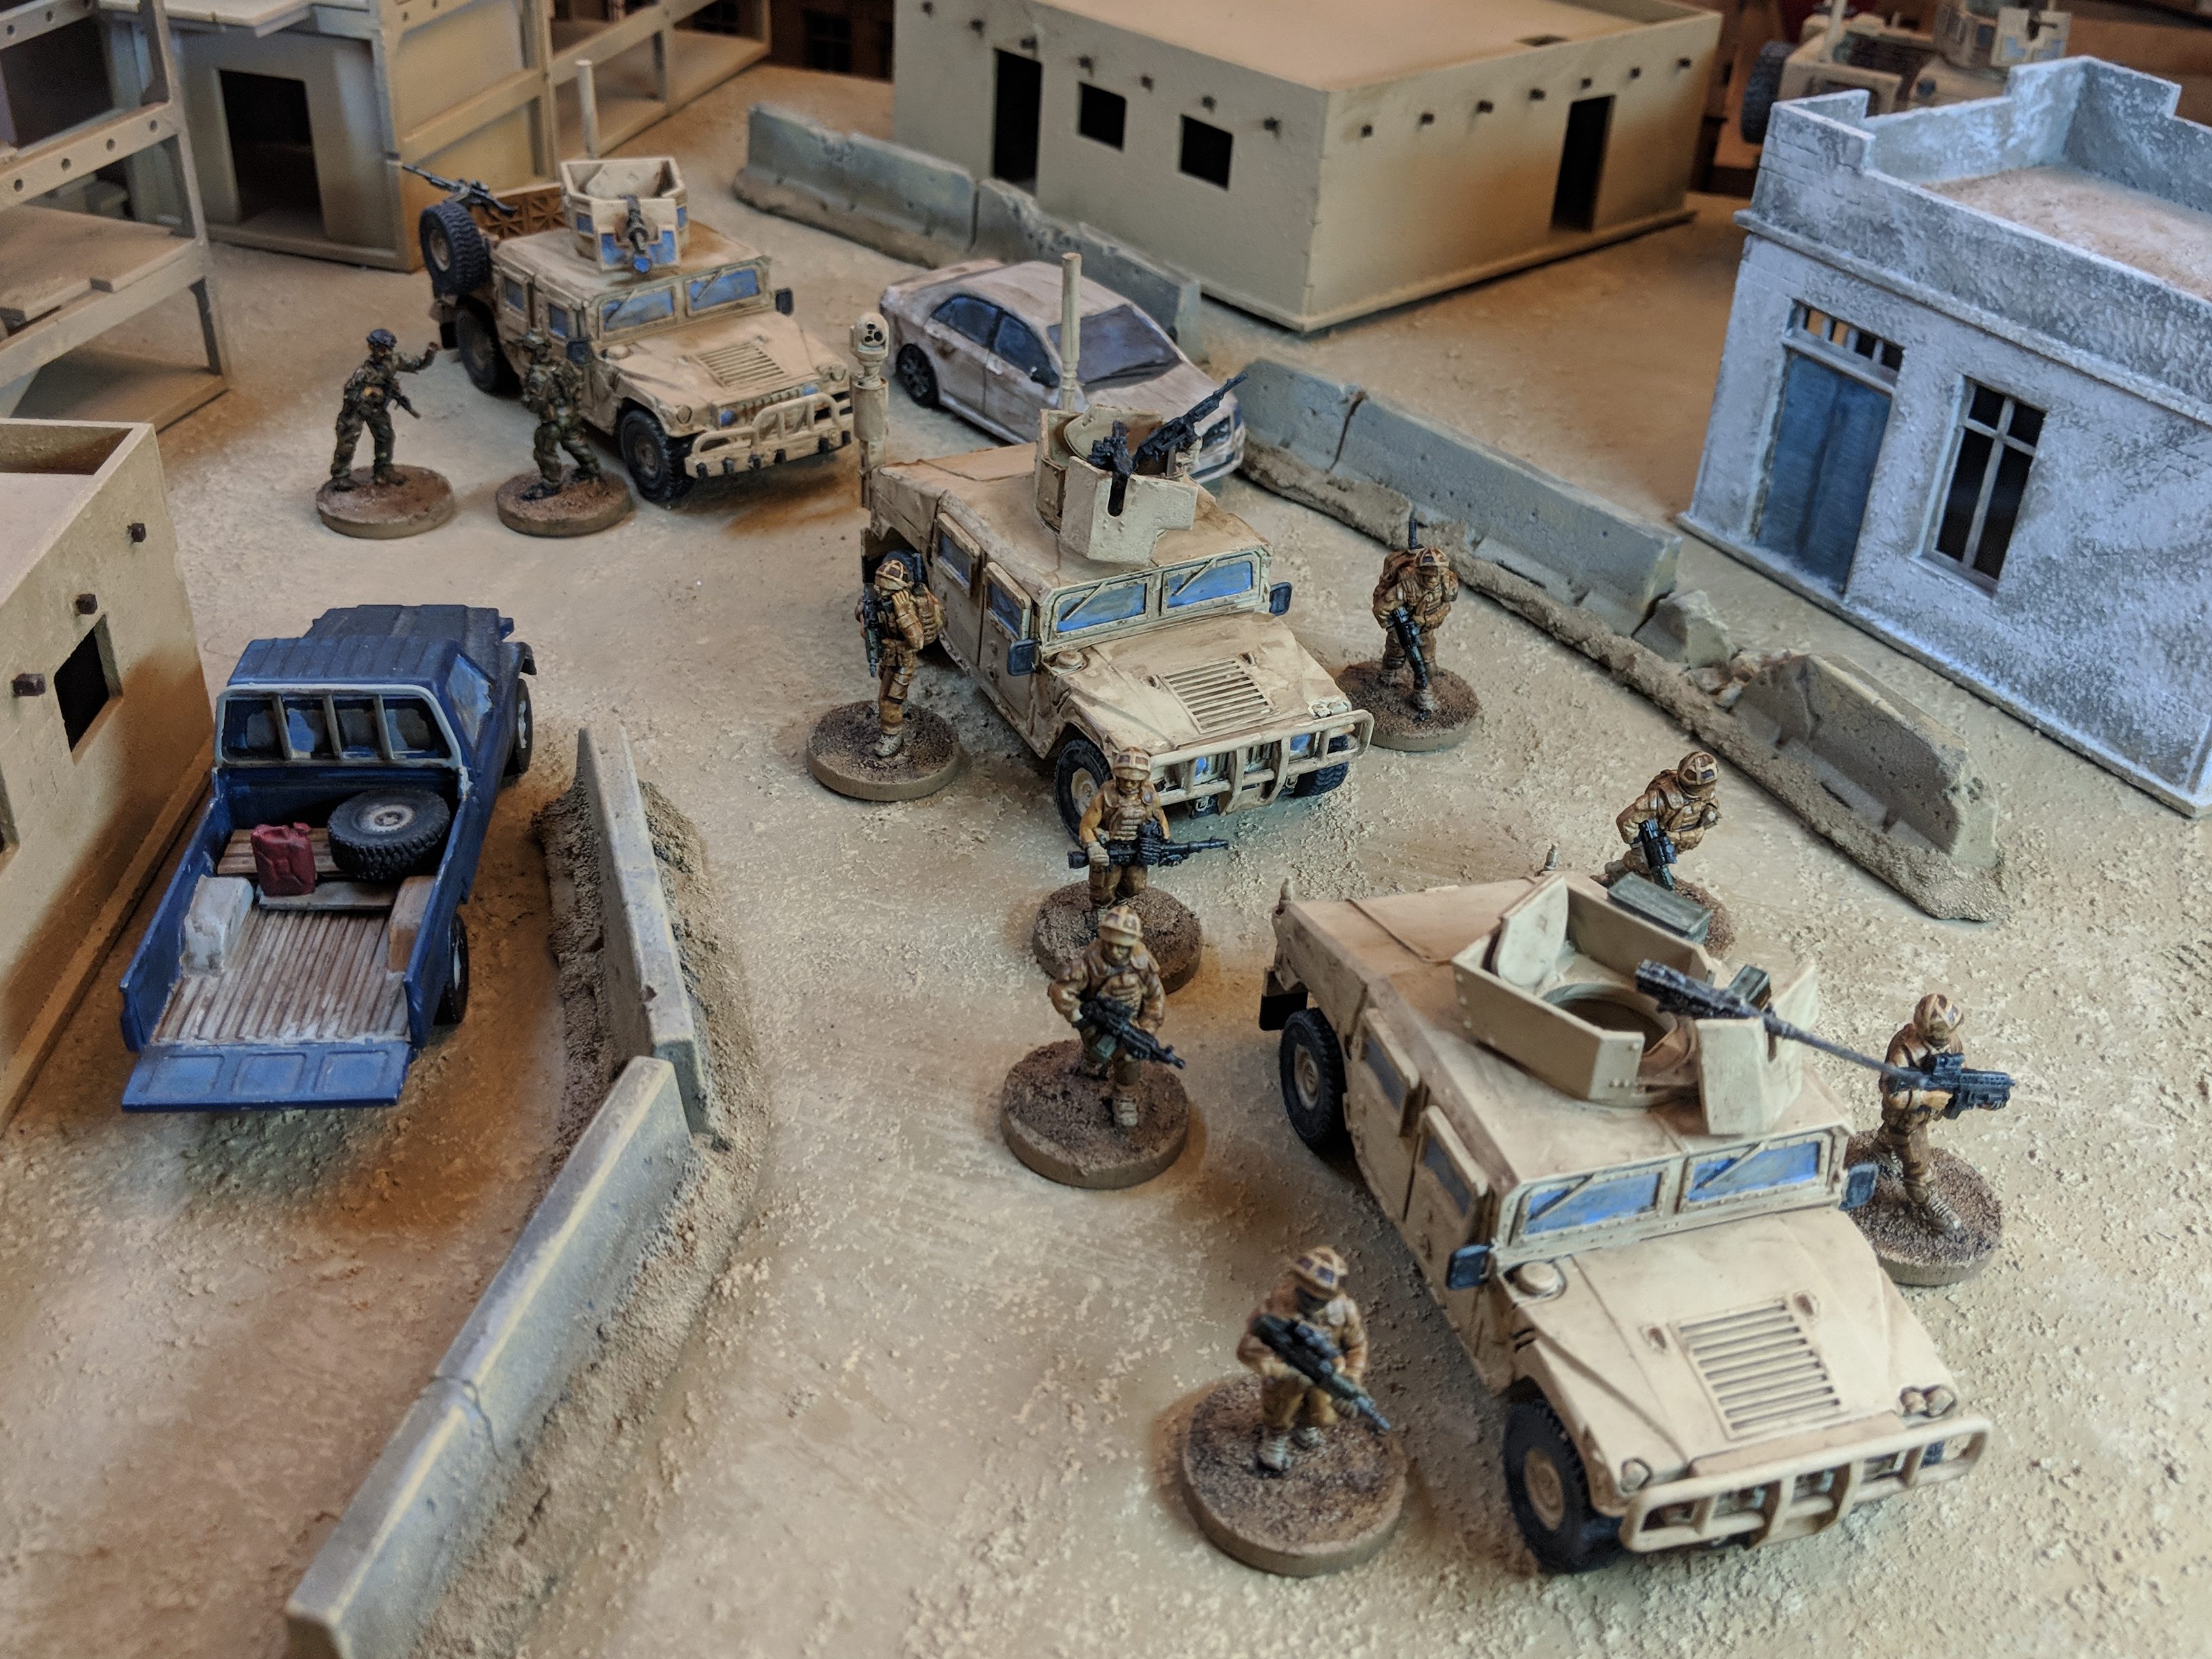
And with that, the convoy is ready to go in next week’s game. The HMV continues to a fun kit to build despite some of the issues I had. I’m really looking forward to getting the three vehicles out on the board.
The next step? I’m not 100%. Crew figures are still coming and I need to decide if I want to use them and lock that turret into a specific group like the Task Force Operators which I presume are coming. I’m also interested to see some of the other weapon options coming, such as the remote weapon stations. Finally, it might be time to setup some non-US weapon systems.
Next week, tune in to see how they fare in their first game.