Christmas is the time I return home to Leeds. As well as family events, I usually end up using it to encounter my Regular Opponent and get a game of something in. This year, myself and Regular Opponent got invited up North to partake in some Chain of Command, my favourite set of WW2 rules (and one that I dearly wish was still coming to modern-day). With three of us ready to play, we decided to play Big Coc and, in between chuckling, started looking up all the tank rules we had not got round to ever using before.
As the only player who didn’t have a painted army (my Brits still sat waiting for me to get my act together), I took control of one of The Host’s armies. Seeing as the three of us are very interested in Operation Market Garden, The Host decided we’d be working our way up Hell’s Highway and he’d be the one blocking us with “old men and boys” (Translated from Intel: a Panzergrenadier platoon and a Panzer 4 platoon). My Regular Opponent was in charge of the Paras while I would be taking charge of XXX Corps.
While the other two rolled up support choices, I ( Lt. Michael Mather-Charge II of the Grenadier Guards) was presented with a simple force – A Sherman V with Senior Leader, two Sherman V’s with Junior Leaders and a Sherman Vc Firefly with Junior Leader. To provide support, a pair of Universal Carriers transported a section of Motor Infantry.
The other side of the game was the scenario. Rather than simply running a standard setup from the rule book, The Host instead decided to expand and make it a little more interesting. Each player received a different briefing, meaning that myself and My Regular Opponent actually had different goals despite being on the same team. Worse, we actually had different information as well, with our maps having different key locations on them.
Put simply, my goal was to capture the central plaza of Elst, before pushing north to continue on the road to Arnhem. However, I couldn’t actually get onto the board until the Paras had captured a foothold in the town referred to as HIGH TOP. Until they popped smoke, I was forced to sit on the sidelines (with my CO making sure I didn’t try any funny business). If I gained enough COC dice through lucky dice rolls, I could start off early – this task would be made easier if enemy armour was spotted from my Jumping Off Position or enemy infantry started to advance on the bridge.
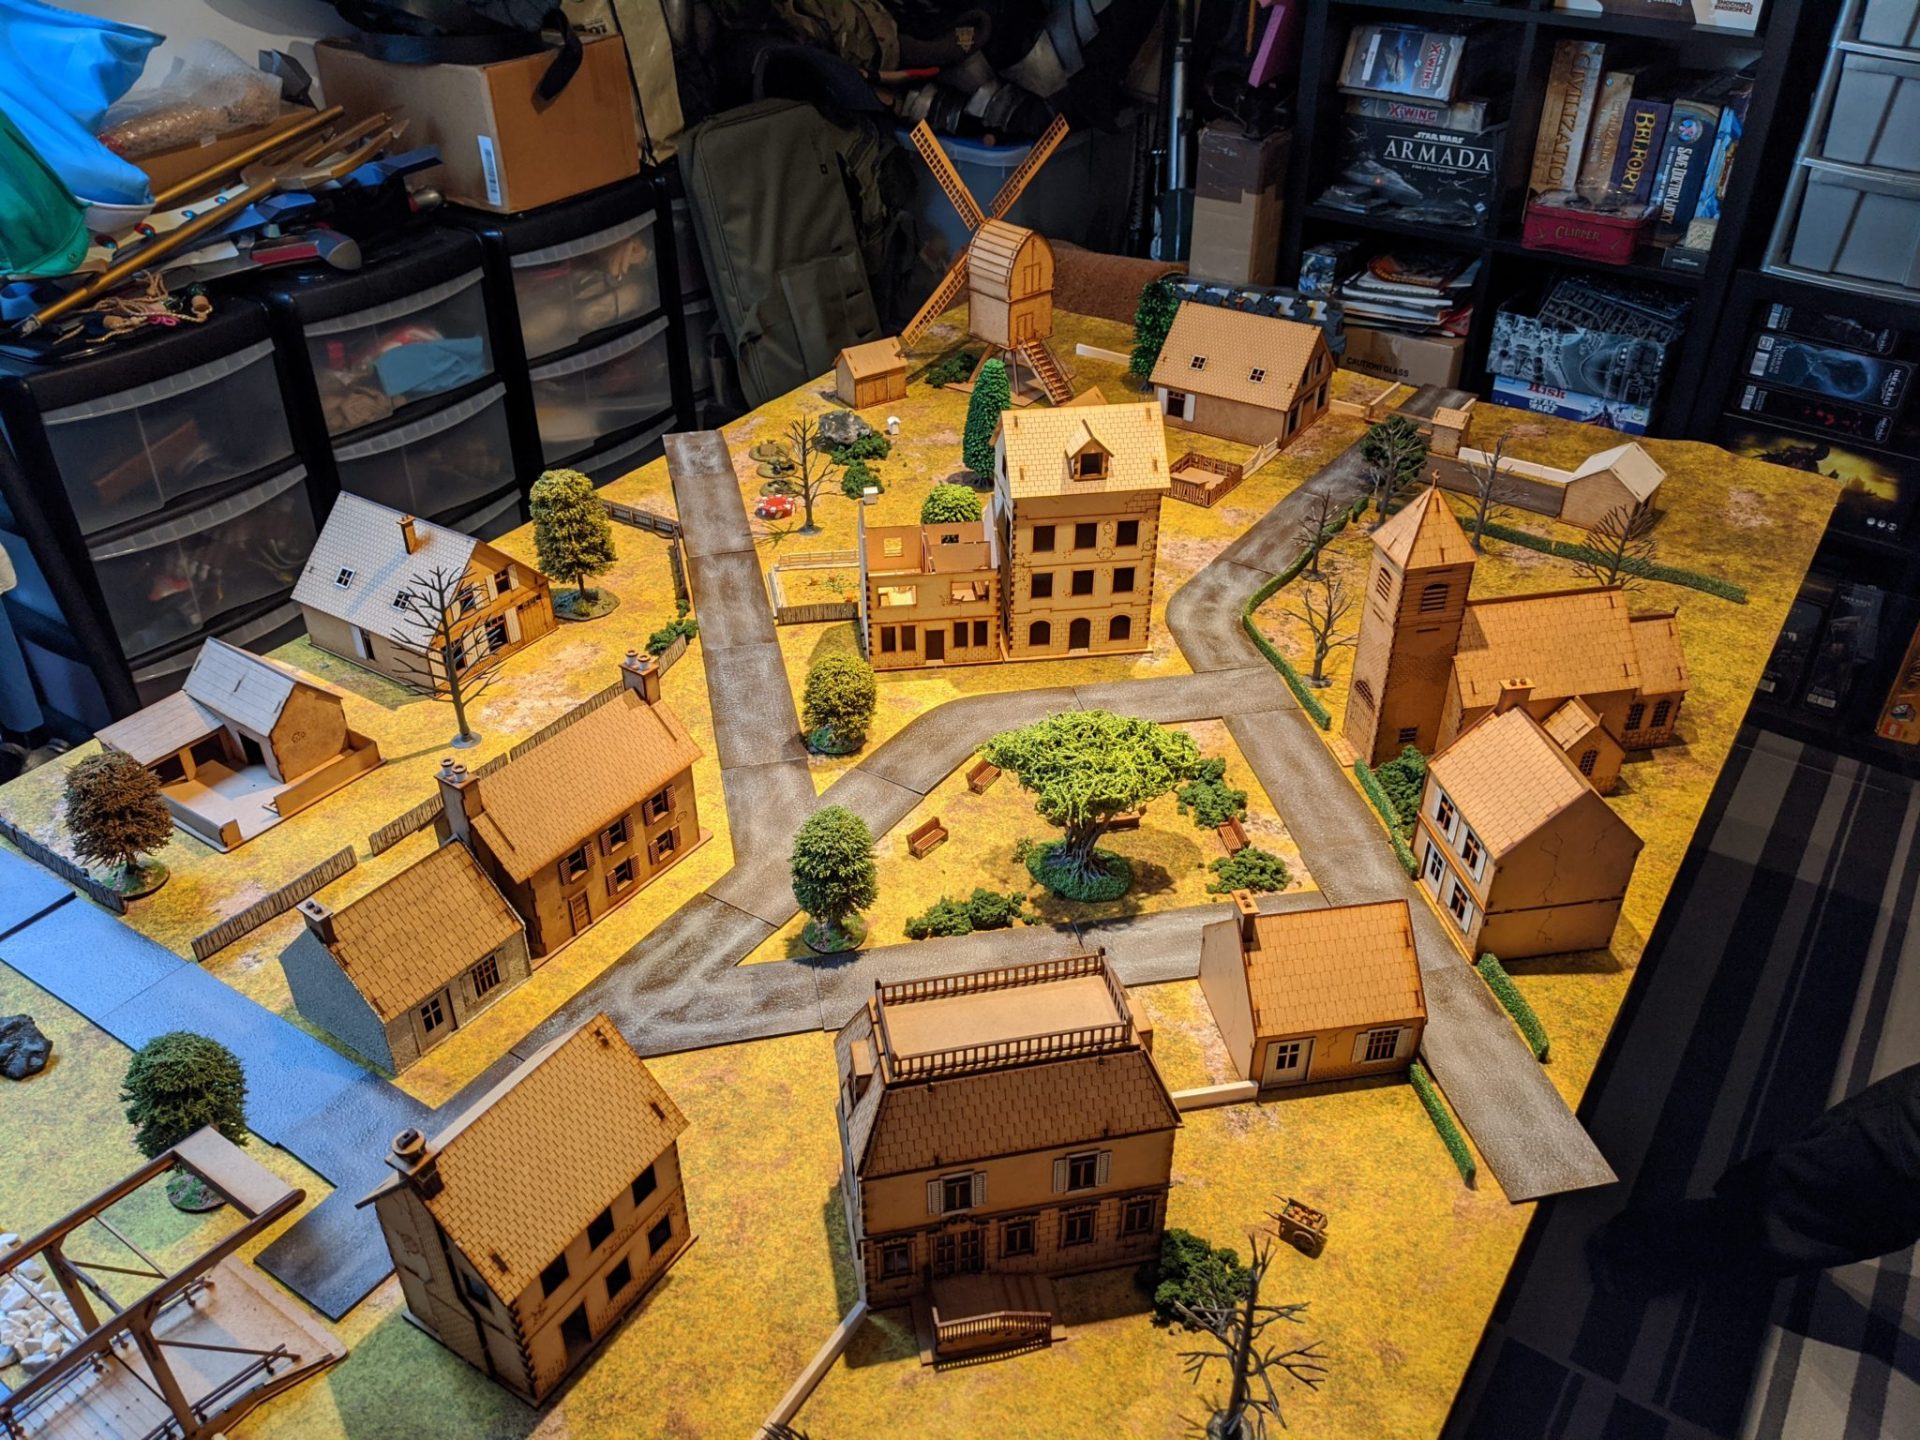
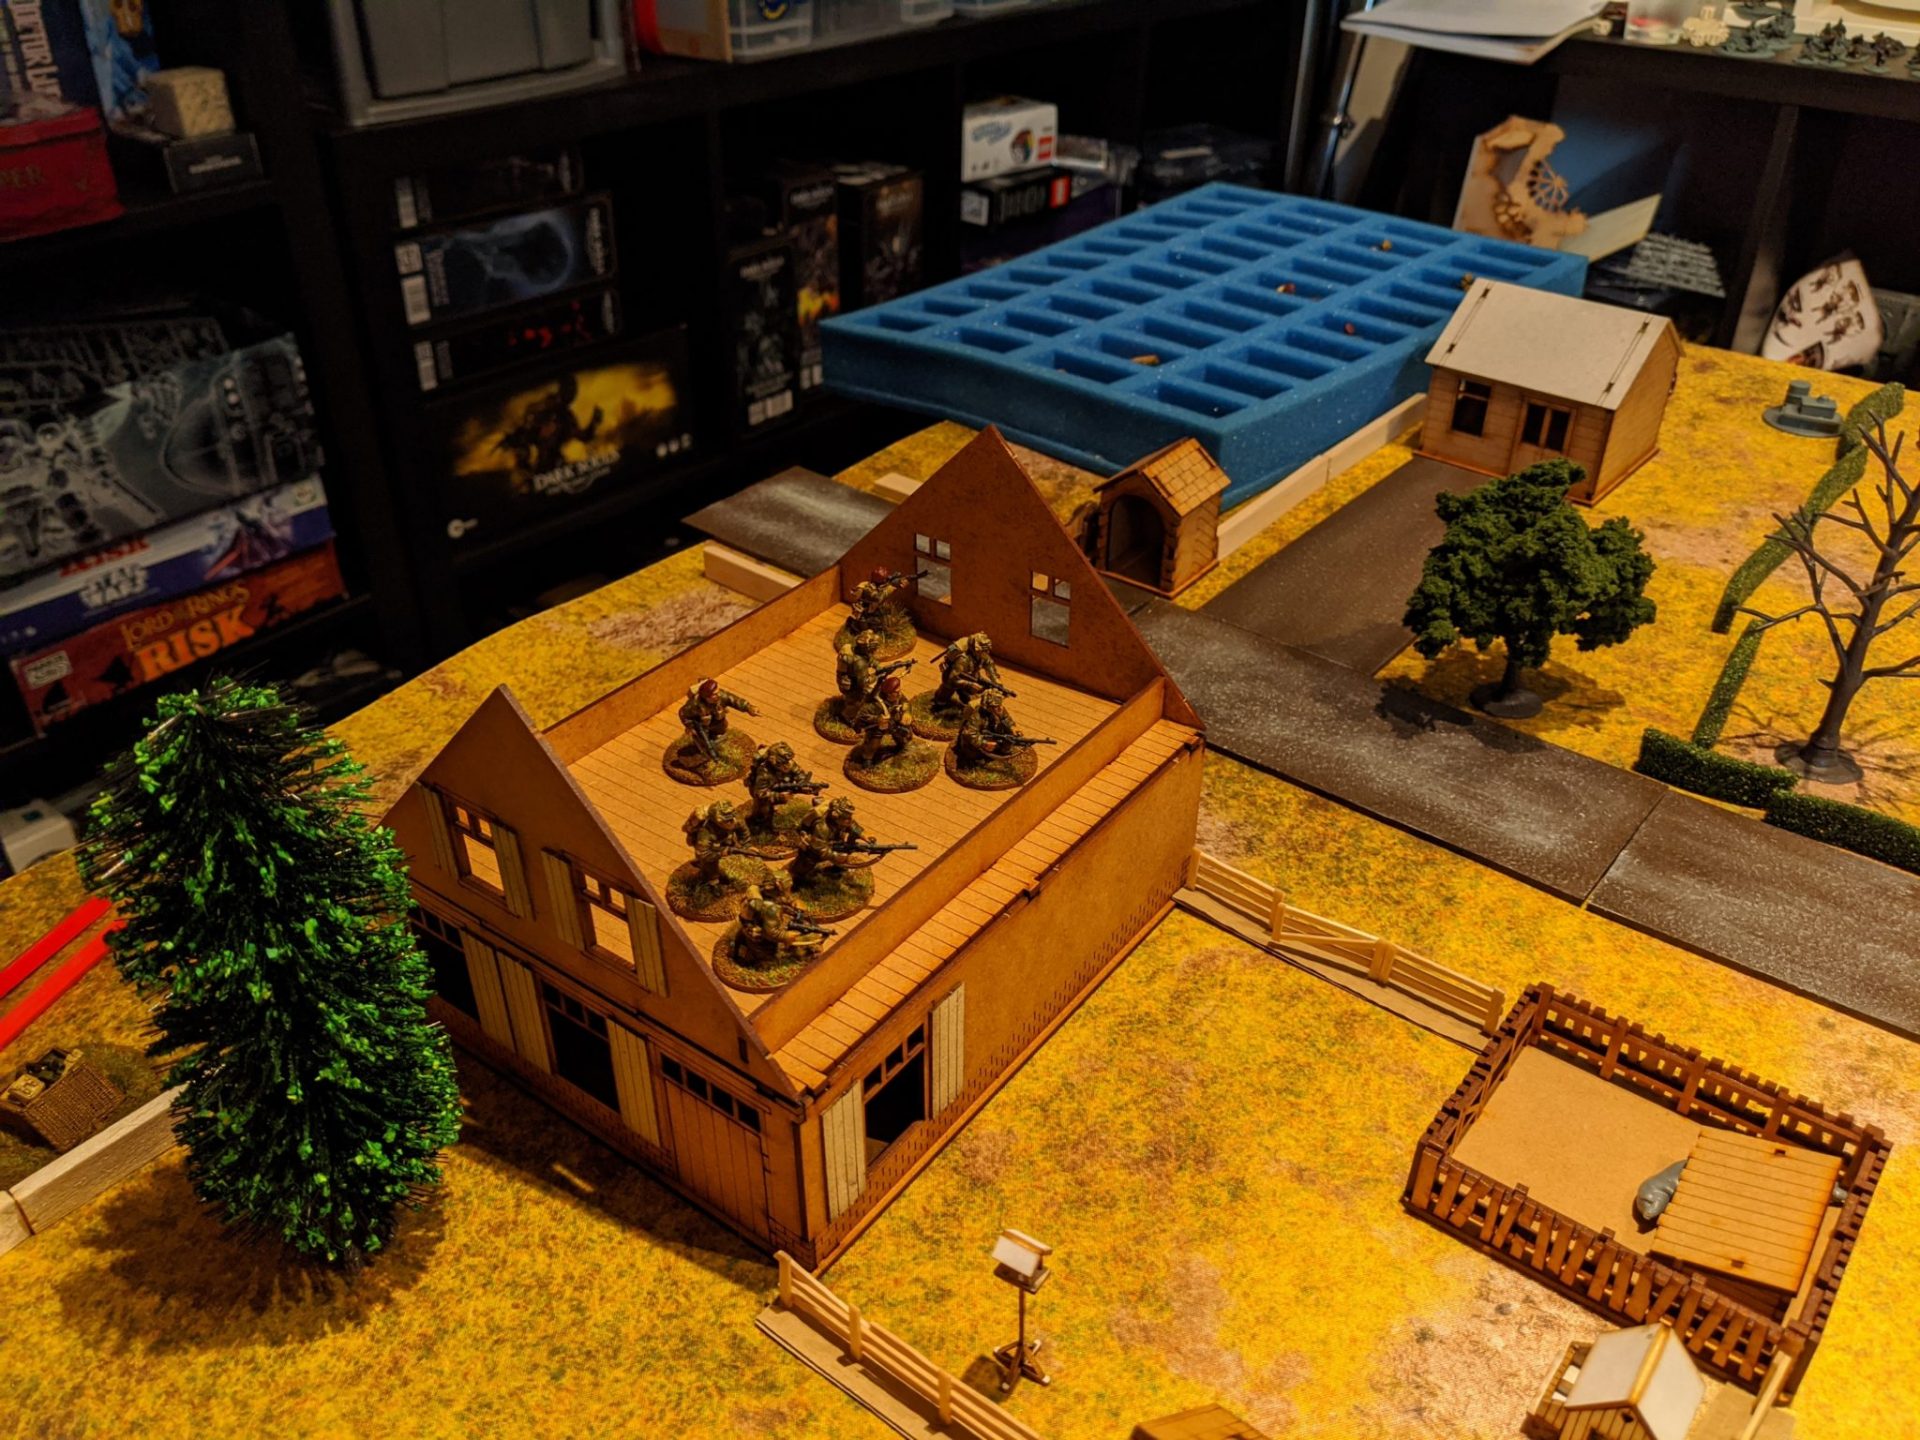
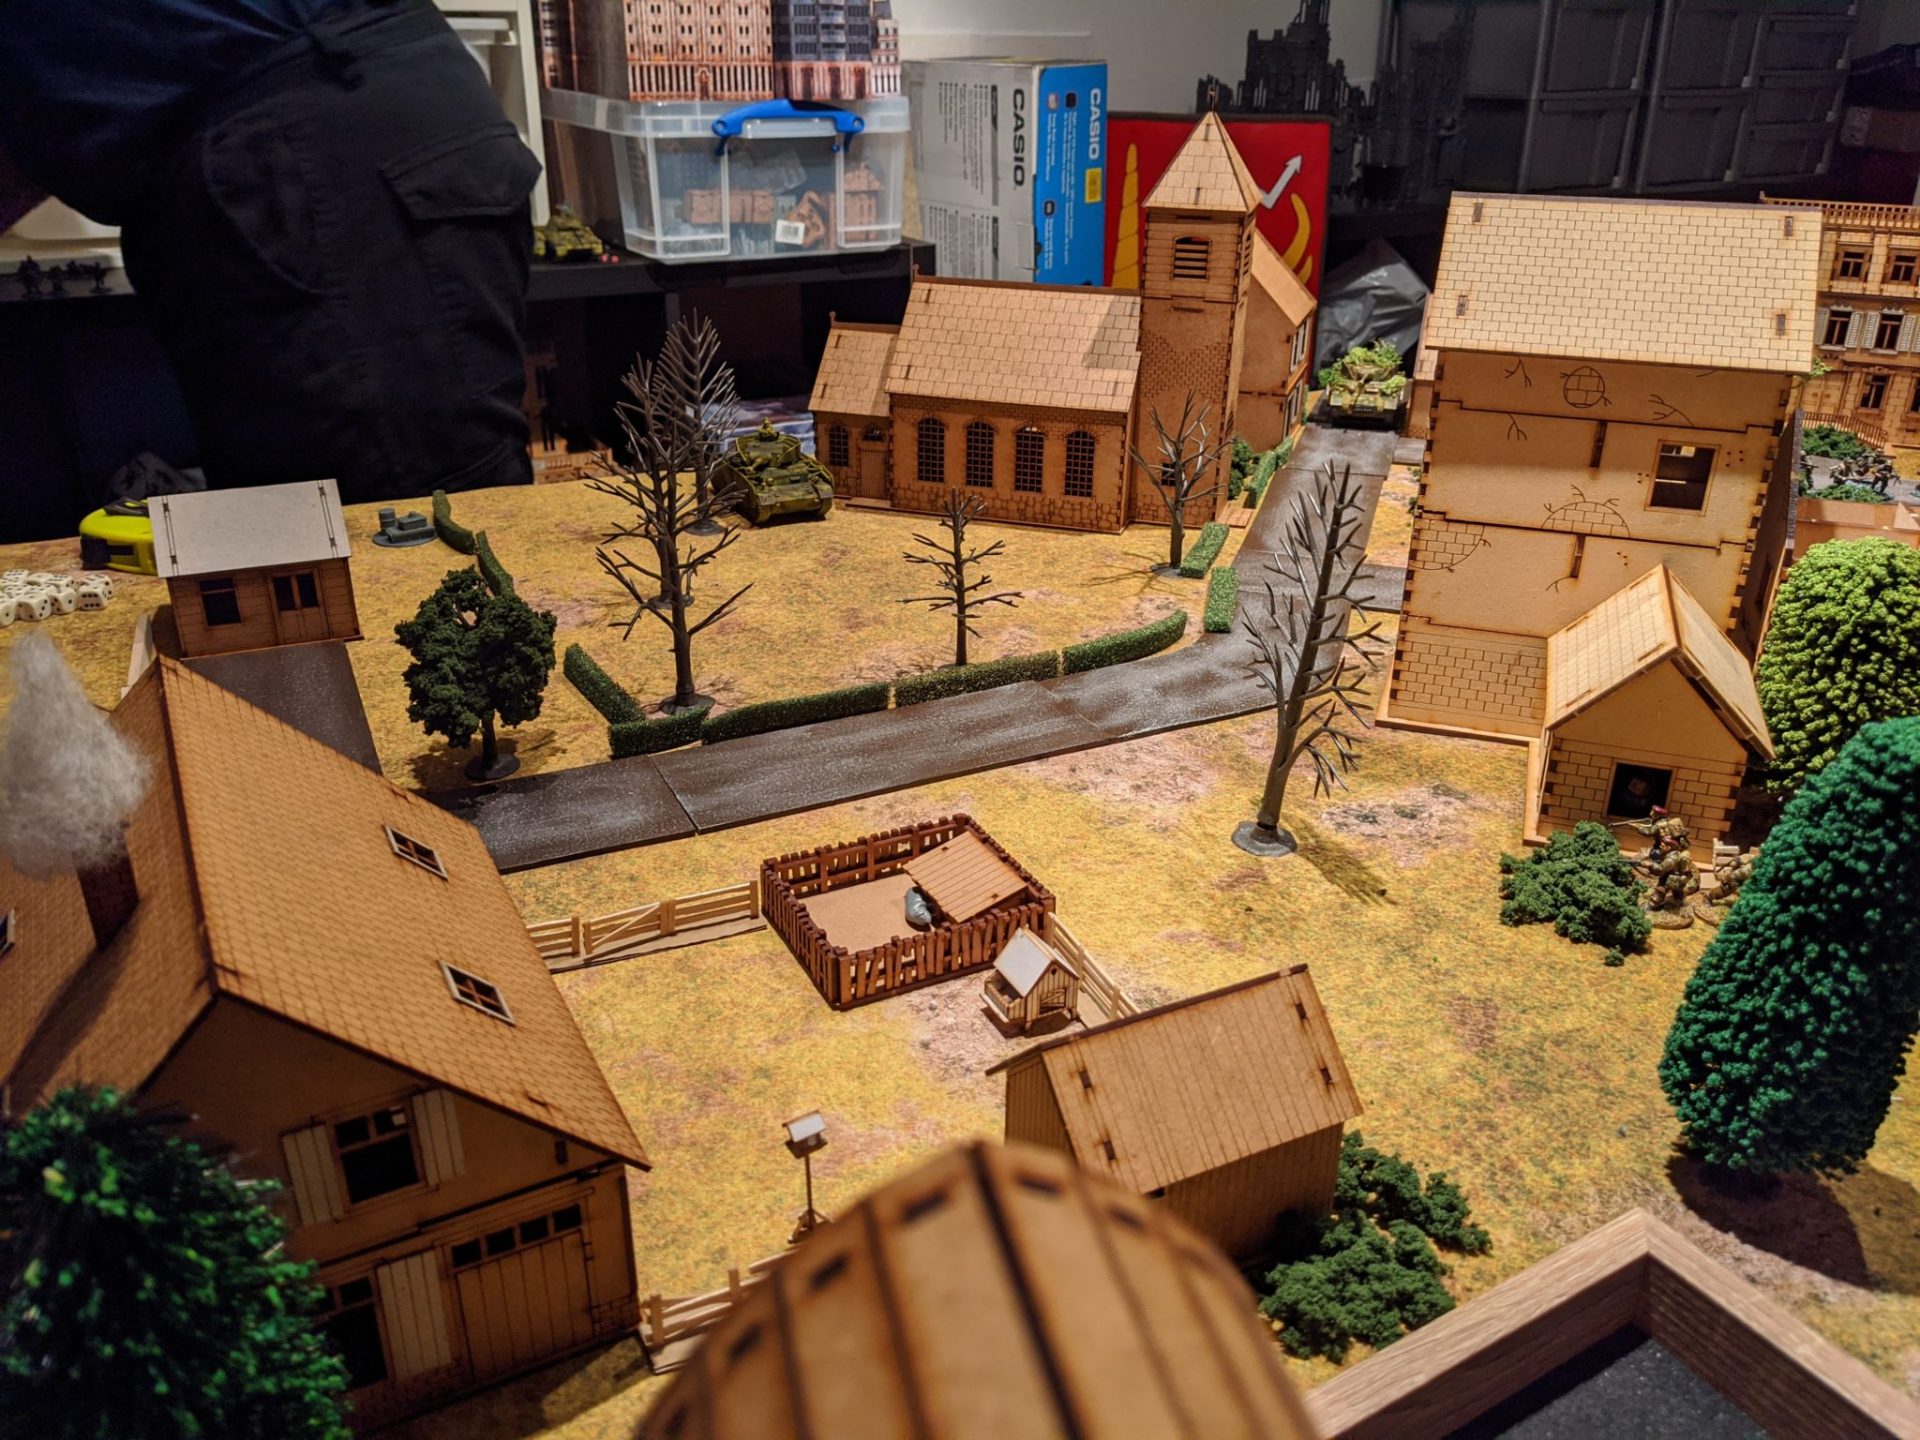
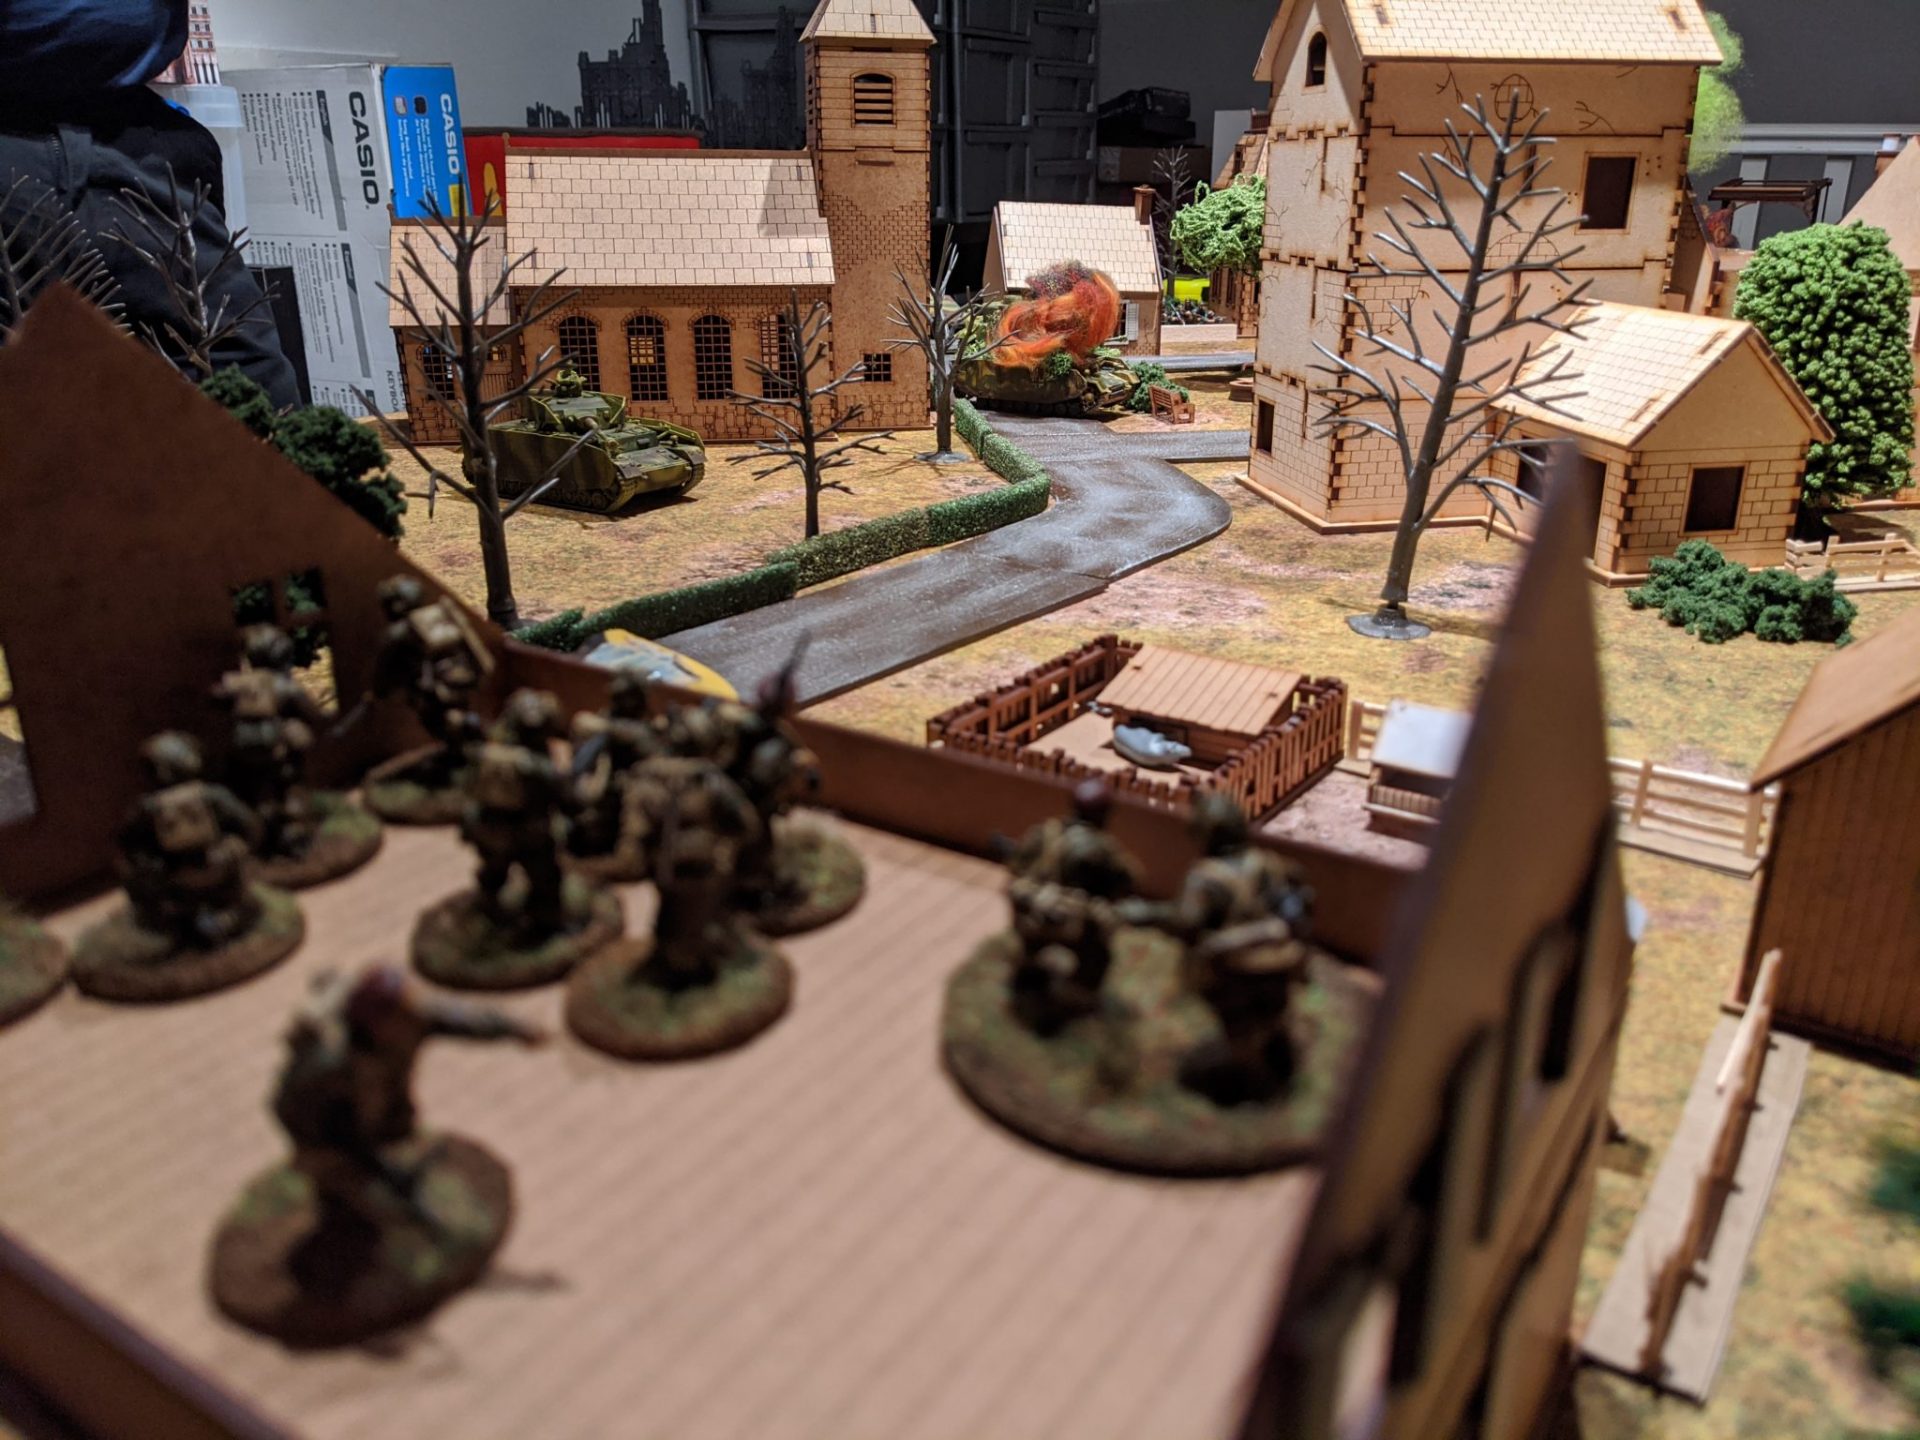
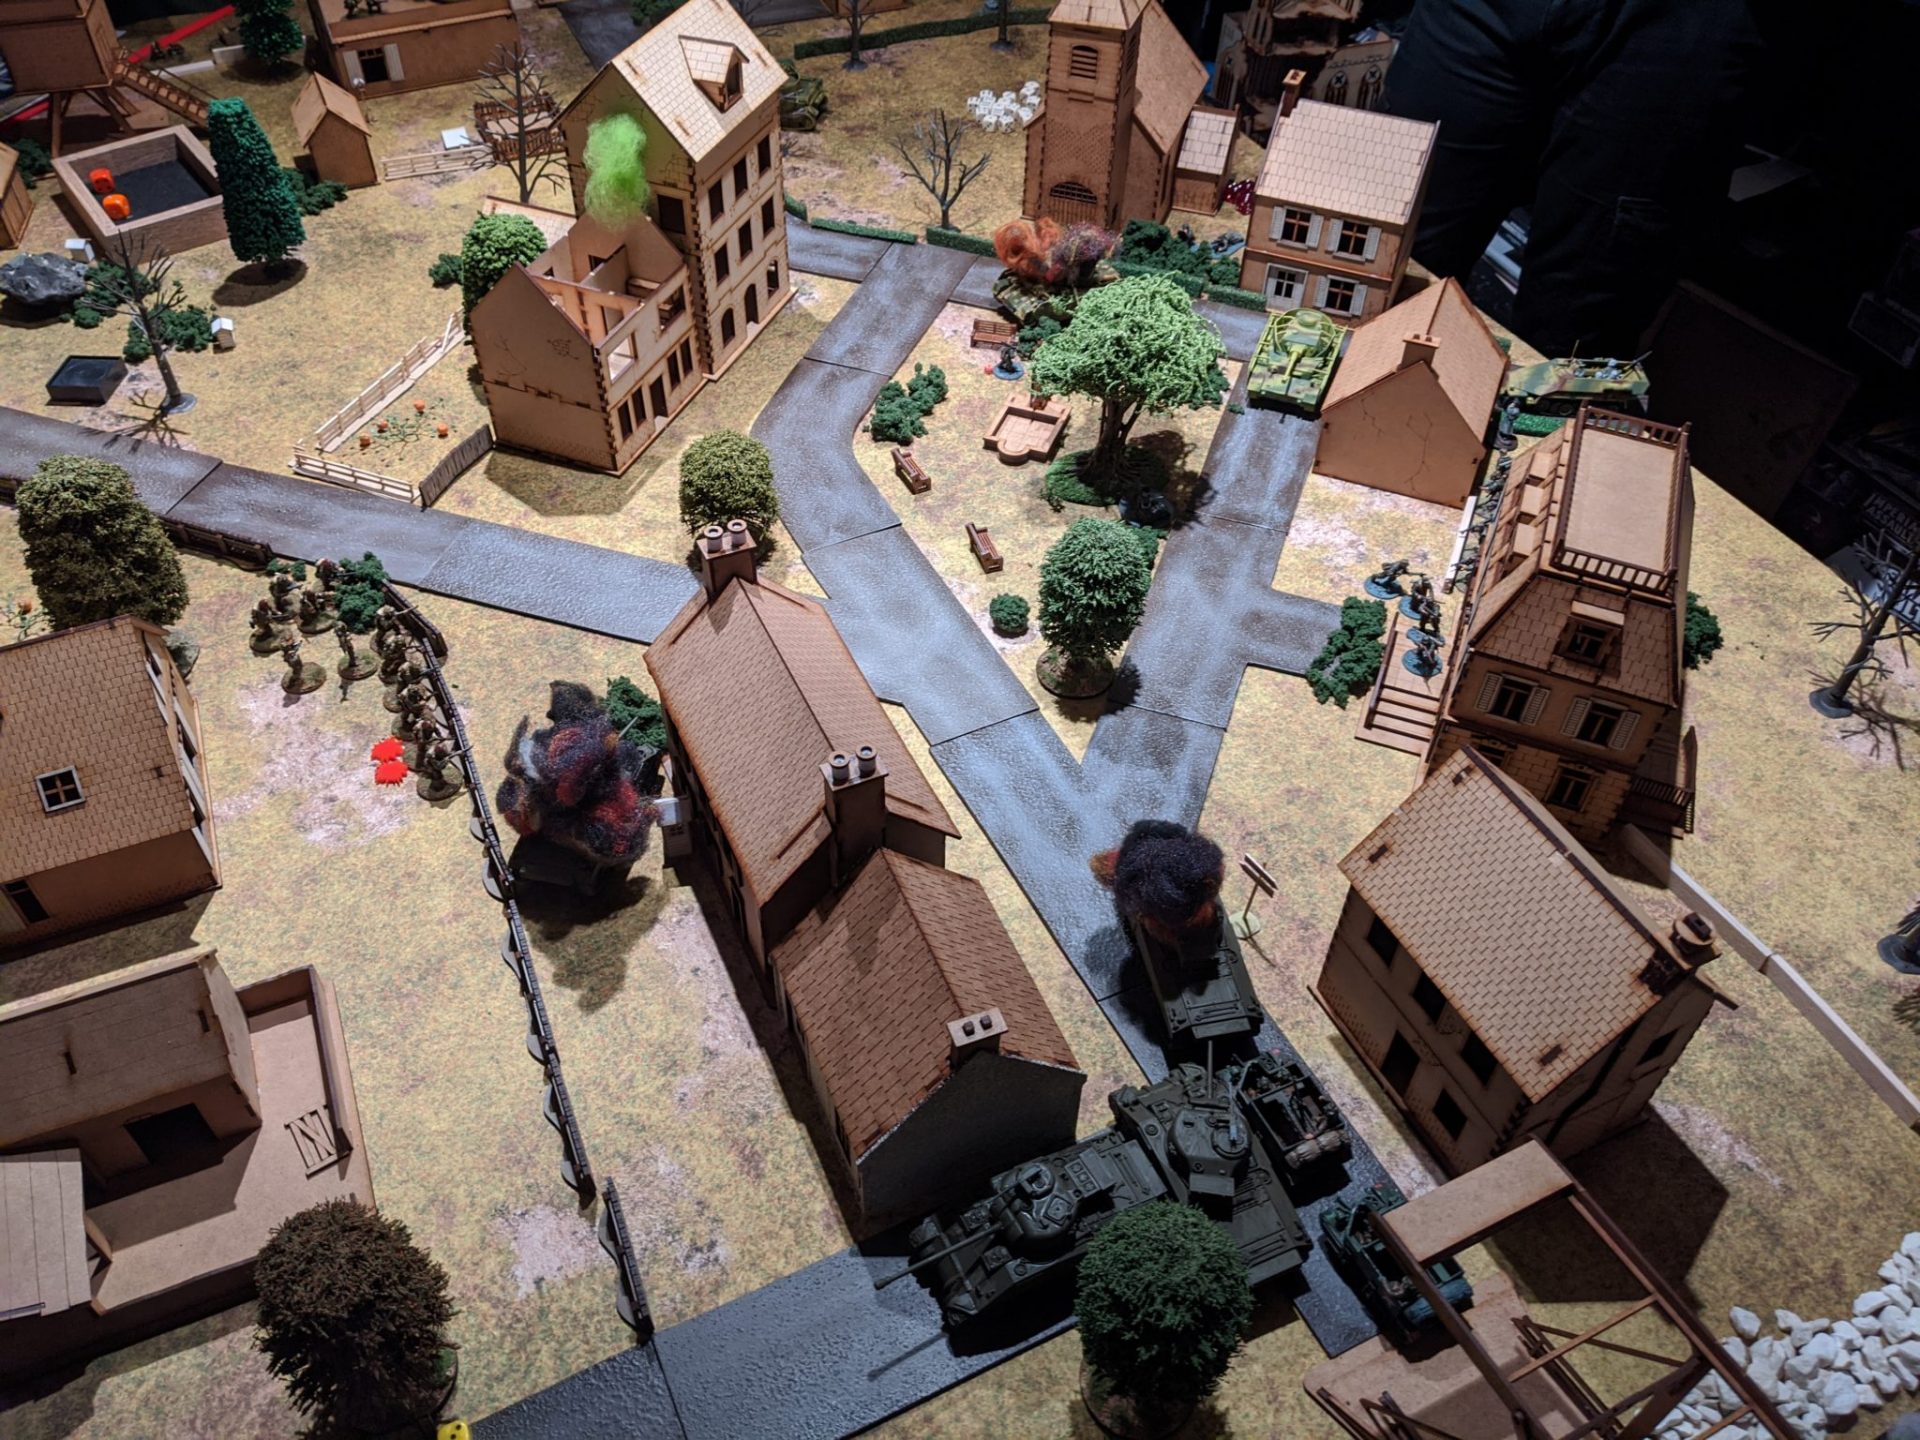
Here we have the town of Elst, as it was established on our arrival at Our Host’s residence. Shown here is the bulk of the village, the bridge in the south and the road to Arnhem in the north.
As well as the road signs, this image captures three vital locations – the tall building known as HIGH TOP on the left, the leafy town plaza I was ordered to secure and the local town hall, which the German would have inevitably fortified.

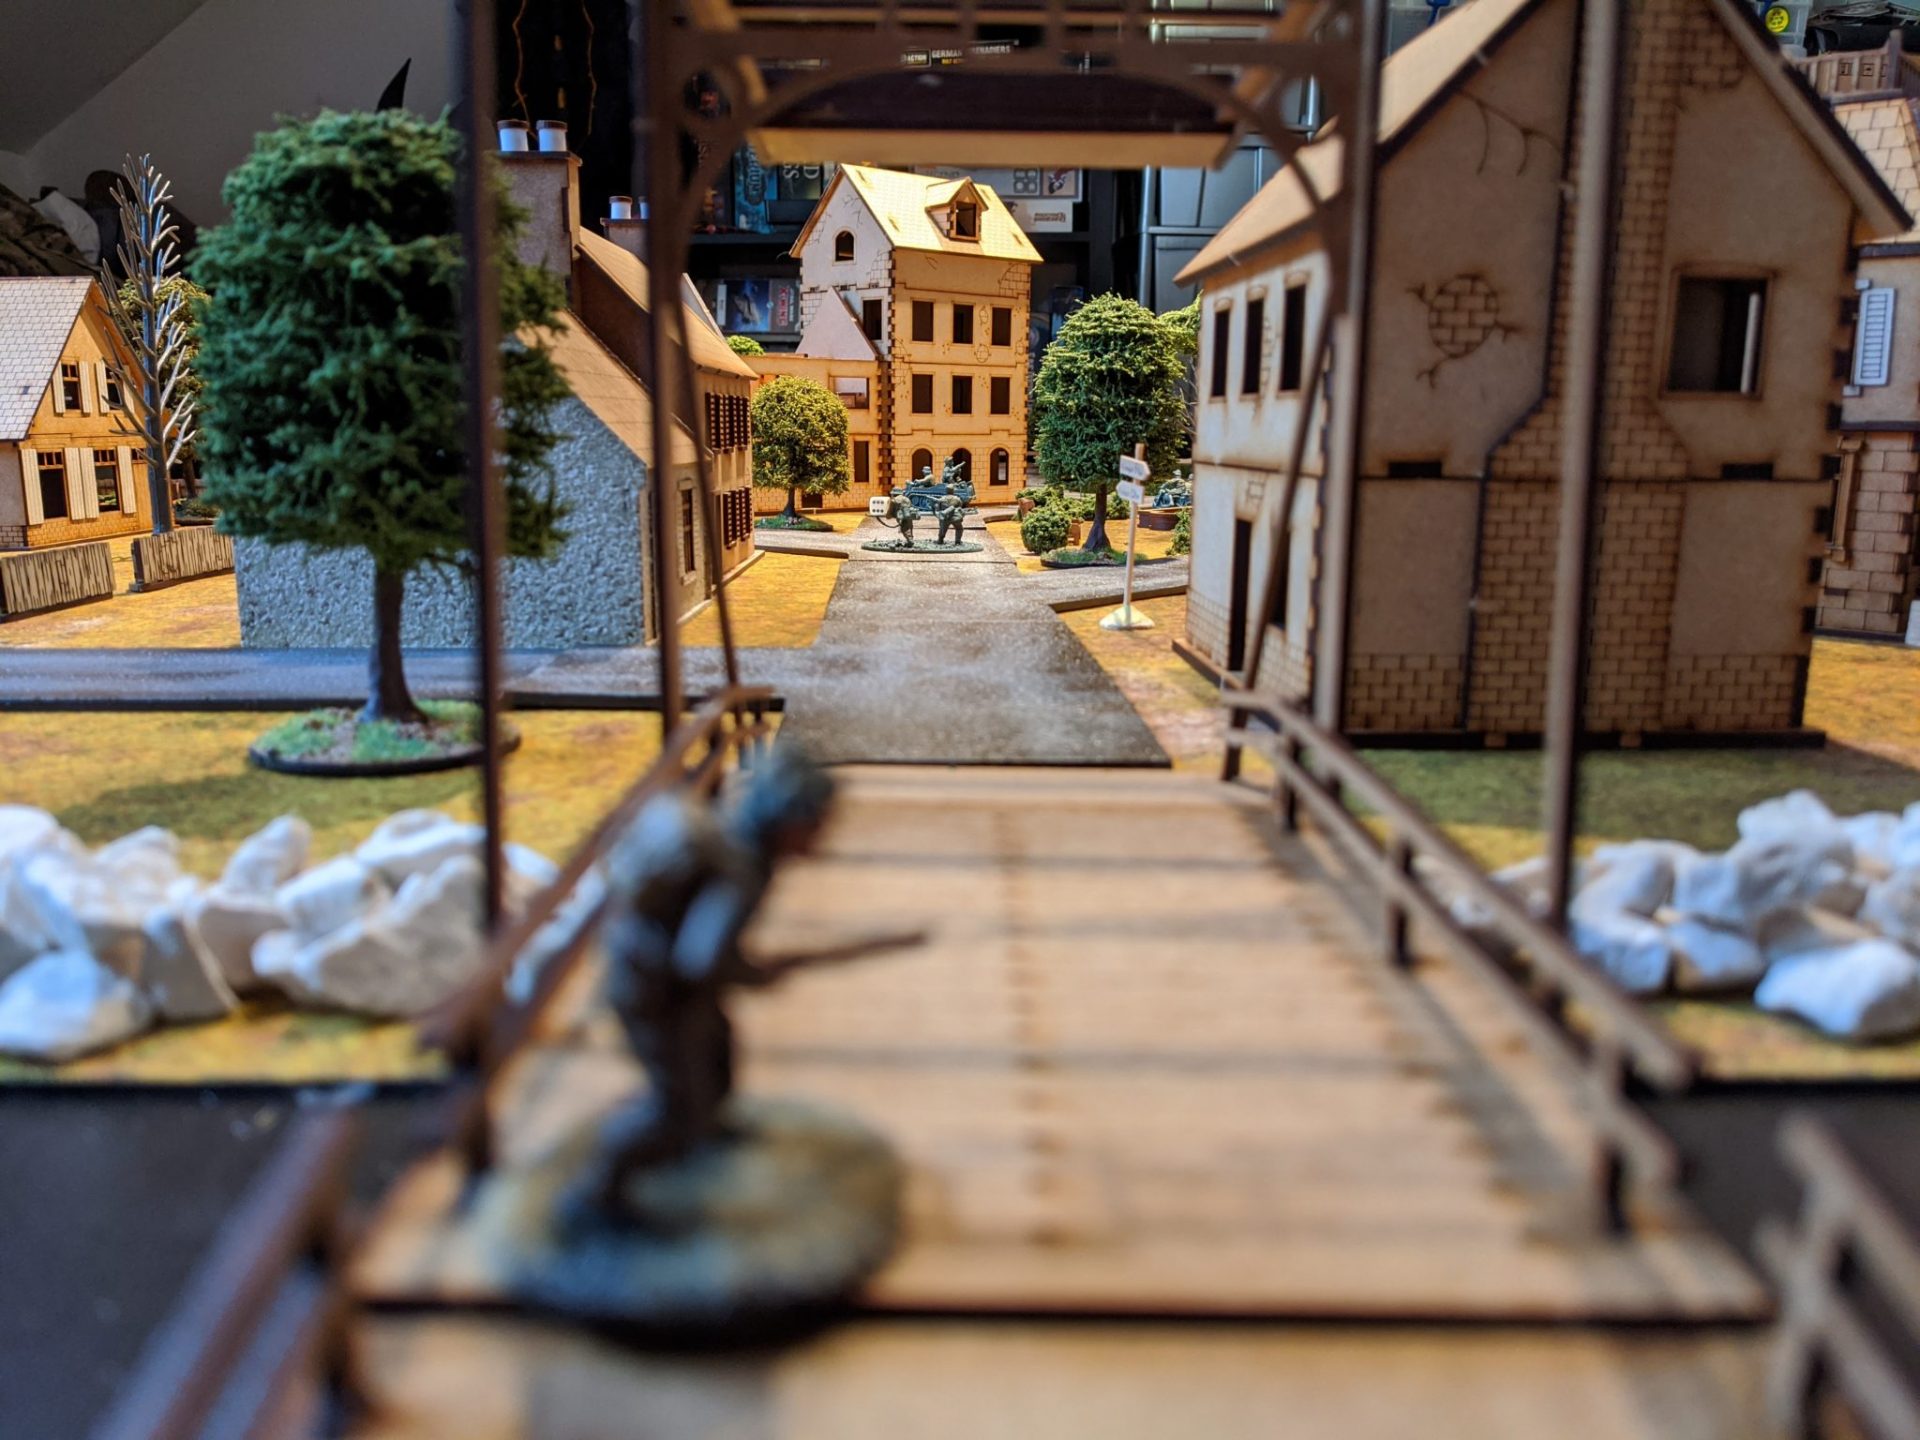
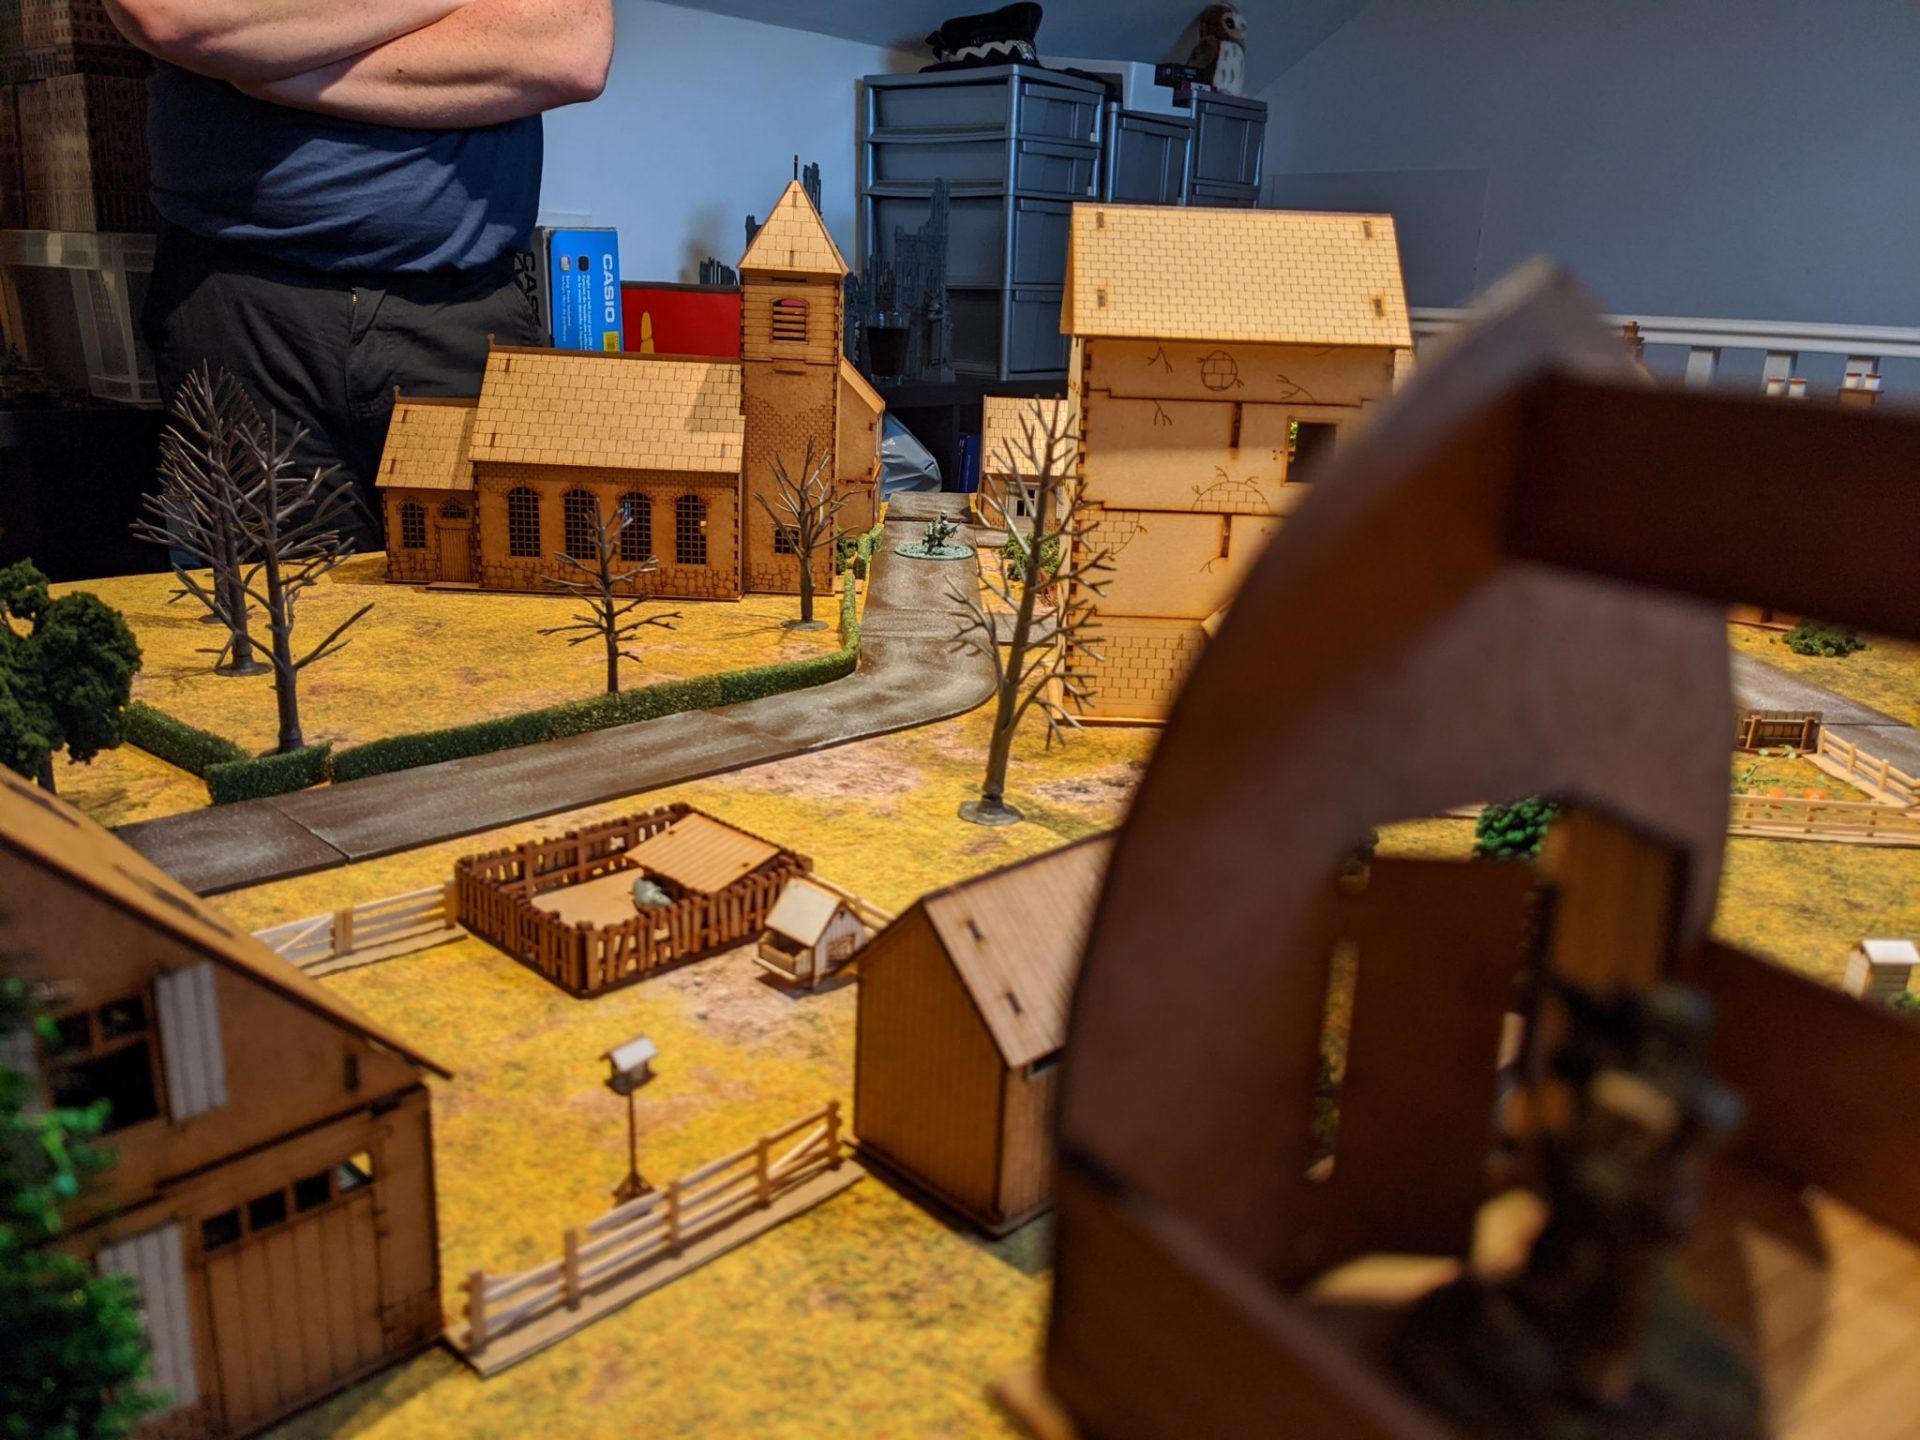
The view from the bridge shows XXX Corps route of arrival. On the left, the first house in that row is also the bridge control building – it would be vital to secure this to prevent the Germans from cutting off the main advance.
Patrol Phase
Before the Patrol Phase had actually begun, The Host showed off his wonderful patrol markers, detailed with kettenkrads and scouts.

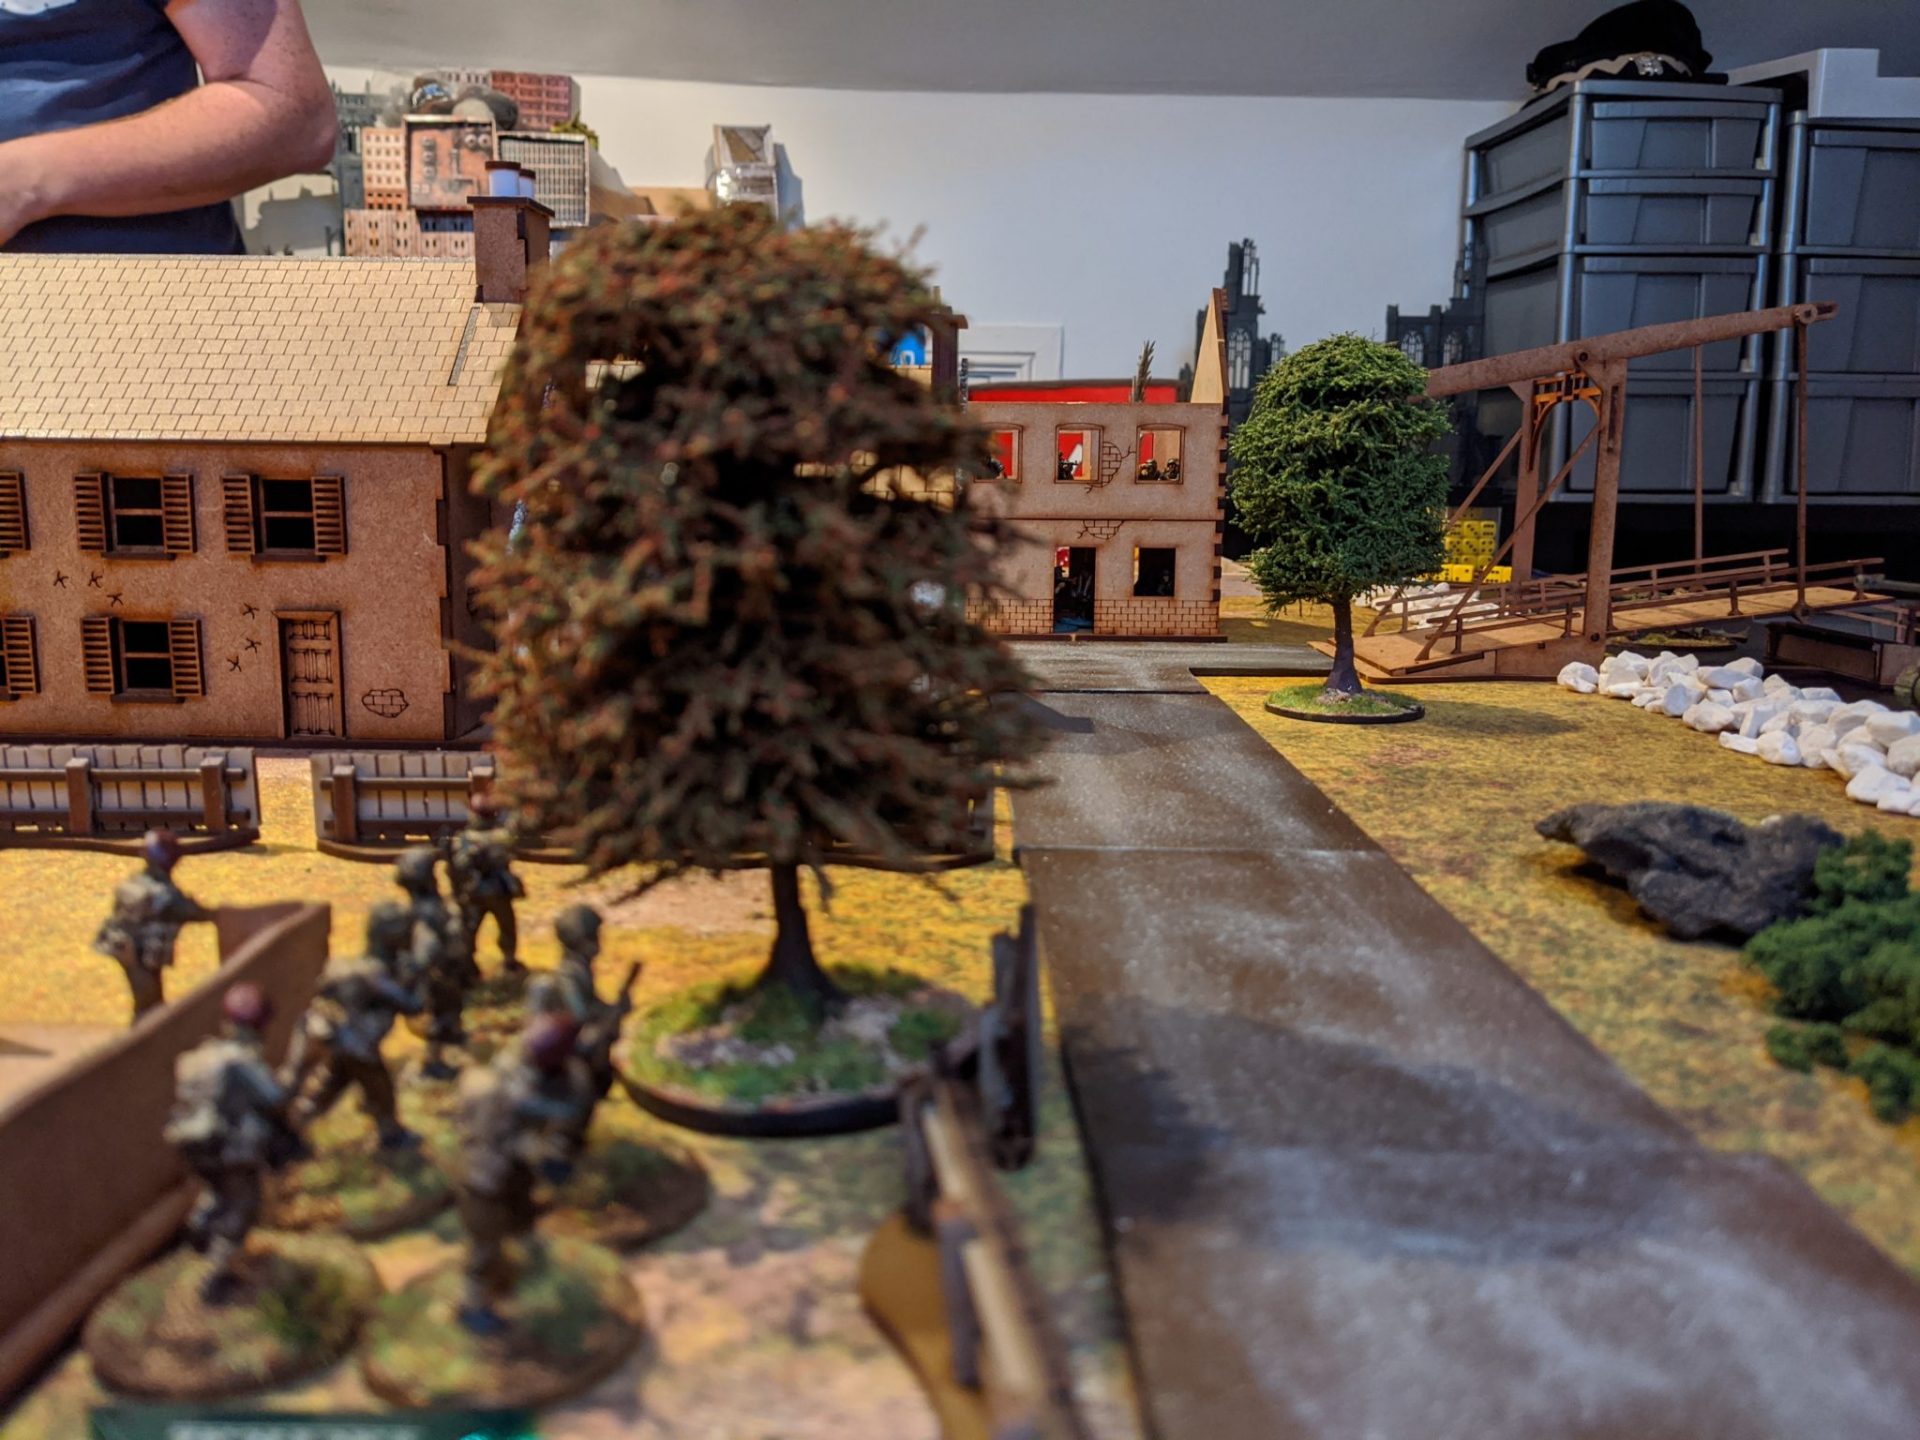
As the rest of the XXX Corps boys wait for the signal, a lone rifleman sneaks forward to spot the Germans moving into location.
Sadly, I failed to capture the useful photos of how the patrol phase actually went. The Para’s were able to get their markers relatively far forward, but the Germans stormed across the plaza and lockdown was achieved relatively quickly. German JOPs ran from the comms hut in the north down to the plaza, while the Paras managed to get one very close to HIGHTOP target building.
Combat
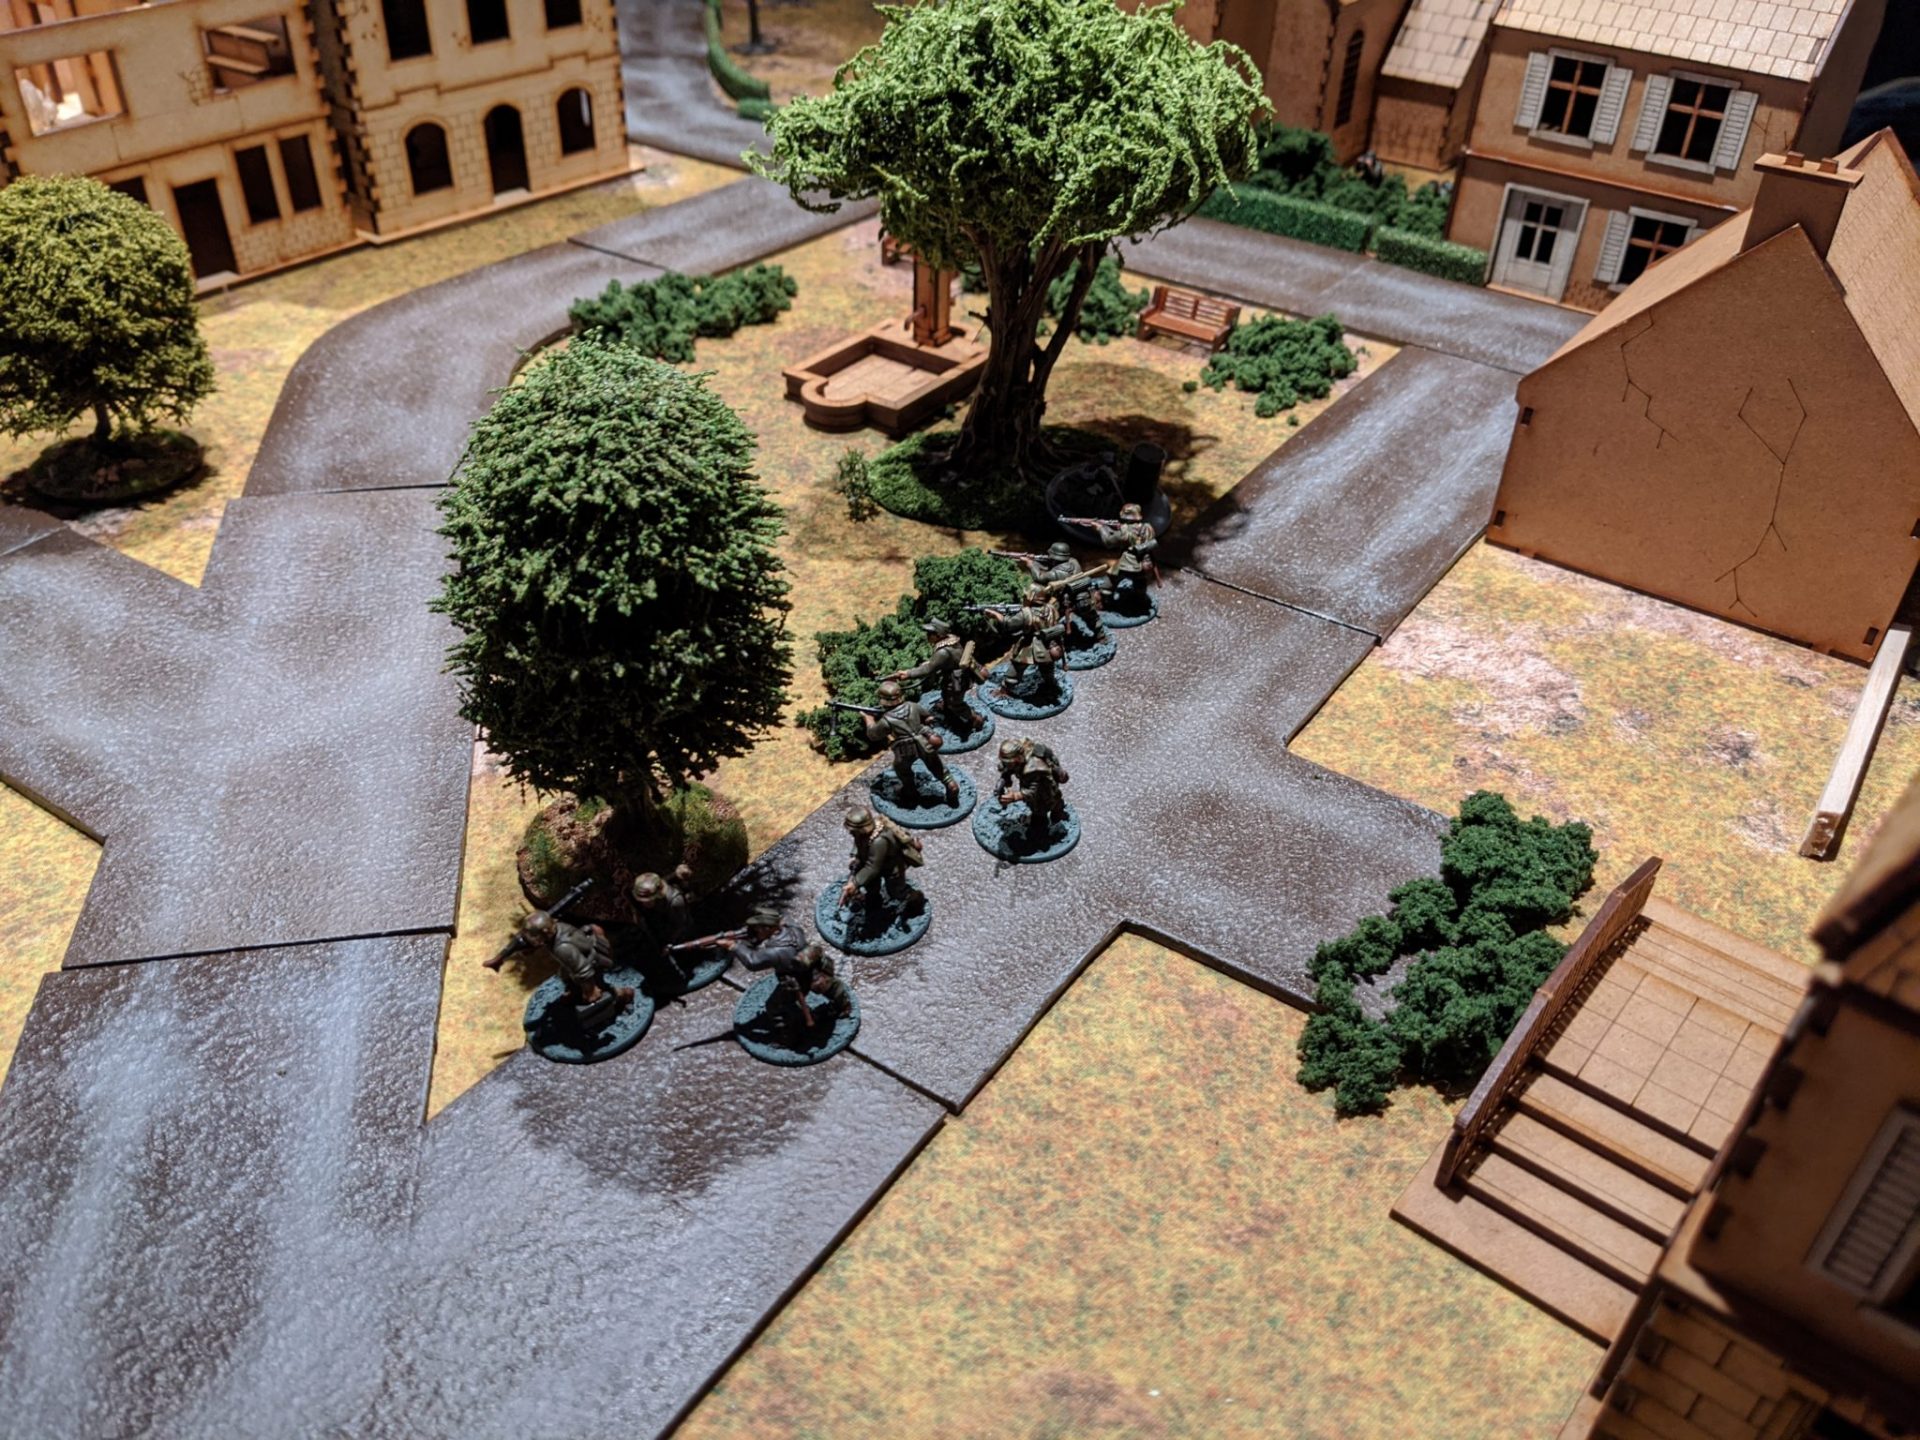
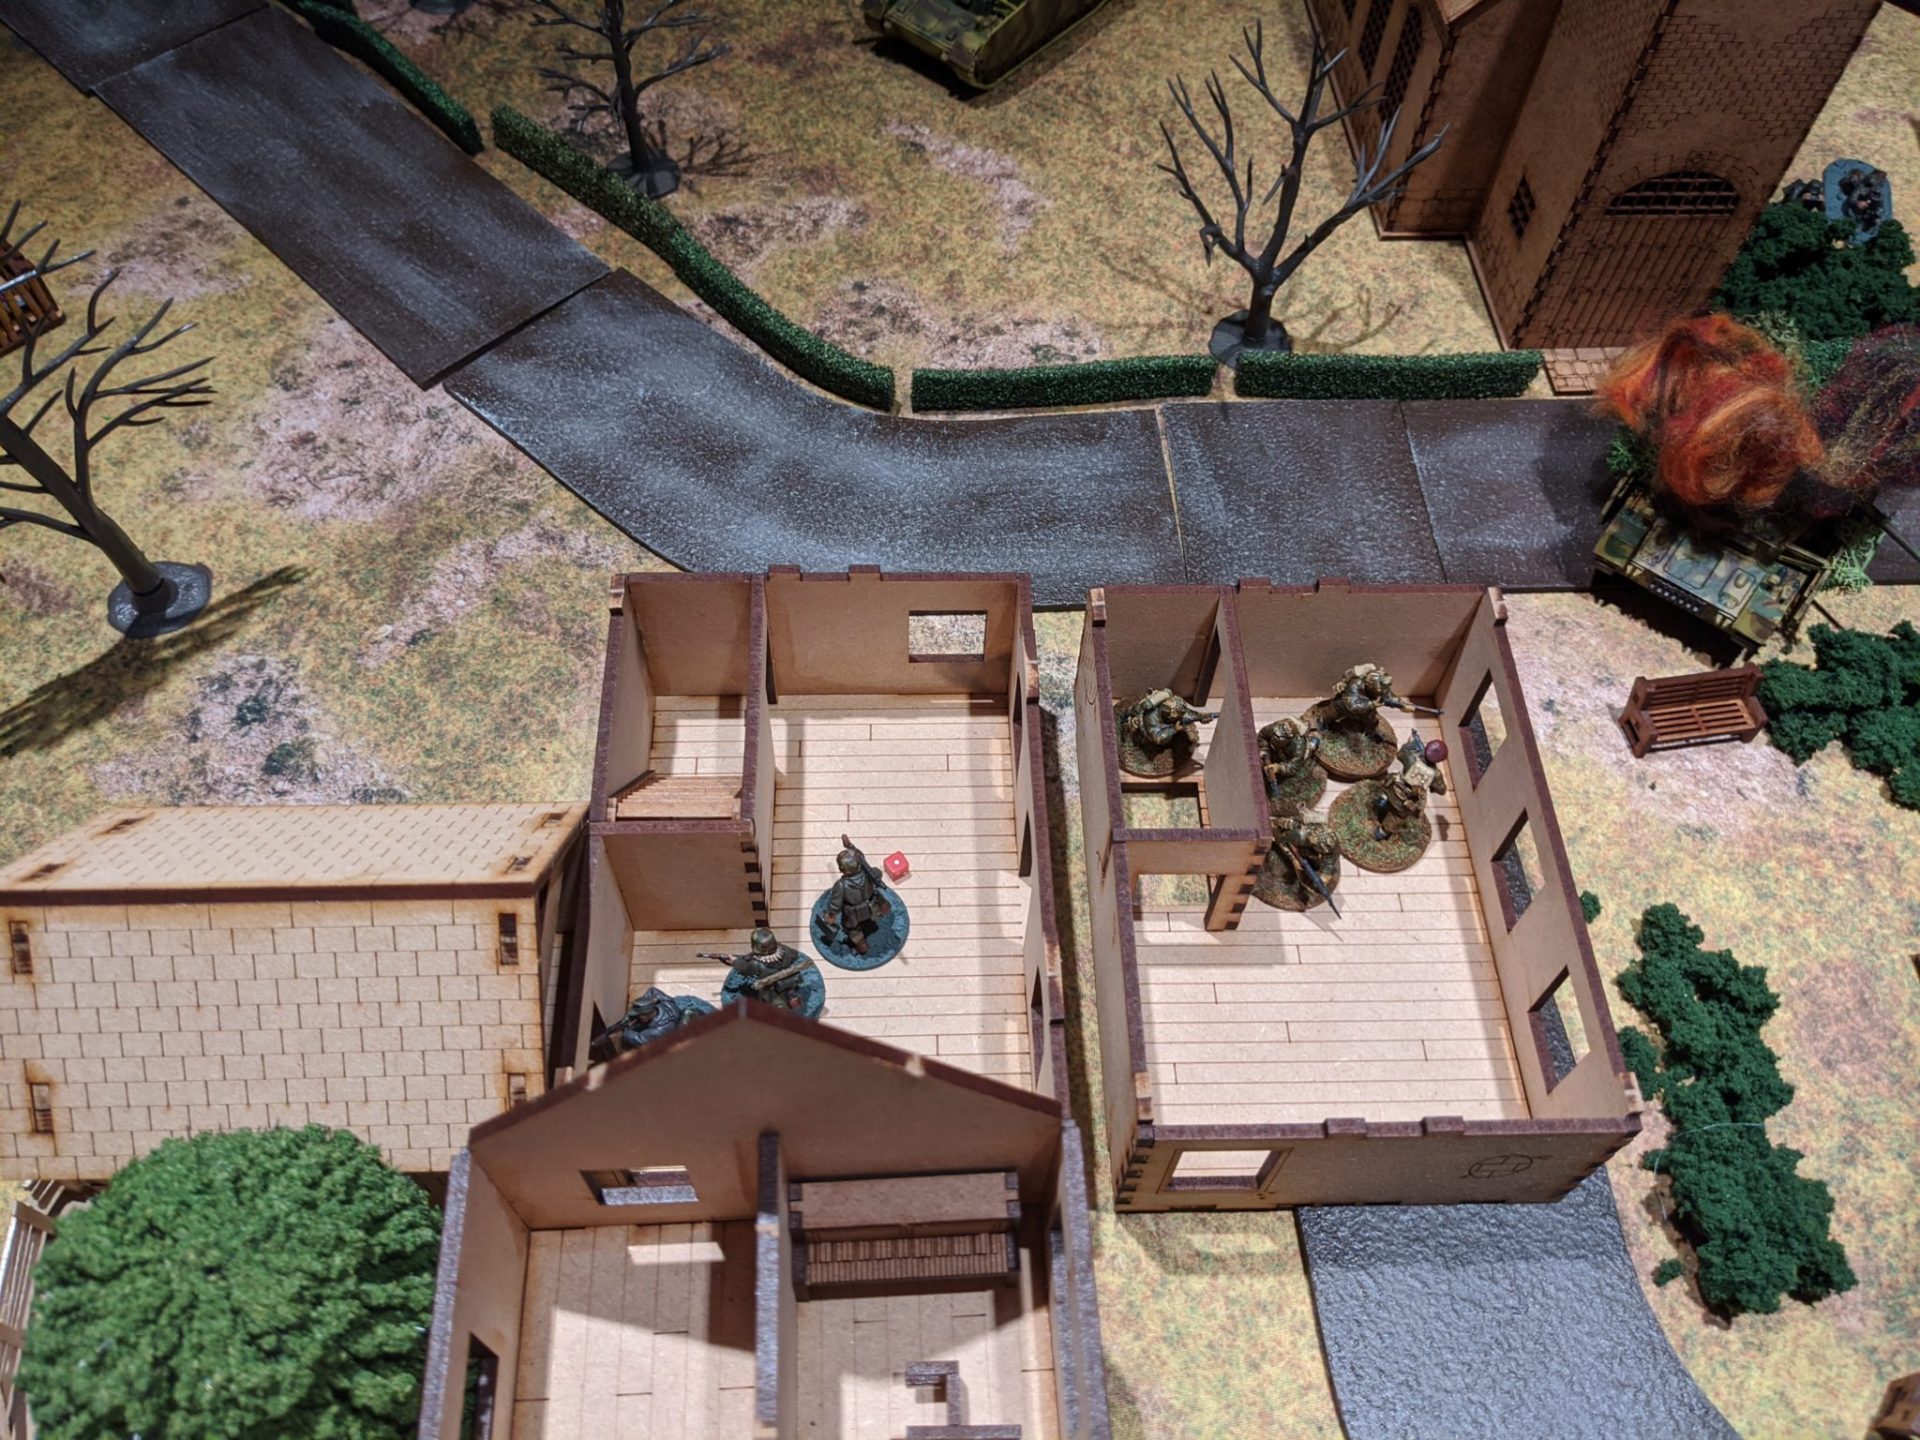
The Allies grabbed the first action… and thus began my dice rolling/waiting. However, the Paras were much faster. The third sections deployed into the roof of the northern farmhouse, setting up their pair of brens and marksman team.
In the Windmill, an Airborne sniper gently opened up the shutters and set up, his scope covering the road outside the church.
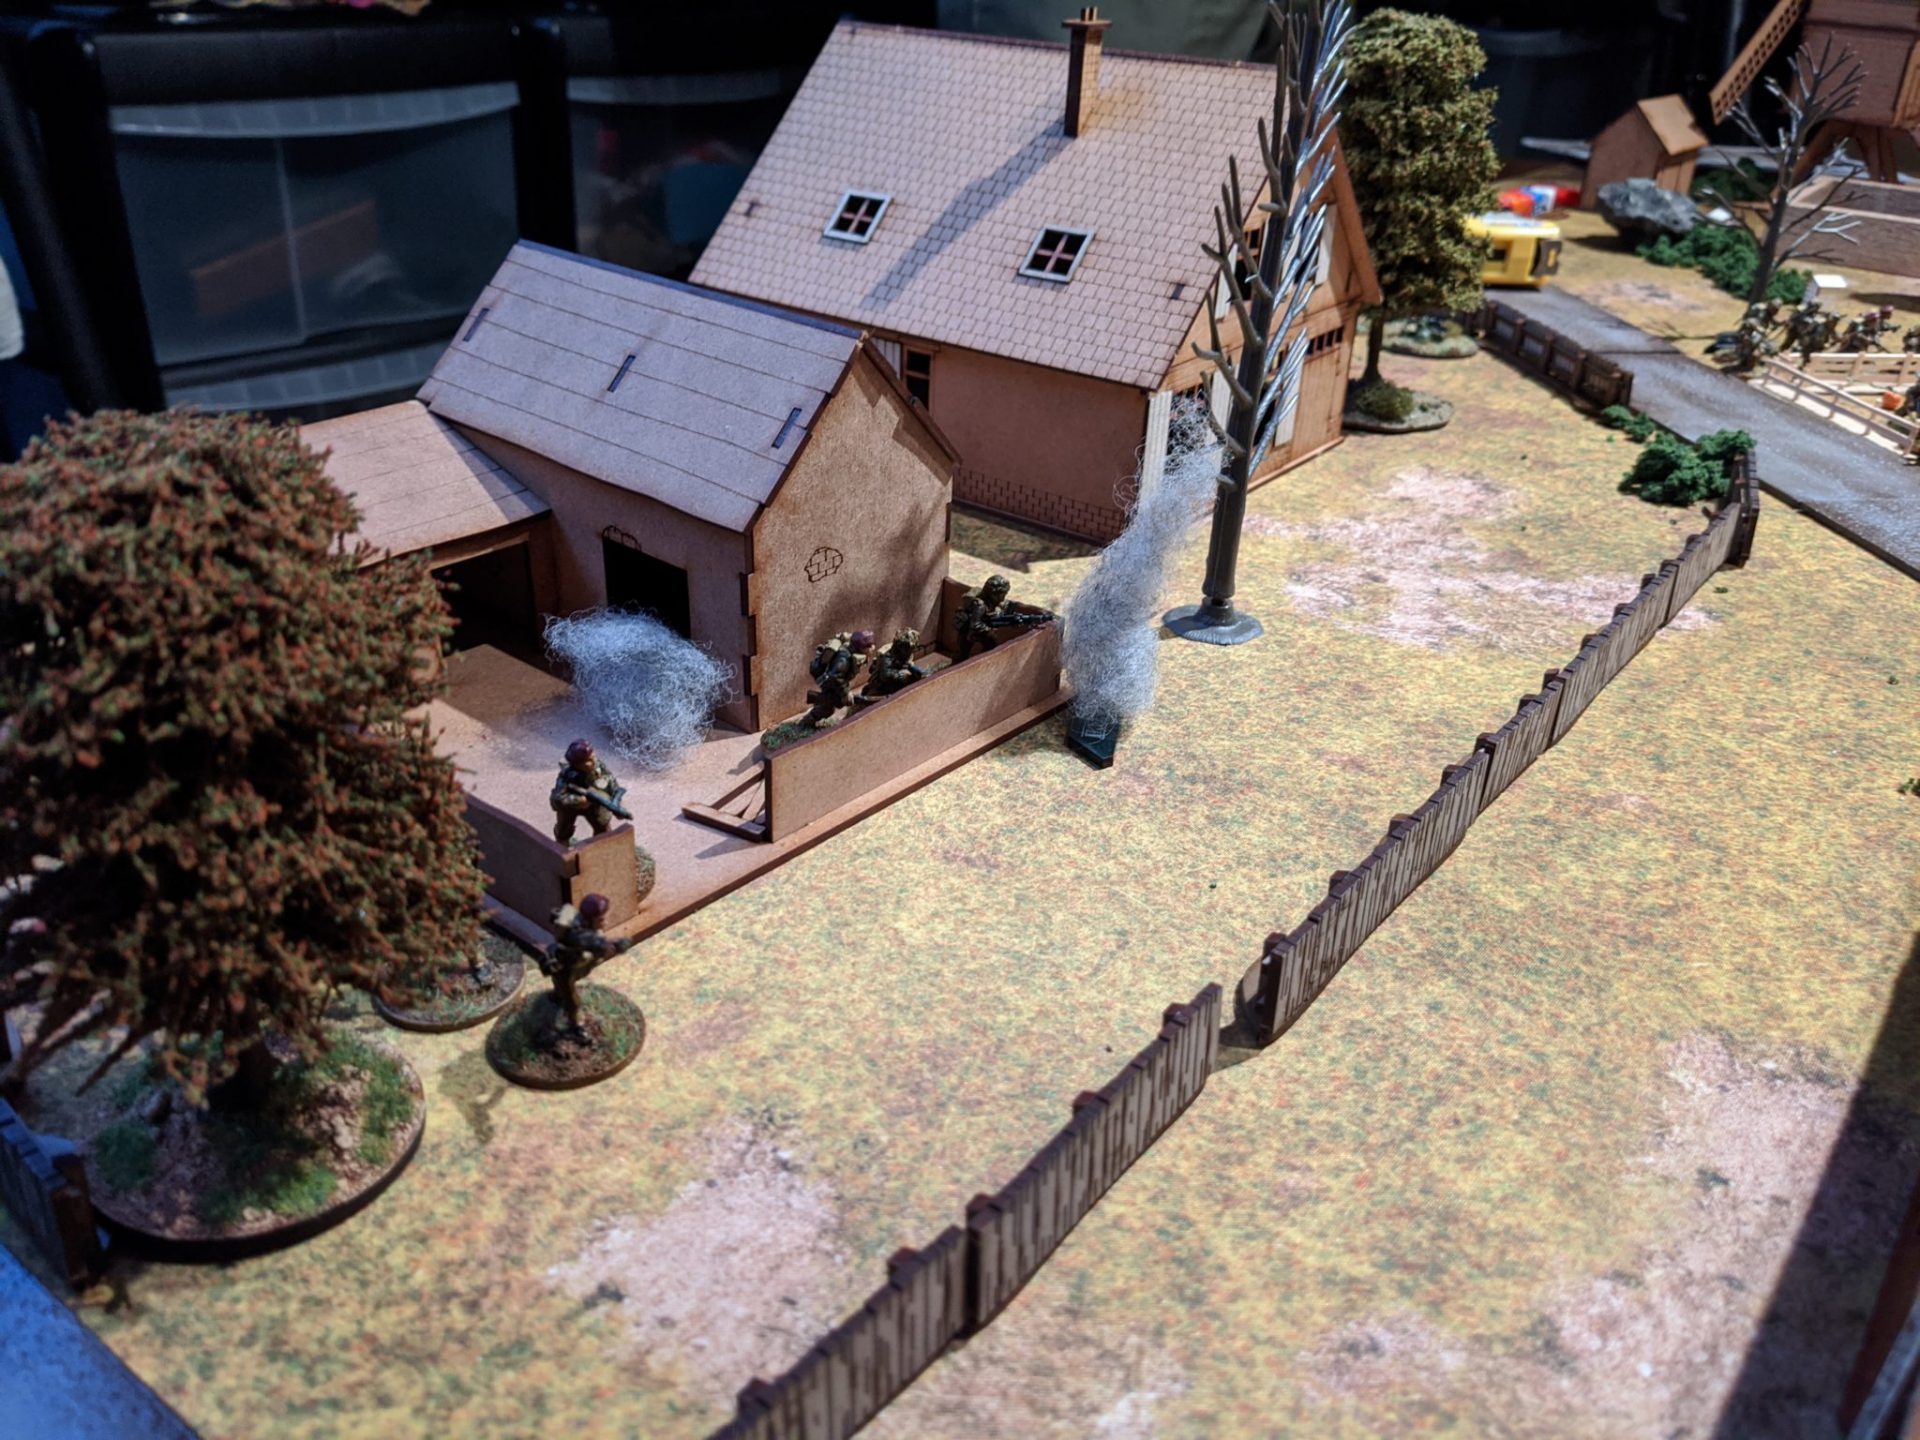
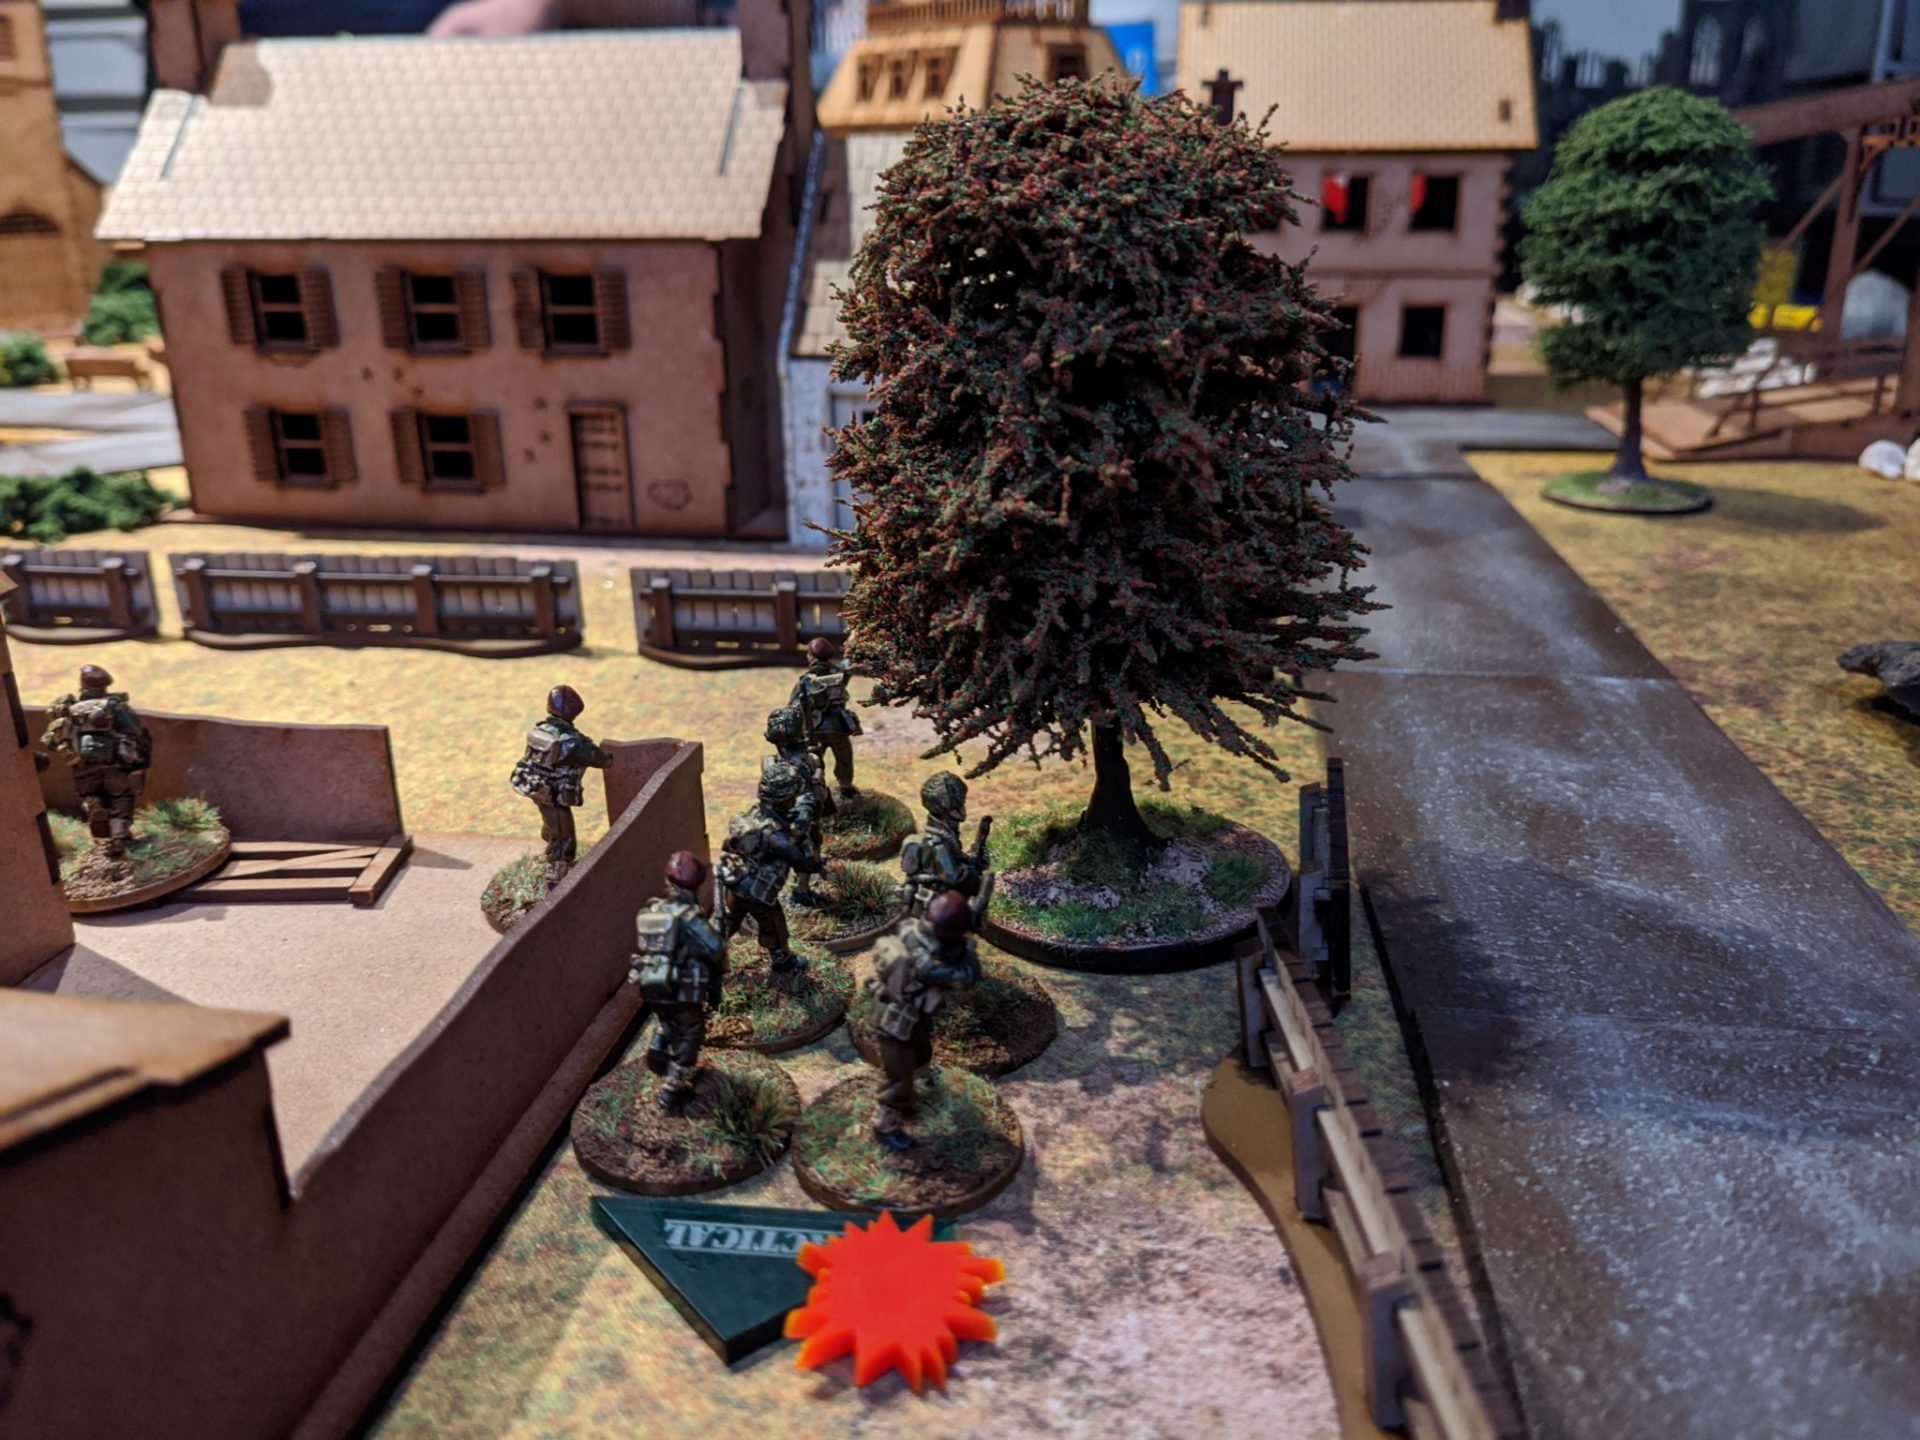
The other two sections of the Platoon also deployed and began their advance onto the objectives. The section at HIGHTOP moved relatively quickly, getting into the small back garden while the Bridge section moved through the cover alongside the road.

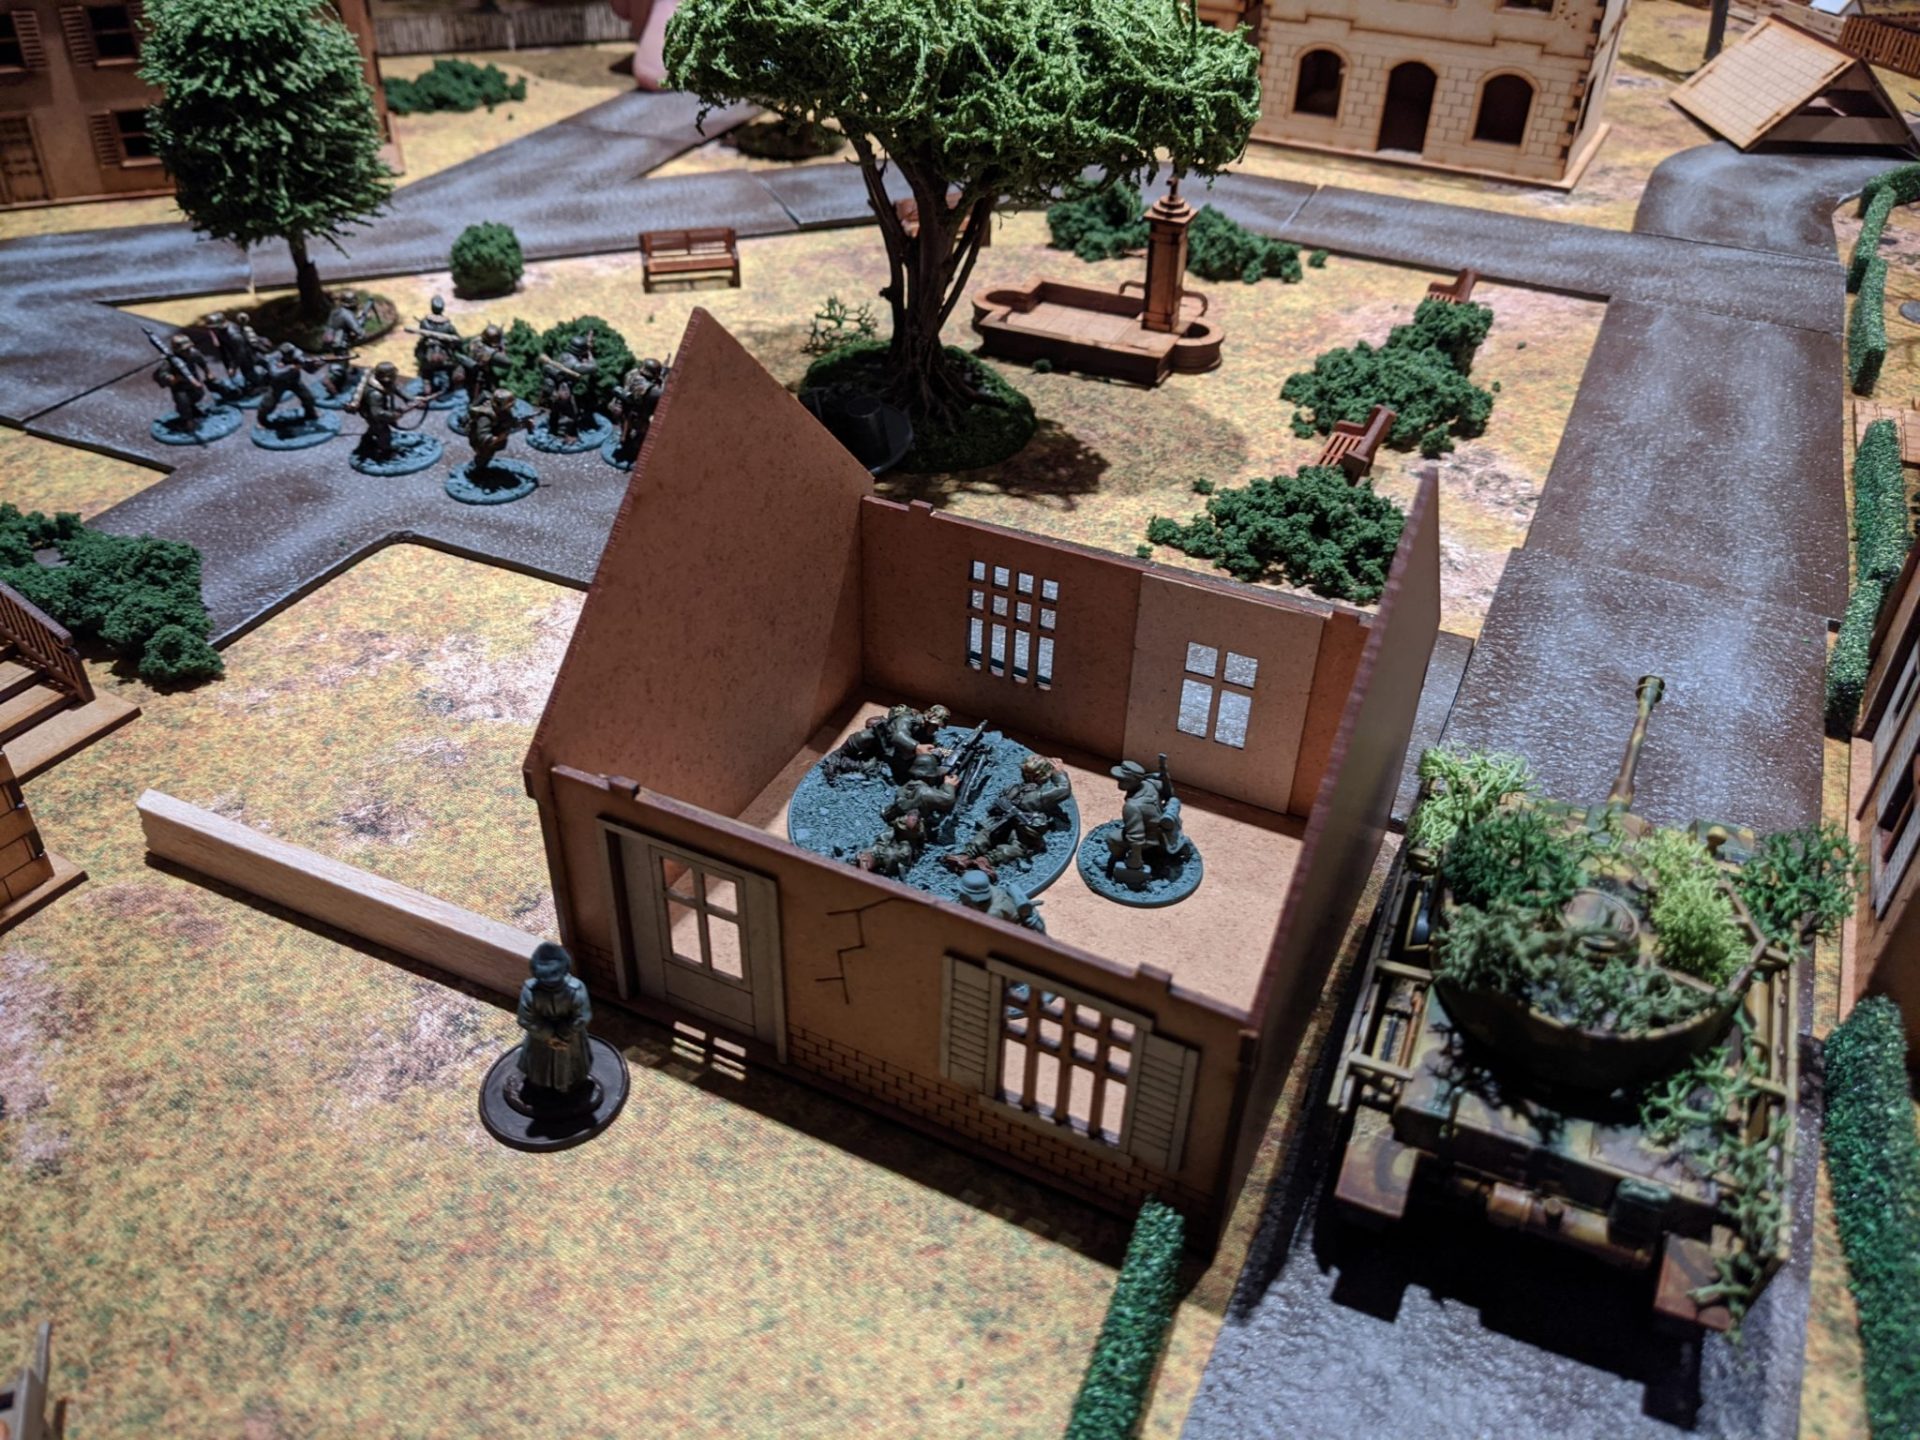
And not a moment too soon as the ripping paper sound of dual MG42s announced the arrival of a PanzerGren squad in the inn beside the bridge.
As the rifle team advanced, the MG team (pausing to cover 1st Section’s advance on the objective HIGHTOP) suddenly found itself under inaccurate light mortar fire.

Yep, the Germans had turned up with the 5cm mortar, digging in close to the church.
At this point, there was some discussion of how annoying it is the German mortar doesn’t come with smoke. My Regular Opponent is a big fan dropping all the smoke hey possibly can, influenced no doubt by the events of our first game of Spectre.
The Germans had snatched a double turn and immediately took advantage of it, opening up another hail of MG fire that put shock down Paras, forcing them to hit the dirt even while trying to move tactically.
The team at HIGHTOP also noticed more Germans advancing out of the Town Hall and again started wondering who thought this lot counted as “old men and boys”
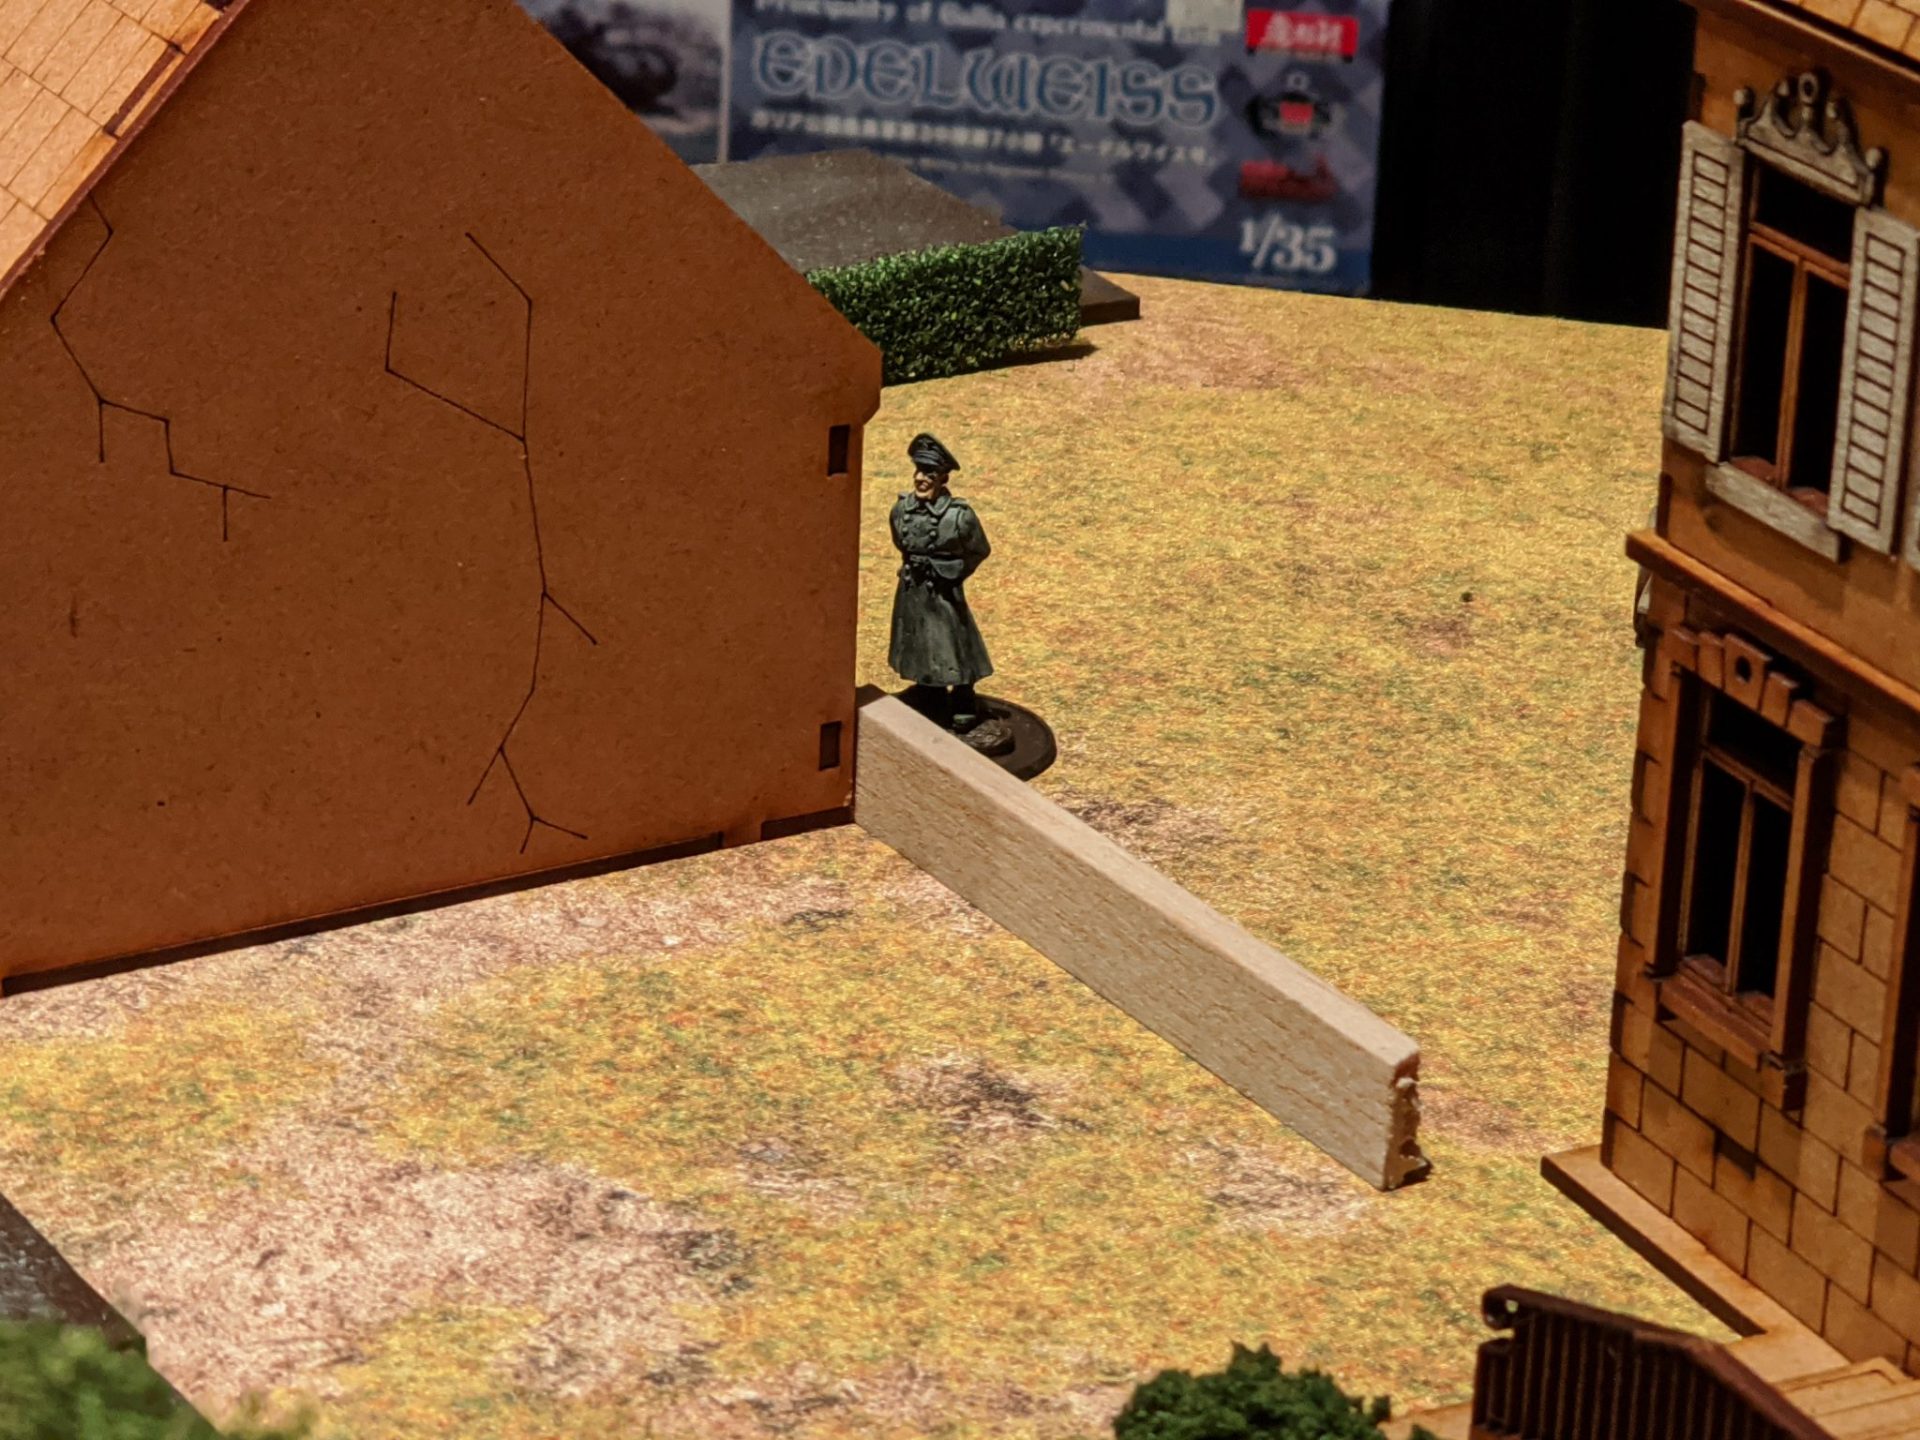
The Paras also spotted a German officer come racing out of the Town Hall. This was Hans von Gruber, recently arrived leader of a new Kampfgruppe. Although not able to activate other units (the veterans are not going to listen to this unknown officer who showed up), his survival was a German objective.
And as a way of supporting that objective, the Panzer 4 platoon sprung into life, deploying the platoon leader and one of the other tanks onto the board. Despite the Paras reporting their arrival over the radio, a lack of line of sight to my JOP at the bridge meant we couldn’t deploy just yet, despite the rumble echoing between the buildings.

However, the tanks immediately got to work, hammering main gun rounds into the British secured farmhouse. The Paras didn’t take any damage, simply hitting the deck and waiting for the enemy gunners to realise they were just increasing the airflow rather than causing damage.
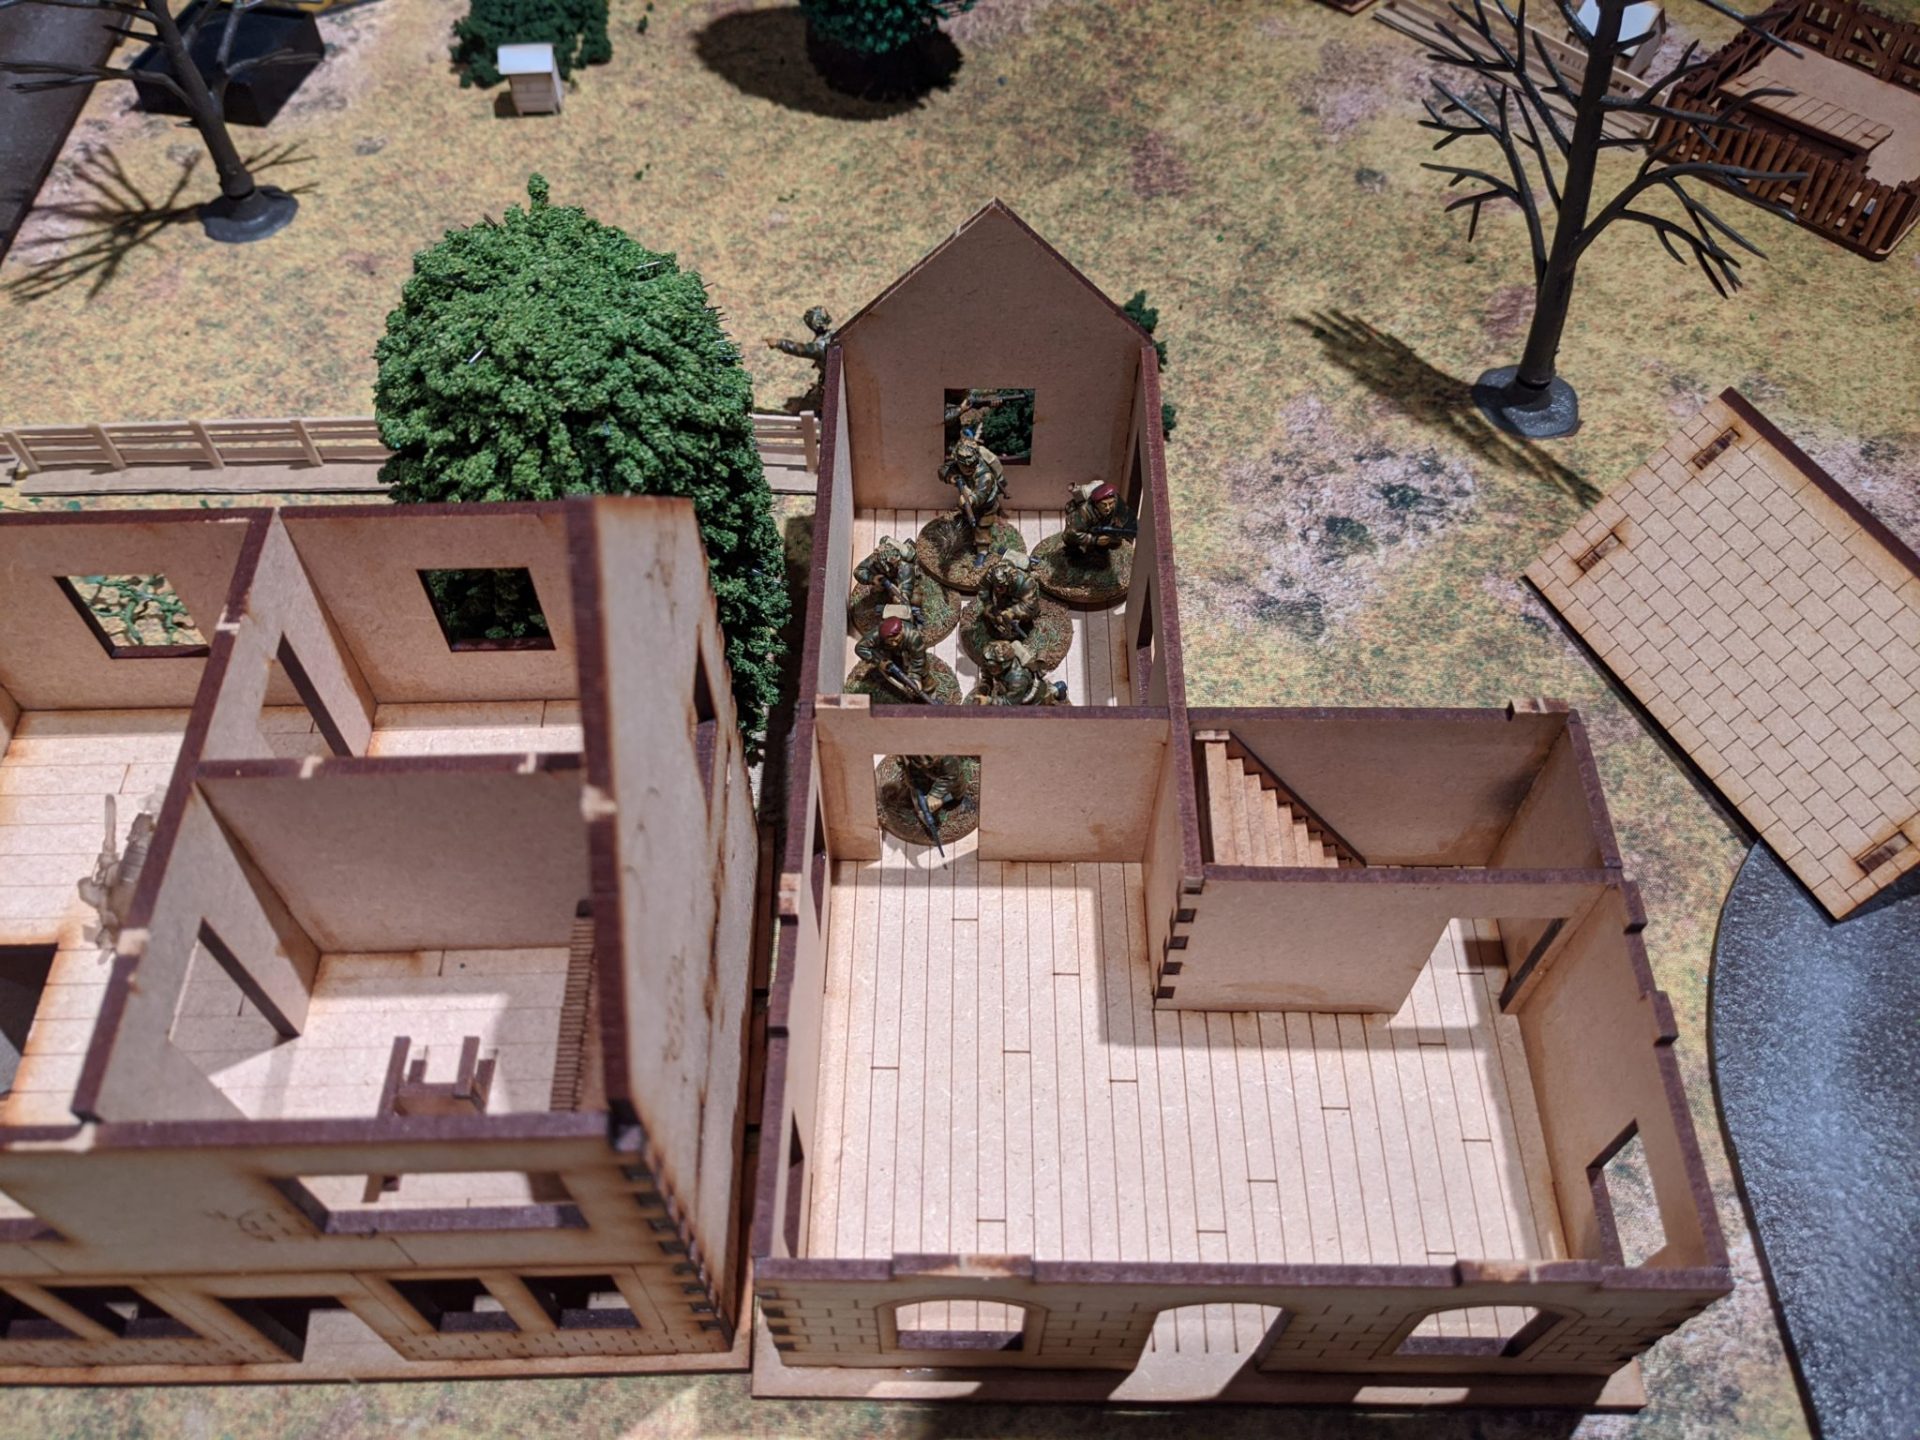
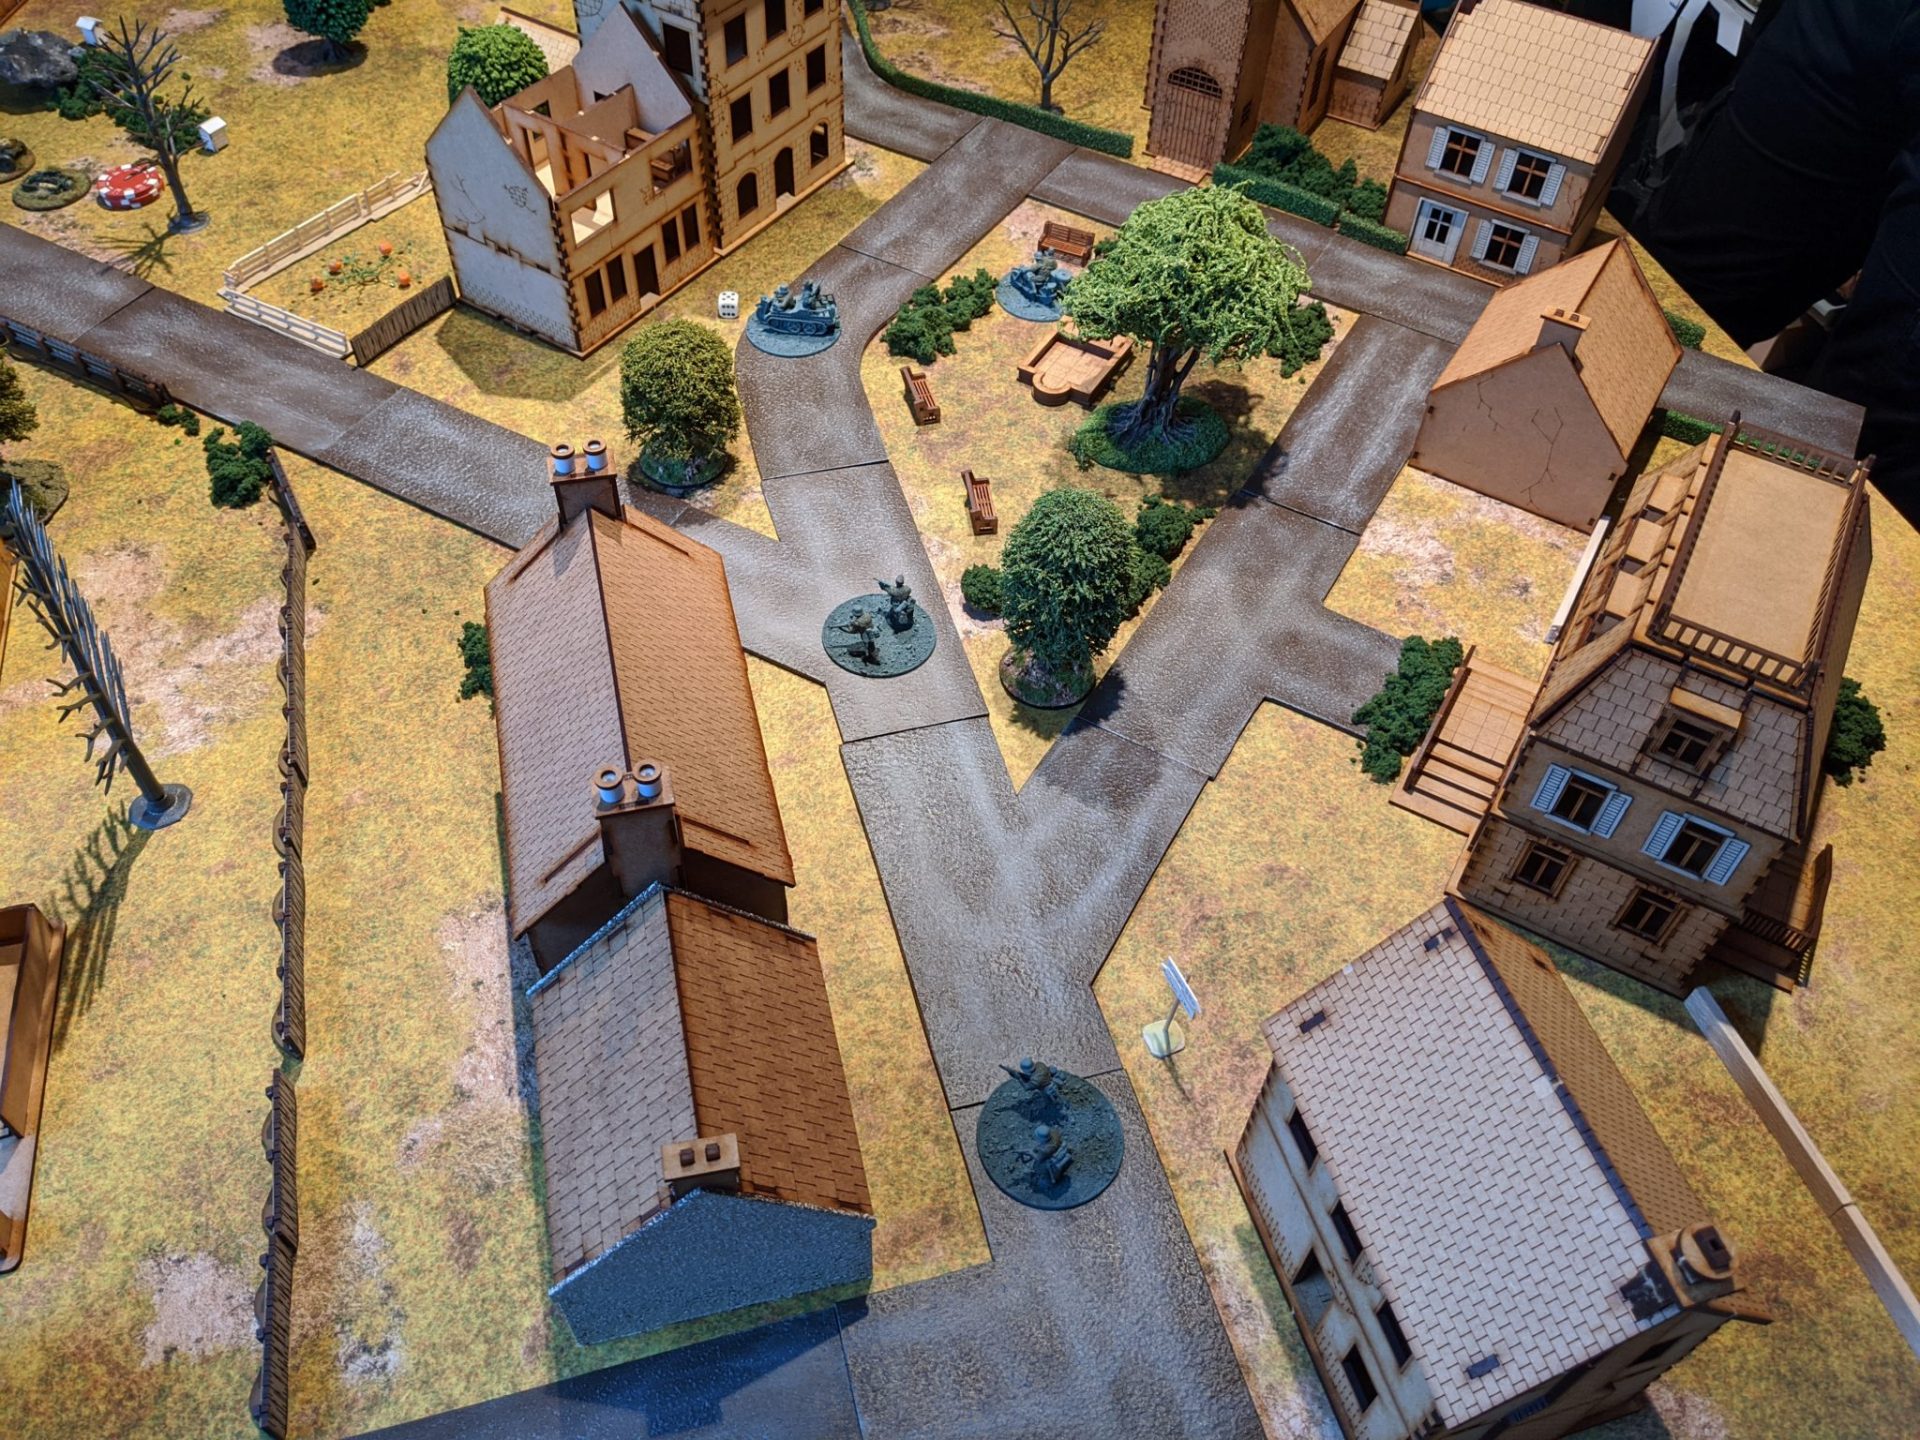
Meanwhile, at HIGHTOP, the Paras finally burst into the objective (vaulting through a downstairs window. At this point, the Airborne realised they would need to pop smoke from the top floor window and just how many stars would need to be climbed.
Of course, the plight of the Paras wasn’t helped as a burst of fire shredding the windows announced the setup of a tripod-mounted MG42 in the building across the square.
Of course, the MG wasn’t the only thing attempting to slow them down. As the team of elite soldiers pounded up the stairs, an explosion from the main gun managed to cut down two Paras. However, the section kept pushing, eventually reaching the top floor.
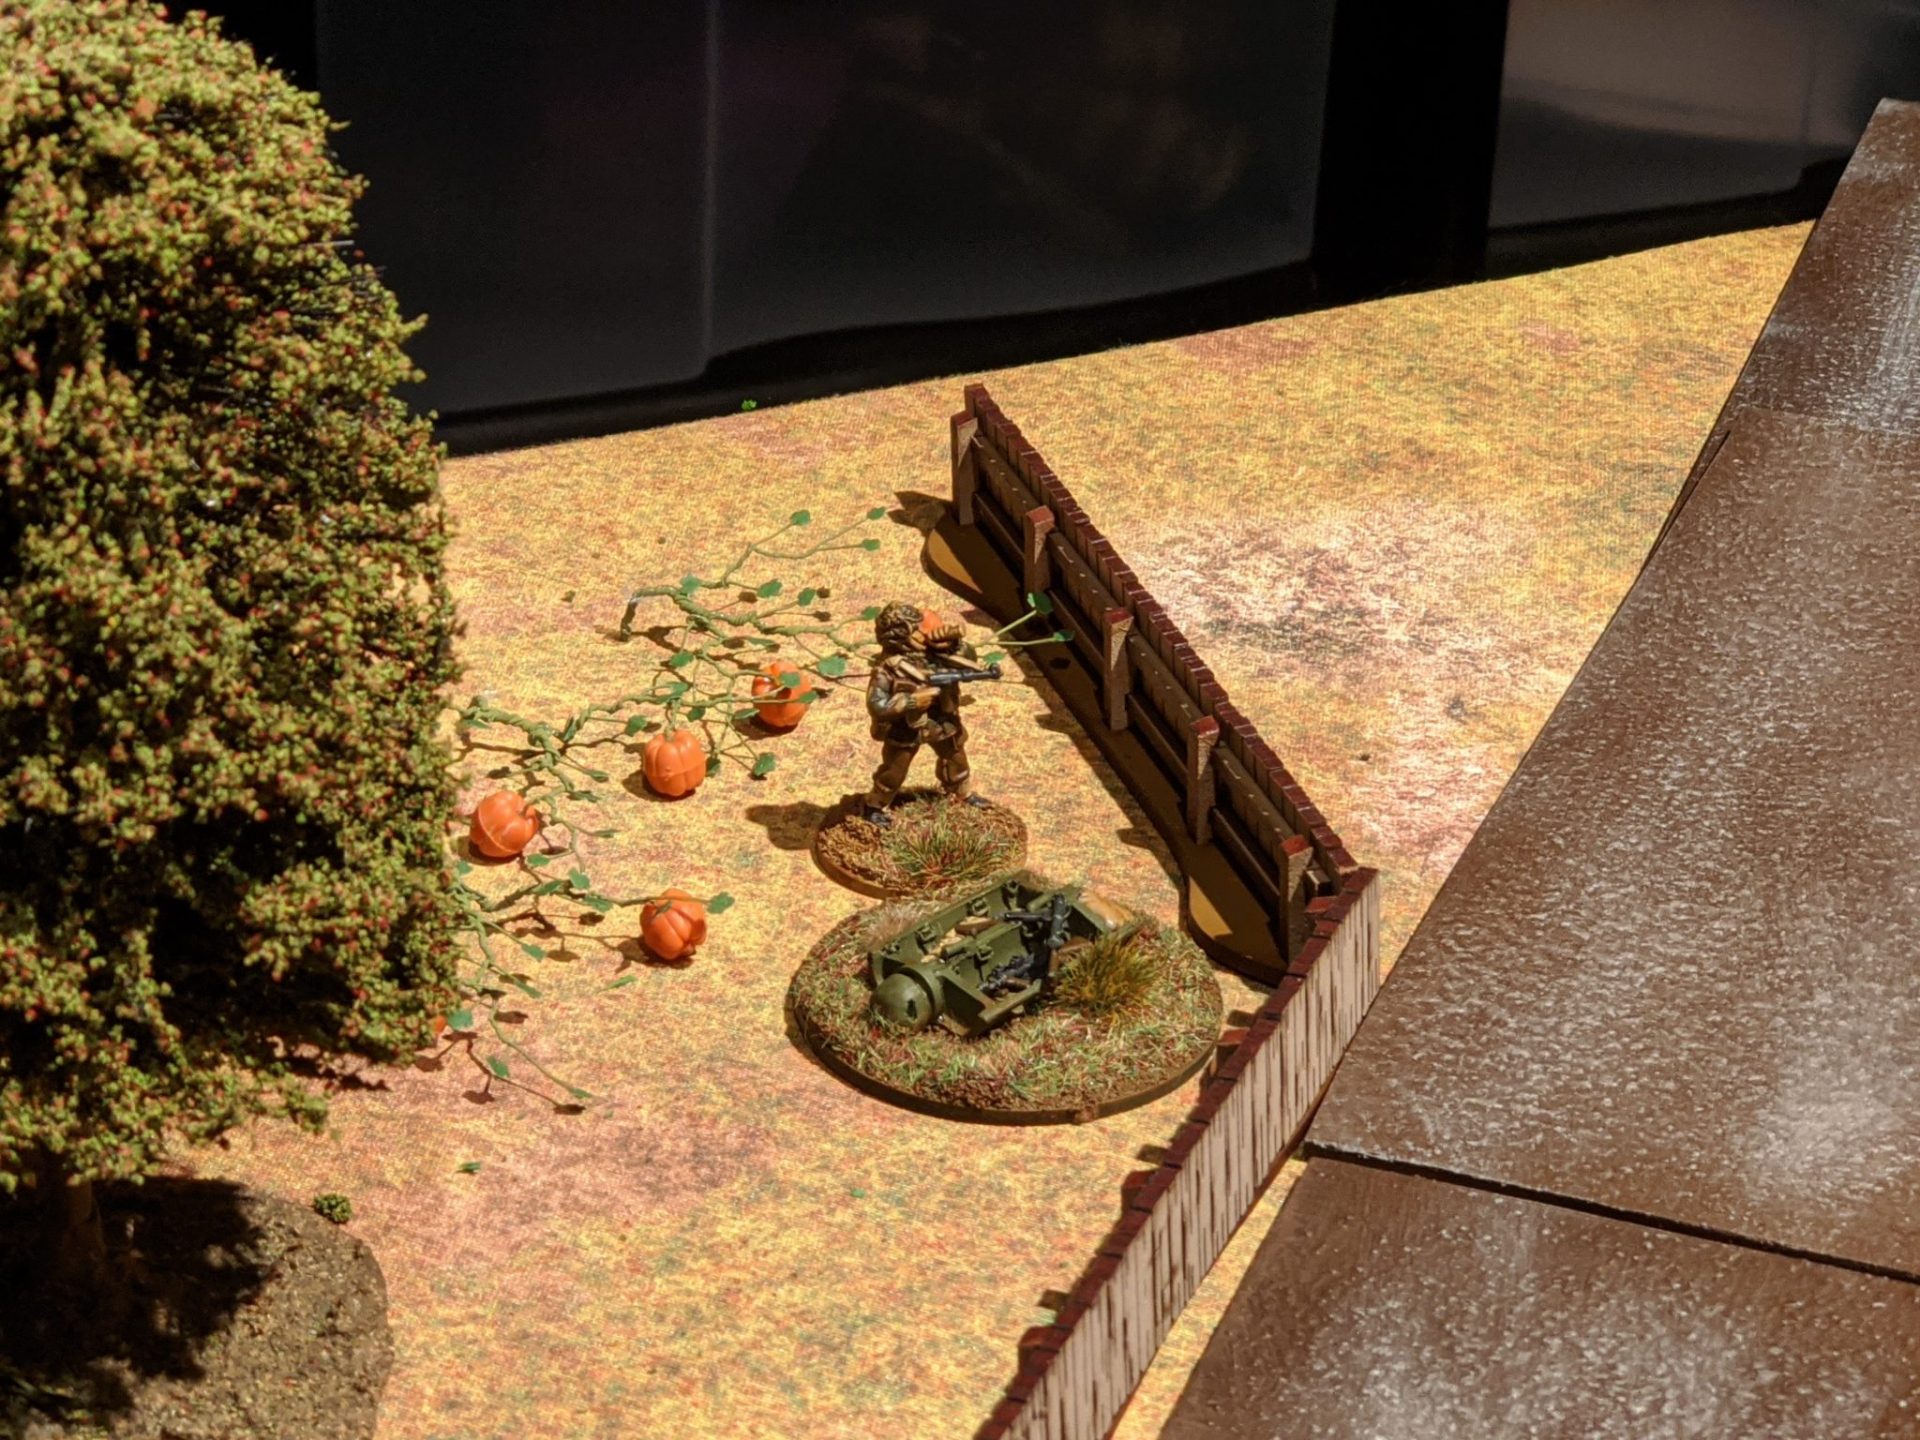
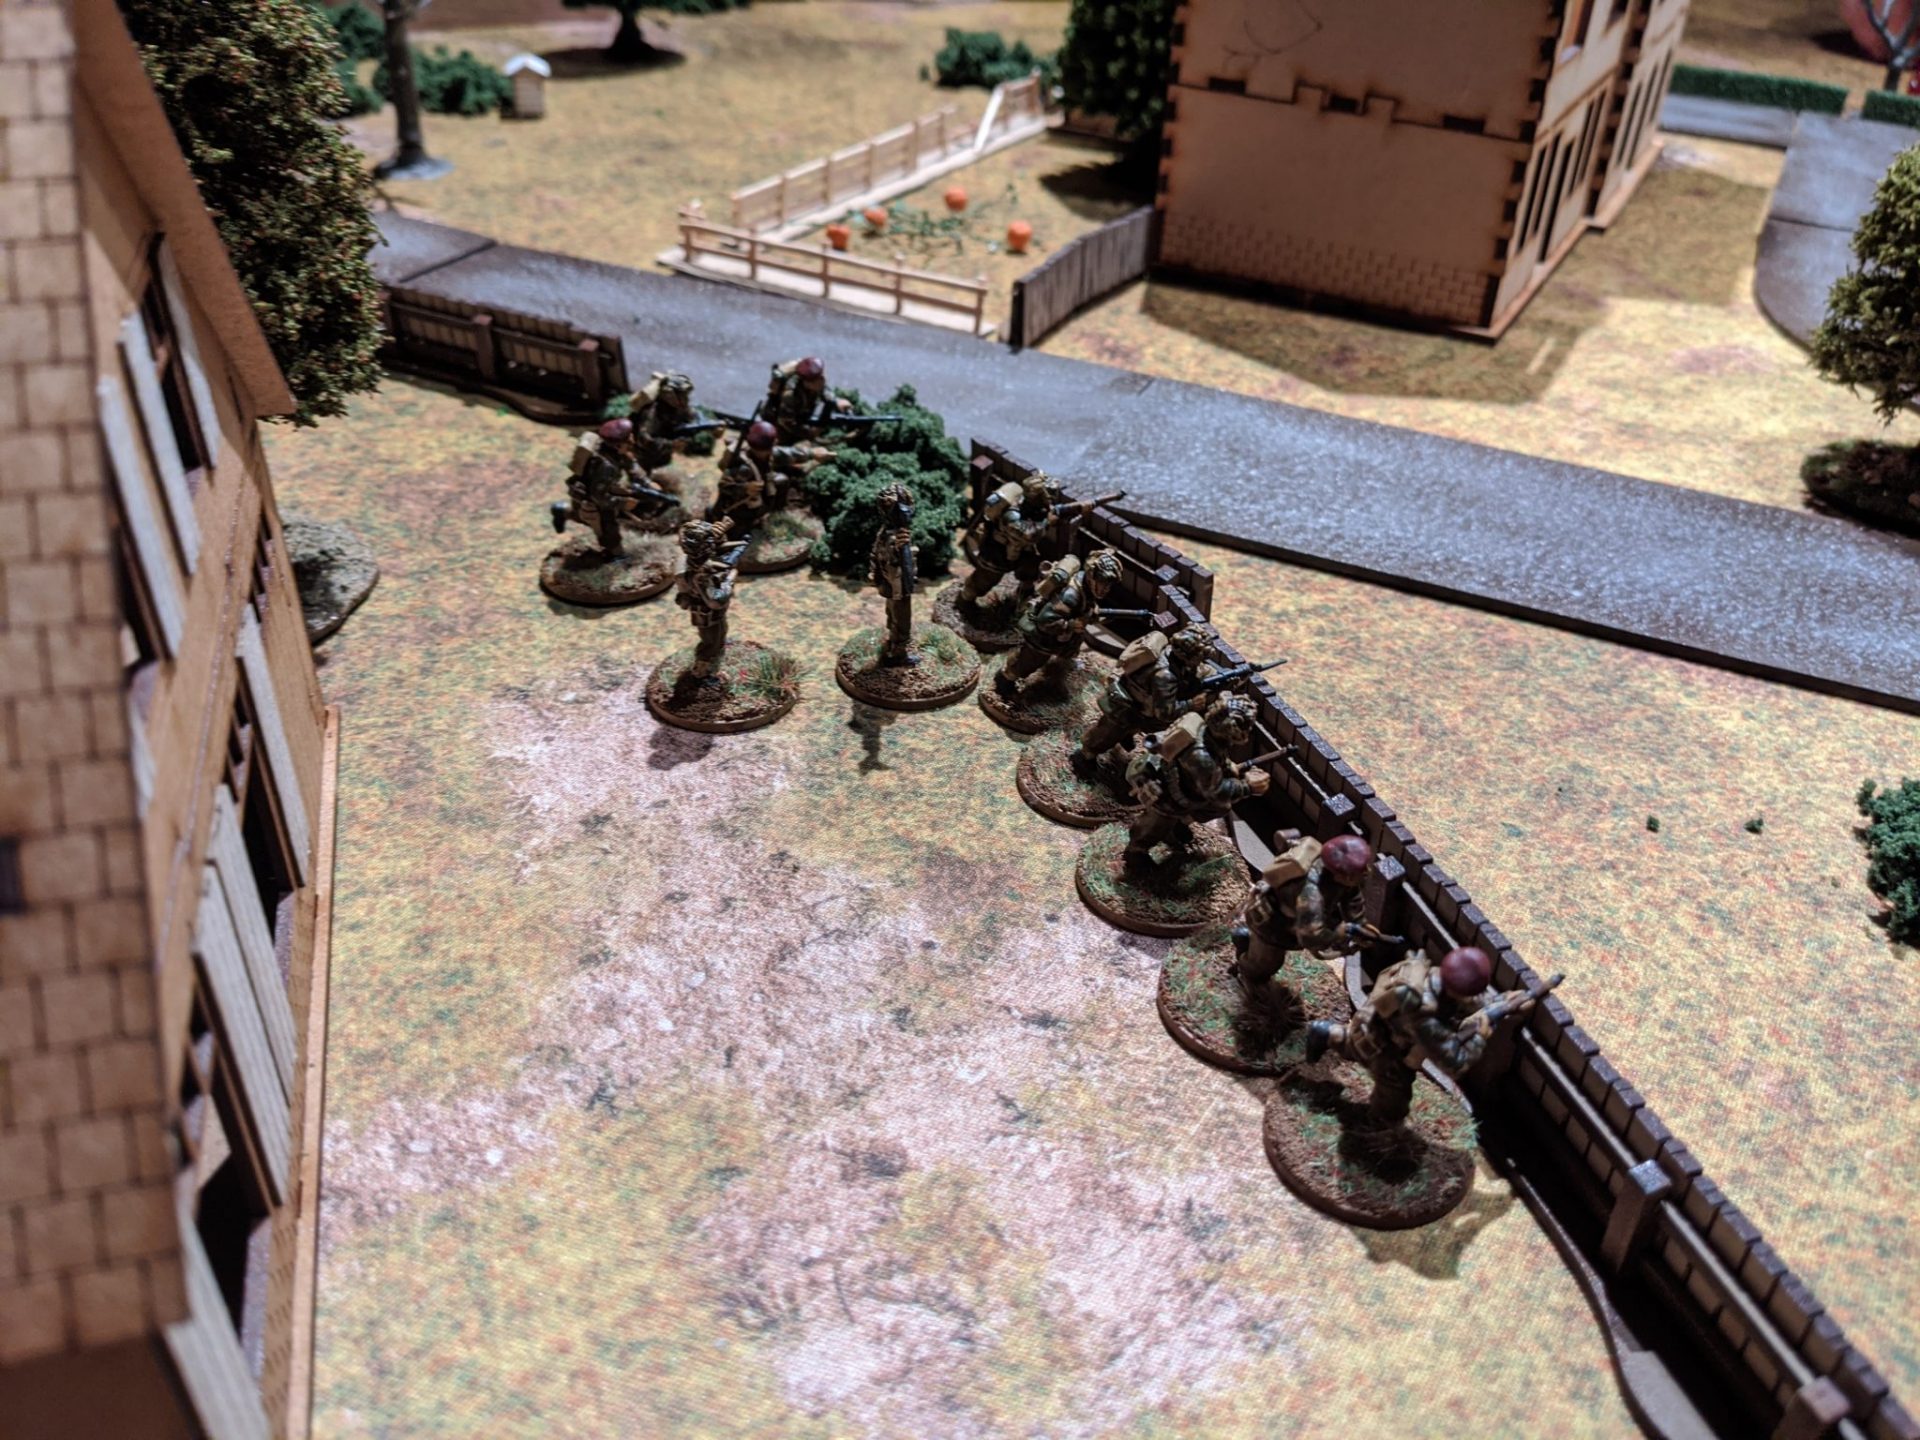
Not part of the action, just a good image of My Regular Opponent’s bugler in a pumpkin patch. Perhaps telling XXX Corps to stand ready?
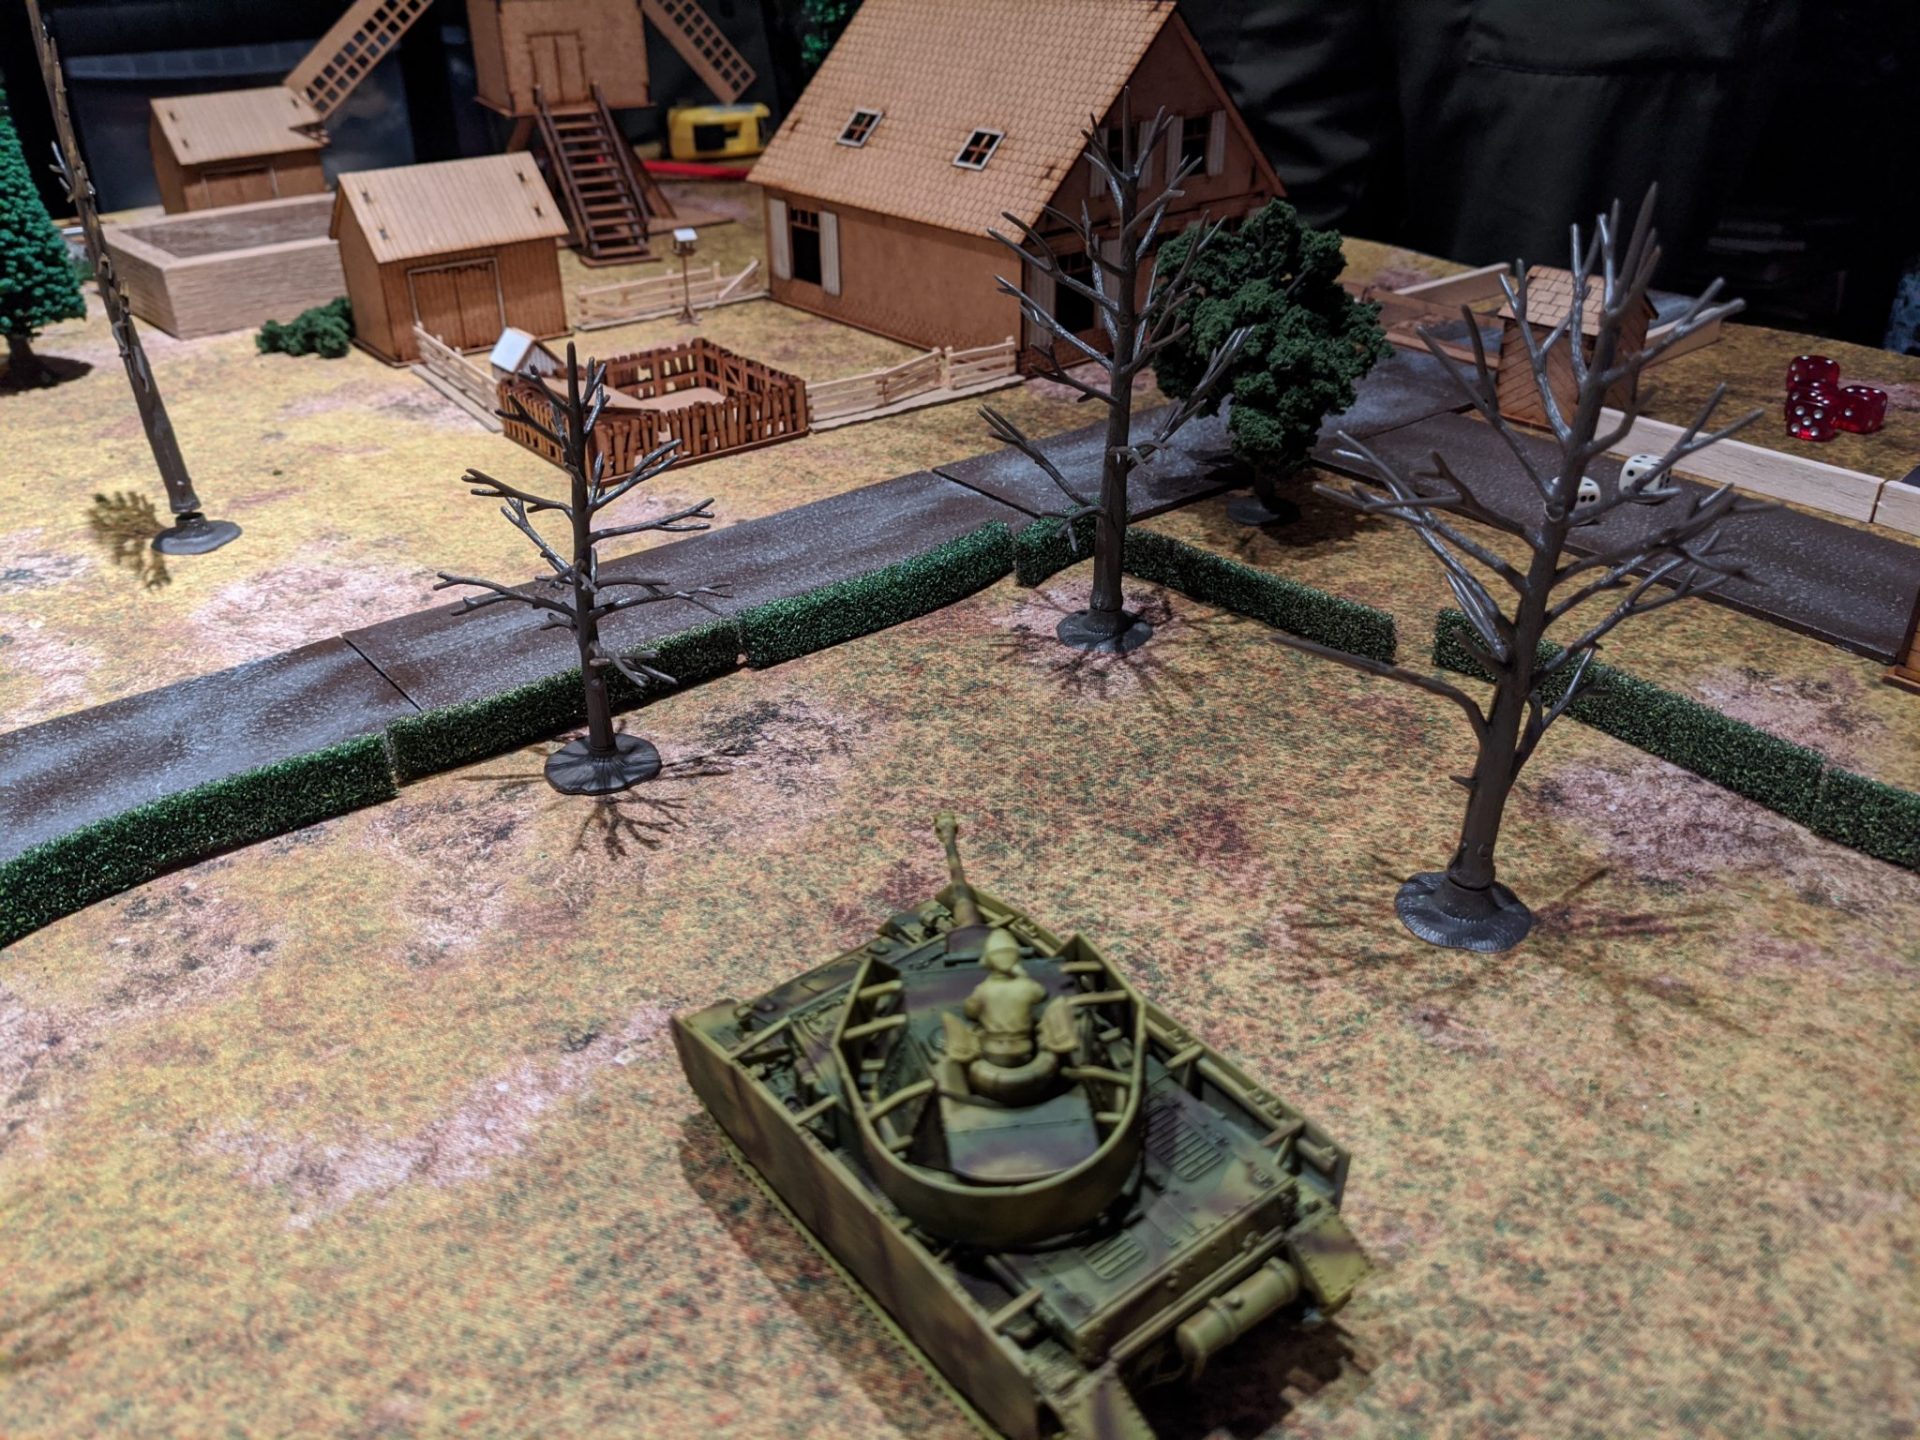
The Panzer IV Platoon Leader decided now was the time to roll forward and continue engaging the Paras sat in the farmhouse.
The Germans continued to move forward, the camouflaged Panzer IV moving out to allow one of its comrades to join them in the AO. Additionally, Hans von Gruber’s staff car arrived, disembarking another squad of Panzer Grenadiers and allow the senior commander to prepare for this daring escape.
The Tanks Arrive!

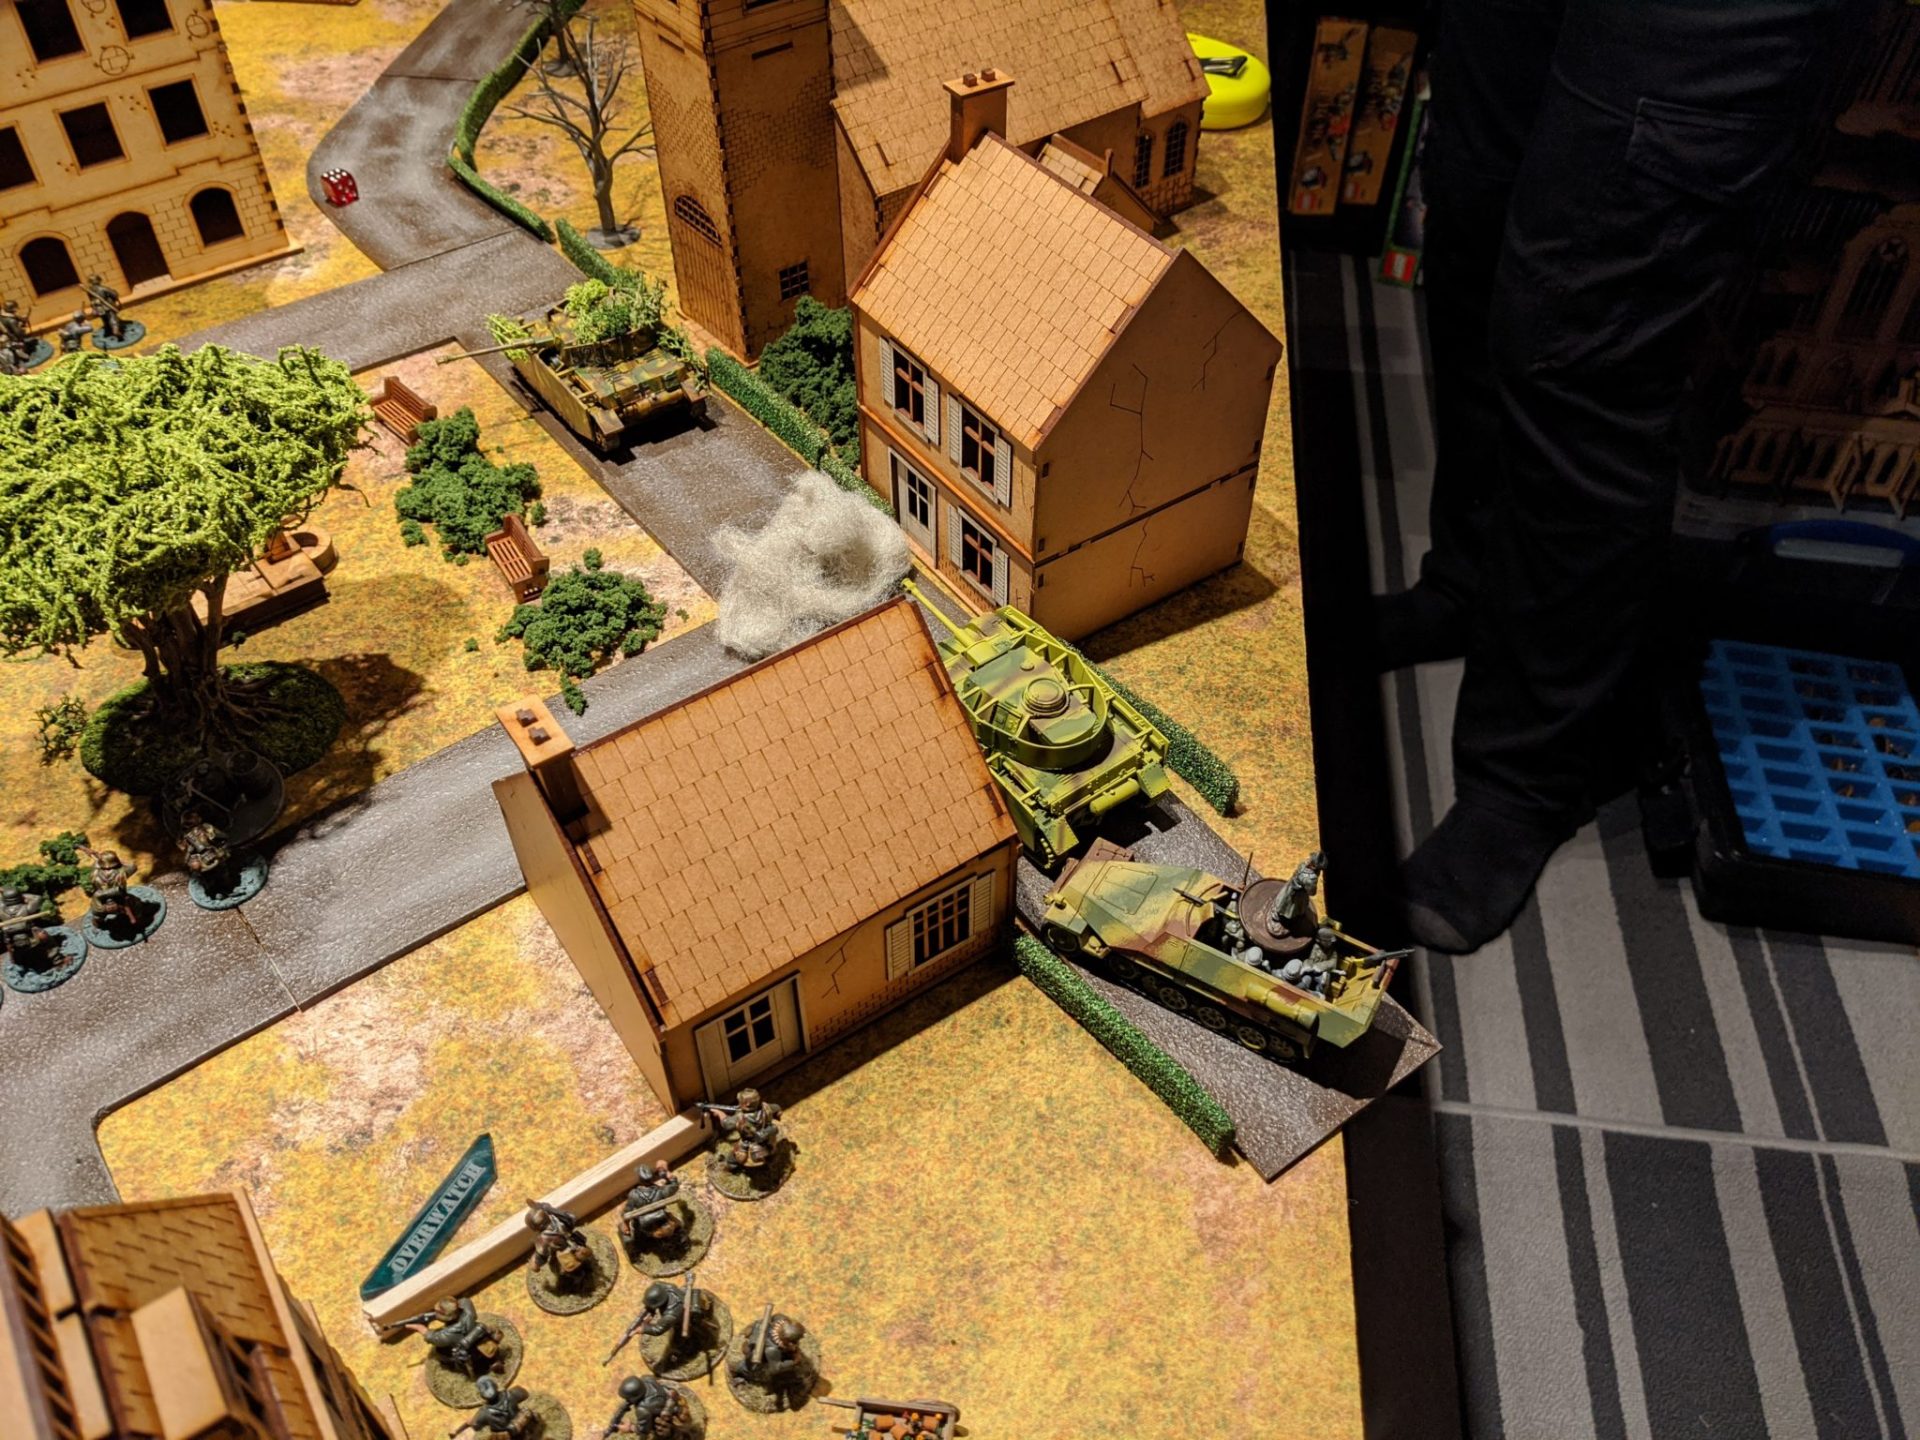
Finally, even as the Germans prepared a force to retake HIGHTOP, they finally popped green smoke. Immediately upon seeing it, Galahad (one of my Shermans) was the first one over the bridge, spotting enemies dead ahead and preparing the machine guns.
Close behind Galahad was Arthur, the lead vehicle (and technically my command tank), storming across the bridge and preparing to flank around and meet up with the rest of the Paras. As they drove past the infantry in the row of houses, cries of “took your time didn’t you?” rang out.

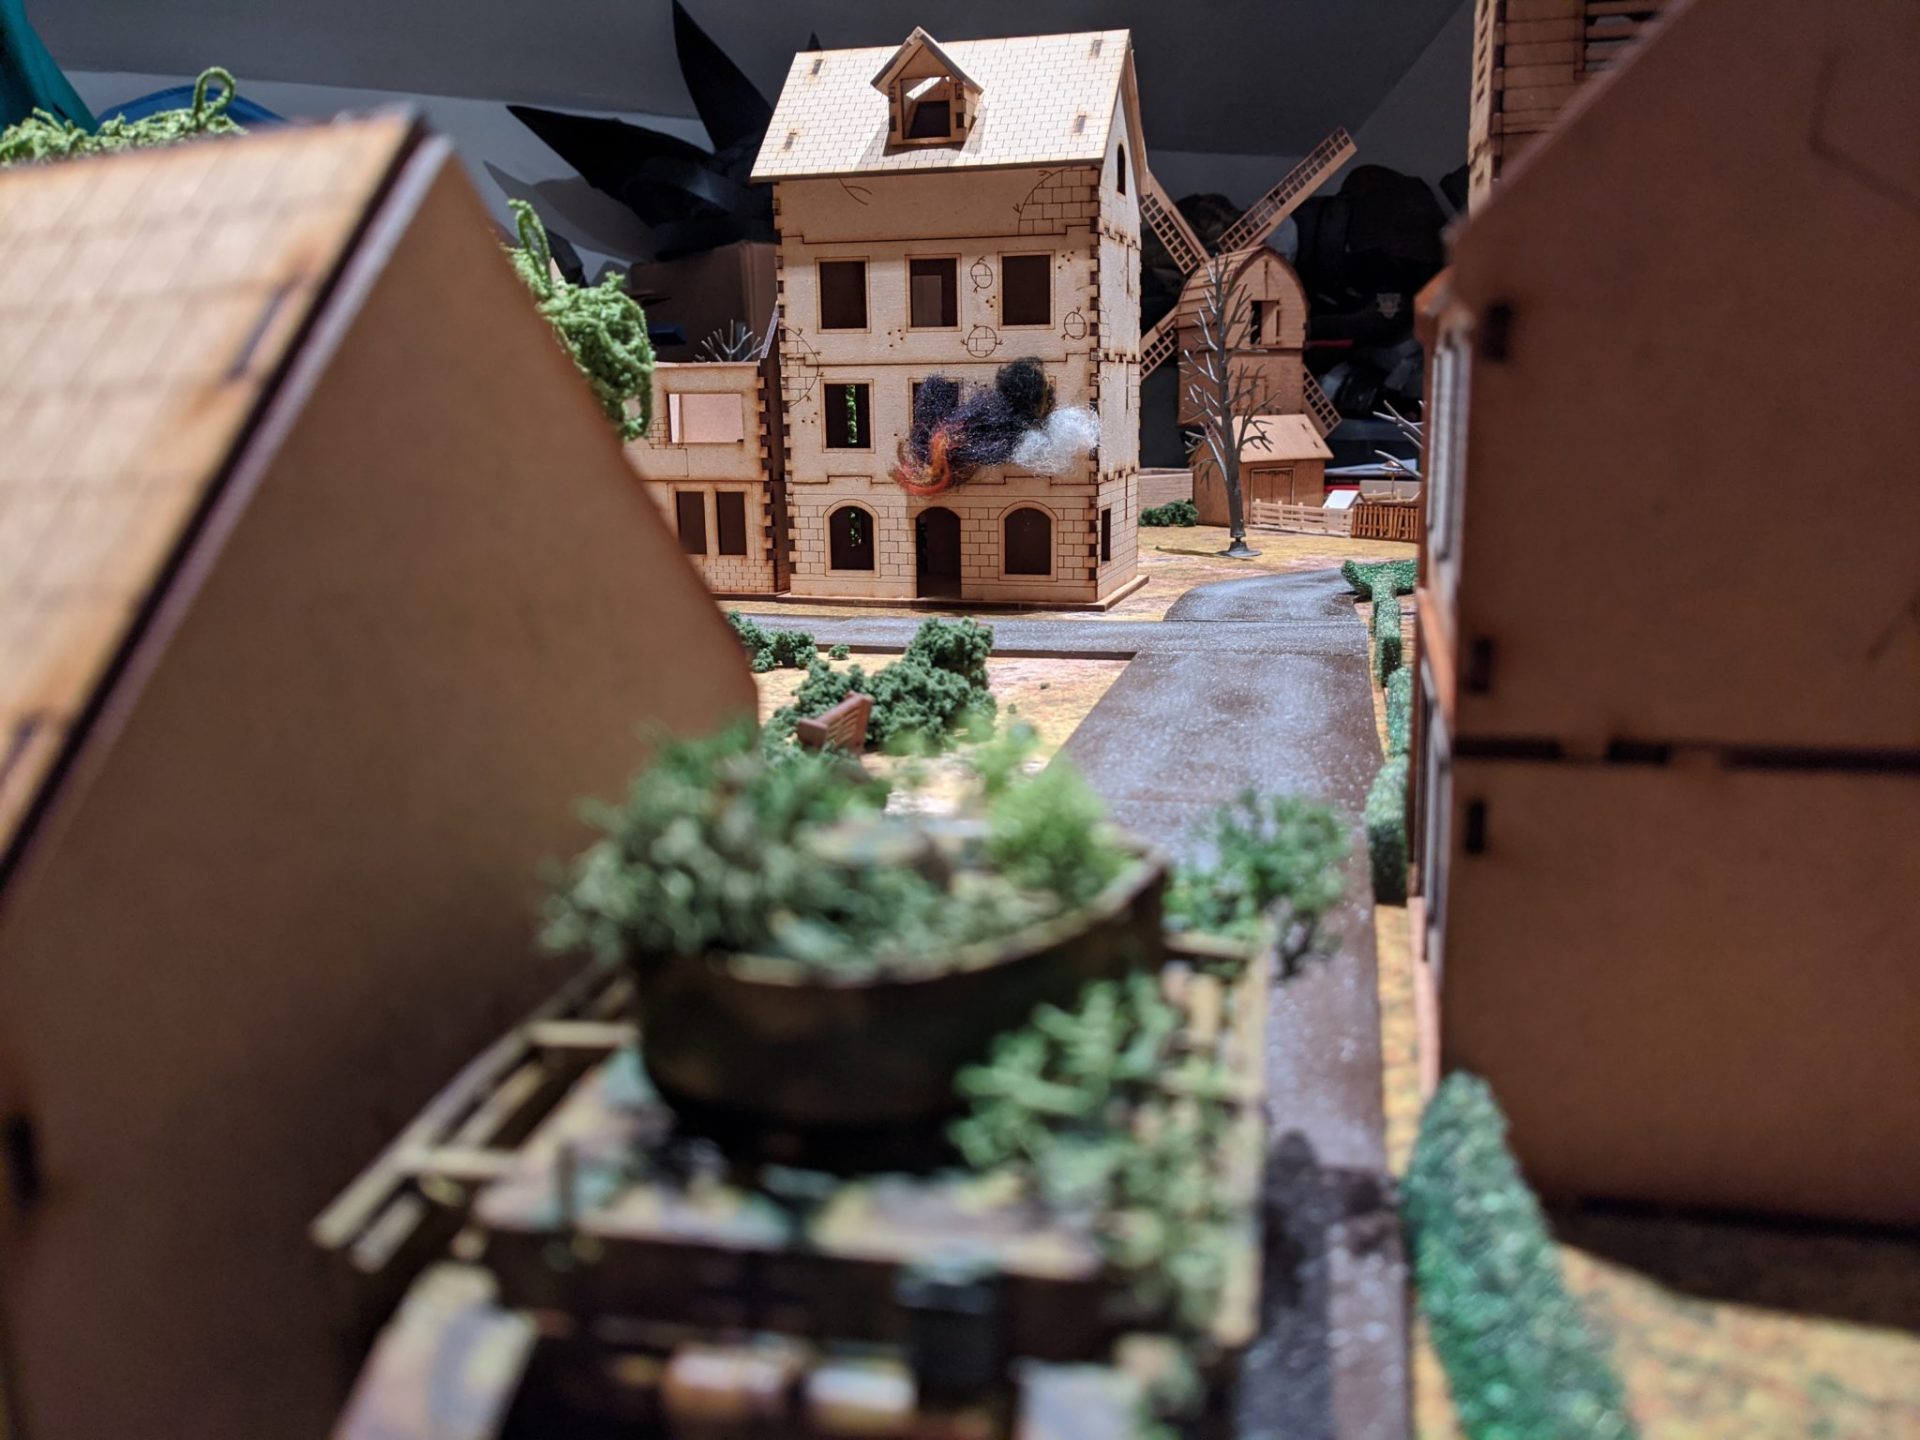
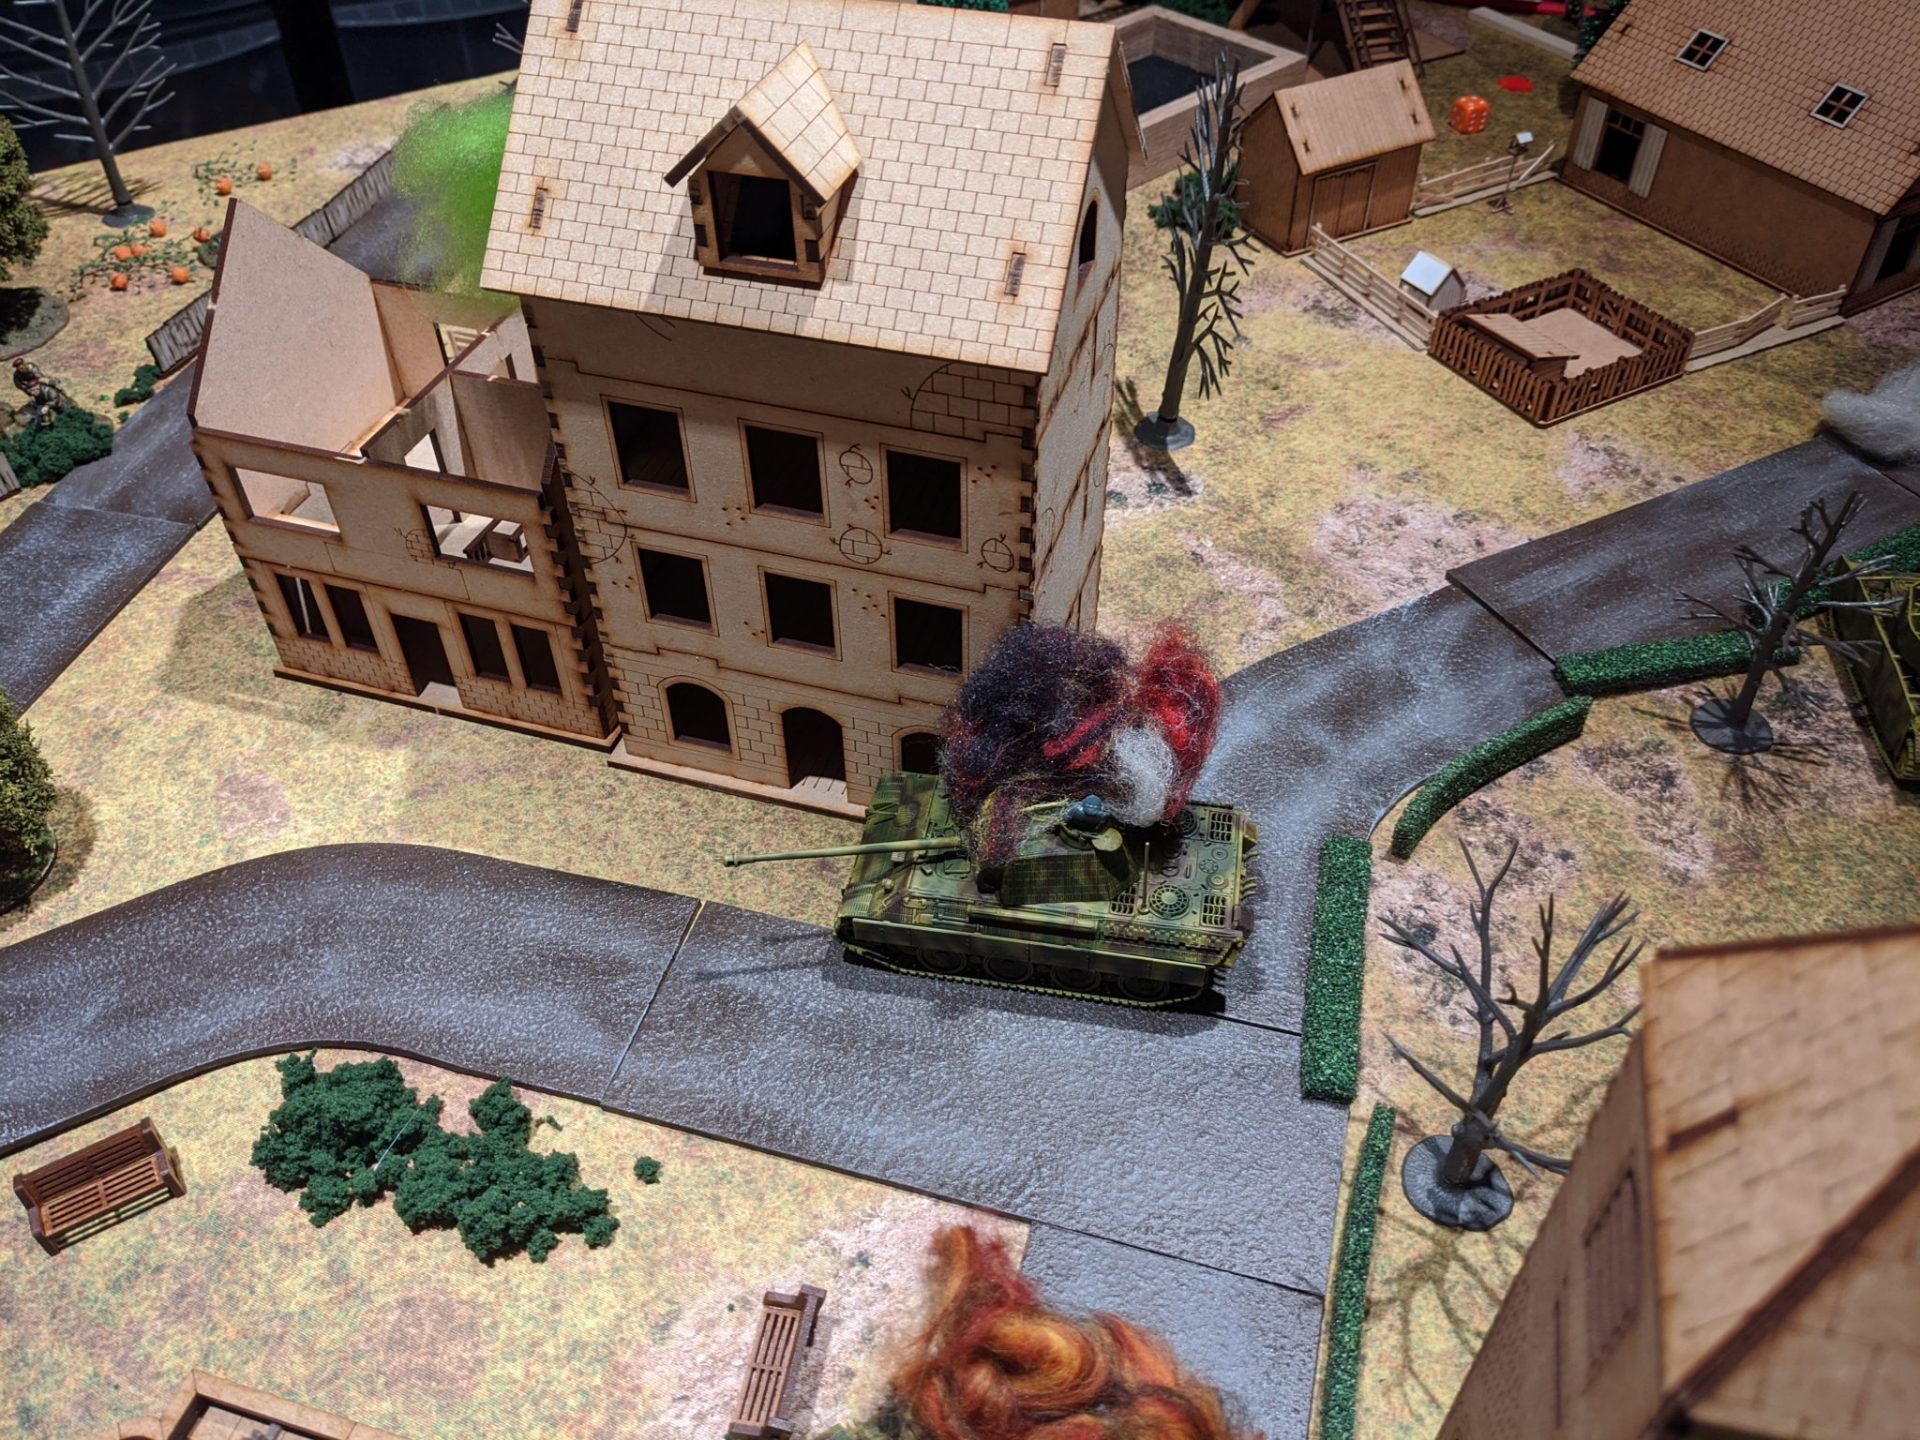
Of course, this is where my inexperience with tanks showed up. After unleashing a literal mountain of dice to brass up the squad near the town square, the German player pulled out a CoC dice and shoved a Panzerschrek round up the rear of Galahad, immediately knocking it out.
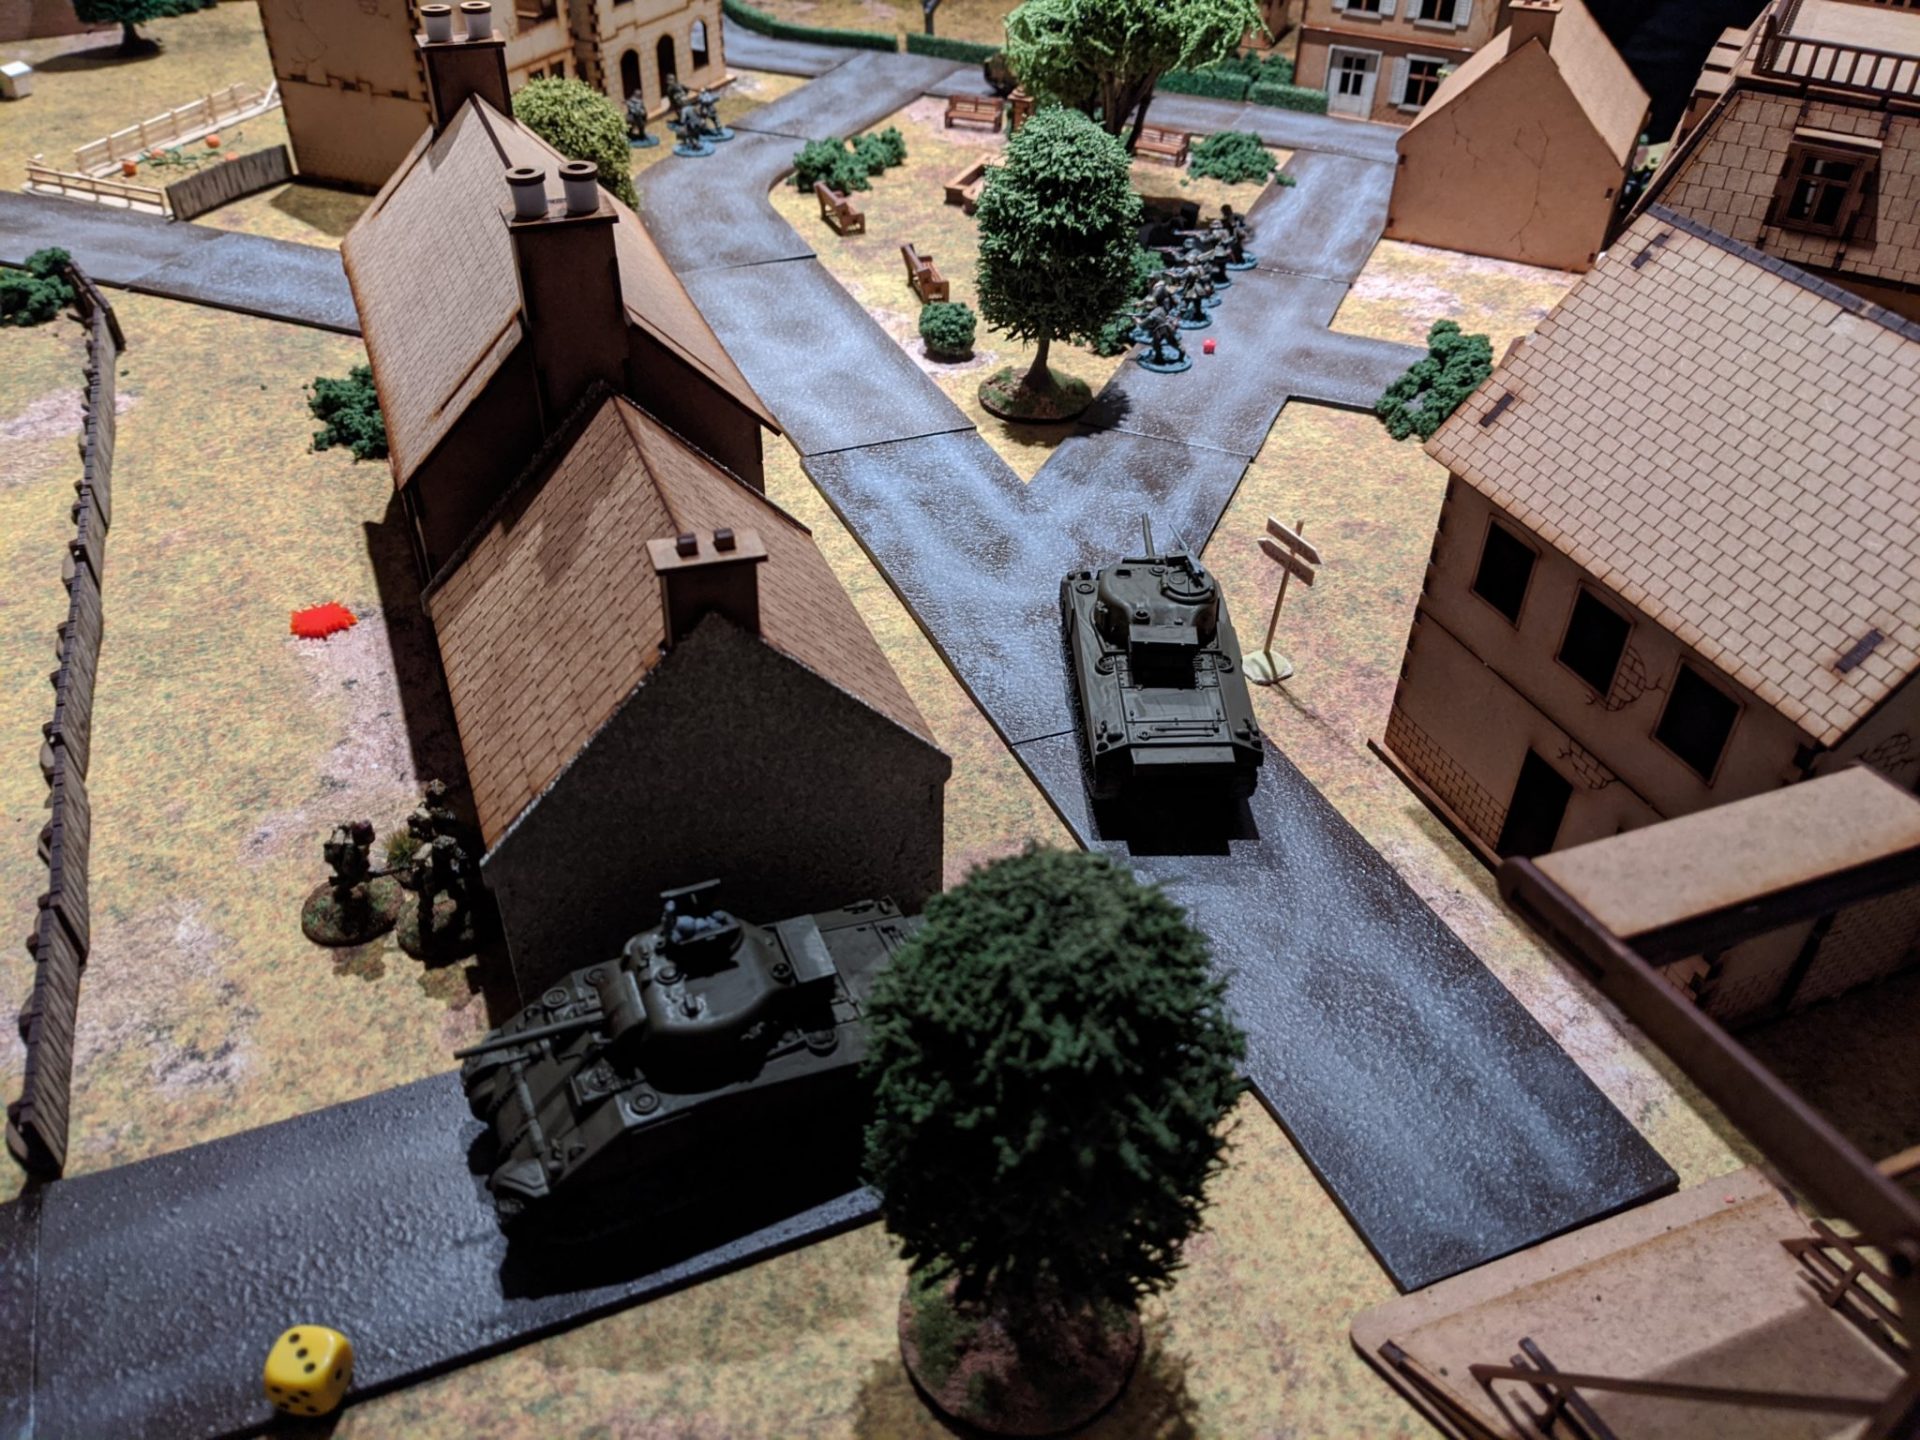
Even as the first tank across started burning, the rest of my force appeared. Gaiwan (another Sherman V) moved past the burning wreck of its teammate while Lancelot (the Firefly) moved to link up with the command element and prepare to knock out the pile of tanks in the main square.
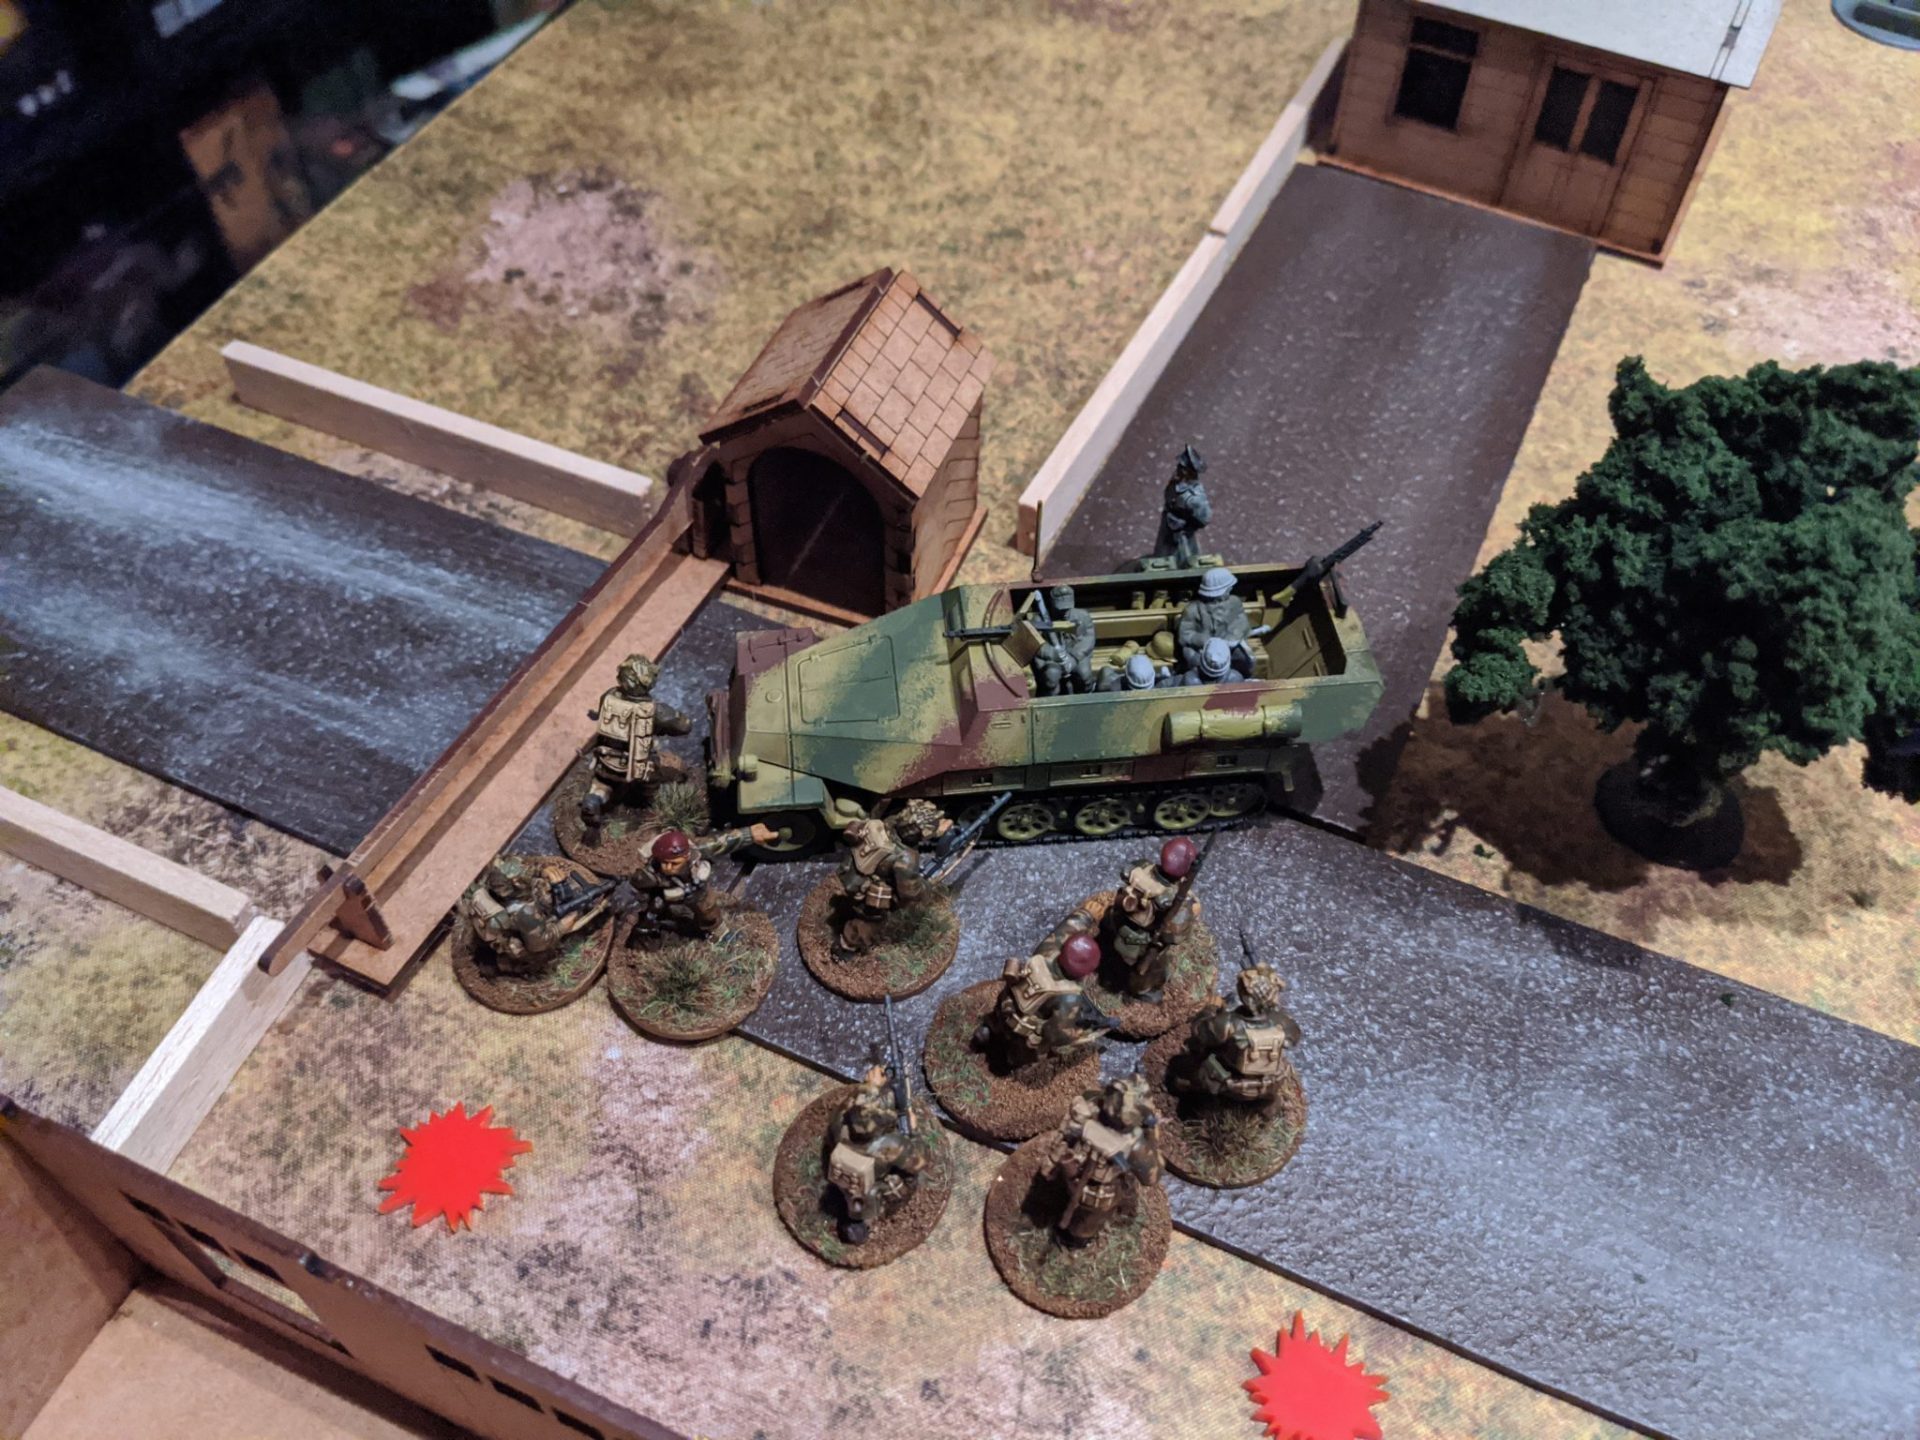
Additionally, the motor infantry arrived, preparing to support the tanks and secure the inn.
Speaking of killing tanks, the Airborne PIATs claimed the first Allied tank kill, the bomb lazily arching in to destroy a Panzer IV.
Inside HIGHTOP, The Paras began a desperate close-quarters battle. Leaving the Bren team upstairs, the Section Leader and his rifle team bust downstairs to secure the building. Grenades were thrown, killing some of the Germans before closing to contact. The end result? Even as the few remaining Germans fled outside, the only Para survivor was the Junior Leader, staggering back up the stairs covered in dust.
With the battle advancing, the Para Senior Leader hit the board, ready to take control of the Airlanding Section that had joined the assault.

At the northern end of the board, the British Paras attempt to fight across to the comms shack but ends up taking fire from the Panzer IV.
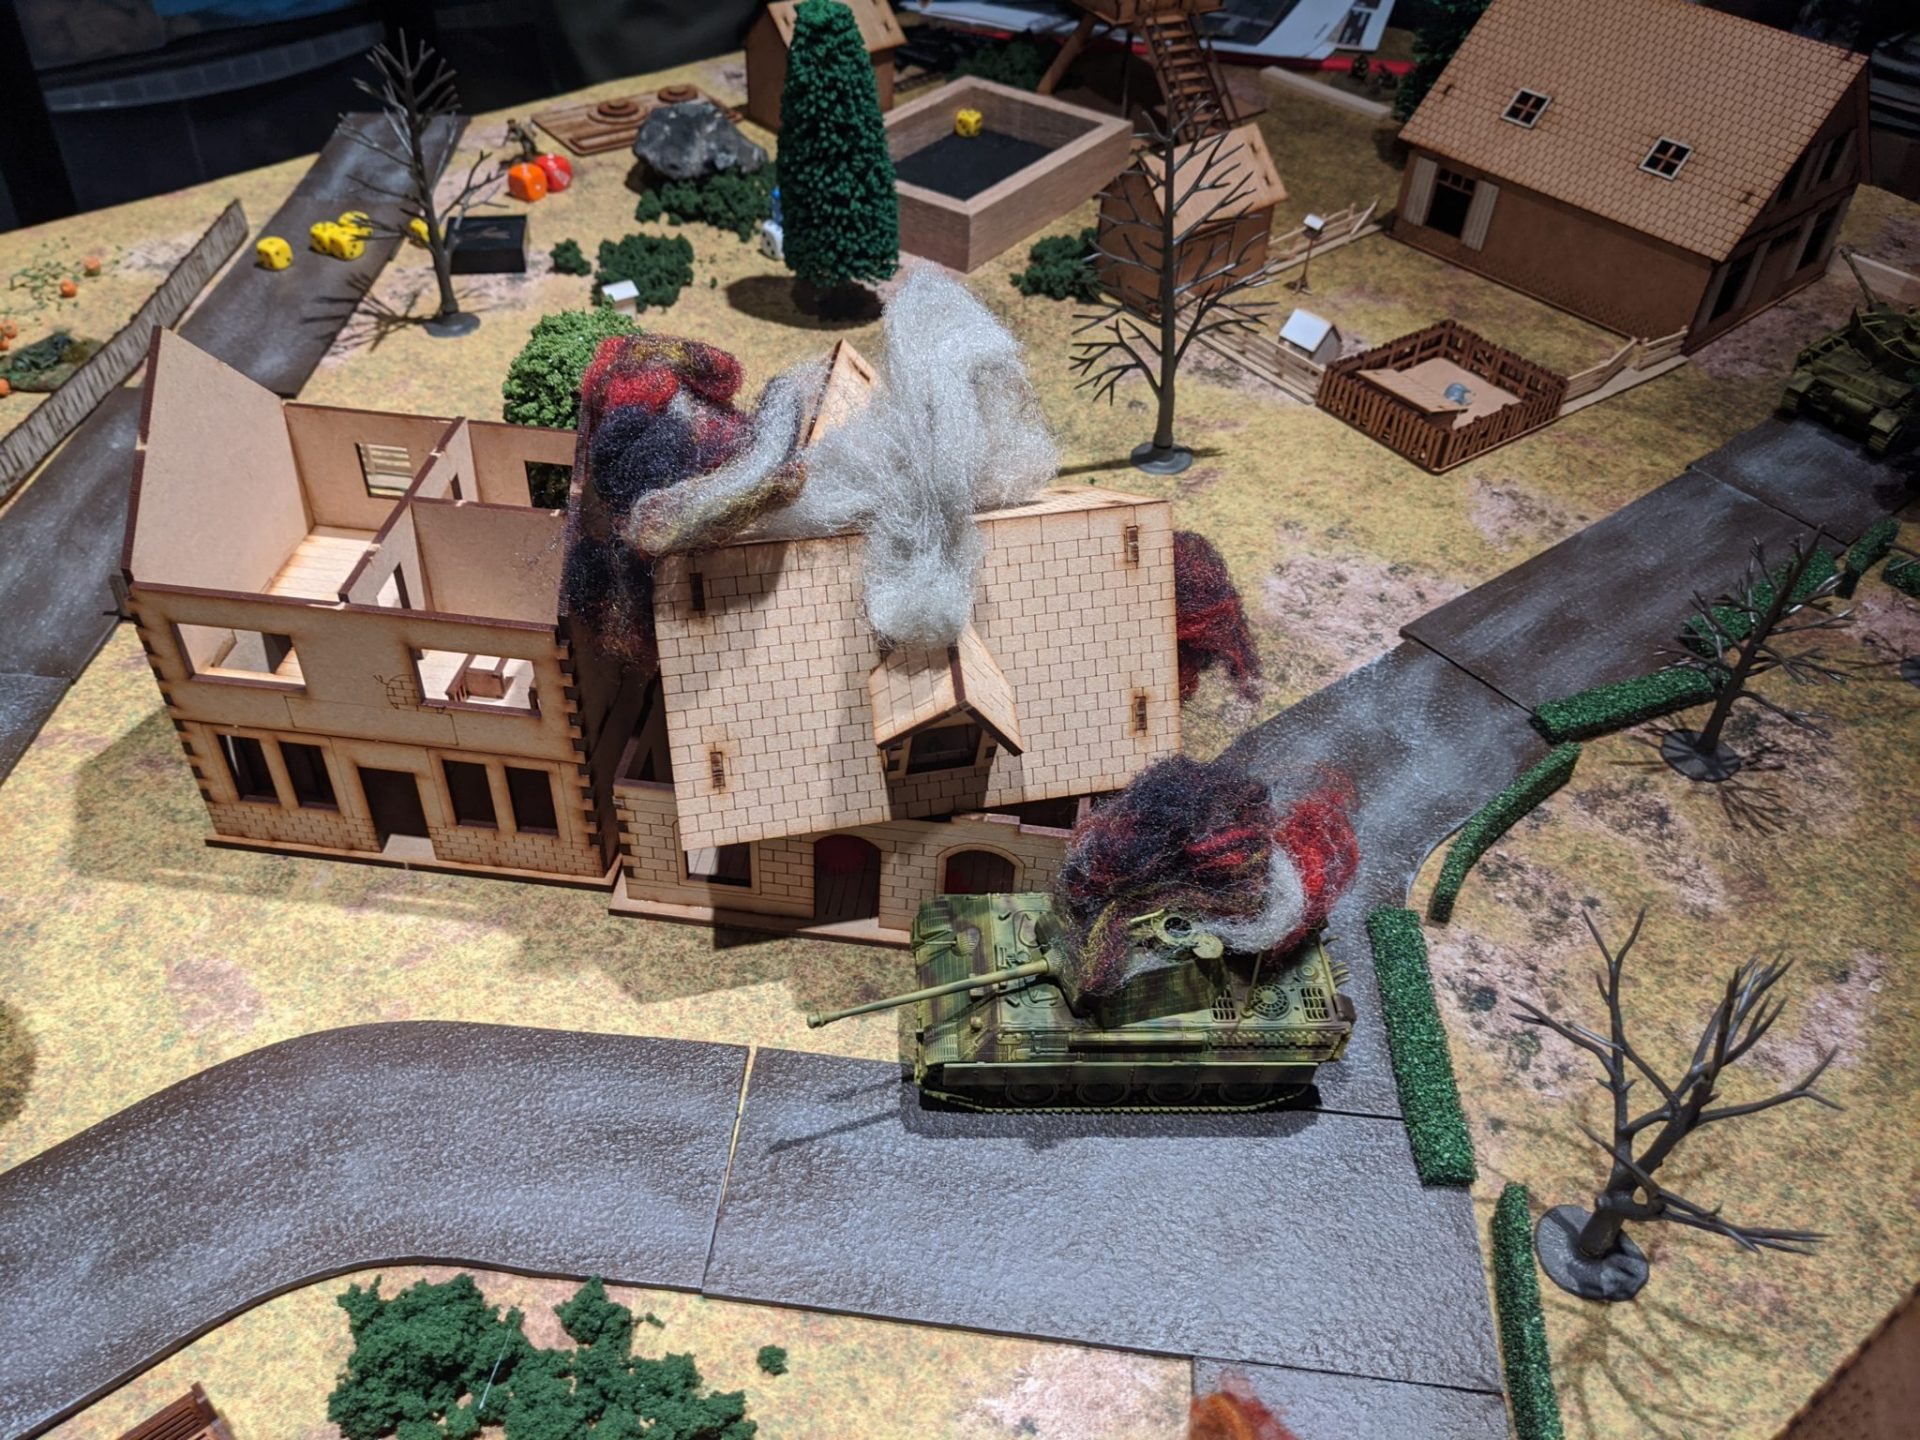
In another shock, the dreaded Ambush popped up again with the second round from the Panzerschreck team carved through the front armour of my command tank. Not only was it entirely knocked out, but the ammo cooked off, putting shock onto the Airlanding teams.
Due to the turn ordering, the Germans managed to box my armoured units in at the Bridge, kicking my Command Dice down a dangerous amount. Worse, the German armour platoon pulled in a Panther. Myself and The Regular Opponent started to get a little concerned…
…Until the Panther’s attempted shortcut through HIGHTOP simply ended up putting it into the cellar (we used a modified version of What A Tanker’s smashing through buildings). Worse, the damage to the building would mean it was about to collapse at the turn end.
And then the turn ended. Meaning the four Paras who had just survived so much now had to dig themselves out of the rubble and fall back.
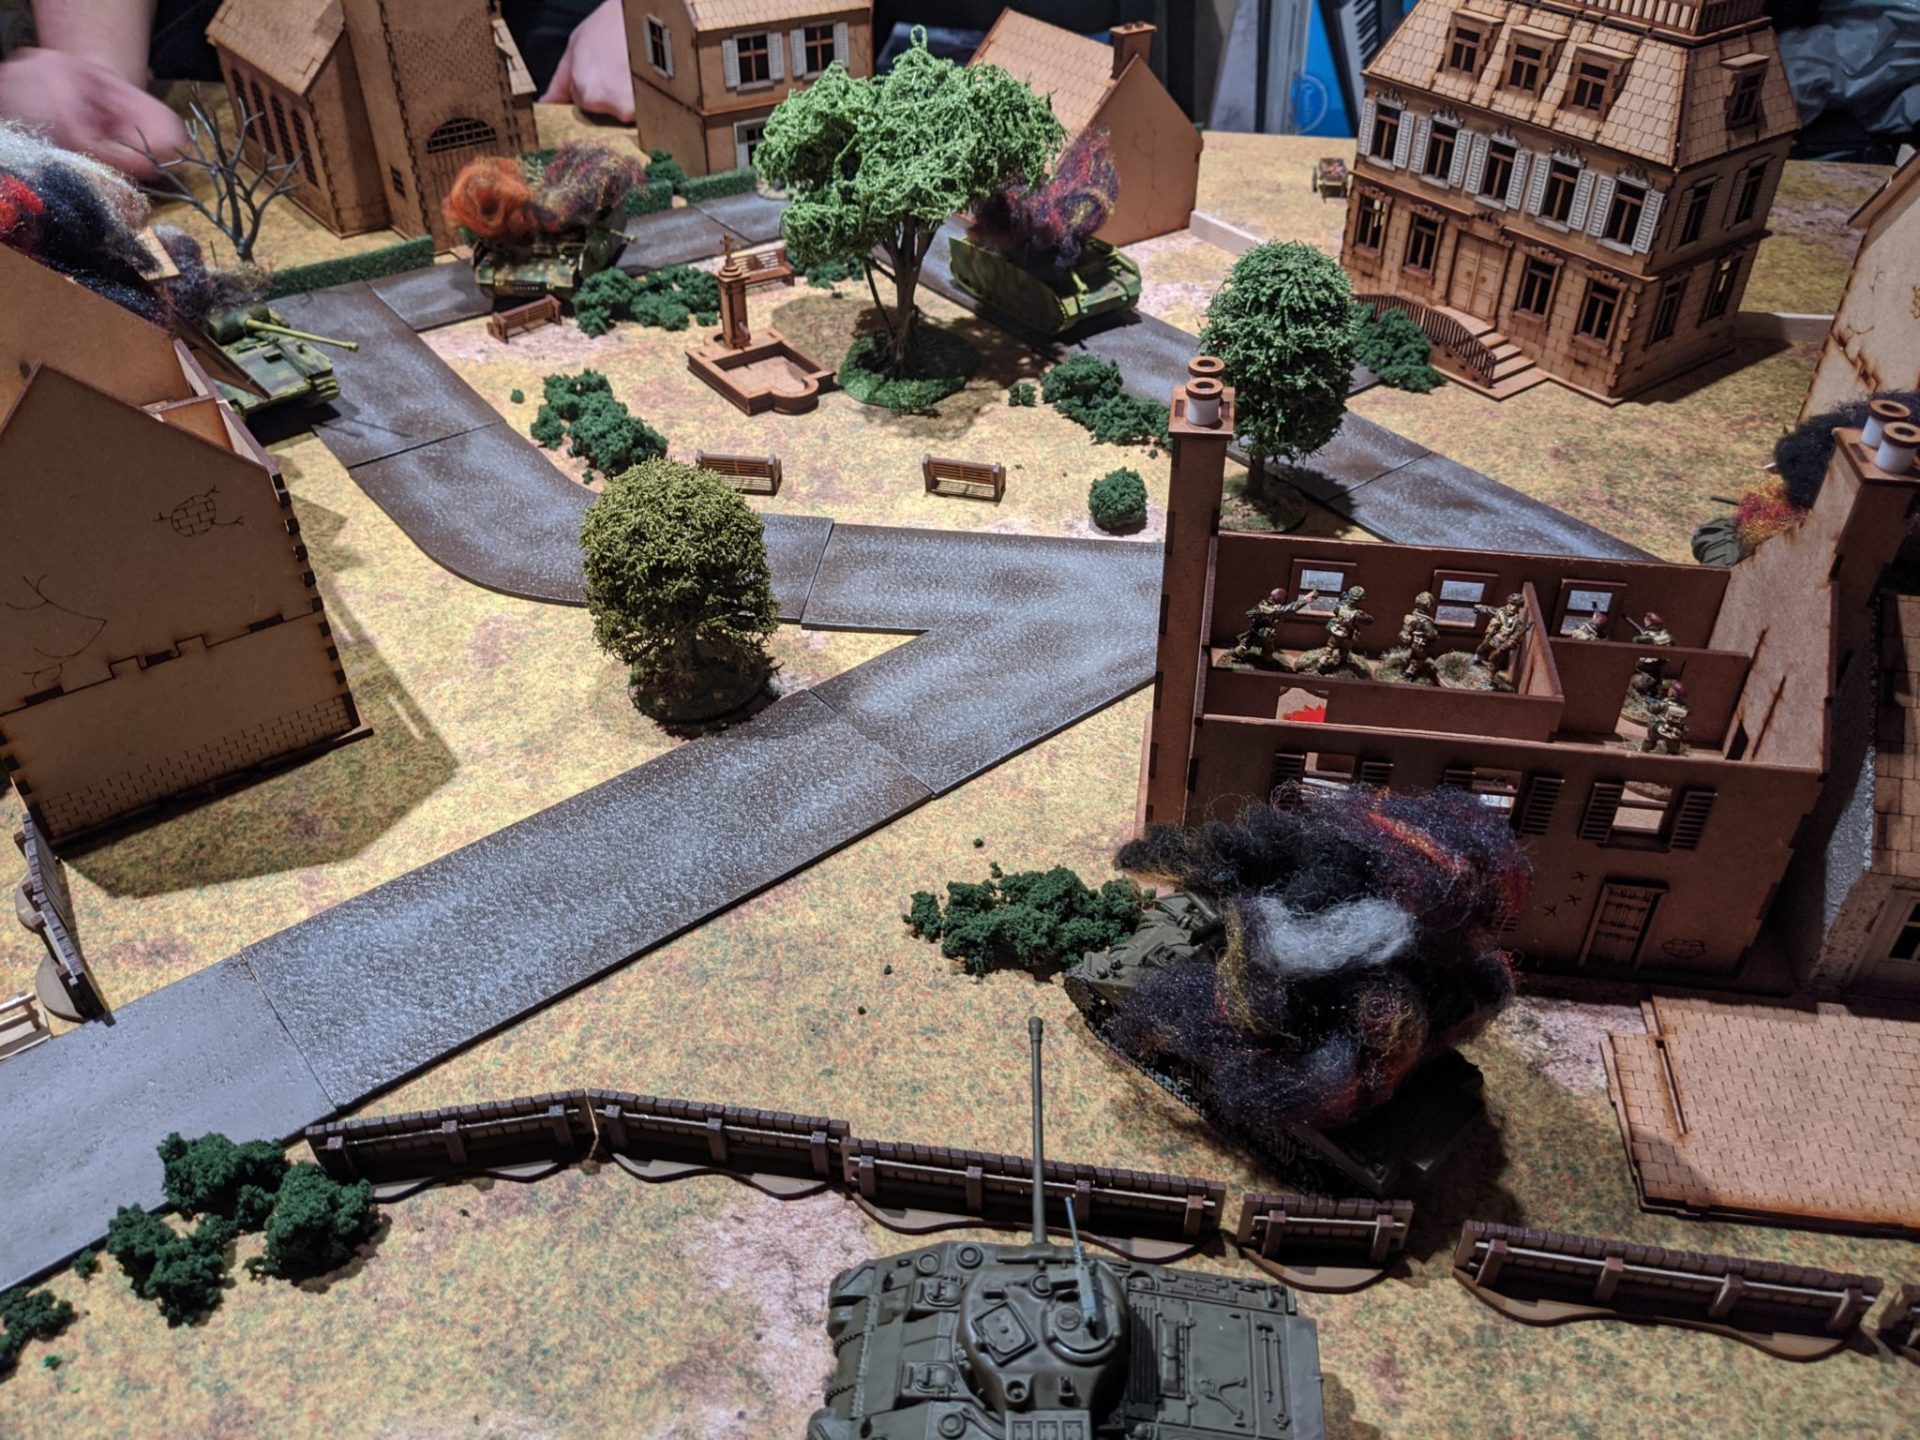
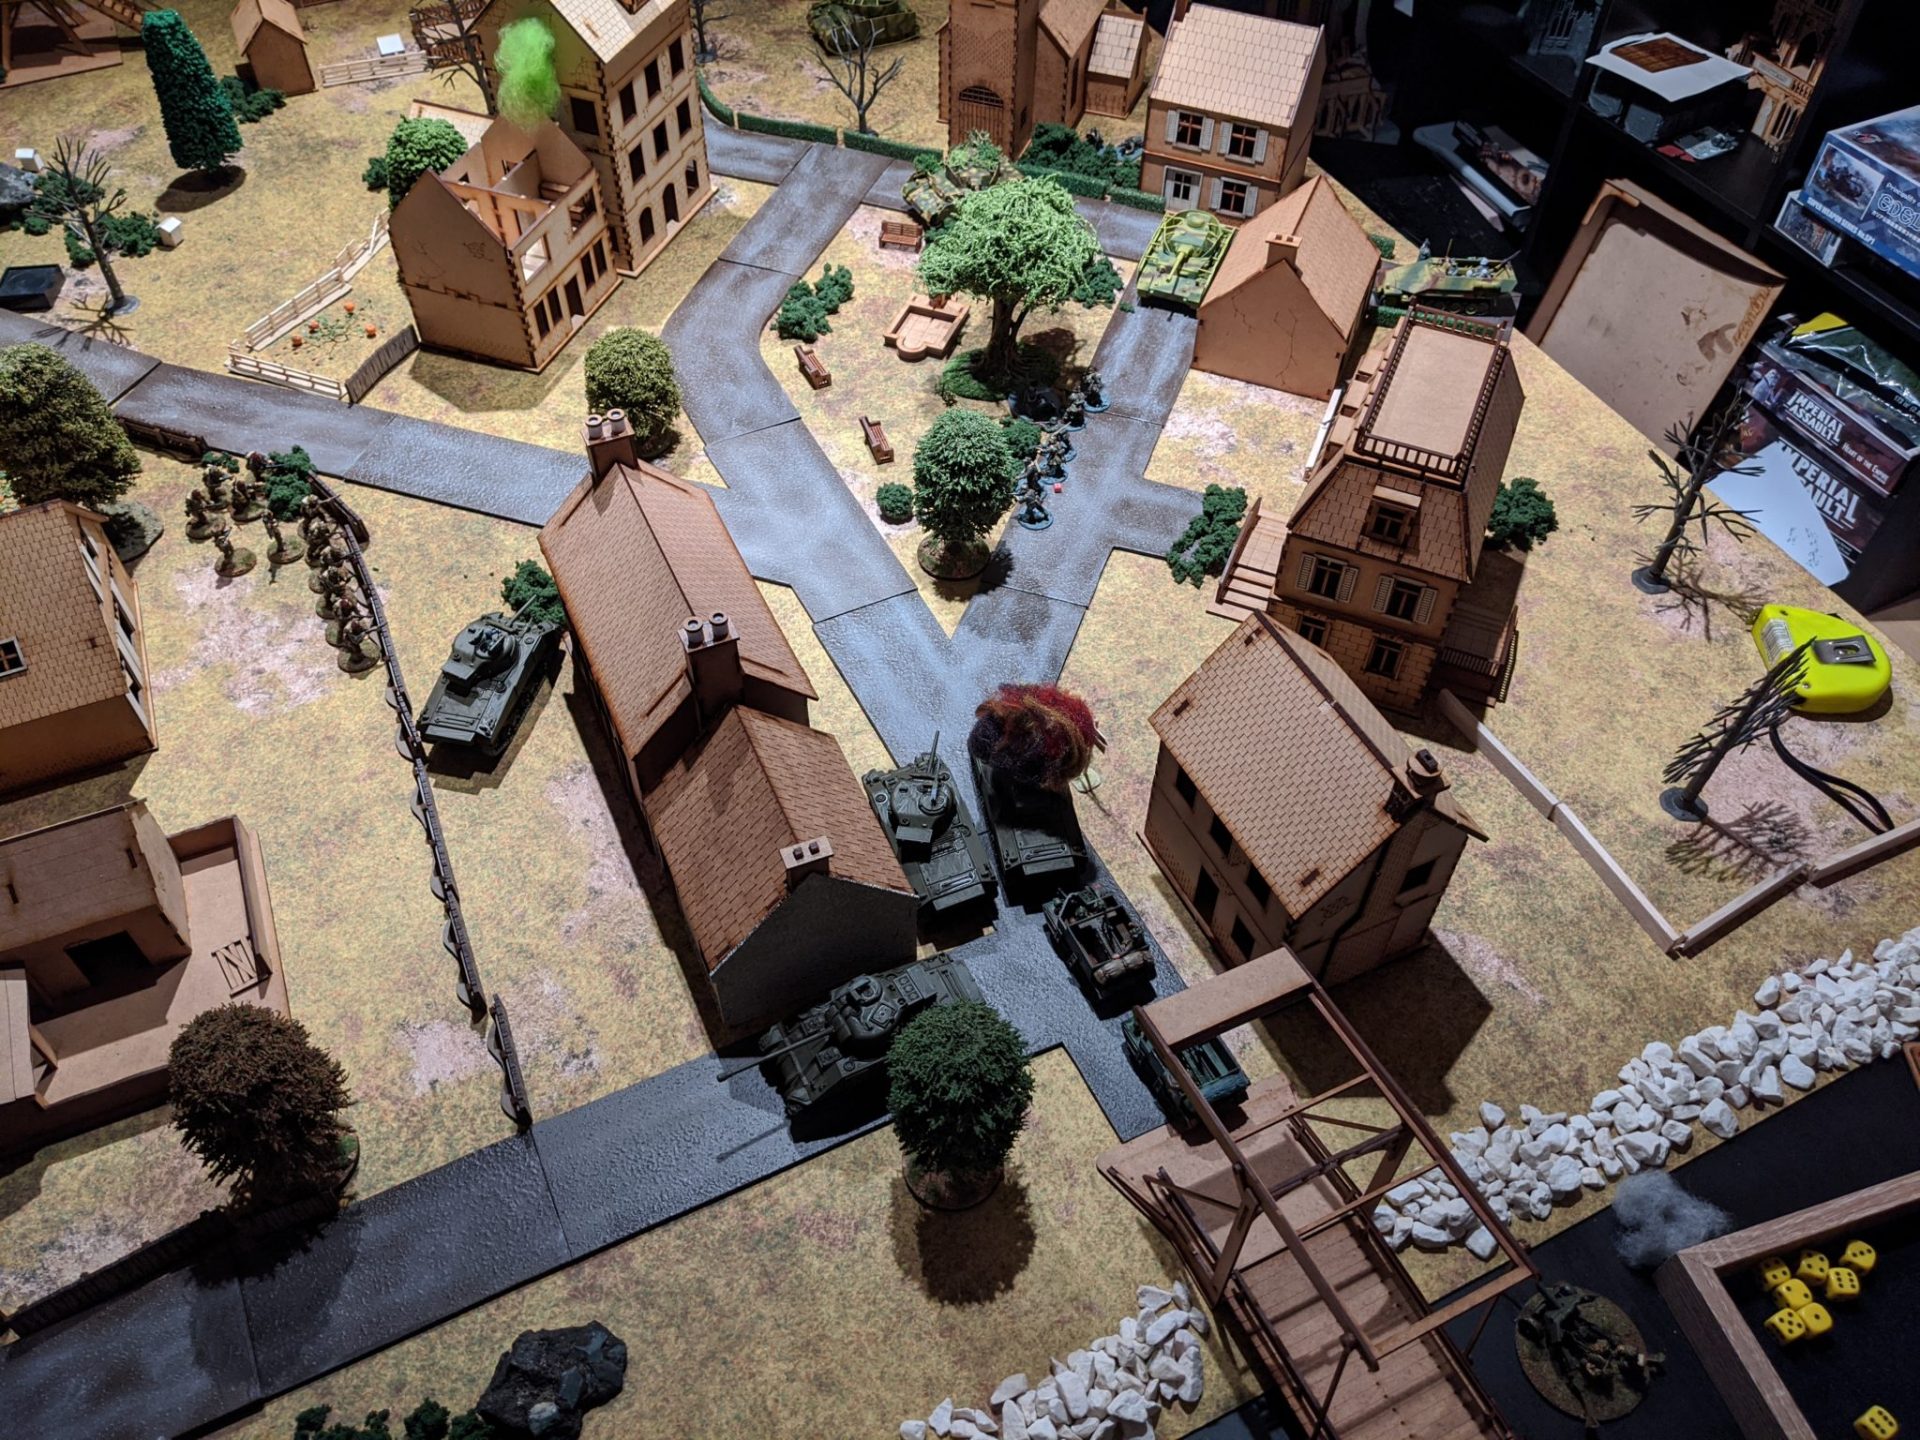
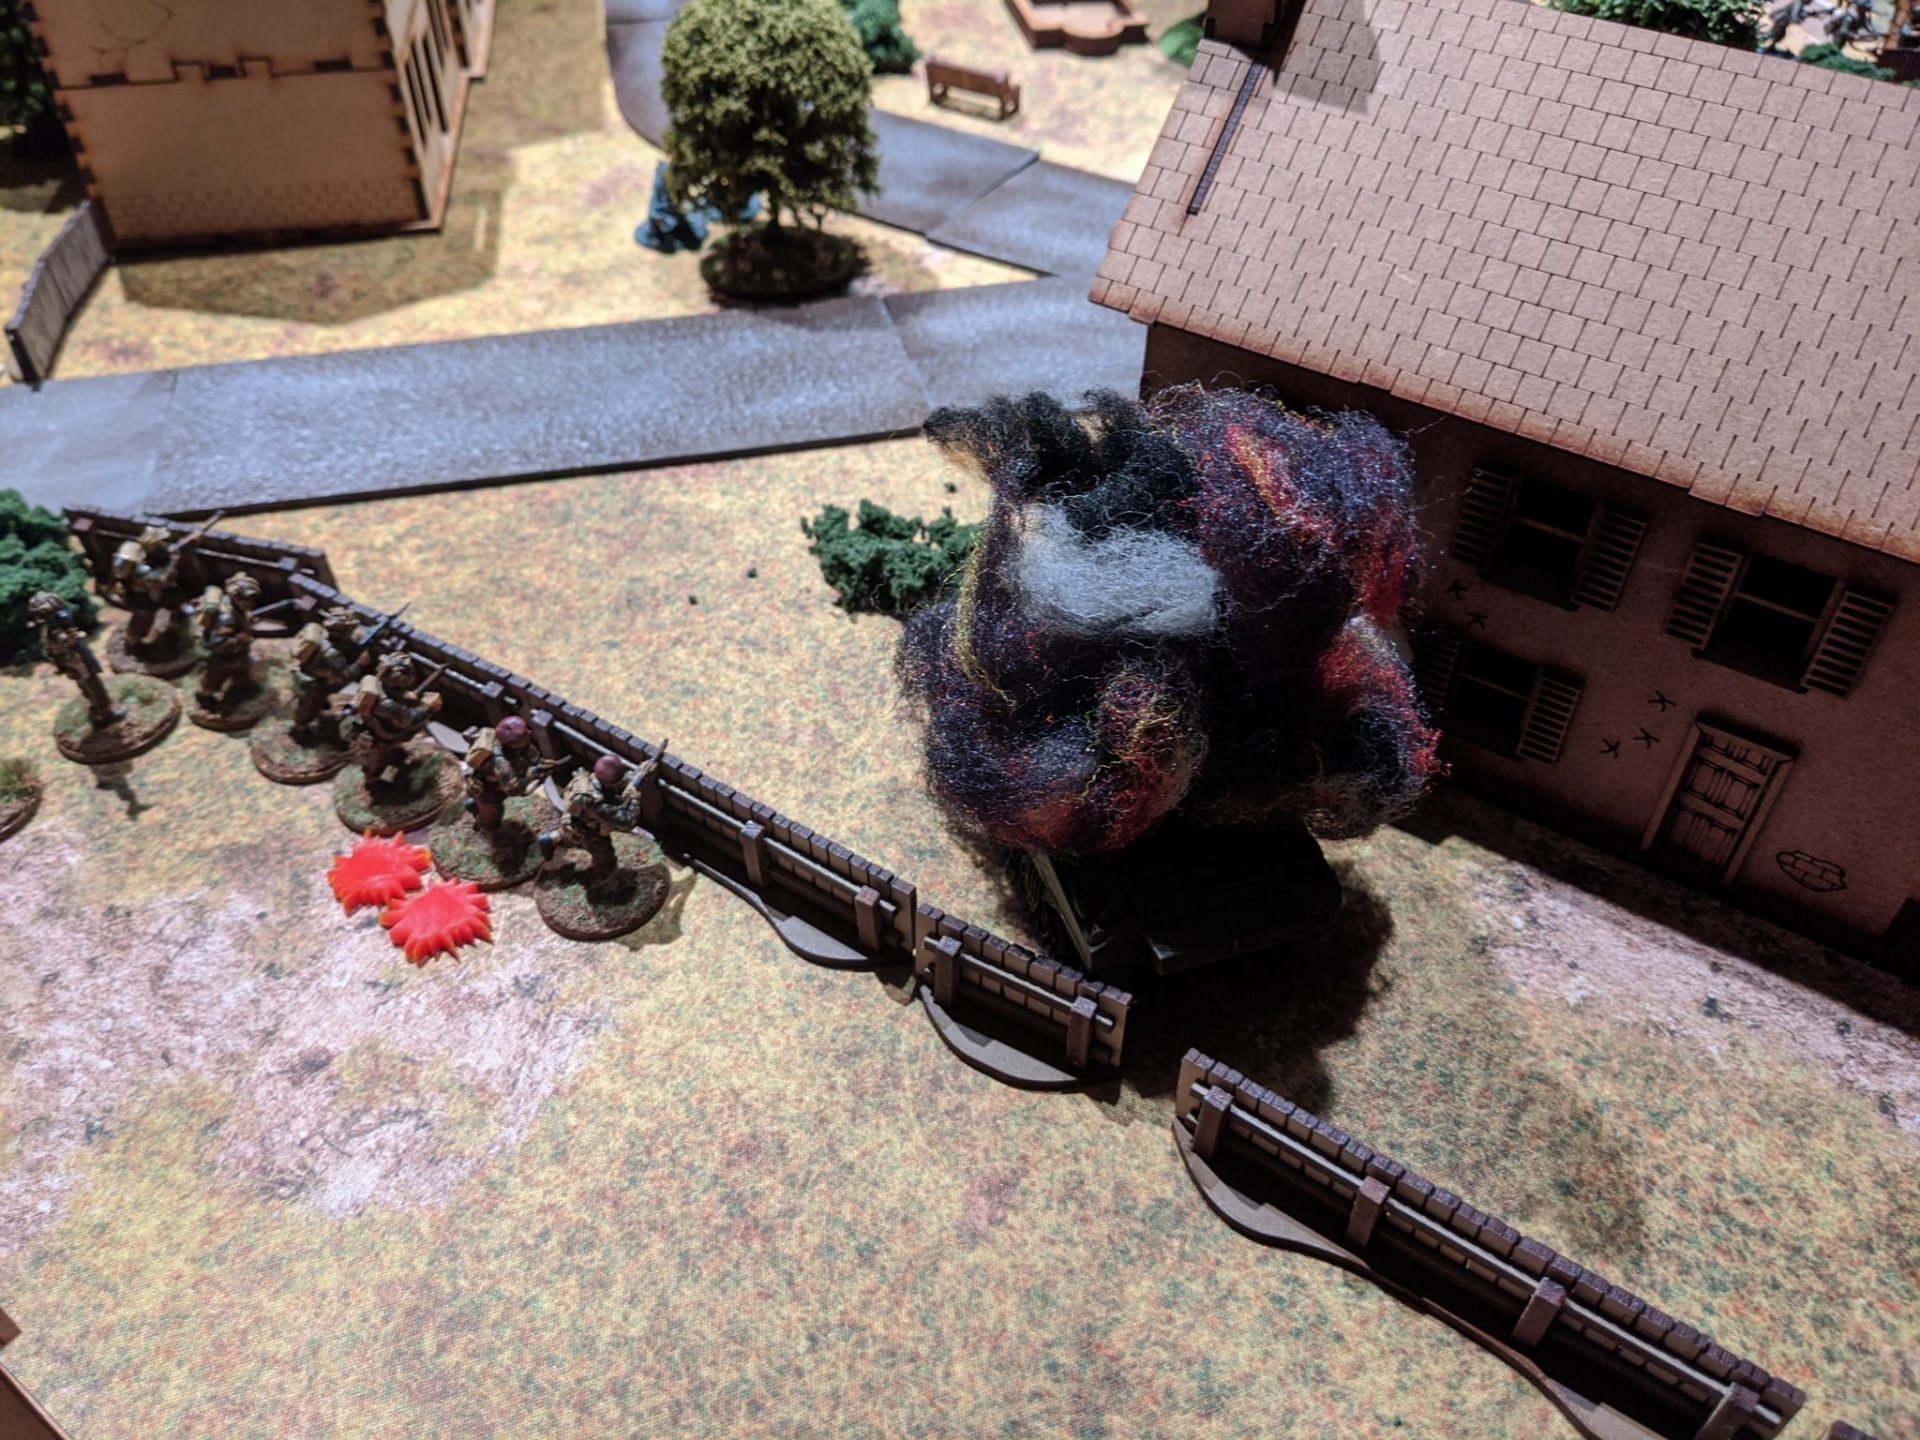
Cruising past the wreck of their boss’s tank, the crew of Lancelot were ready to get some payback. Spotting a Panzer IV rolling forward, the 17pdr blew the tank to pieces, burning pieces of tank shredding the vegetation around it.

Time was rapidly moving on, and having spent the whole game fighting off the Allies, The Host suddenly remembered his objectives. Hans Von Gruber’s staff car, with the support of the Panzer IV platoon leader, put the pedal to the metal and raced down the board. Brushing off fire like it was nothing (including multiple sniper hits) the halftrack actually reached the very end of the board…
At which point we had to break out the “grenades on open-topped vehicle” rules as the Paras did a last chance rush on the vehicle as it slowed slightly at the gate. Despite one grenade bouncing back and causing shock, the Paras did manage to stop the vehicle in its tracks before dragging Von Gruber out.
After 5 hours of non-stop play/rules checking, we finally called it here. Looking at the various objectives, we decided that the Allies had won a pyrrhic victory – they had prevented Von Gruber from reaching his forces to the north and the bridge was secure but the Germans were still contesting the town plaza, the German Comms broadcast had been uninterrupted and a tank wreck just off the bridge would take some time to actually move it and open the road for the rest of XXX Corps to advance.
Once again, Chain of Command is a great game to play. Even just this one game has got me very excited about playing more, and was the kick in the backside to get a move on with my own platoon of Brits. Going to need some tanks of my own as well – having them in-game was glorious fun but definitely something I’ll have to practise with (and get more infantry co-operation).