All the posts so far have been leading up to this: the first play through of the game. The original plan had been to go in at the deep end and running the first attempt at a proper show. After that fell through, running the trial at a smaller event made a little more sense. 100 Years of War is an anual event run by the Falkirk Wargames Club
After spending the Saturday typing up a play sheet, Sunday saw me waking up at 8:30 to drive over to Falkirk (about 45 minutes from my flat). The weather was a bit grim but it wouldn’t really matter much. The venue is a community hall, very easy to get to by car and with plenty of parking nearby. Its also really bright, great to see in a wargames club venue. In addition to my game, there were quite a few other being setup, including a huge Indo-Pakistani air war game next to mine and a ridiculously large Boxer rebellion game further up, complete with the walls of Peking. Overall, it was a great event – a very relaxed time that I am looking forward to next year.
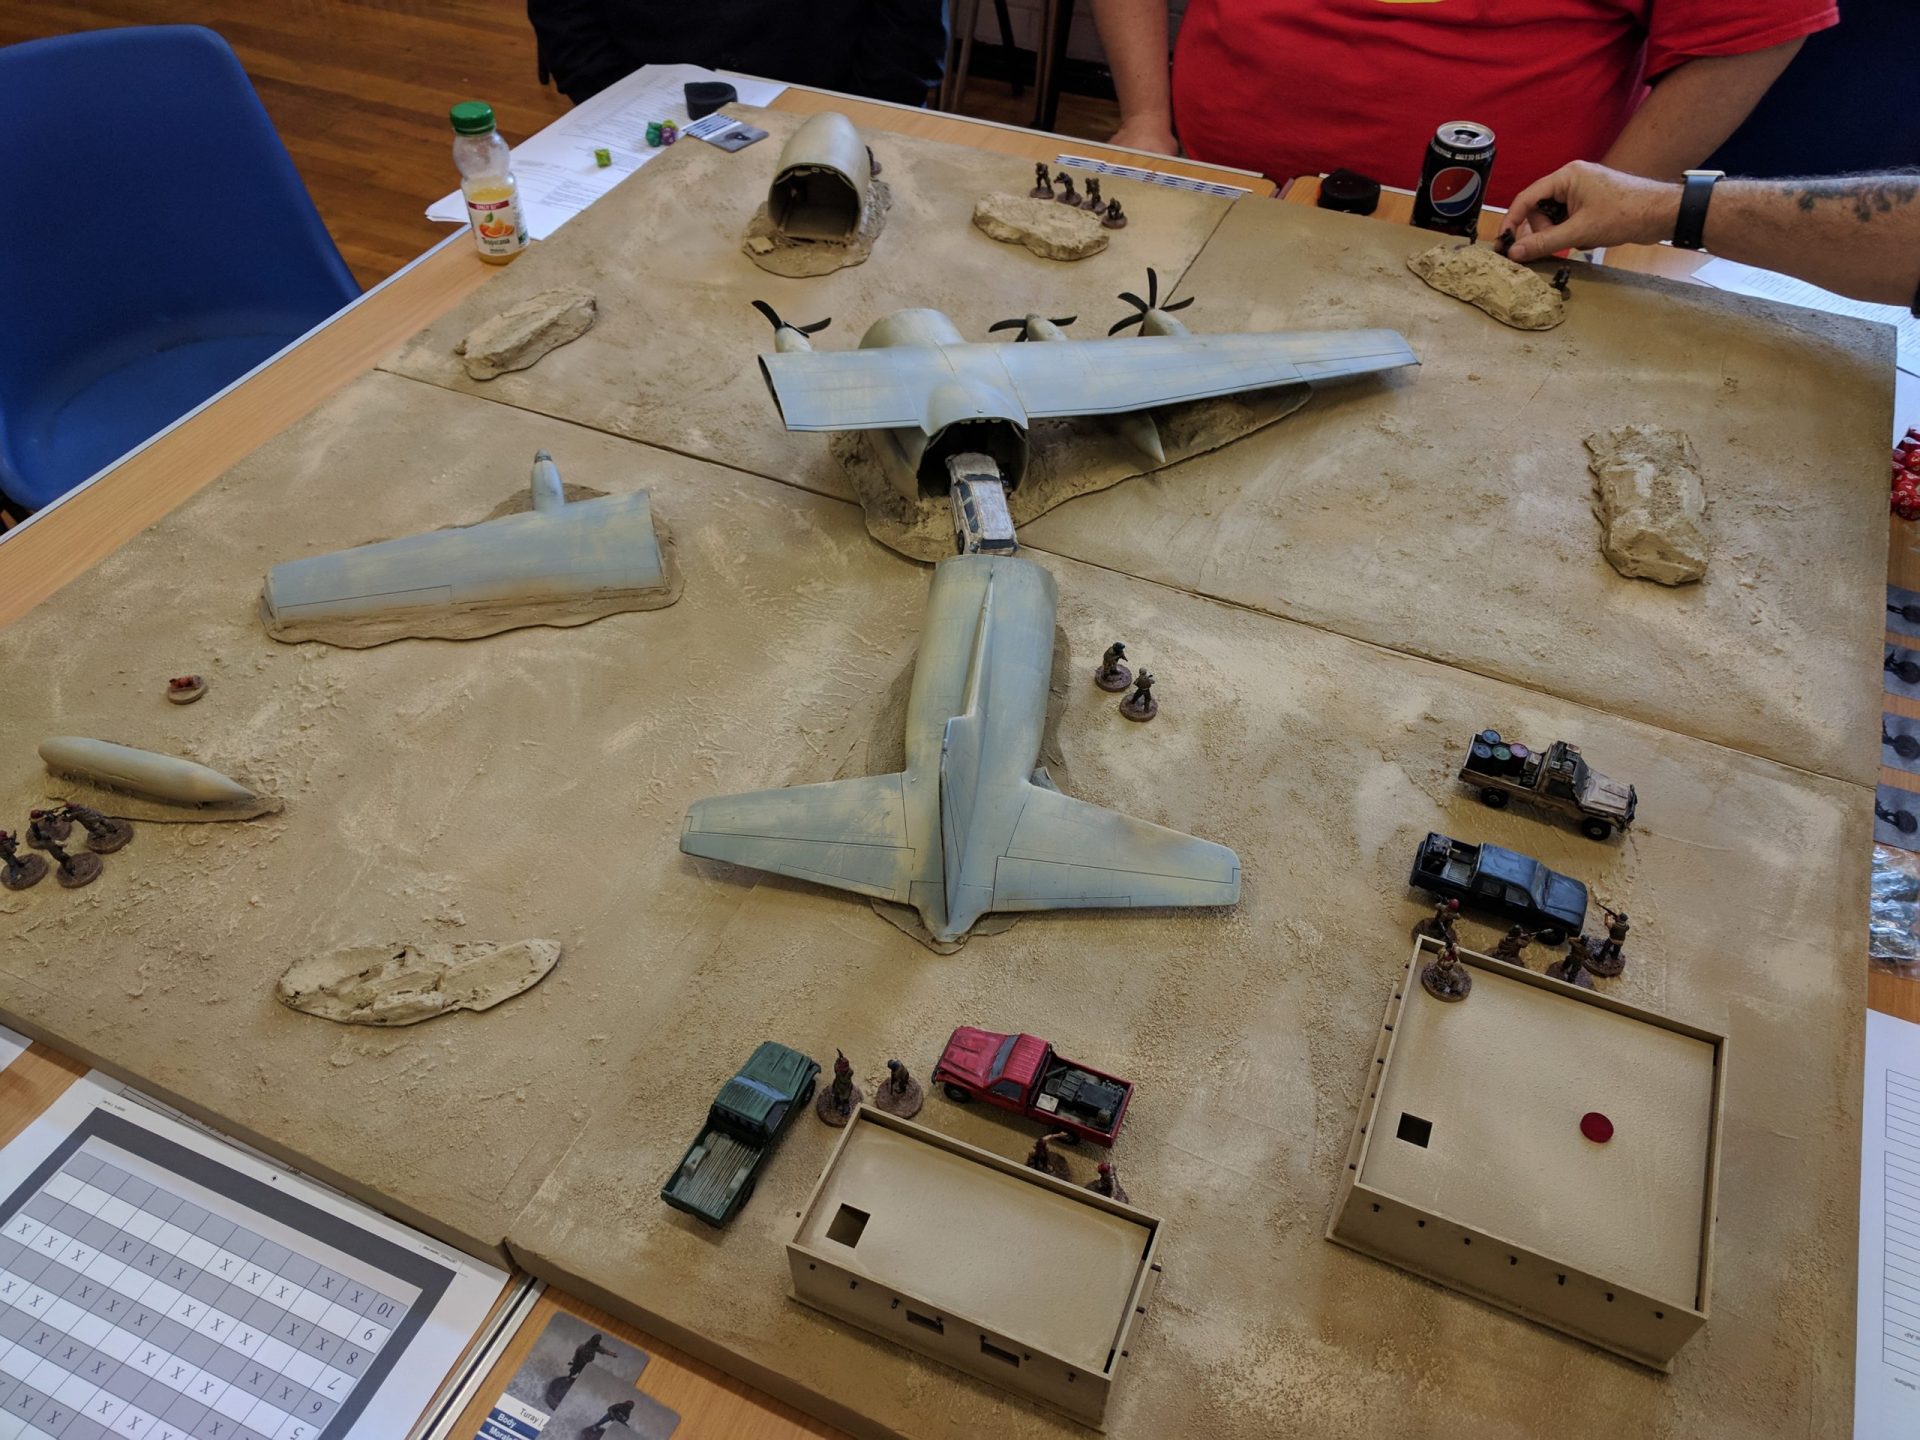
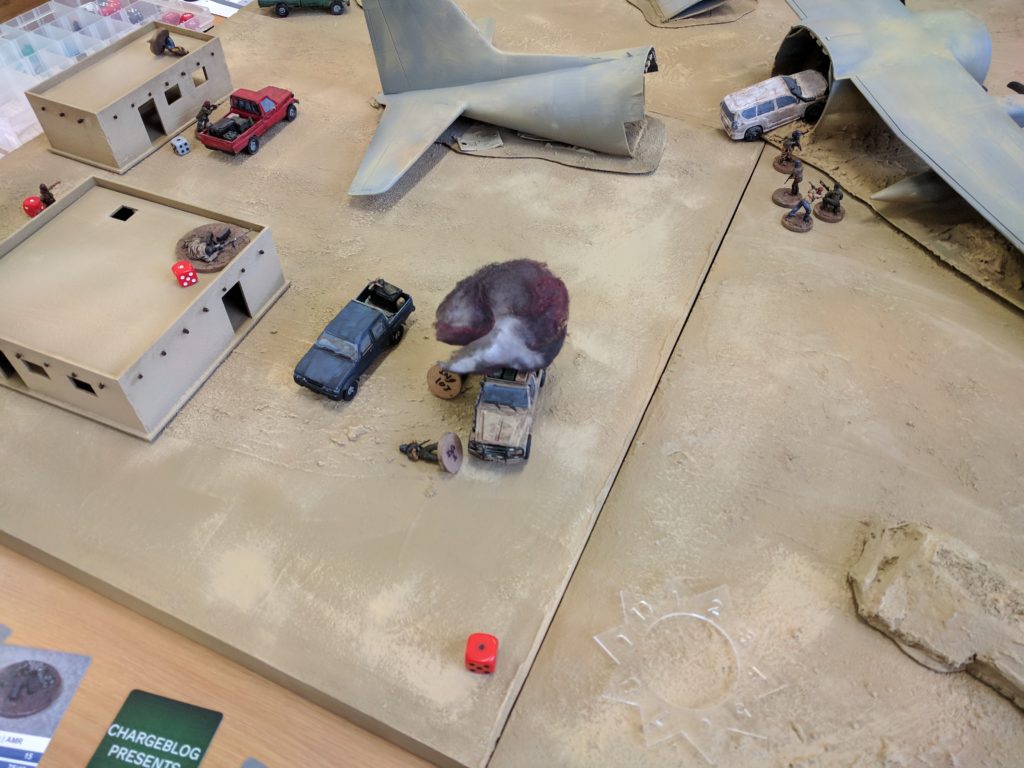
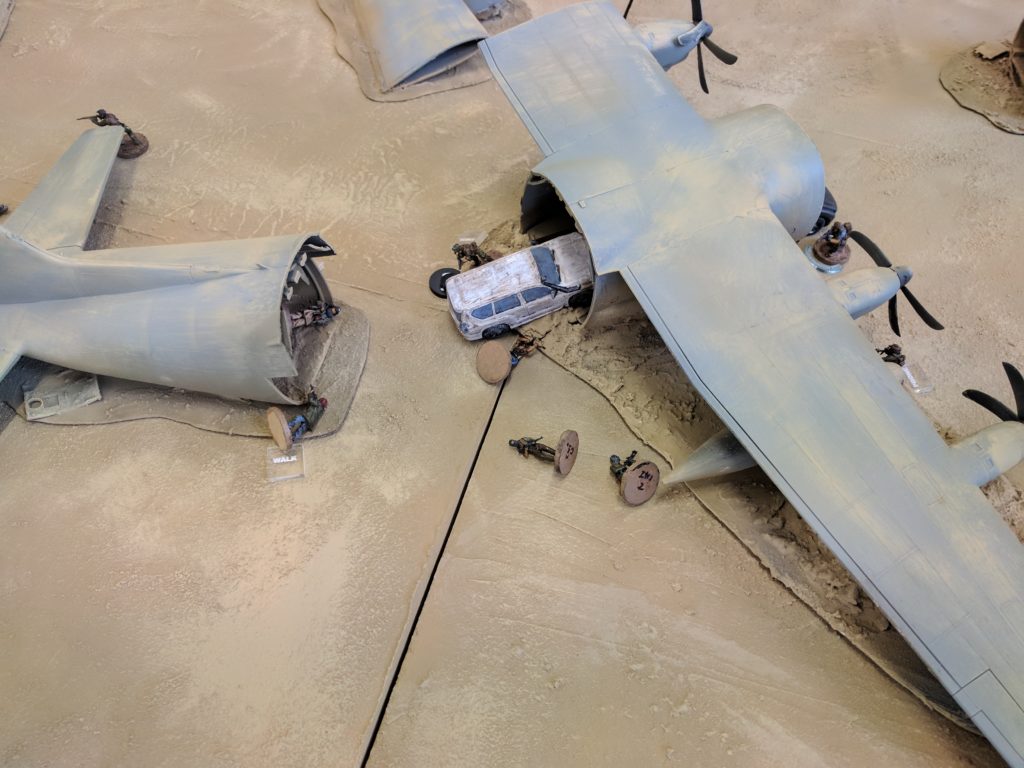
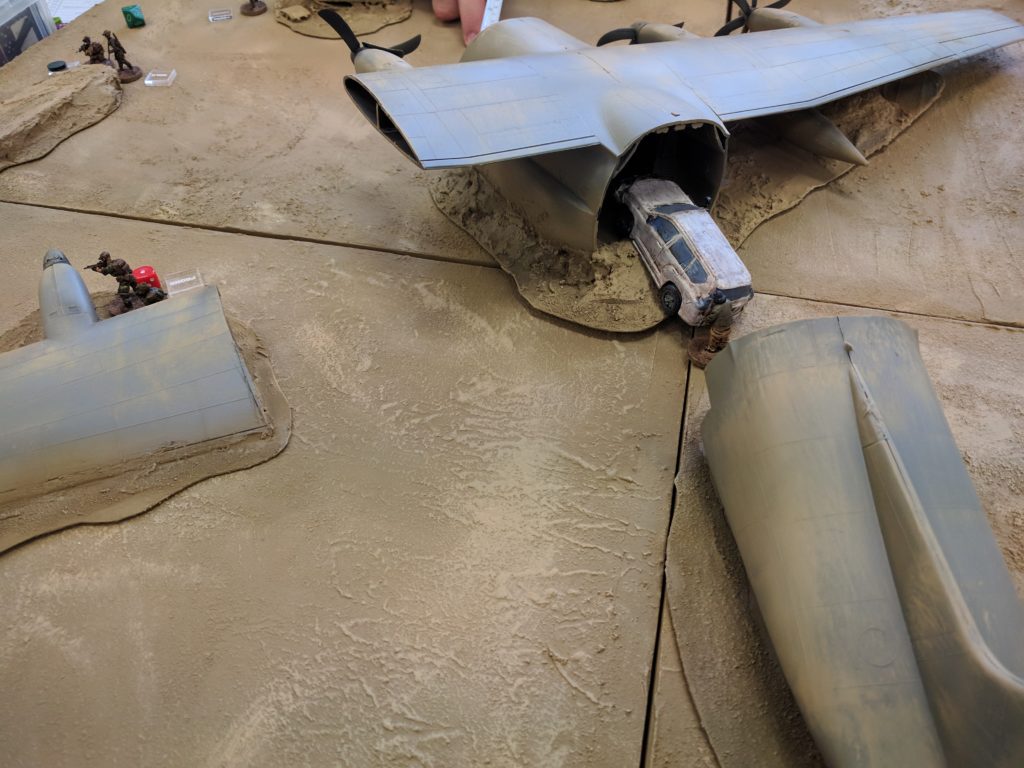
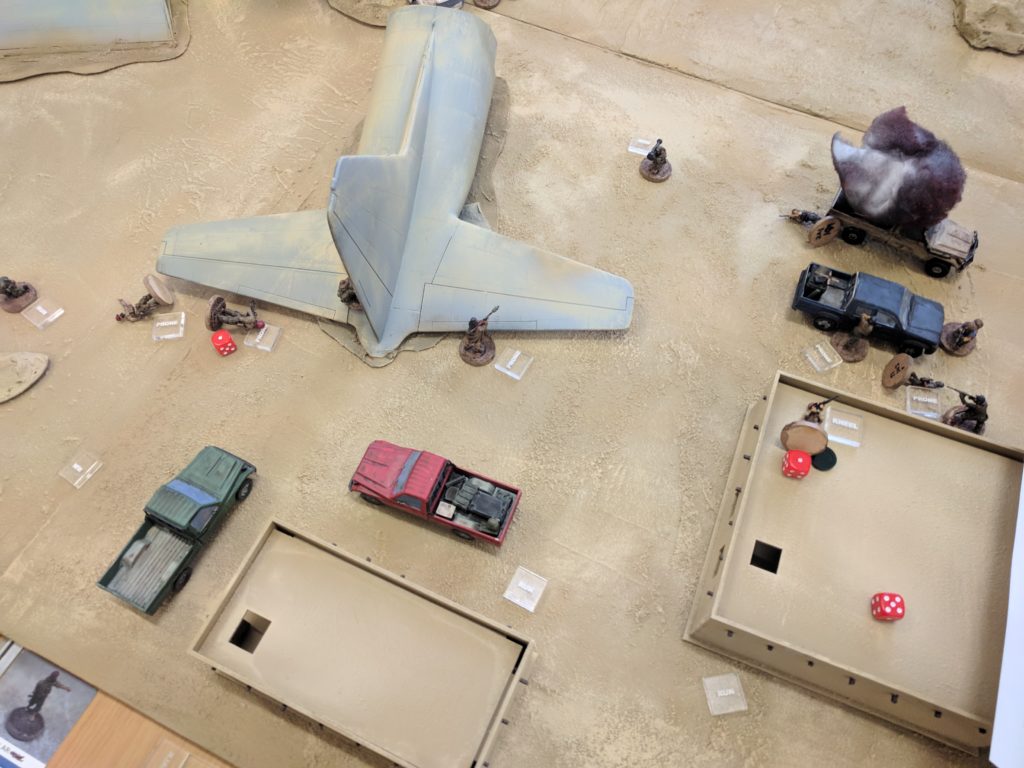
So, lets take a look at the first game. The picture below shows the layout (although the gunner on the technical was removed before play began). Three players each took a fireteam (created by choosing four operators from the decks I’d made) while I took the OPFOR. My force was randomly generated, based on a dice roll for number of characters and then draw from the pack. Although this was fun to do, I think it may have made the game too easy.
There were four objectives for BLUFOR to achieve
- Destroy the flight deck with thermite
- Secure the black box
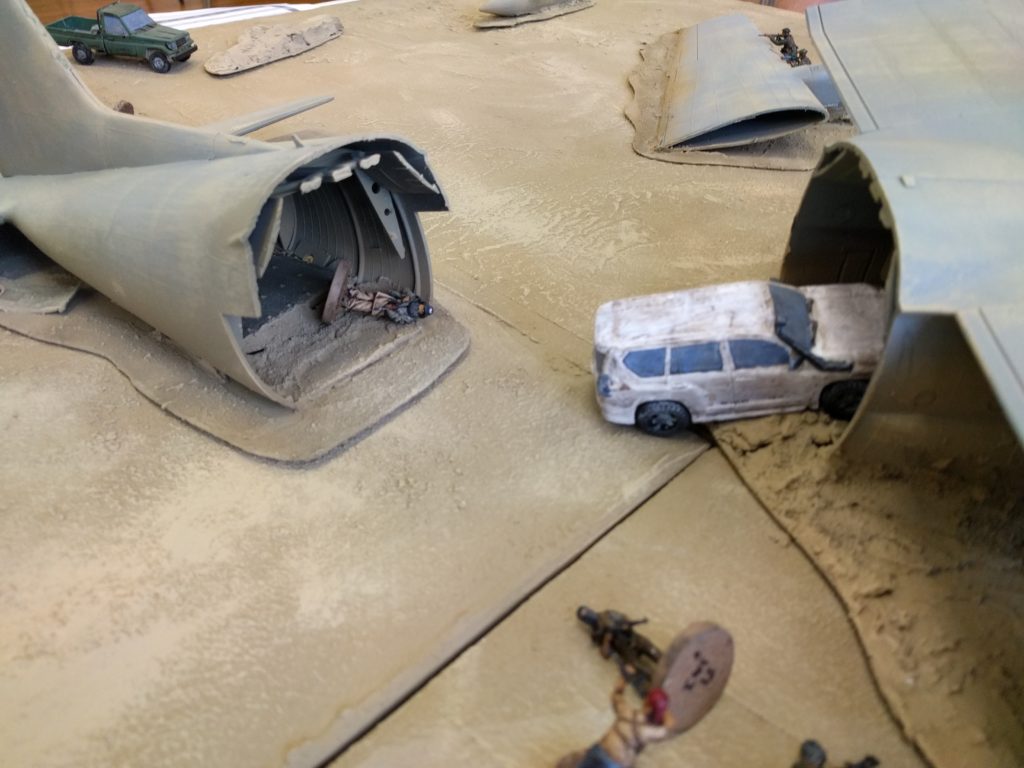
- Search the white SUV for important documents
- Destroy OPFOR technicals
As the game begun, the players headed off for their objective. Fireteam A headed for the broken wing section in order to dominate the flank and then advance onto the white SUV. Fireteam B started close to the nose section and so they set off to place the charge. Finally, Fireteam C moved to grab the black box, as well as setting up to hit the various vehicles. All groups started infiltrating (using the stealth rules from the new book).
As they crept closer, one of the militia marksmen managed to spot an operator from Fireteam A. With no suppressed weapons, this basically meant they would have a limited time before they were rumbled.
With a ridiculously high shooting skill, Fireteam A’s marksman was easily able to shoot down his target and incapacitating him. Fighters nearby were unnerved by the sound of this first attack and started locking them in place with morale tests. Fireteam B used this distraction to get into the cockpit and placed the thermite device.
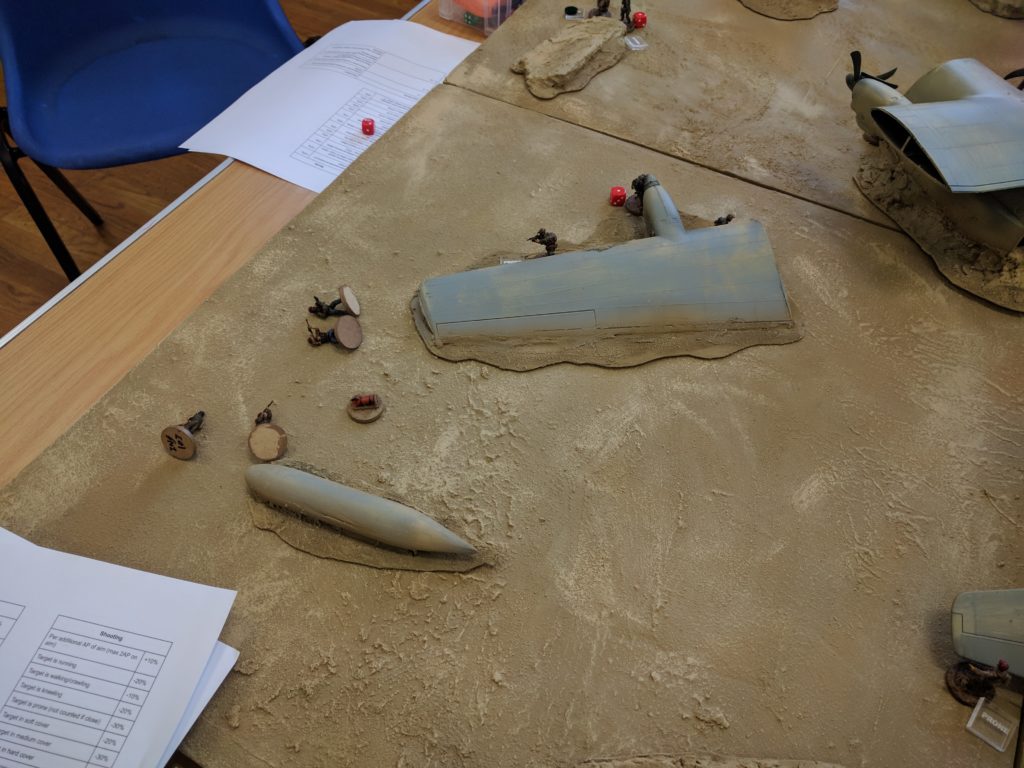
On the other side, Fireteam C got to work. The first shot sent a UGL round flying across the board and into a technical. The resulting explosion set off the fuel being stored there, destroying the asset and taking down two insurgents in the blast. The anti-material gunner 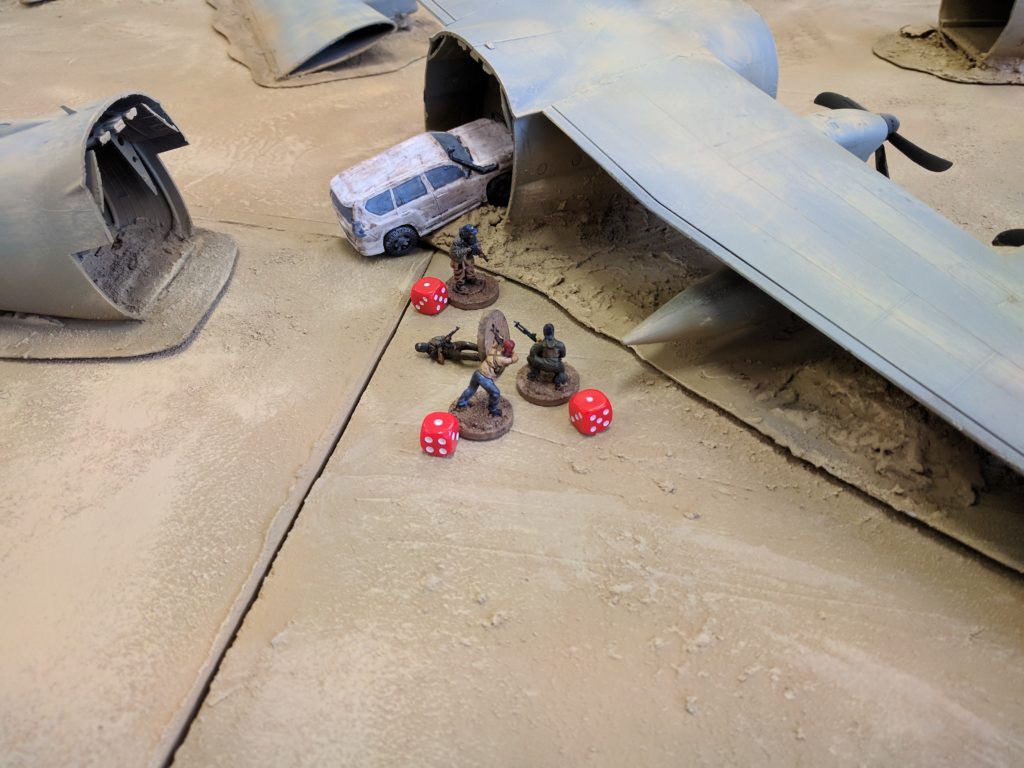
Fireteam B and C also opened up, engaging the group near the white SUV. The first shot took down the middle of the group with the morale effect pinning the rest of the squad in place.

Fireteam C saw the fight starting and decided to use this distraction to sneak up on the black box. The fireteam leader sprinted to the box before kneeling next it.
Unfortunately, this move exposed him to the waiting sniper. Swinging the anti-material rifle around, a quick shot hit and inflicted massive damage, immediately killing him.
As the next phase started there was a sudden blast as the thermite detonated, immolating the sensitive equipment and achieving one of the objectives.
After being pinned down in the open, one of the militia sprinted to seek cover in the back of the plane. However, this move exposed him to gun fire and he was taken out by the dead eye marksman from Fireteam A. Also note the two operators in cover behind the wing, easily able to pin down anyone trying to move up on them.
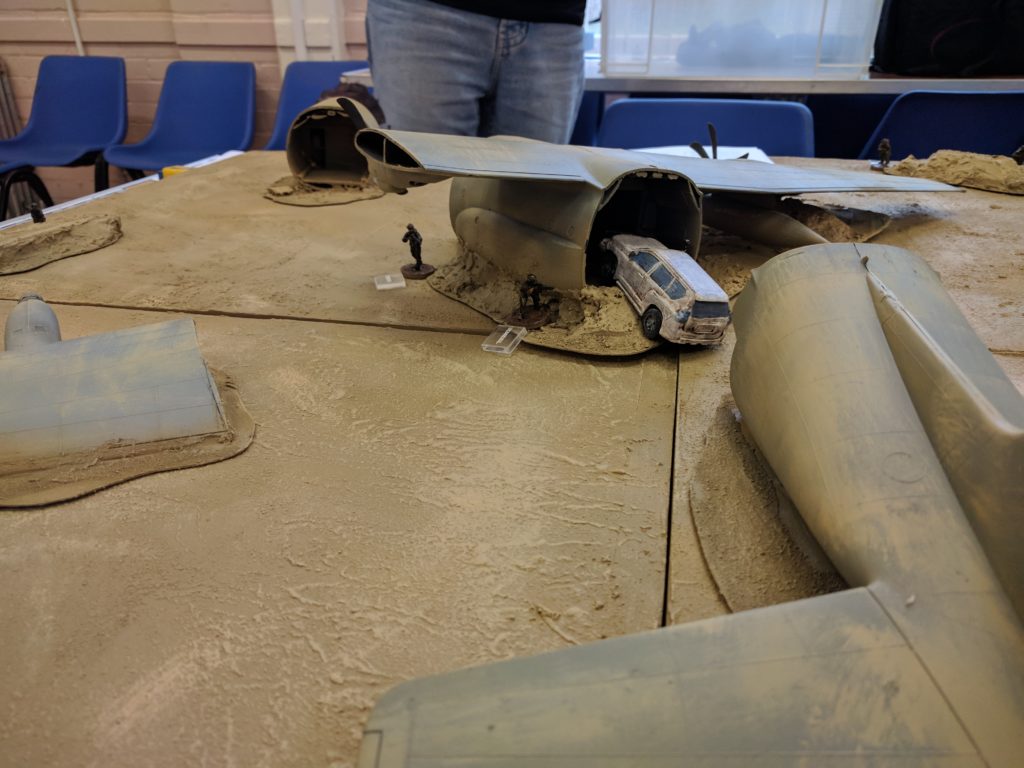
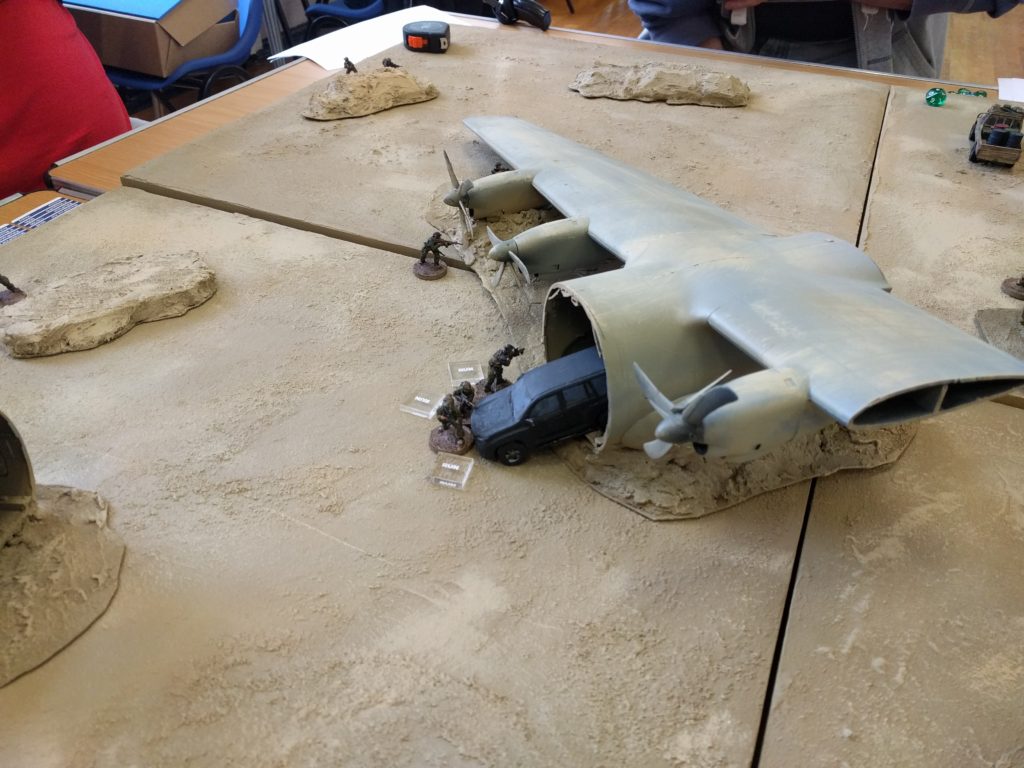
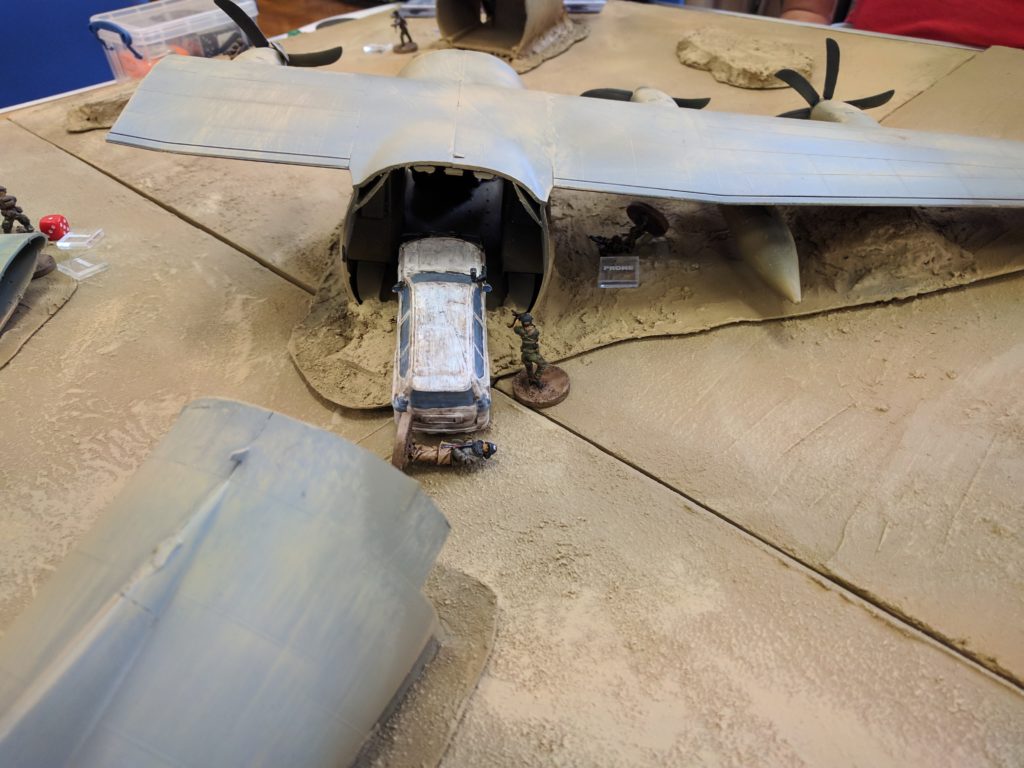
Covered by their team mates, more operators started to move up on the white SUV, seeking to quickly snatch the intel.
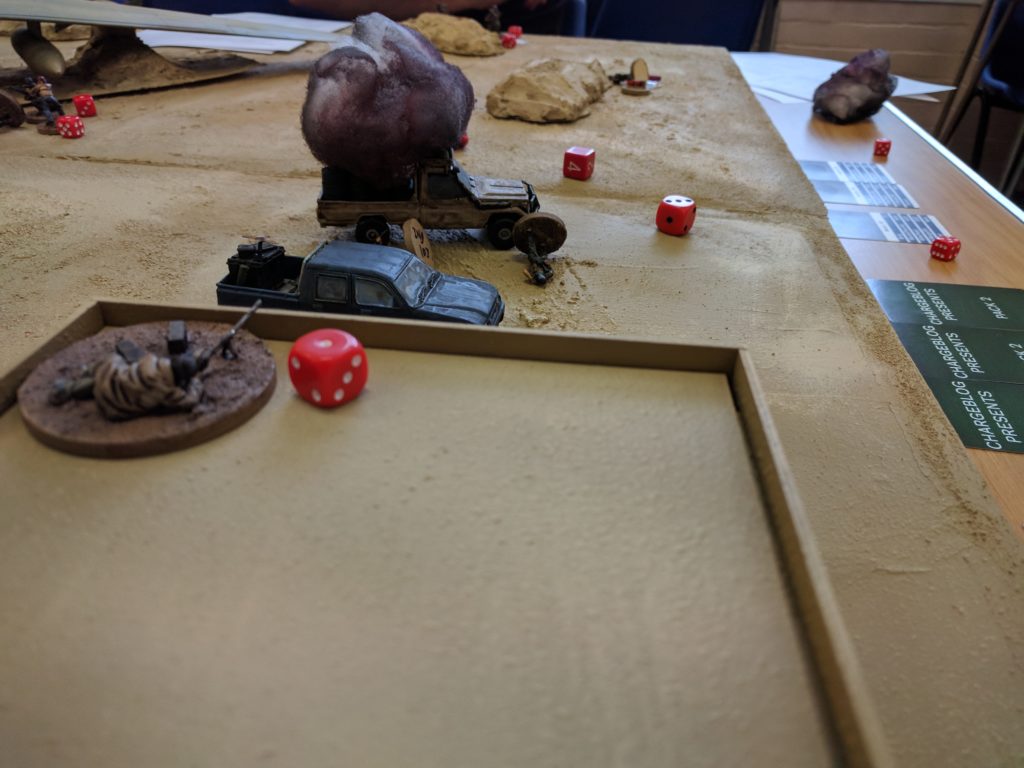
Having reloaded his grenade launcher, Fireteam C’s grenadier sighted the red technical and sent a round flying towards it. Another hit, another asset destroyed.
I must have forgotten to grab a picture but I should mention what happened to the machine gunner on the roof. Fireteam B’s SMG character, still standing close to the nose section, managed to thread a difficult shot through the plane and land an incapacitating hit on him.
Moving round both sides of the plane, the operator catch the last few enemies in a cross fire allowing easy access to the SUV. Both Fireteam A and B took full advantage of the cover provided by the wreckage, including crawling under the wing.
One final bit of excitement – as one operator was search the vehicle a militia man spotted him with the intel and opened up. He didn’t cause any damage and in the next turn, his target rallied and took him down.
As the game ended, nearly all of the OPFOR lay dead or incapacitated. BLUFOR took one casualty and managed to achieve all their objectives. Scratch one for the good guys. All three players had a good time which was great to hear.
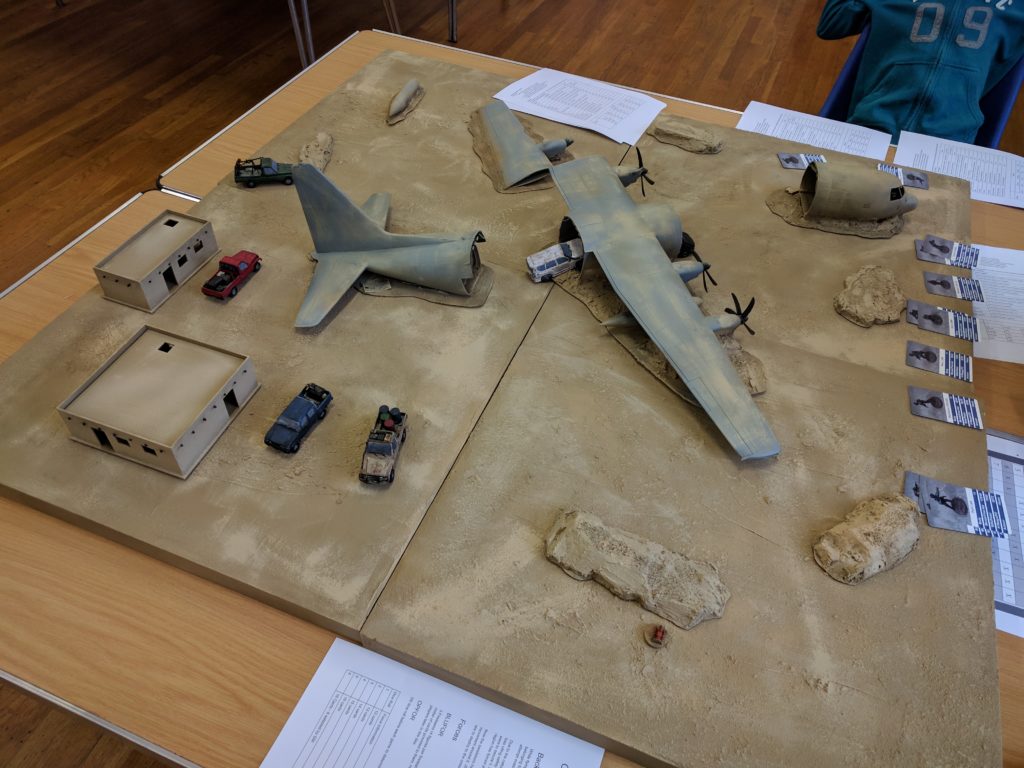
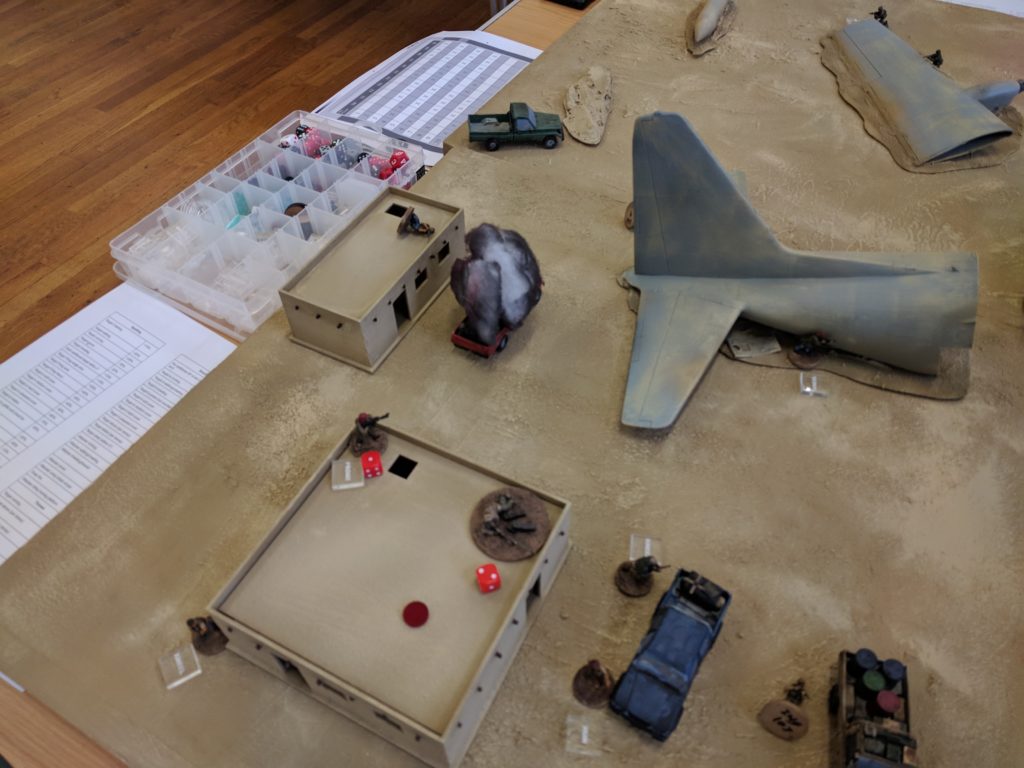
After a short break for lunch (including a trip to Subways located 2 minutes from the hall), game two began with three new players picking three new fireteams. I also changed up the enemy team and the objectives, the black box now on the other side of the board. I also set up my OPFOR a little differently

Rather than jumping straight into the shooting, BLUFOR this time managed to actually be a little more sneaky.
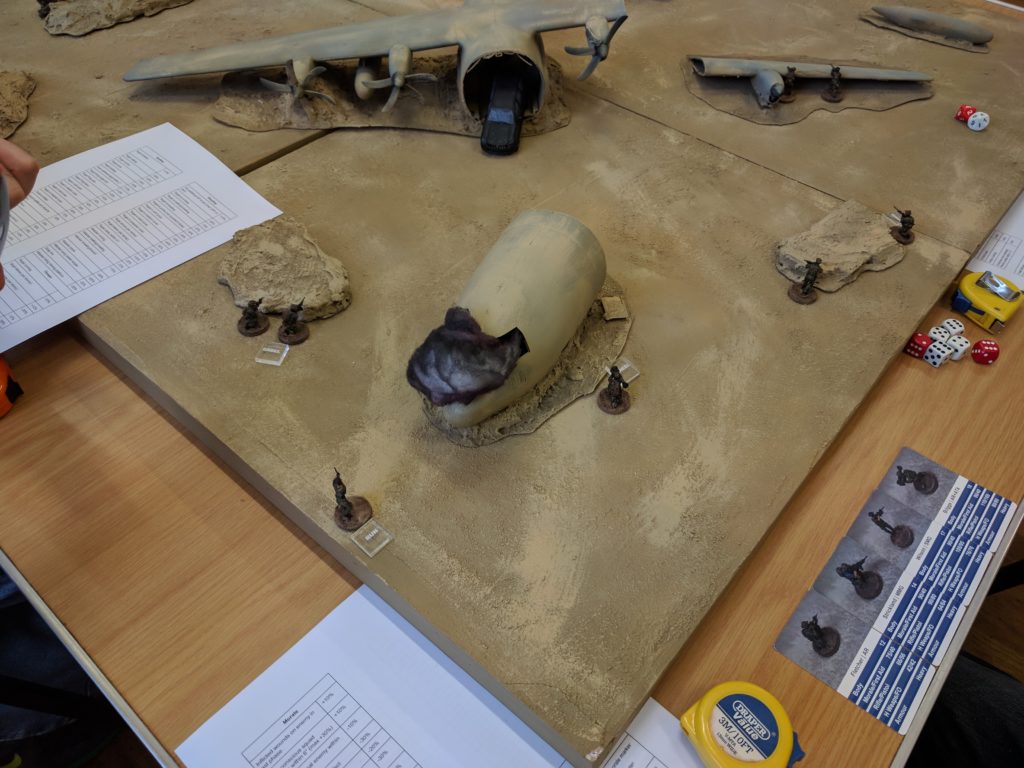
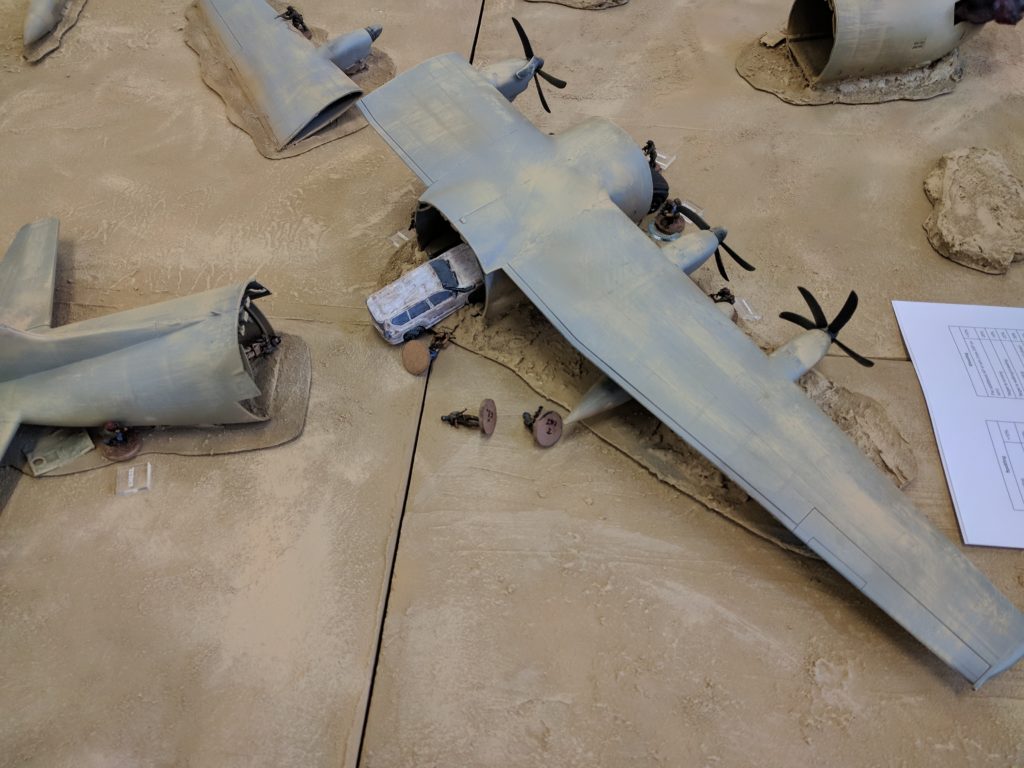
While Fireteam A setup at the nose, Fireteam B and C can be seen above moving up on the central part of the plane.
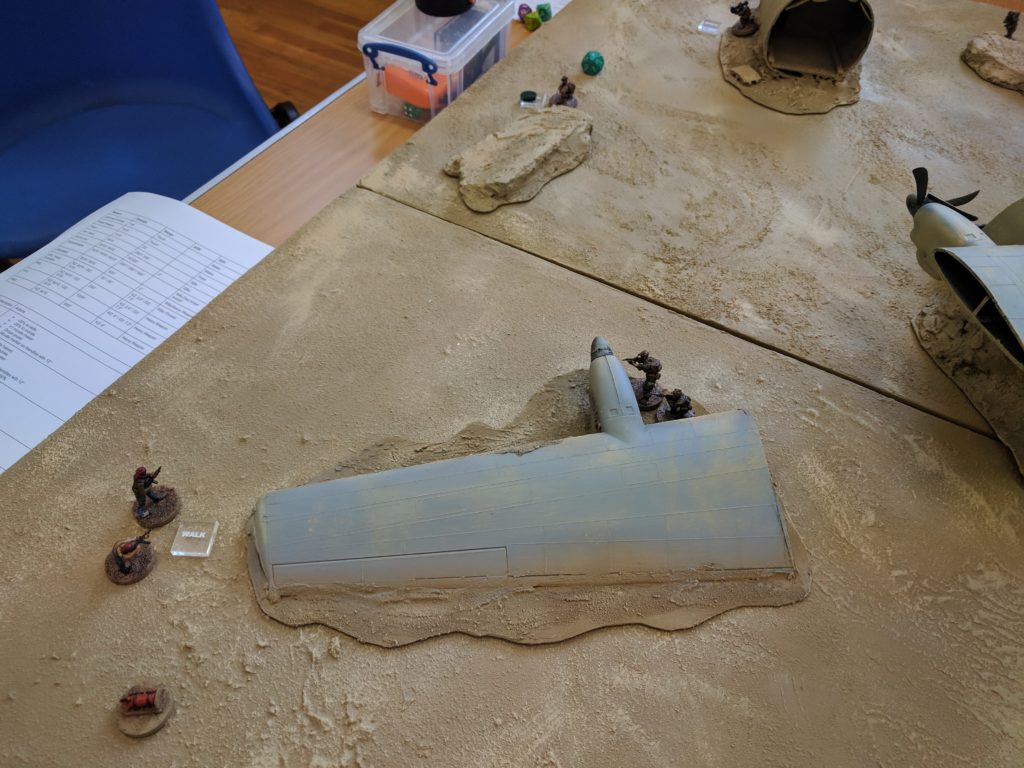
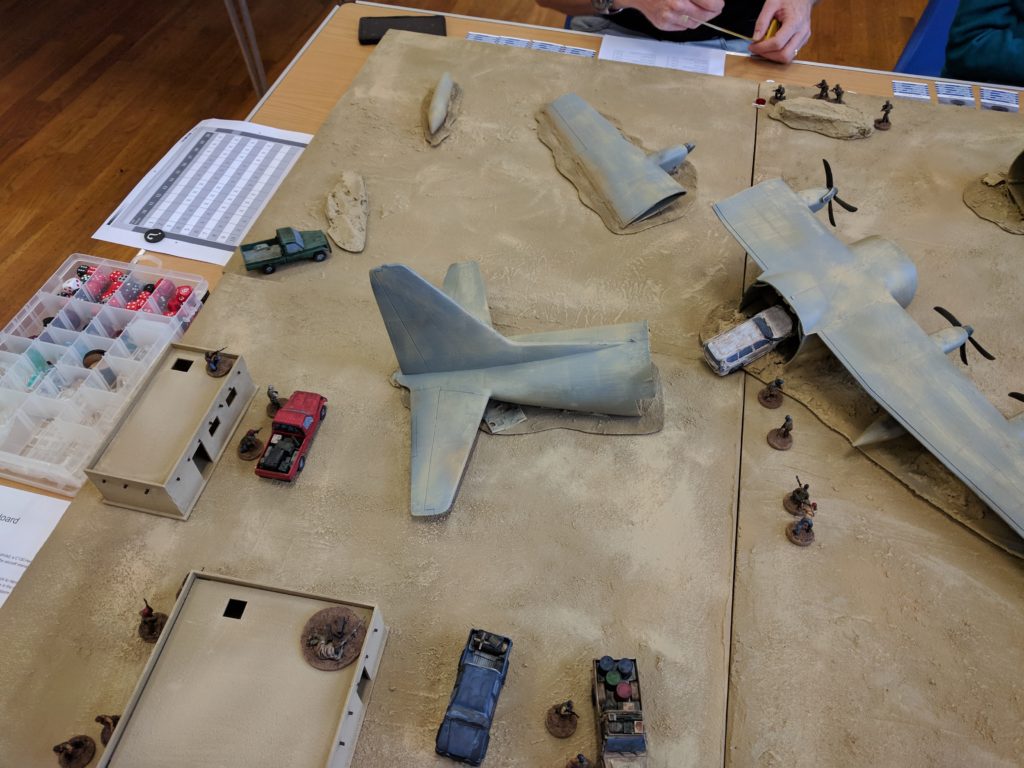
Of course you can’t stealth forever. Fireteam A held off detonating the charge as long as possible letting element of Fireteam B sneak into position next to the engine. The insurgents didn’t spot him but did notice the marksman rushing forward.
As we learnt in the first game though, spotting marksmen never ends well. Before the alarm could be set off, the LMG gunner from the sentry team was taken down by a well-aimed shot, momentarily pausing the sentries as they have to handle the sudden appearance of BLUFOR.
Hearing the sound of gunfire one of the militiamen ran to the back of the SUV and opened up on a prone operator. His shots hit home but the body armour absorbed it all.
Before the shooter could get away, a BLUFOR SMG operator managed to get behind him, drop him with a quick burst and then begin grabbing the intel from the SUV.
Back on the wing, Fireteam A and B moved up. Fighters from Fireteam A, who had blown the cockpit, now moved to join the fight, including one who rushed up to the wing. An insurgent way back on the edge of the board (just out of shot) started shooting but was swiftly silenced by the combined efforts of an entire fireteam.

Meanwhile on the other side of the board, Fireteam C was causing havoc. Having taken out a technical and the marksman, the subsequent morale tests (and their many failures) had pushed lots of troops around and into less advantageous positions.
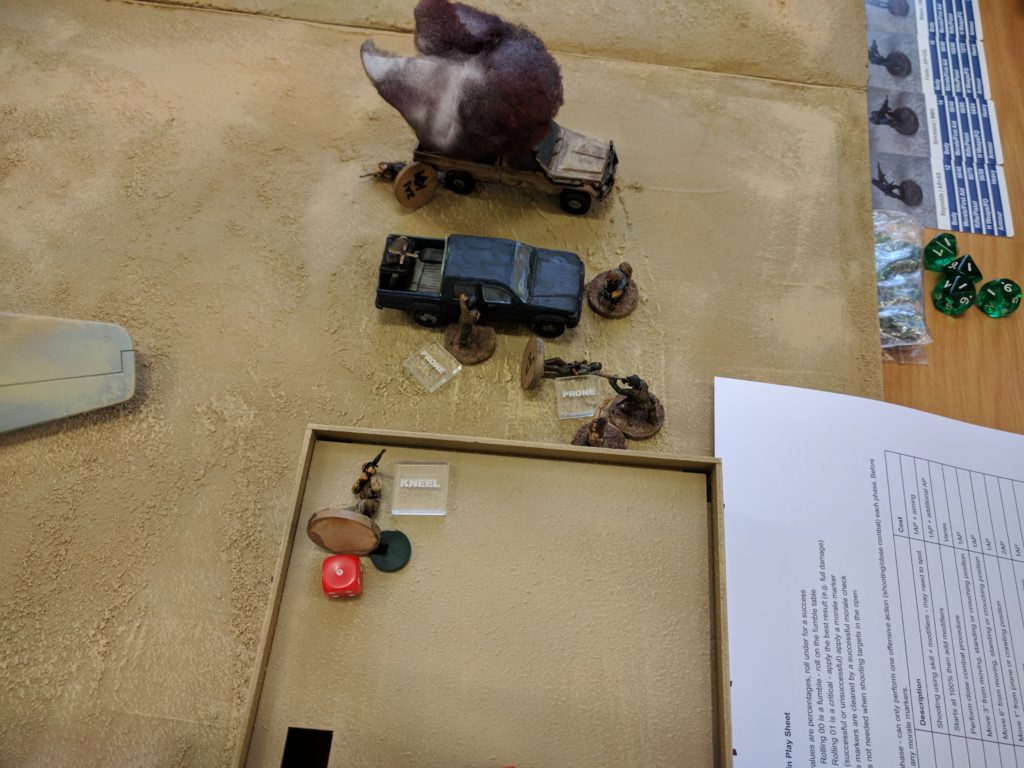
Seizing the opportunity, two operators moved up and started what was the strangest fight. As the shotgun wielding breacher turned the corner, the closest enemy managed to avoid all the shots fired at him, pass a morale test, drop prone and get into cover. Before the breacher could even act, the insurgent leader came screaming in from out of nowhere and engaged him in close combat. Luckily the leader manged to fluff two turns of close combat before the breacher threw him to the floor. The machine gunner eventually engaged the man under the car, forcing him to surrender.
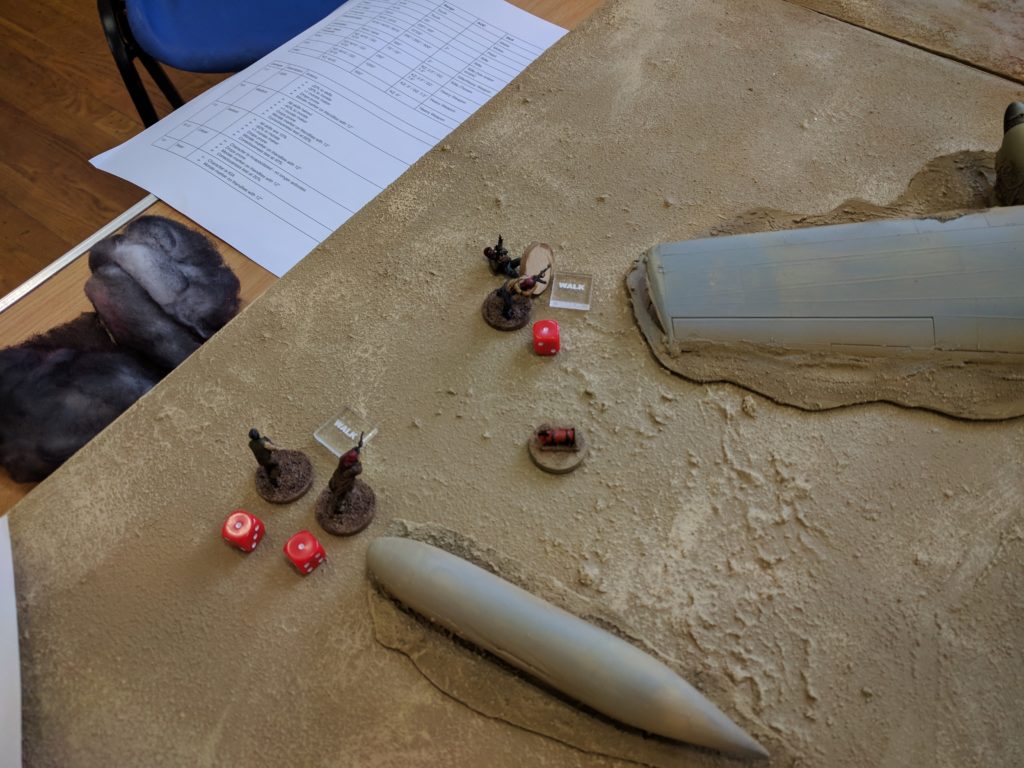
Start of the final phase and the only effective fighter left on the board was the lone RPG gunner still frantically trying to reload his RPG. As the Operators closed in, two players almost caused a friendly fire incident. As a LMG gunner crept into position behind the tail, his AT gunner compatriot tossed a frag at the last insurgent alive. It didn’t land exact but luckily scattered enough that the plane’s tail absorbed all the shrapnel while still vaporizing the hapless goon. With the operator’s ears ringing we called the game.
Again, BLUFOR wiped OPFOR from the table (even managing to capture two of them) and got all the objectives. BLUFOR did end up losing one character to a PKM burst (this was the team leader in Fireteam A). Once again, everyone left the table having really enjoyed it.
So after getting back and having some time to think back over the events, there are a few things that I think worked and a few that need improving.
What worked well:
- The baseboards: I am really happy with how the baseboards look and work. They look great, didn’t chip too badly despite having dice and terrain on them all day and I was easily able to carry them around by hand from car to table.
- Terrain: The whole “crashed plane on board” idea worked. Despite not using a huge amount of terrain, it managed to successfully break the lines of sight and present something interesting to play around. It was also successful at grabbing people’s attention, with lots of people walking past stopping to take a look at it.
- Cards: Everyone who played (and many people who walked past) commented on the cards. Having the stats plus picture in a handy format really made it much easier for player to get to, rather than having to check bases or look at descriptions.
- Basic play sheets: The basic playsheet/quick reference I wrote up reduce the QRF down to four pages. People seemed to find them very handy and by the end of both games players were working out the modifiers.
- Everyone enjoyed it: The most important part of running the game. Talking to everyone after the game, all of them said how much they had enjoyed playing and liked the system.
What Didn’t work well:
- It was too easy: Both games saw the BLUFOR operators walk away having ripped OPFOR a new one and with minimal casualties. This is way to easy – the ideal is that the players should be able to do all the objectives but it would be a close thing.
- The demo board gaps: The tables I was using had metal rims on the edges of them. This lead to there being a slightly higher point in the centre, leading to some gaps appearing. I think I should bring something to help level it out but I’m unsure what. Something to think about.
- Transporting the boards: Moving the boards in my car was a bit of an experience – while driving back a sudden brake caused them to come sliding forward. Ideally, I need something that will both protect them and stop them shifting around.
- Standing up all day: I really need to get used to being on my feet all day. By the end of it my legs were aching. Basically I need to stretch more.
So before the next showing, what am I going to do?
- Detail the plane: As mentioned previously, I need to make the plane look more like it crashed and less like someone took a hacksaw to it. The plane is to add some structural elements to the joins, paint on some different textures (smoke and oil). Additionally, the board needs more clutter from bits of wreck that were ripped off, like panels of the fuselage or bits of cargo.
- Better objective: Speaking of cargo, the middle objective needs to be improved. The white SUV was a good placeholder but it needs to be something more exciting for the main release. I’m still deciding what it should be but whatever it is it needs to be very important.
- Rework the balance: The game is too easy. My solution is two-fold – increase the number of OPFOR and make the objectives take longer to succeed at. I think my time/AP estimates were off when it comes to placing a demolition device or checking for documents
- Tweak the layout: The core idea is there but I think the buildings should be adjusted to make them more than just show off where the enemy are staying. I also want to add some elements to make it look like the insurgents are working on a recovery operation. Finally, the technicals need to be a little more spread out
- (maybe) Paint up more operators: I really like the start of the game where people would pick their operators from the deck presented to them. If I go ahead with my plan to add some permadeath to the event (operators lost in the morning will not be available later in the day), I need more specialists (MG, UGLs and DMRs primarily) to prevent later teams from being screwed.
- Tweak the timing: I’m tempted to drop the teams down to only two fireteams vs equivalent insurgents to speed up play and allow for more playthroughs of the scenario. It would be nice if this was a quick game that players could jump into. However, I’m not decided on this just yet.
- Other things: I have some other ideas to help get the players in the mood for the game. However, these are secondary to getting the main game fixed so I’m not stressing too much about them yet.
That’s all the update for now. The next update will be after Fiasco but keep your eyes on the Wargaming Week posts for WIP photos as I work on my tweaks.