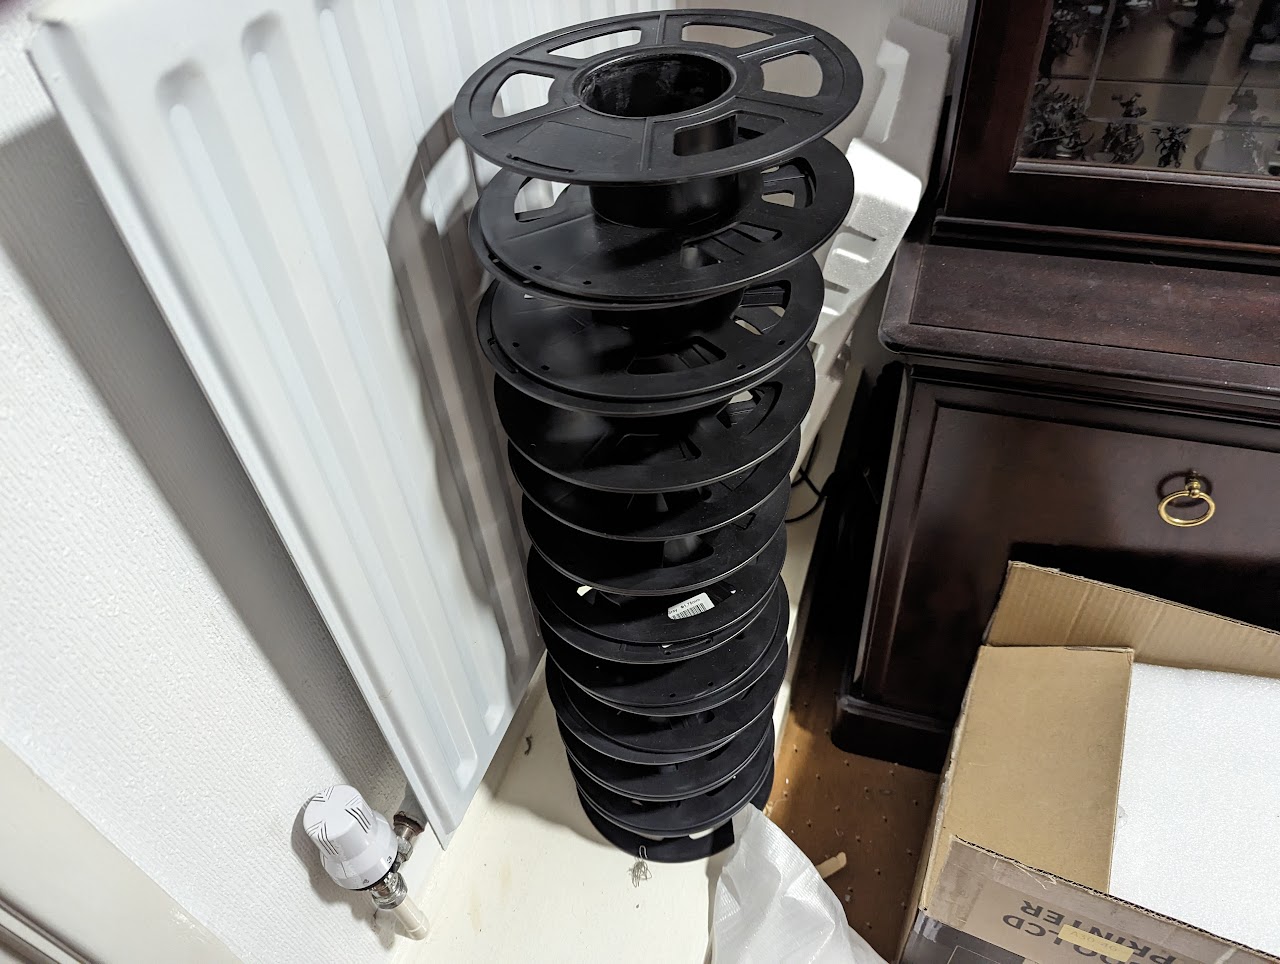
As you may have seen, I have a 3D printer (I’ve talked a little bit about it). Since I got my first printer back in December 2020, I’ve been printing with STL files produced by other people – something glorious about having the printer at the beck and call is the fact there are so many creators online producing a wide variety of figures, vehicles and more. I dread to think how much resin I’ve used since 2020, but if the stack of filament I’ve used since I got the Neptune 4 is a clue, it’s not a small amount.
However, one of my eternal goals while owning the printer was to learn how to make my own models to be printed. This fills in that final step, giving me the ability to take full advantage of the kit I own, as well as a way of getting the ideas out of my head. My time working with Flytrap Factory revealed just how much work is needed to make high-quality figures while also making me realise how much of a perfectionist/pain in the ass I can be when I have something I’d like to make. This definitely pushed me the final mile into realising that I should be working harder to learn to sculpt myself, so I can work through my own ideas and be as nitpicky as I want without annoying other people.
There is however a slight problem with my plan – I don’t currently know how to properly 3D sculpt. As a bit of backstory, when I was in university as someone looking to enter the games industry, I had the choice to focus either on the games programming route or the 3D art and design side. I chose the programming route, mostly as I could more easily improve my maths skills rather than my drawing skills. This meant that my interaction with programs such as blender was mostly complaining about having to deal with items created by other members of development teams, rather than getting my hands on it. As such, I was going to be going from basically scratch, armed only with a load of tutorials, a Blender shortcut menu and a pile .
But what to build and where to start? My “grand plan” is in three stages – buildings then guns then people, working my way from larger simple structures to smaller more detailed items to organic items and posing. My other goal was to work with a project that I will actually find useful -it’s all fine making Benchy esque test pieces but I learn far better when what I’m doing has a point to it.
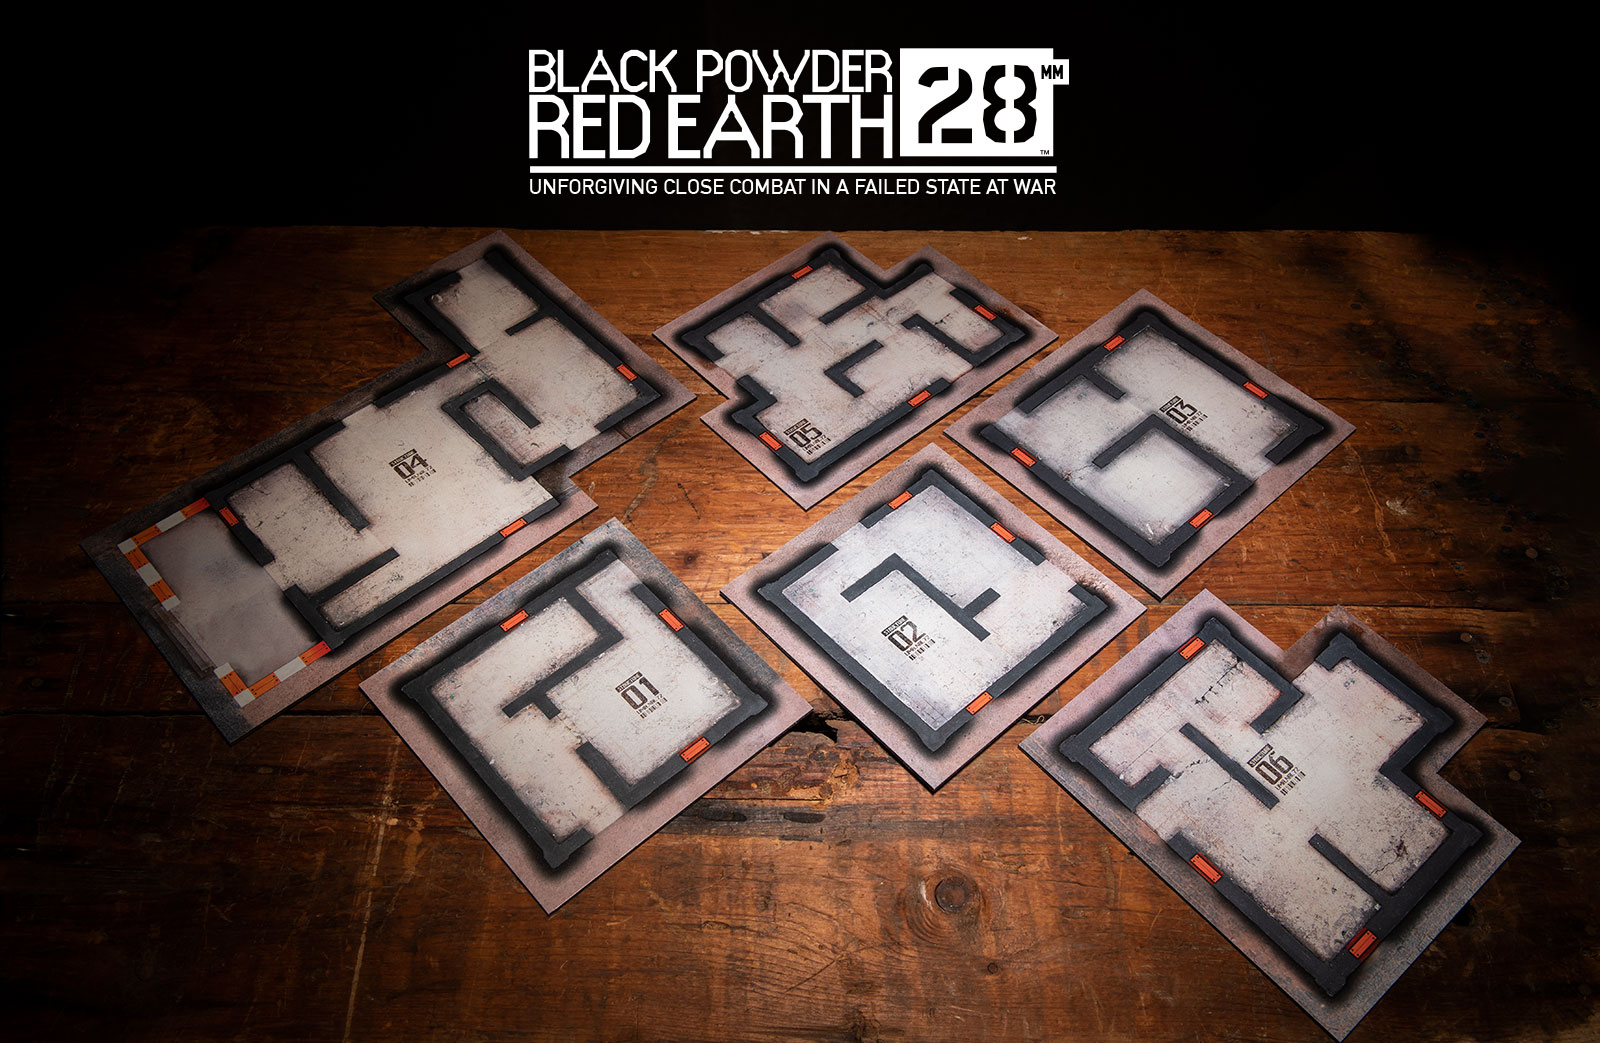
Enter the BPRE 28mm buildings. The core game of BPRE comes with 6 structures (extended to 9 in the first expansion) and they are all provided as flat hard-wearing templates designed for maximum playability and easily able to pack away into a relatively small box. For all intents of practicality, the buildings in BPRE28mm work best as flat locations… but they are also great layouts to fight through with a realistic mix of rooms, doorways and windows that help to make every move and every shot risky. Plus, I’m someone who likes the visual aspect of my tabletop wargames, so having full structures to move my figures through is very attractive, the height turning gaps between buildings into shadowy alleyways.
The other benefit as a new sculptor is that the building are relatively simple. They are all regular flat sided shapes, with predefined metrics for things such as door/window width, corner column size and wall thickness which means less stuff to work out as a new 3D designer. Plus, having templates available as PDFs via the Patreon meant I wouldn’t have to work from a pile of measurements but could just put them literally into Blender and work on top of them.
Finally, the BPRE buildings offer a great level of gradual escalation in terms of potential complexity. The buildings are simple layouts yes but the Conflict Bible and Hypernotes show a variety of buildings that the missions take place in. From simple and quick constructions that are basically bricks with not much decoration all the way up to nicely decorated private villas. Plus, as well as the visual complexity there is also the question of how to split the buildings – for gameplay you want to access a minimal height version to save cramming your hands into tiny space when positioning your operators but visually you also have times when you want the full height wall or roof on board. This is a set of logical problems to be solved one by one with escalating complexity, something that appeals to the programmer in me.
So with some pre-designed layouts and a copy of Blender I begin to work. Turning the templates from the Patreon into images and then using them as a reference background was relatively easy, getting the scale was less so. To the point where I ended up making it a little bit too small with the first version
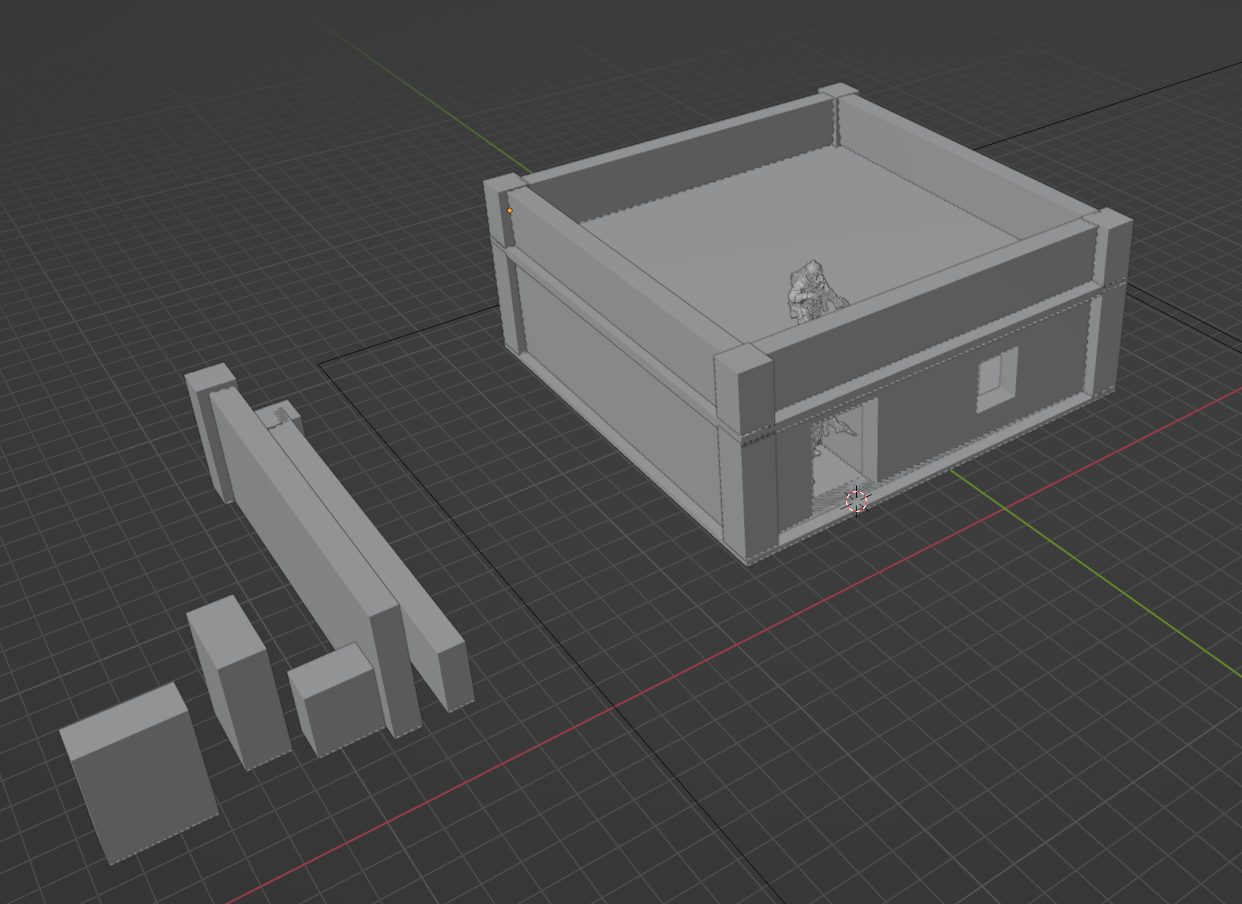
The first step was to build up a kit. This was a set of reusable parts that I could could cop and place over the template, covering things such as walls, corner pieces, doors, windows and parts for the roof top. This system worked out great, with boolean cuts from the doors and windows pulling out chunks from the walls and assembling this cool basic shape. Of course, it was incredibly clunky and was a pain in the ass to keep adjusting the pieces to the right size and position.
I’ve got to thank Combat Octopus for, after looking at what I was doing for literally seconds, pointed out I was doing this the wrong way and should instead just work from a single cube and extrude my way out, saving myself lots of headaches later on. I managed to rebuild the geometry from scratch in an evening, as well as giving greater control of how exactly things fit together.
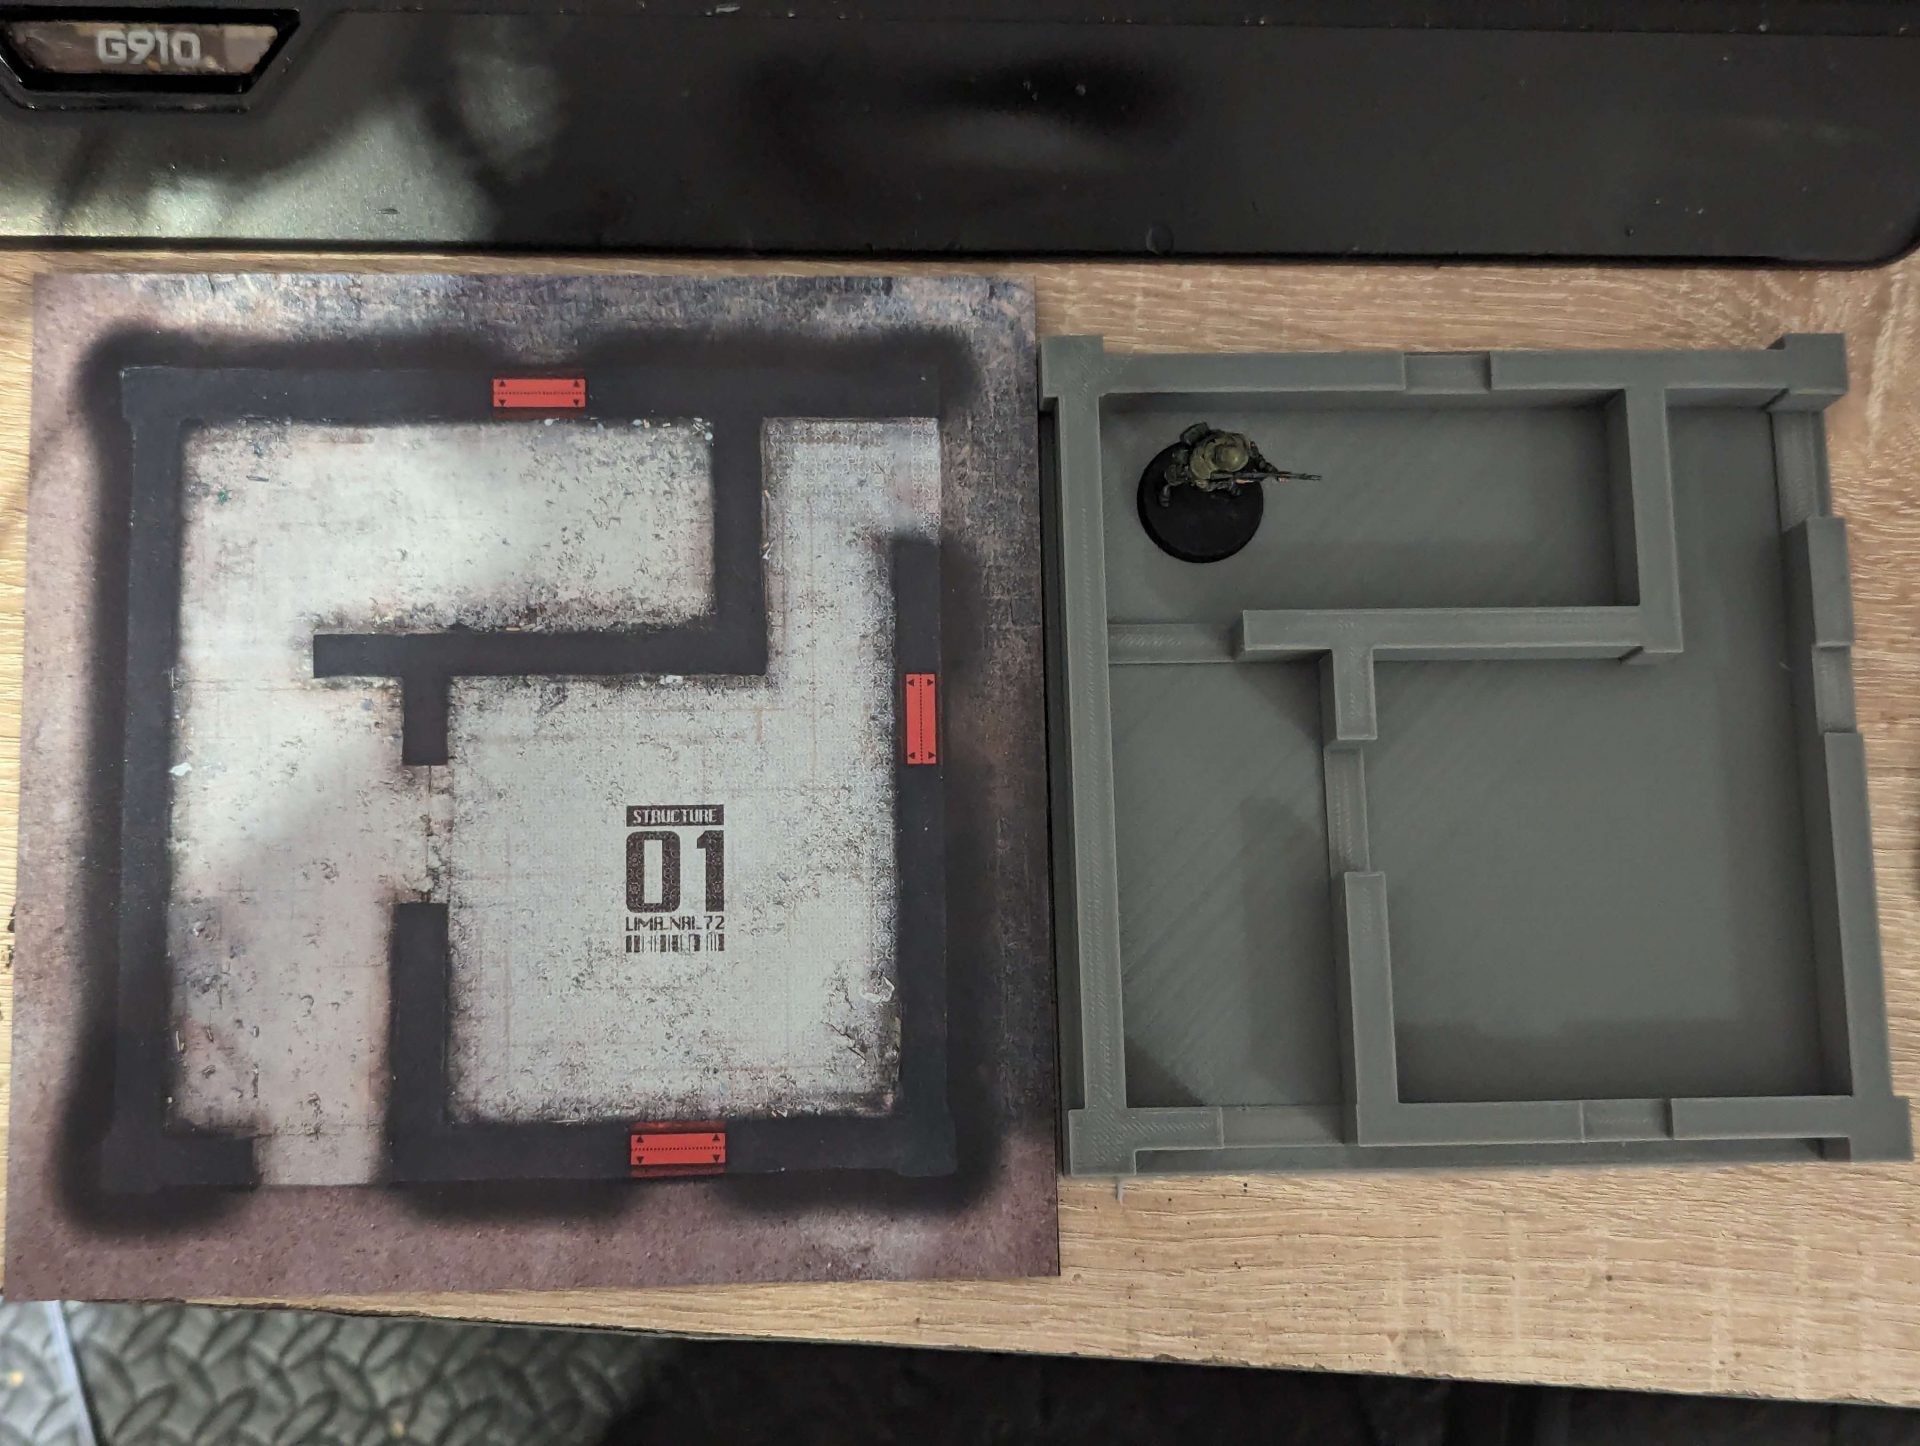
And then here we are – the first printed test version at the right scale, complete with cut out slots for the doors and windows. This was printed with the doors slighty lower than practical so I could hammer out a quick print to make sure it all works but even so, there was a cool moment of holding in your hands something you had done all the 3d work on actually being a physical thing now. Definitely a motivating factor!
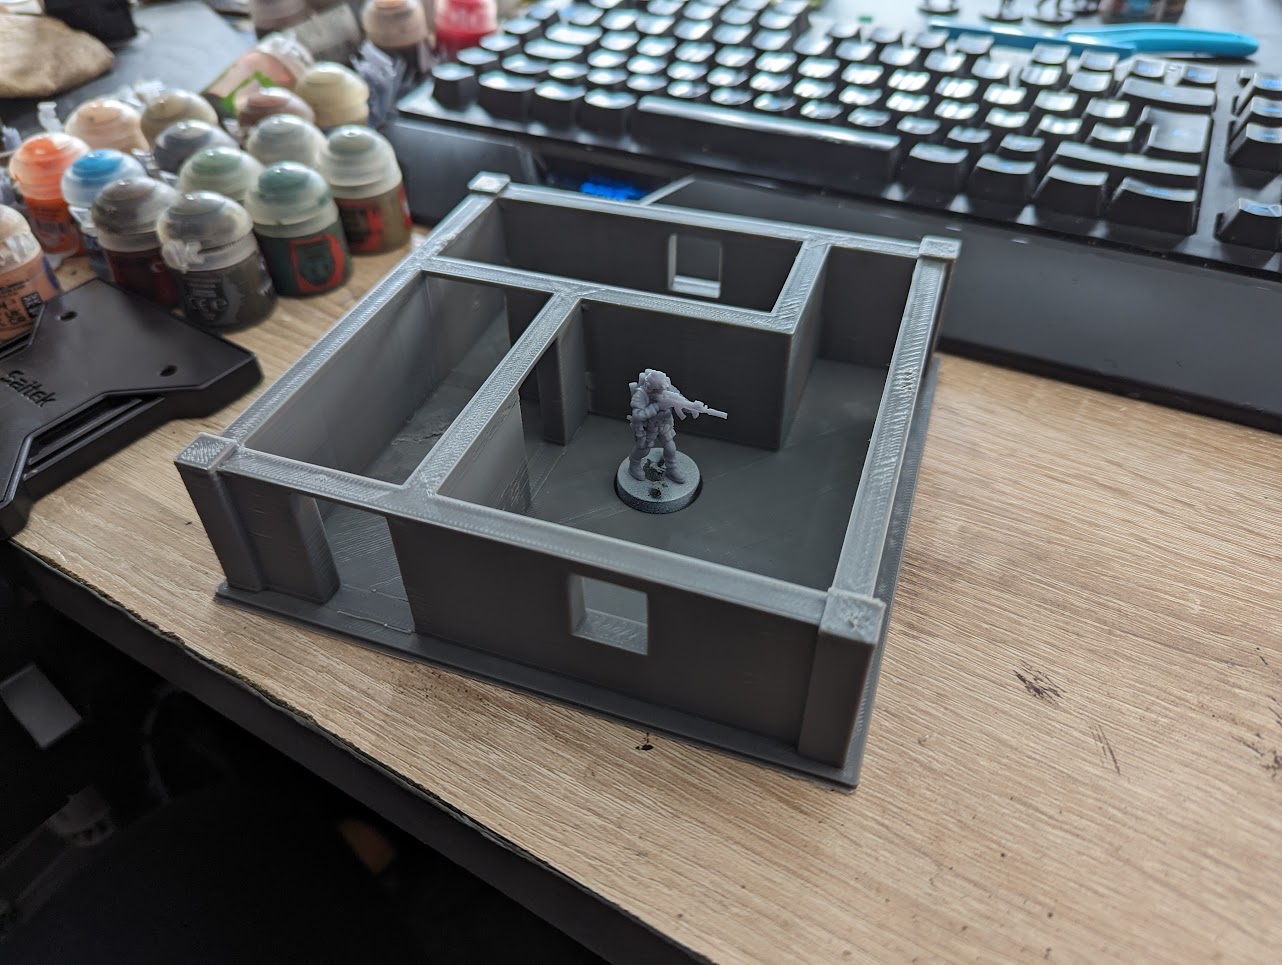
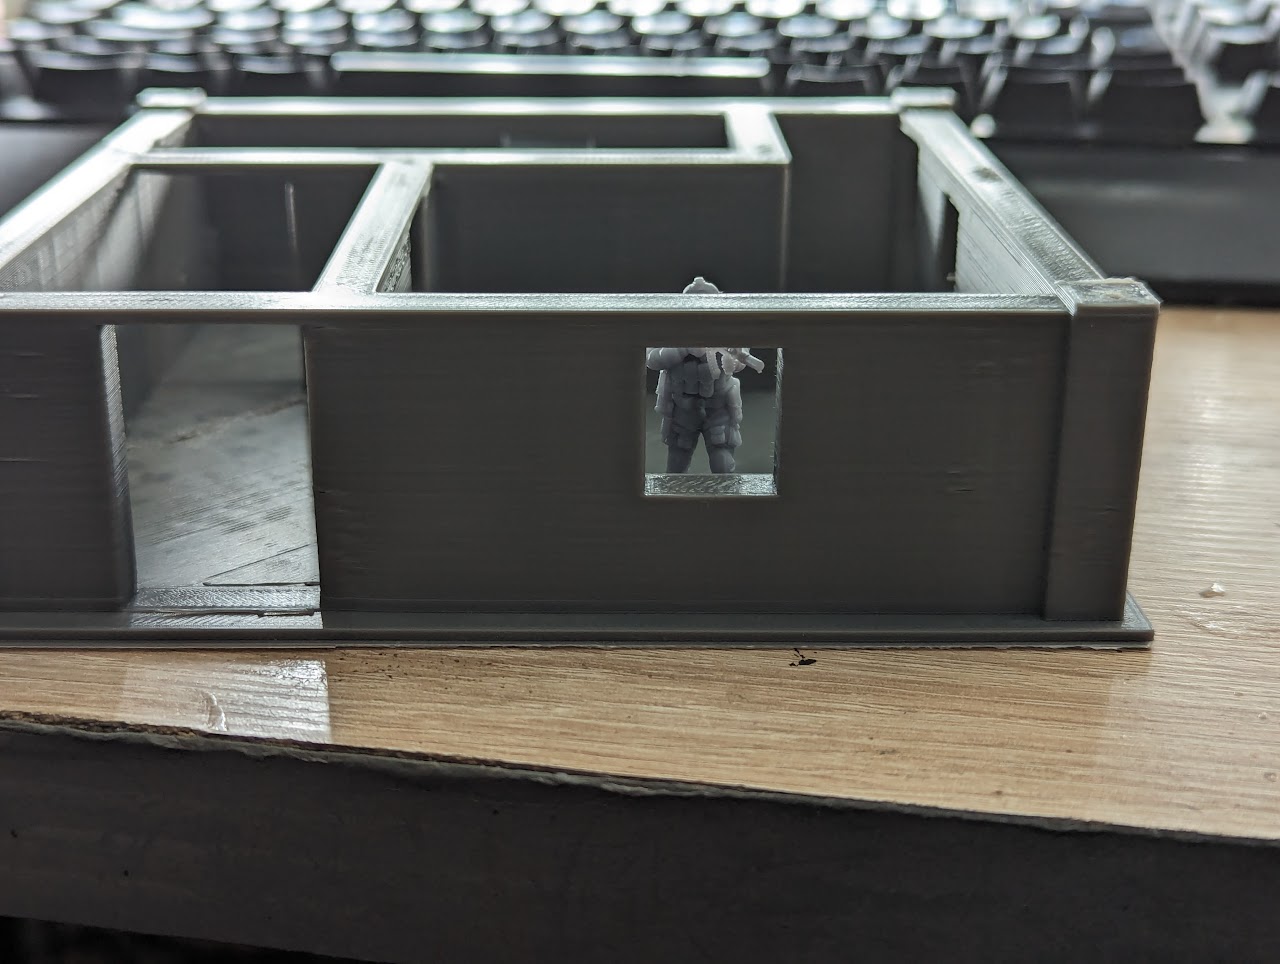
The next step was to then print a full height version, with some adjusted windows and doors to actually fit figures on 25mm bases through. This print went okay but quickly revealed that everything was too low – the windows showing far too much of the thigh/stomach region to be realistic or visually pleasing, while the top of the walls.
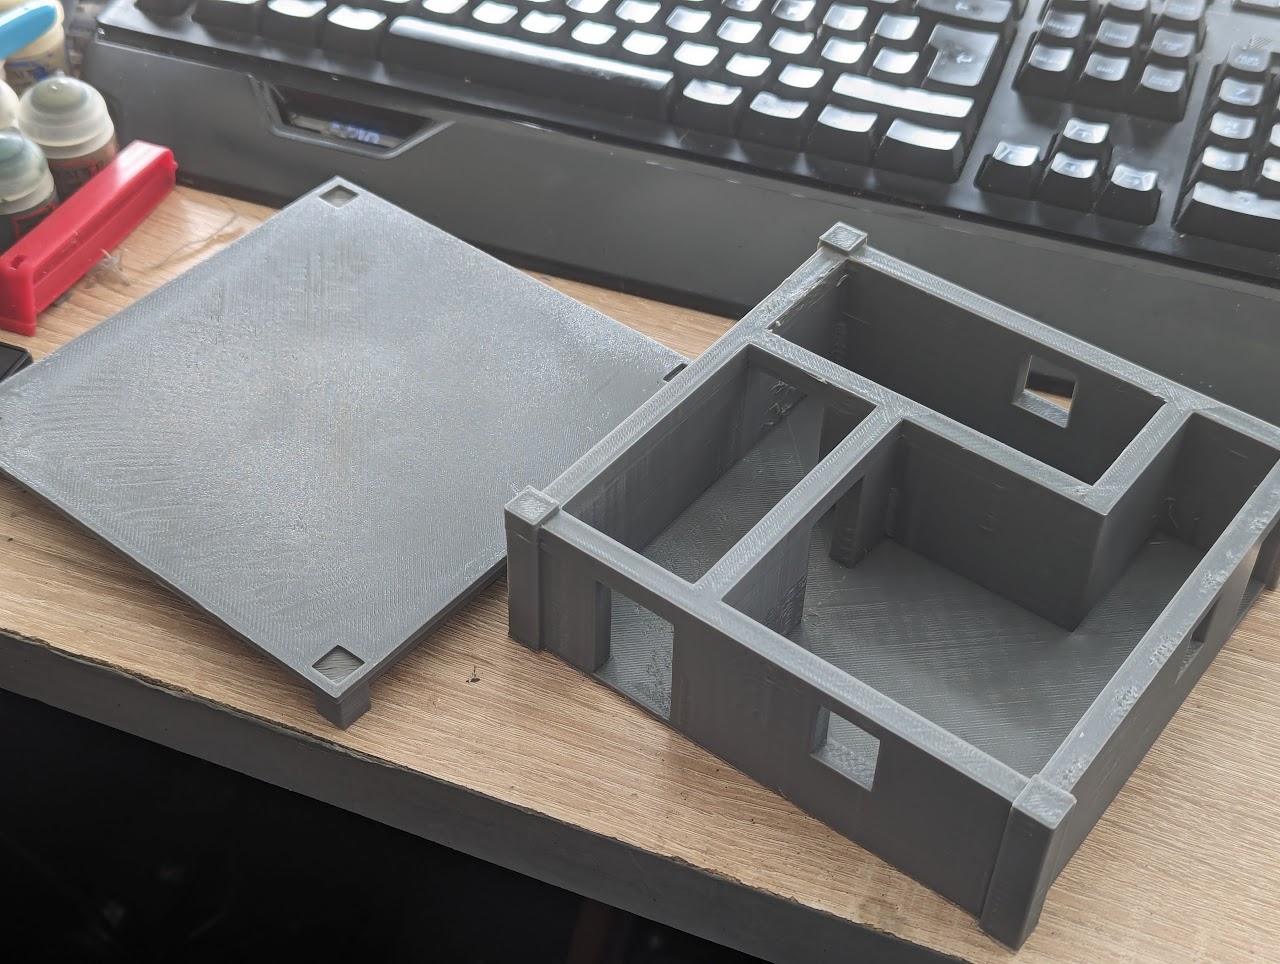
The next iteration was to do a few more tweaks. I moved the windows to make them SLIGHTLY higher (but keeping the same size) as well as extending the doorway up and setting up the roof to allow it to fight together. This was the first complete structure I printed so there was a little bit of excitement.
Both parts printed okay using a draft profile (even with the cutout needing supports on the baseplate) but I forgot to factor in tolerances meaning that the pieces did not fit together properly once all was done. This version also showed me that even with my tweaks, the main building is too short, with the new BPRE figures for SPEAR not fitting through the doors or windows with plenty of antennas looking to get crushed thanks to the flat roof. I had used some of the Patrick buildings to get some rough heights but of course forgot they had hollow roof pieces. Still some work to do but every step is a learning experience.
I’ve taken a little break from the Blendering for a week, giving me time to work on ChargeReal stuff as well as trying to solve an issue with the resin printer (thanks to a faulty UV lamp). But I am still thinking about the next step, turning on blender to tinker with a few things and looking up best practises.
The next step is going to be nailing the geometry (making sure the building is large enough to fit the BPRE figures safely without breaking the delicate parts) and working out how best to make the roof and building fit together (I’m thinking a trapezoidal top with some tolerances around it). After that, I’ll then look to split the building in half around the window sills so you can have a low profile option before start on the final detailing – I’m not planning on sculpting small details which would be better made in resin but some brick work or cracked plaster will definitely look a lot better.
And then I have the other 8 buildings to work on – two of which are larger than my print bed (so will need splitting) and two of them are multiple storeys. However, I think it’s going to be a great project to work through, and a great starting point to learning Blender. I’m not going to report on every stage of my progress (you don’t need to see all the mistakes I make) but hopefully it should be interesting to watch how I go!


Leave a Reply