Ladies and Gentlemen of the Board of Shadowy Figures, we have reached the end of the first month of the project and it’s time for my report on the progress.
For anyone unaware, The Board of Shadow Figures is a patreon tier for the ChargeBlog Patreon, letting you decide what project I should work on next. To prevent you all from sending me off down a deep dark rabbit hole, I provide the options and the Board picks which one exactly. Then I get to write an article, show off the hobby and hopefully get some more stuff done!
Good news! I made some progress!
Bad news, the progress did not finish the project.
Due to several issues (the day job, 3D printer misbehaving and a busy schedule) I ended up not actually finishing the MDF building I had started last time. However, I can go over the process so far.
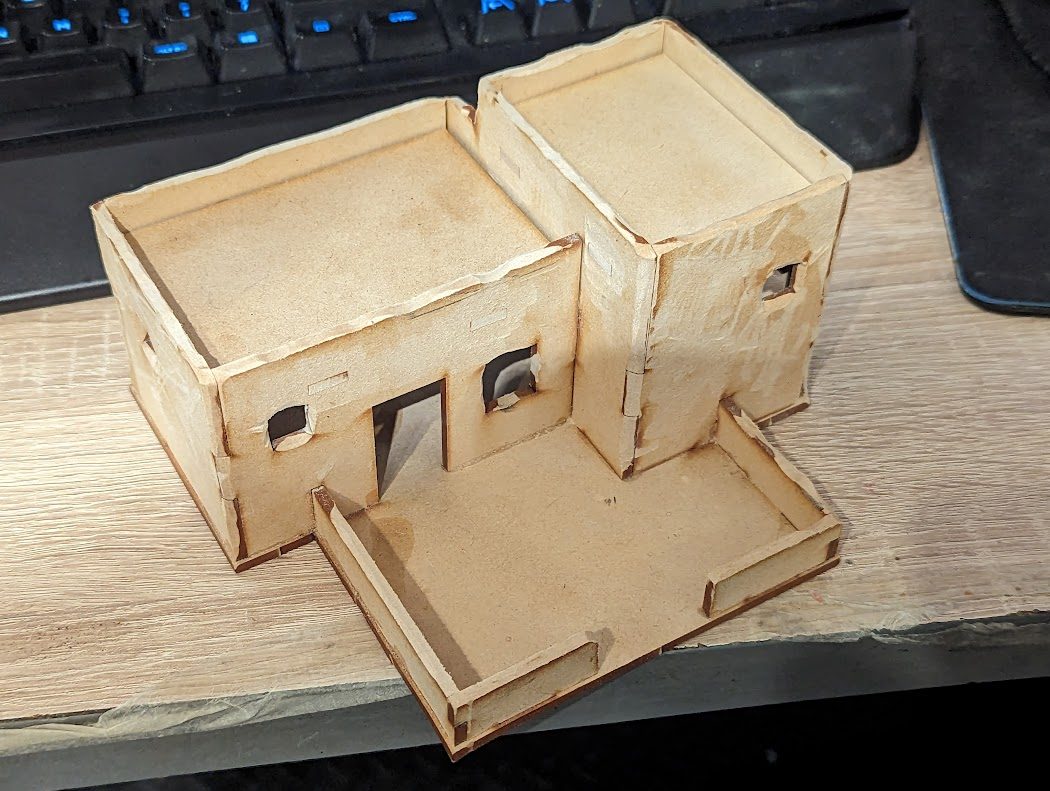
Starting with the raw Knights of Dice building, my first step was to make it look slightly more natural. MDF kits come with straight-cut edges while the adobe structures I was using as inspiration were worn down and slightly softer edges. Seeing as the kit was already assembled (and so fitment wasn’t a problem) I realised this was the perfect time to break out the dremel tool with a sanding disk and add some slight cuts, breaking up the regular shape to make it look a touch more natural – especially focusing on the edges of the building. I also dremeled out the windows (I’m planning to put some plastic blister material on the inside for recessed windows) and scuffed up the flat surfaces to make it look more worn and to cover up the tabs used during construction.
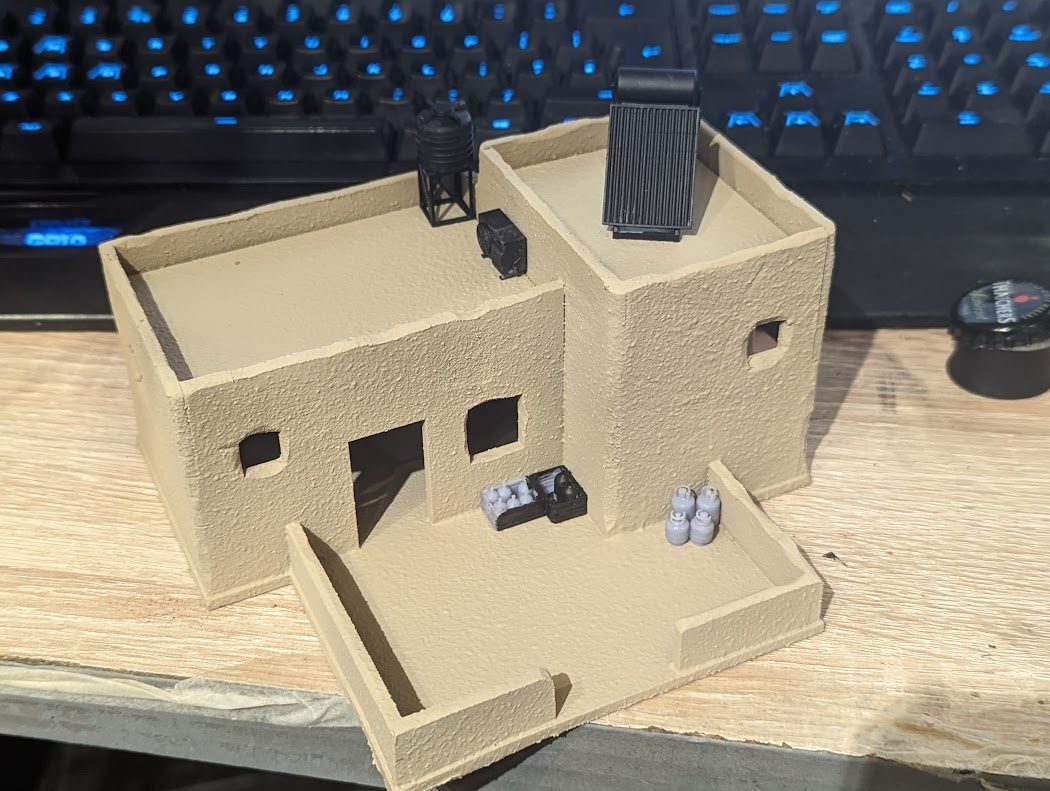
After doing the cuts, the next stage was to get some texture onto it. I had considered using filler to get a larger pattern. However, having done all the work with the dremel tool, putting too much on top would have obscured the surface details. Instead, I went to my trusty can of spray-on-texture from Plasti-kote. I left it to dry overnight before rapidly working through basecoat layers (Black and Zandari Dust). The end result was a touch dark (I’m expecting to come back with some grime later) so a lighter spray of Humbrol Desert Tan went on top afterwards.
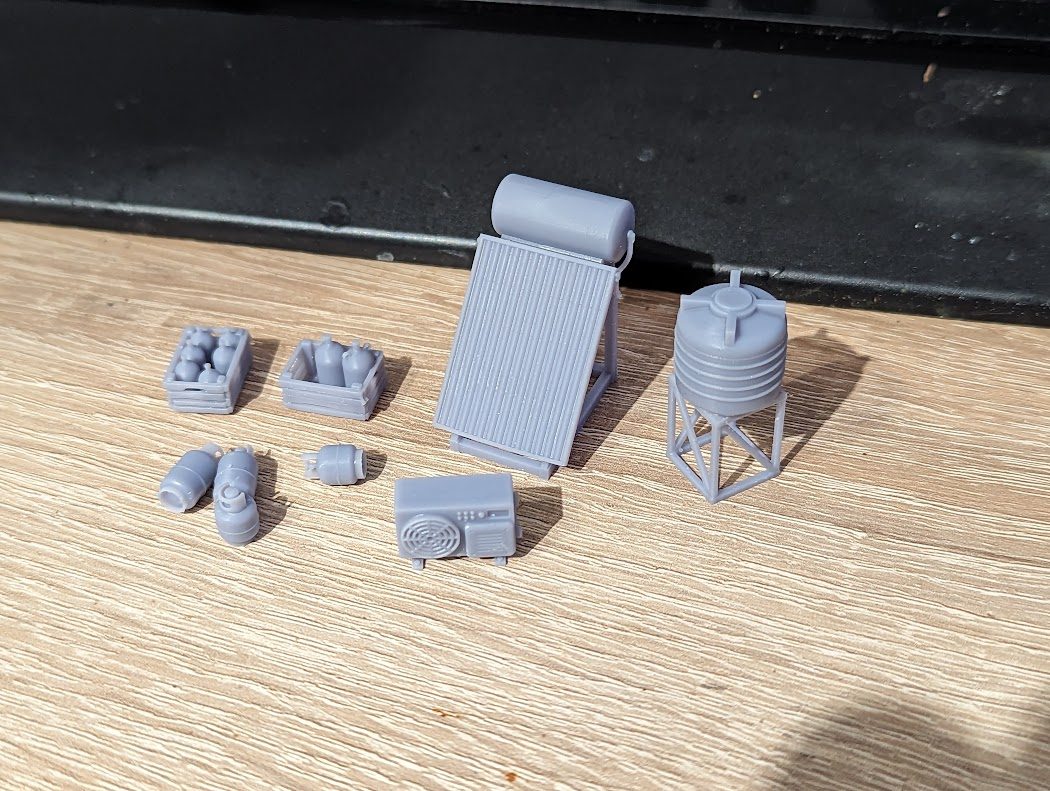
The other half of the work was adding the extra details. For this I dived into my 3D printed parts selection and found myself with TT Immersions Terrain Accessories and Market Accessories. I didn’t want to go overboard (this building is for gaming around rather than purely display) so I picked a few key parts. The water heater and aircon help to make the building seem more modern, while the water tank adds some vertical cover as well as being a requirement in the area. If I wanted to go the extra step I could add some piping between the tank and the heater. The propane cans and jugs will help to add some colour to the scene once painted up, as well as making the place seem lived in.
So, what’s left to do?
- Fill in gaps between the MDF pieces and fix texture/paintwork over them
- Paint up the 3D-printed parts
- Add windows and door
- Final painting – drybrushing and grime
That’s going to be the project for this month, so alas no direction from the Board at this time. I don’t intend to overrun too often, so next month I’ll be returning to the Board for a new vote. For now though, back to the painting.


Leave a Reply