
It’s been a while since we checked in on my 3D printing journey, and I’m not going to bury the lead – I picked up a second filament 3D printer. Let me explain!
Earlier this year, I sold off the last of my MDF terrain kits, with the intention of moving forward into an entirely FDM terrain environment. This process is (for the most part) going well. I’m much lighter on MDF and the boxes are slowly gaining filament replacements. The good news is that there is plenty of purchasing options out there and the vast majority of Kickstarters you see for terrain now are pretty damn solid. People like Multiverse, Tired World Studio and Dragon’s Rest have produced some projects I have hammered out and love the look of, while people such as Modern Miniatures and Patrick Miniatures are producing monthly sets which are ideal for Ultramodern Gaming. I personally have been slowly working my way through Urban Scatter’s MENA range (although at this stage it’s less about the printing and more about painting them up and getting them on the table). There is something glorious about the way it’s possible to reproduce designs in your own home, without having to wait for the arrival of a large kit. It’s not perfect quality (there are plenty of prints in my collection that QC would have probably flagged), but in many cases, it doesn’t really matter when I’m printing for myself.
However, that’s where the problems start – I am not just printing for myself. As I’m the only one in my collection of friends with constant access to run them entirely for my own purposes (the Creative Regular Opponent’s printers has other more commercial demands on their time) and because I’m a lunatic who enjoys providing plastic crack to my friends, there has been a pretty reasonable interest in getting items printed. So far, this has included paint racks, movement trays – all the little things that you could buy online but are easily printable at home for much cheaper. Previous projects have usually been modest, a day or two of printer time and usually on print beds I’m happy leaving overnight or still running when I go to work.
But there has been two projects which made me reconsider my initial approach. One for myself and another for one of my friends.
First up, Dastardly Regular Opponent asked for a full set of walls and corners for Necromunda. The complete set worked out to be 26 corners, 24 single pieces and 12 double pieces. Seeing as I print at 0.16mm layer height for the detail, this led to a pretty major print time, especially as I made the questionable choice to try and max out the print beds so I could minimise how much babysitting I would need to do. Overall, the project worked out to total about 7.5 days – and that is 7.5 days of constant printing time, including the sound of mechanical action and screaming fans overnight. As much as I can sleep through with the printer running in the background, a full week of it seemed a little too much. There have also been several discussions with people wanting other large projects, which has started me pondering about ways to speed up printing for them.
But I have also been thinking about some larger projects for myself, such as Combat Octopus’s CommieBlock. This is a massive project, one that will effectively lock down a single printer for weeks. Run two printers in parallel, and suddenly big projects take a fraction of the time, letting me more easily leap into new projects and try out new things. This applies especially for projects which are majority 3d printed, such as the CommieBlock or the Hexengarde projects (the city, the docks or the city walls), where to get anything done requires hours of print time. The idea of printing an entire board goes from a concerning length of time to actually quite predictable.
Something to consider in all this is how FDM differs from resin in terms of what happens when you try to print more. No matter how full a resin print bed is, it will only increase if you change the height of what you’re trying to print – after all, it’s just flashing up a series of images for each different layer. In contrast, a filament printer has to physically move the print head through every part of the plate that needs material applying to it. This means that when you start adding more parts, you’re adding all of that additional time to a print (as well as some additional smaller segments of time for things such as the extruder relocating for the next layer). Filament is also much more likely to fail, as it’s a much more mechanical process with a lot more variables to account for. So while the common wisdom is to fill resin plates if the printer is running, filament instead gains a lot more from smaller separate jobs.
Upgrading, however was going to be interesting. On the one hand, I could choose to step forward in terms of tech and get something like the Bambu X1, the current printer that everyone in the space is moving to. And with good reason, it’s an excellent printer with a solid design and plenty of features to make printing easier. However, it is just shy of £1000 (more if you want the AMS addon), and that is a little out of my price range at the moment. The Elegoo Centauri seems to be bringing many features to a lower cost level, but it isn’t out yet and frankly, this wasn’t a change I wanted to wait for
So I went with the cheapest approach – buying a second Neptune 4 model printer. This comes with several benefits: first, the Neptune 4 is an older model, meaning you can find plenty available second-hand on eBay, often being sold to fund the new Bambu printers. The second benefit is the commonality aspect – by getting a printer with the same parts, same print area and same controls, it saves a lot of time when getting stuff sorted for them. No need to slice the same plate twice; just run it once and then copy it onto both machines. Finally, two machines of the same capability means I’m not going to end up with one set of prints being of better quality than the other – the red-headed stepchild problem.
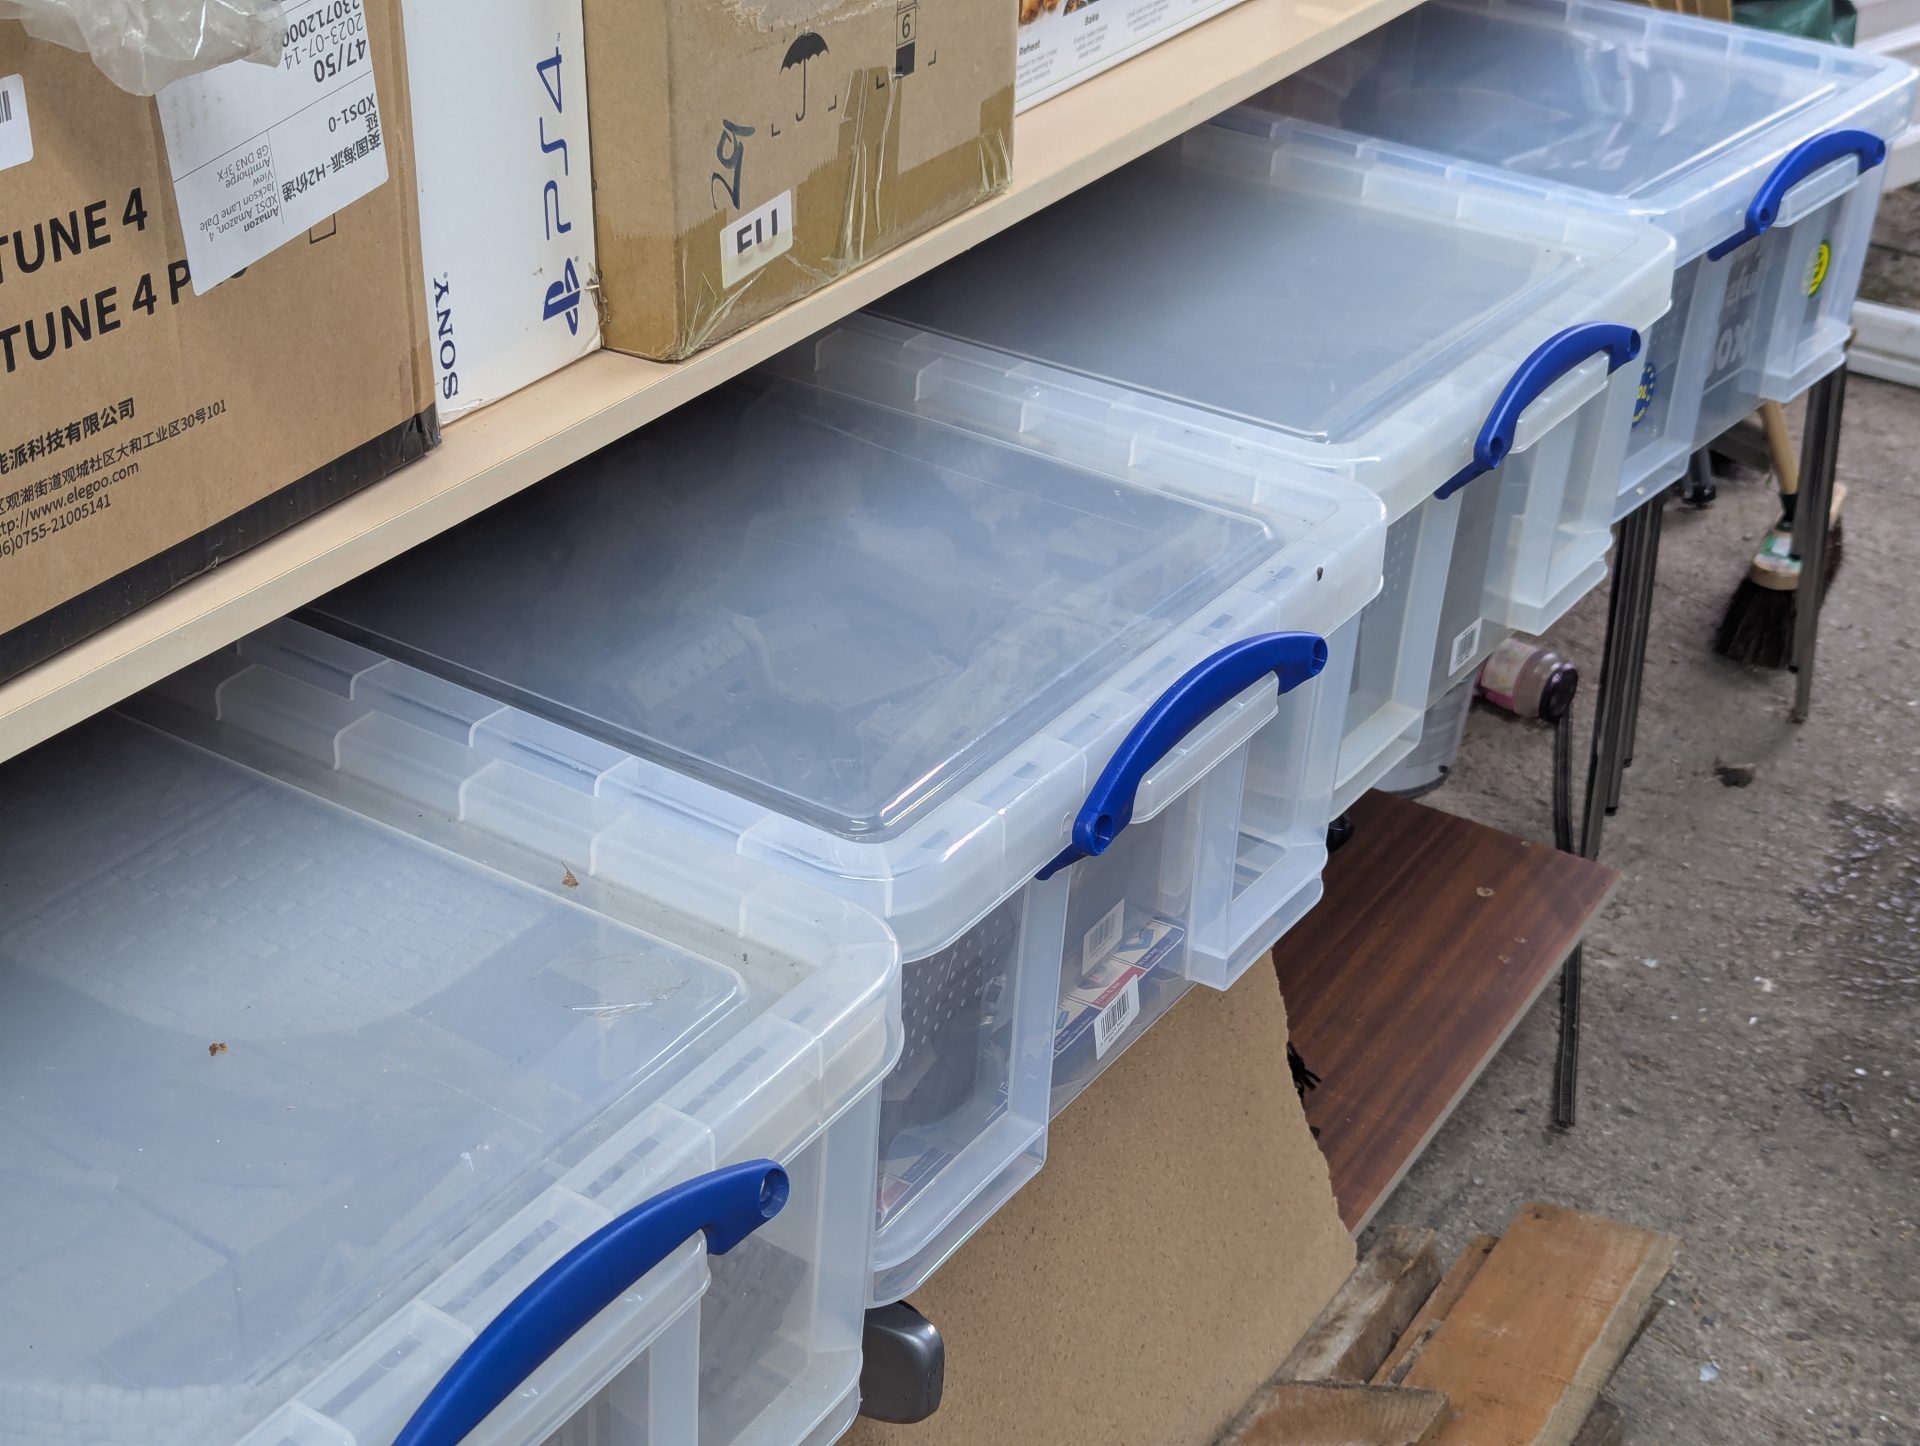
I managed to find a Neptune 4 Pro going for relatively cheap. I initially put in bids on both of them that the seller was listing, and for one terrifying moment had the image of having three FDM printers. Luckily, more sensible heads prevailed, so I ended up with a lightly used Neptune 4 Pro for a fraction of the cost of a new one. One very well packaged printer, a night of assembly (where the screws went missing due to my ineptitude), and printer number 2 was up. I did have to do a little jiggling around to get things to fit into my workshop room (my resin printers now sit on the top of 4×4 Kallax unit, even the Clean/Cure station that is still in the photo below) but now they are in place, it’s looking pretty great.

So having two printers must be awesome, right? Running them 24/7, cutting print time on a project in half. Sounds great, what could go wrong?
For the first few days, it was pretty awesome. I managed to get an estimated four days worth of printing finished in less than two over the weekend. The room was pretty unpleasant to be in with the pair running together, due to the volume of both sets of fans and motors running full pelt. However, it was super cool to be able to watch the two absolutely demolishing print jobs and churning out wave after wave of Necromunda terrain.
Then, however, I made the fatal mistake of picking up a large order of filament during Prime Day. The deal was too good though – I even sent back an order of five reels so I could get two extra for the game price.
If you haven’t heard, there is a longstanding rumour that Prime Day sales are literally them clearing stock for cheap. As someone who has bought a lot of filament over the last 18 months, I’ve seen the Creality filament change from plastic reels over to cardboard (a positive for the environment). So, when I opened up the box to find plastic reels, this was a sign that these filament sets had been sitting around for a while. The bags were sealed, but they had obviously had more time since it was produced to take in any moisture left in the bag despite the silica gel packet.
Out of the five rolls of filament from that order I opened, four of them immediately had issues. We are talking reels that snapped partway through, that managed to snag on themselves and eventually, joy of joys, completely jammed in two separate extruders where the filament has swelled and blocked the Bowden tube leading to the hot end. This took one of the printers out of action (as I was distracted from clearing the extruders due to other work), thus revealing the other bonus of having two printers – redundancy!
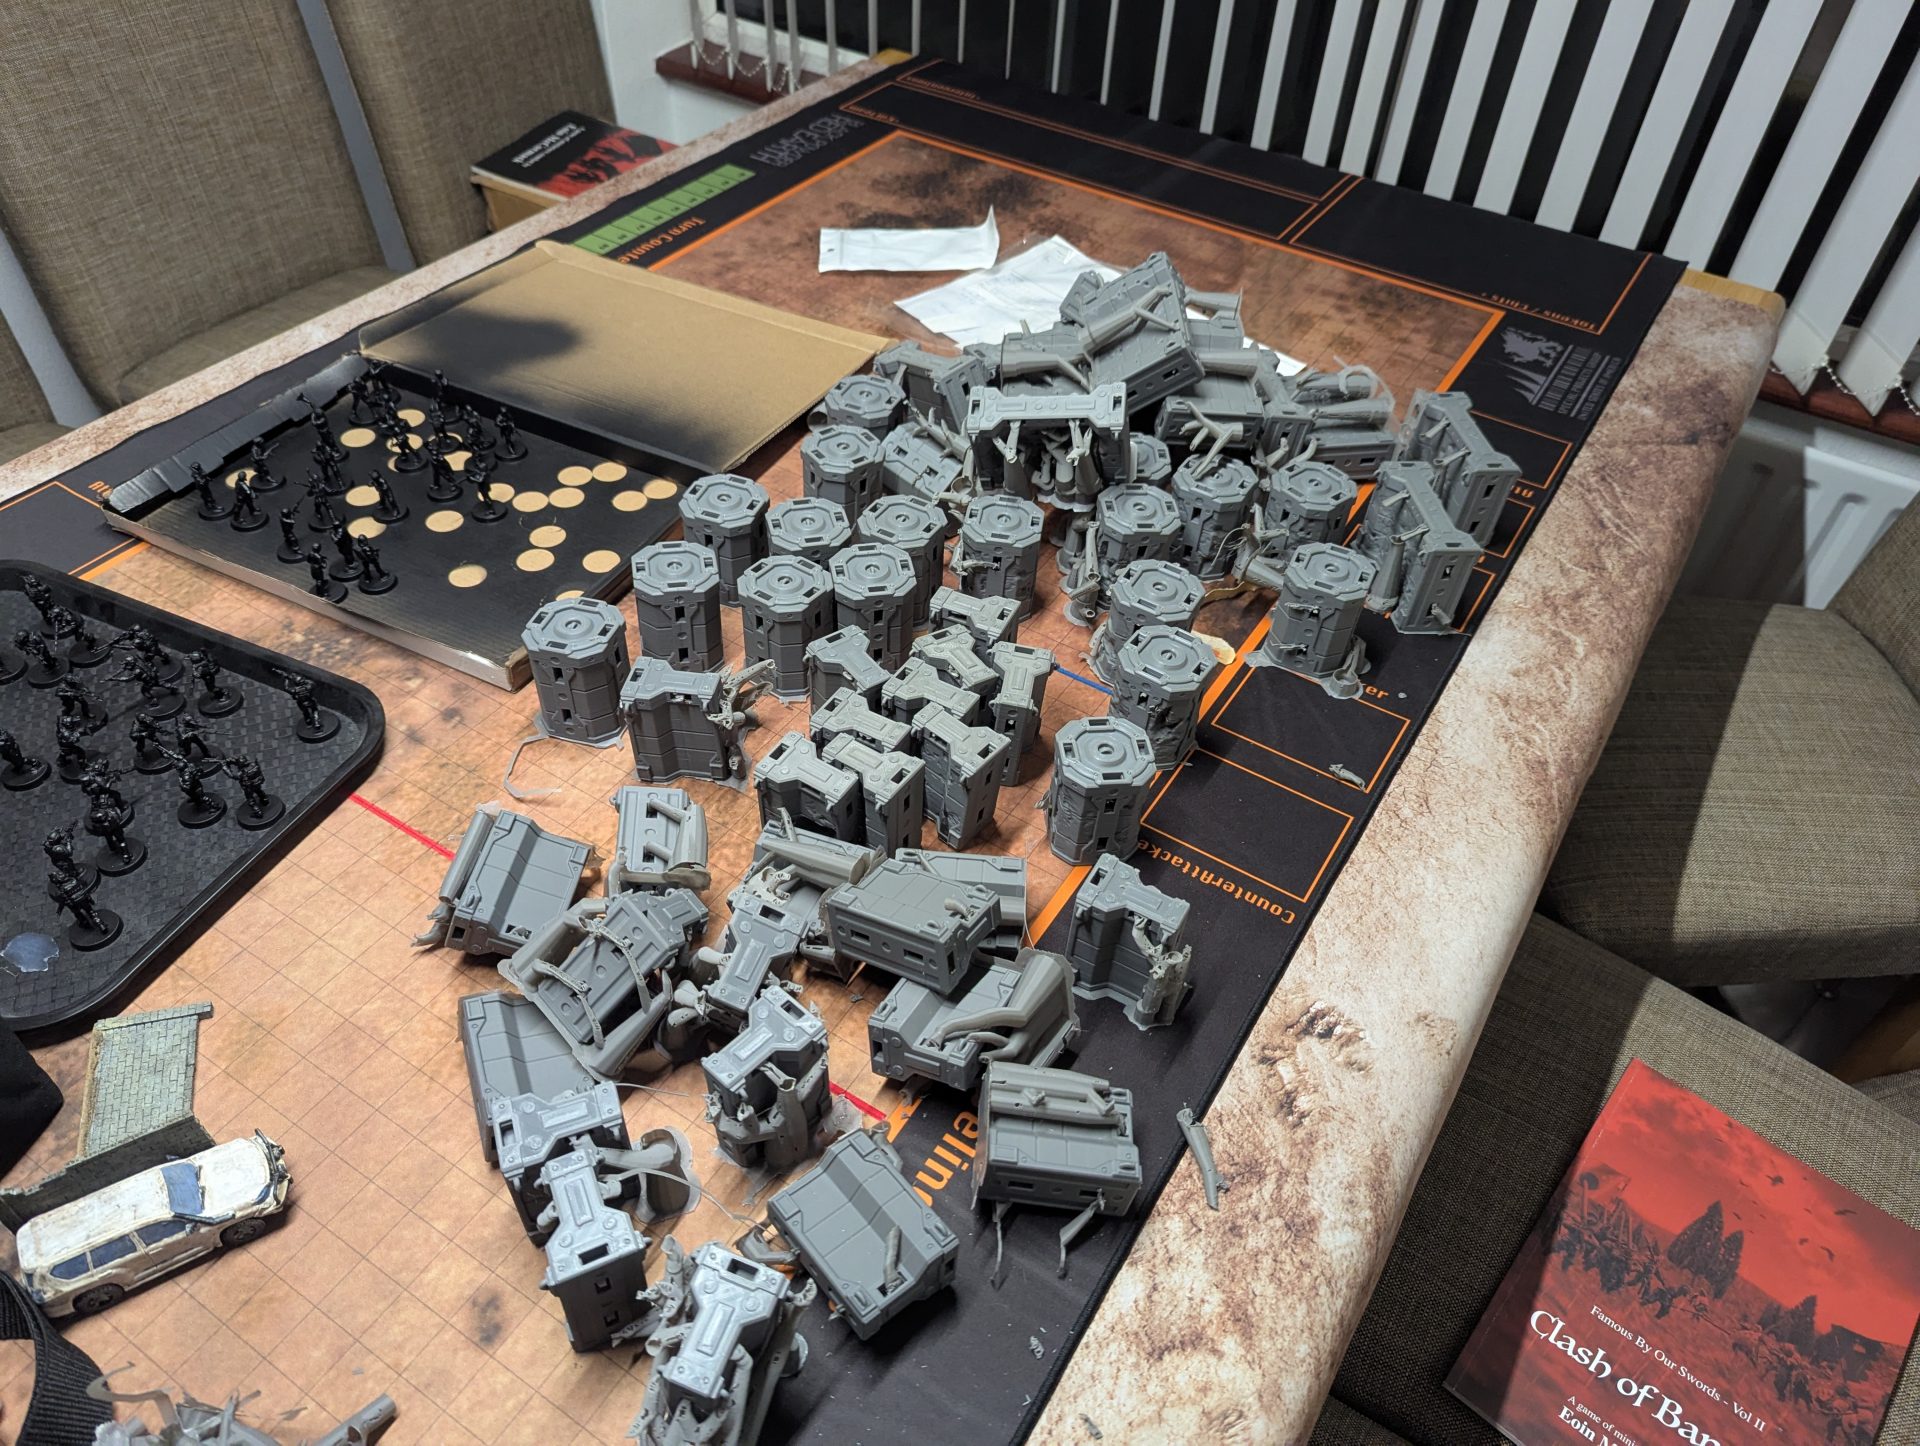
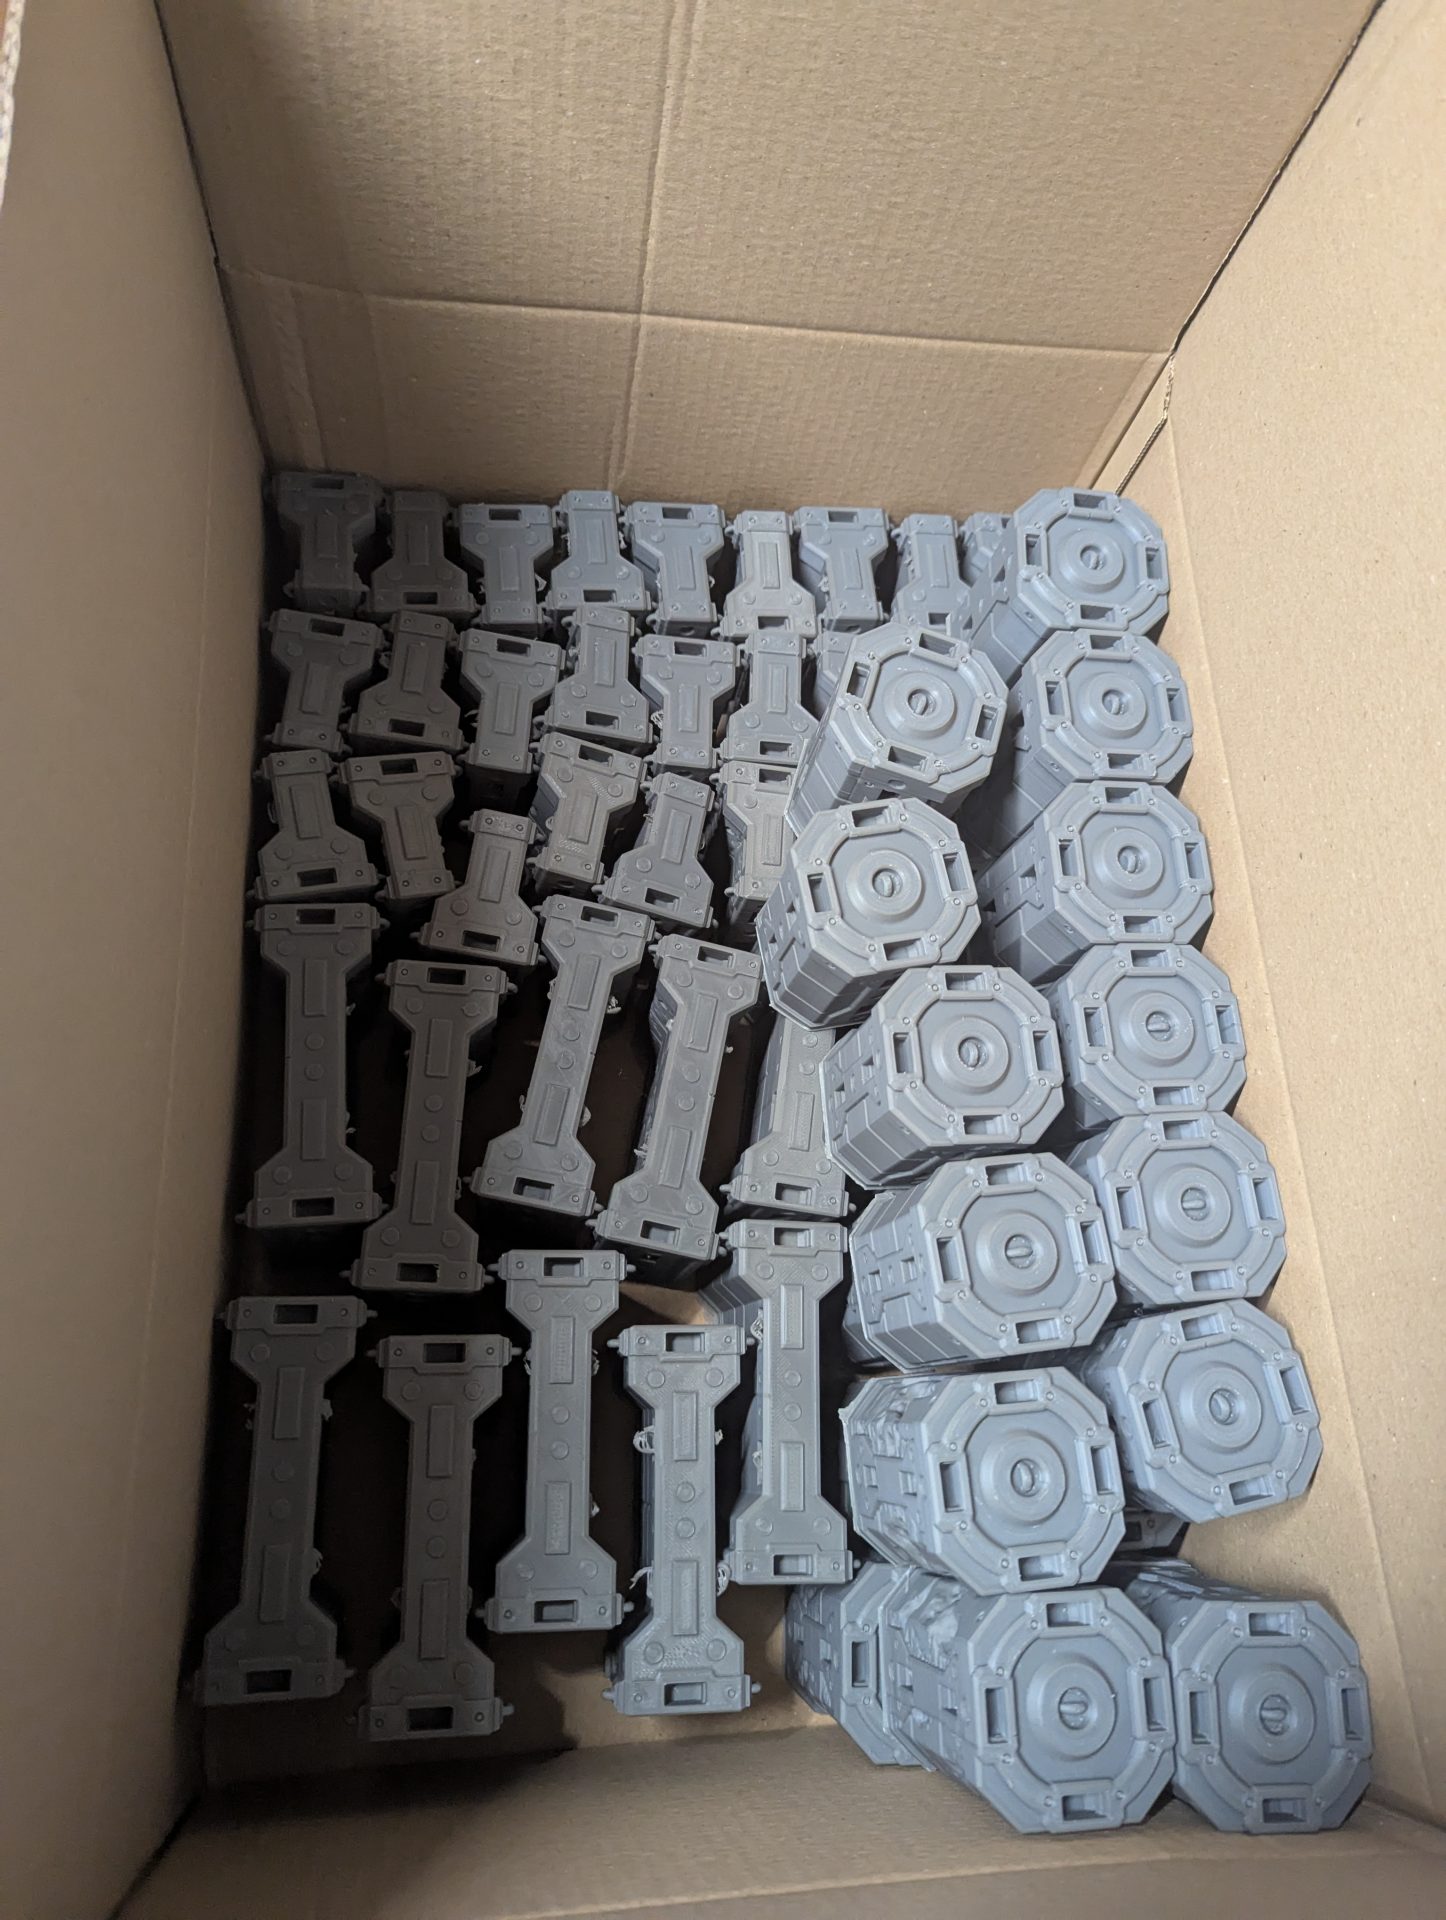
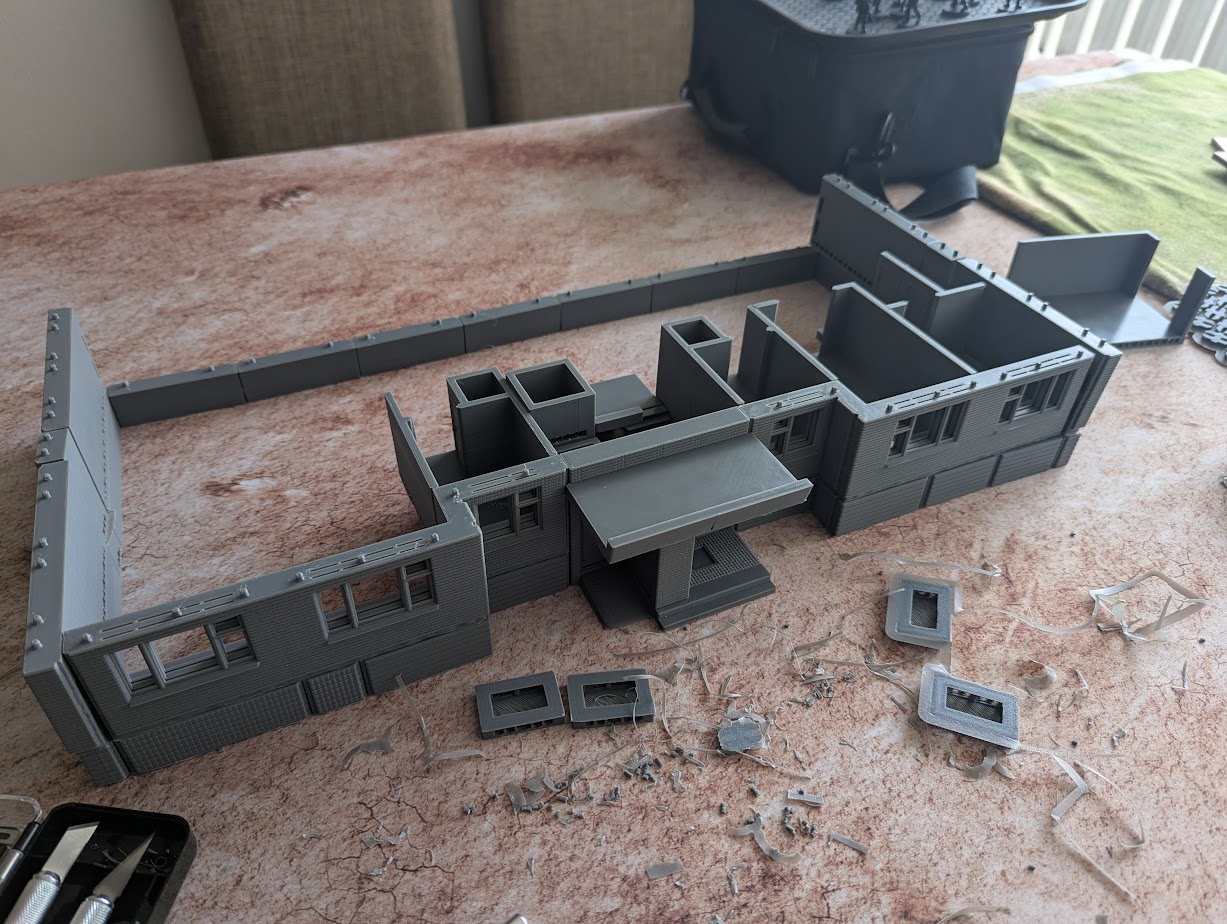
However, this didn’t stop me from finishing off the project for the Dastardly Regular Opponent. As you can see above, a big box of wall pieces for Necromunda all ready and good to go. These are from Dragon’s Rest and are one of my favourite sets – it provides pieces both designed for Zone Mortalis (games on a 2D plane) but can easily be upgraded to more vertical terrain pieces with the right ladders, stairs and walkways. Something like this would traditionally cost £90 in MDF, but materials-wise for the filament print, it was only £40 or so. This doesn’t account for the electrical cost (something I haven’t looked at just yet) or for having to remove all the supports or brim material but the real killer is hearing them running the entire time!

Of course, moving these printers around meant I was able to take them out of commission and do some upgrades to them. In the past, I left the Neptune 4 pretty stock even with the sheer amount of parts available for it. However, I had spotted a few parts that could be improved. My first port of call was the filament spindle; by default on the Neptune, it is a simple hanger, literally two pieces of plastic screwed into the top of the frame. I swapped it out with the Sunlu Filament Holder – this uses a bearing system to keep the spool spinning freely, rather than being angrily tugged by the extruder. So far it’s worked much better, although the light weight cardboard reels do occasionally fined themselves slipping off the bearing – a little bit of bungee cord just to apply some downward pressure without adding friction has fixed that up.
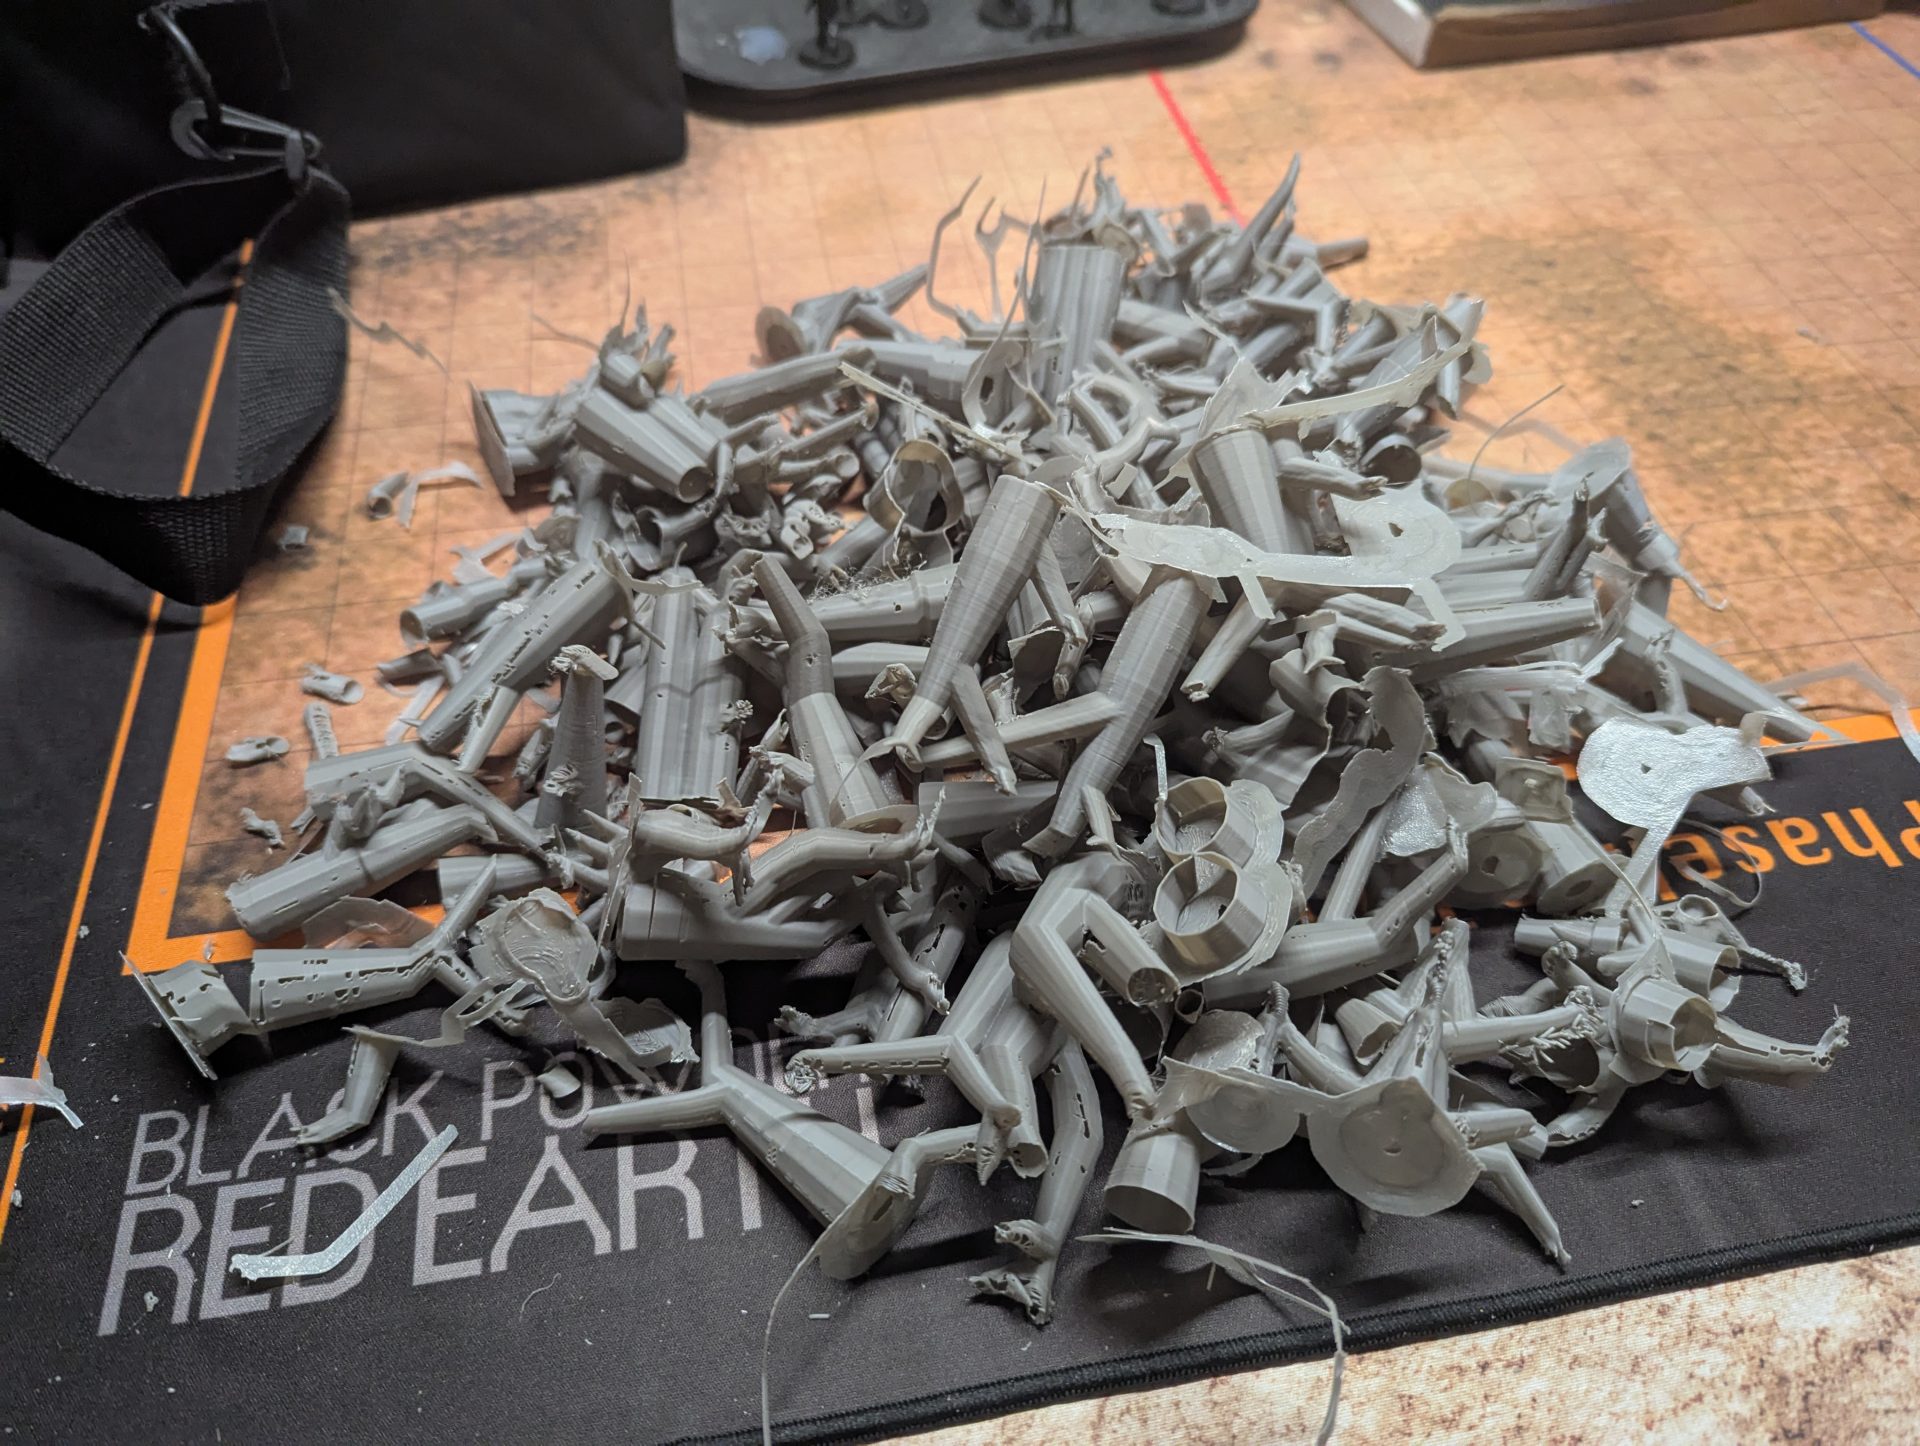
The other part was a mod to the extruder itself – adjusting the filament runout sensor’s location. Originally, it’s mounted to the top of the frame, which means when it starts bitching about the lack of filament in the sensor, there is a significant distance between where the filament is being used and where it says it’s run out. Luckily, you can 3D print a replacement part that repositions it directly above the extruder, minimising the distance. That said, I went for the taller version to make it a little easier to stick my fingers in there and get the remaining piece out. It has massively cut down the leftovers from each reel, meaning more filament getting used for the good stuff. There is a little bit of messing around with wires to reroute the filament sensor, but nothing too destructive (apart from bending some of the plastic cover pieces).
Overall, my FDM printing has entered a new era. By adding a second printer, I’ve improved speed of printing, adding redundancy against failure and opened up capabilities to print bigger and more exciting projects. It’s a positive step, and although not a significant technical step up, it should still be very useful as I try to stop just writing about hobby stuff and actually get back to it.
Now, back to printing this giant commieblock floor by floor, once I unclog the older printer and get her working again.


Leave a Reply