
I’ll freely admit, my wargaming tastes can be pretty focused on playing the modern period. I think it’s mainly due to finding large scale battles just dull. Don’t get me wrong, they are plenty impressive (I still get a kick out of seeing them all lined up) but it’s not particularly interesting to play. I’ll probably be thrown out of the wargaming world for saying this but it just normally ends up with blocks of forces being slammed into each other. As things become more modern, the importance of each small unit increase, up to the modern day where a fireteam of four men is the tactical unit of choice.
On the other hand, I do also enjoy the more social side of wargaming. After the last few weeks which have been lacking in dice rolling and tape measuring, I just had to jump in on a game. So when I noticed Angus (of Edinburgh Wargames fame) grabbing the terrain I usually pick, I just had to get involved.
The setting is Second Boer War, some time in the early 20th century. As the British Army advances into Boer territory, the commandos attempt to slow them by securing vital locations. This is one such position, the only ford for miles that can support the British logistics train.
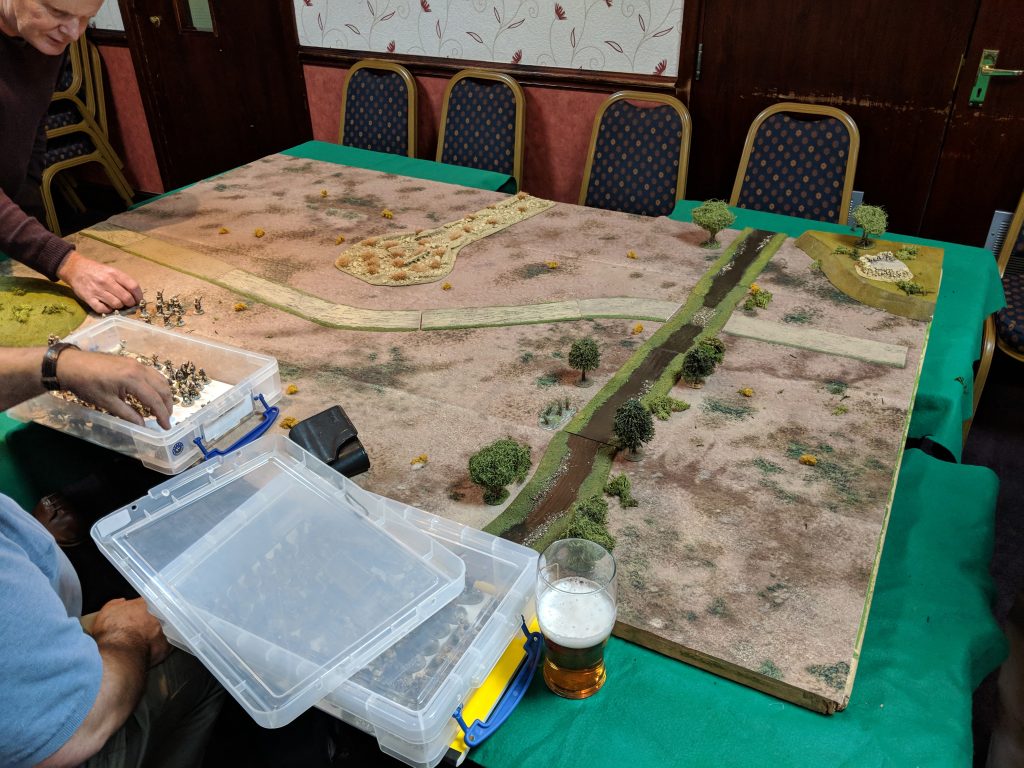
A familiar-looking board – a dusty plain with a road and river running through it. This time, however, it’s South Africa rather than the plains of Bazistan.
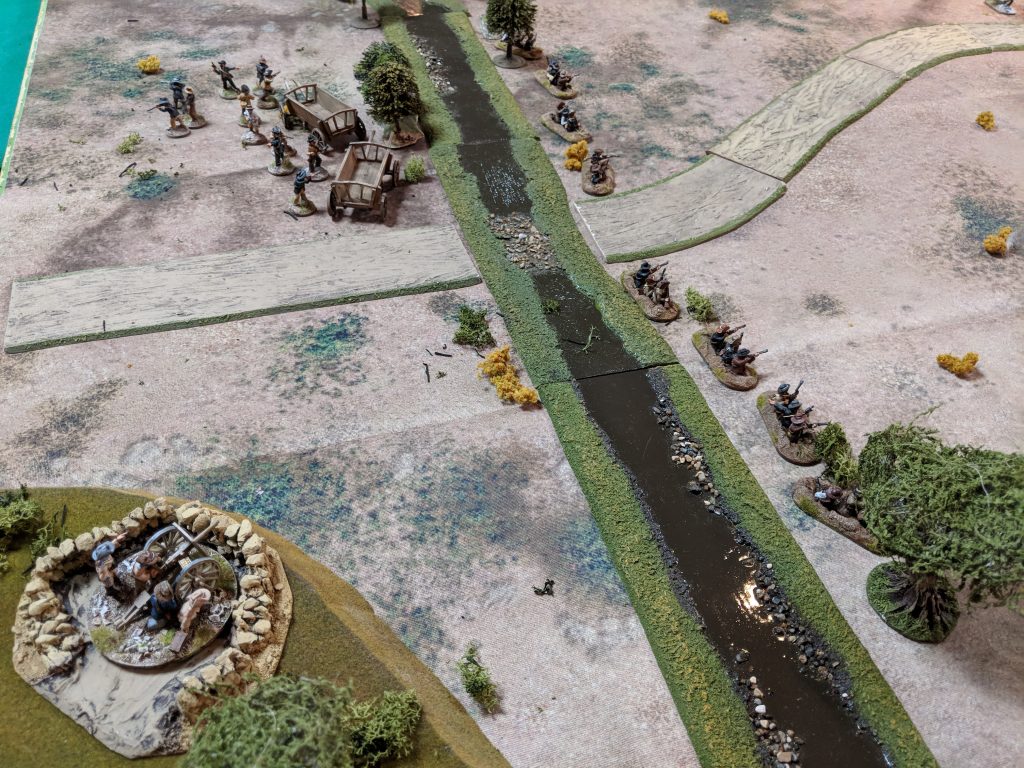
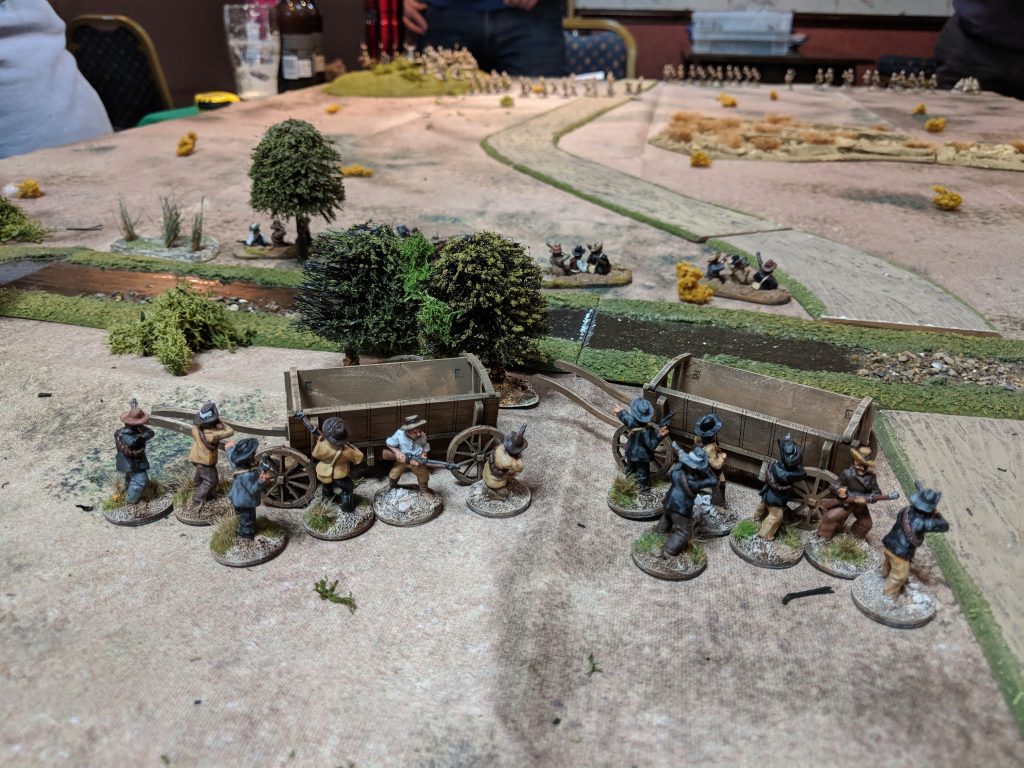
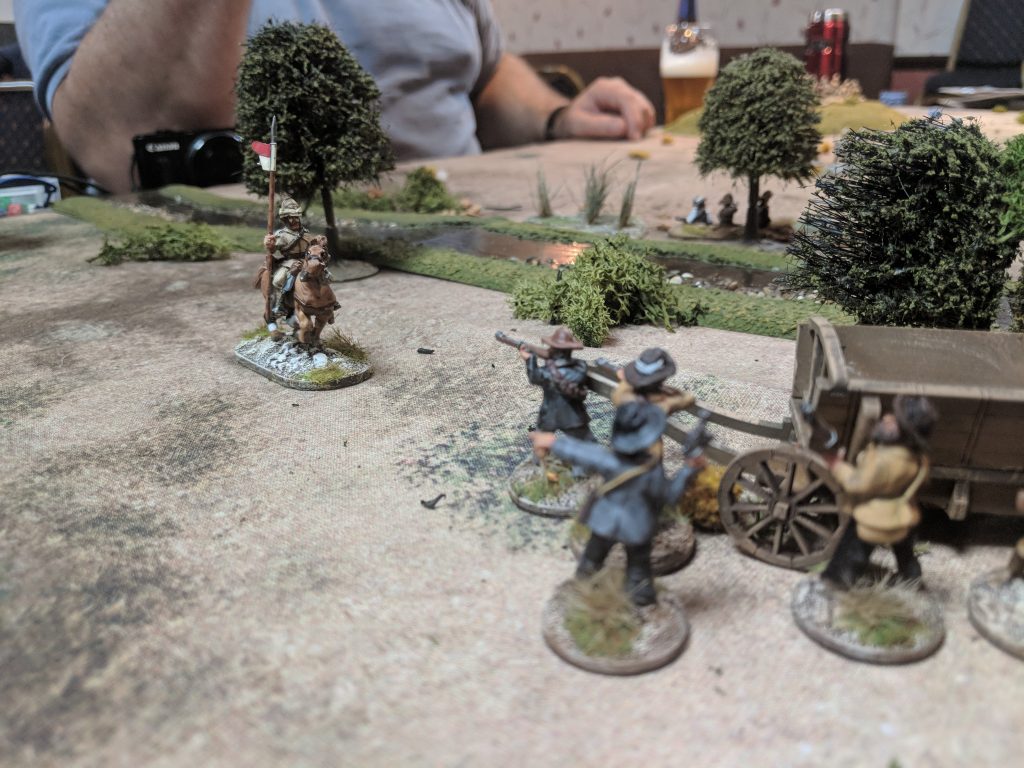
The Boers set up their defences by the river, with the Johannesburg commando taking position in the slit trenches in front of the river. On the other side, the volunteer commando digs in behind the wagons. Both commandos were mounted infantry, meaning their free actions (which don’t require a leadership check) allowed for movement rather than shooting.
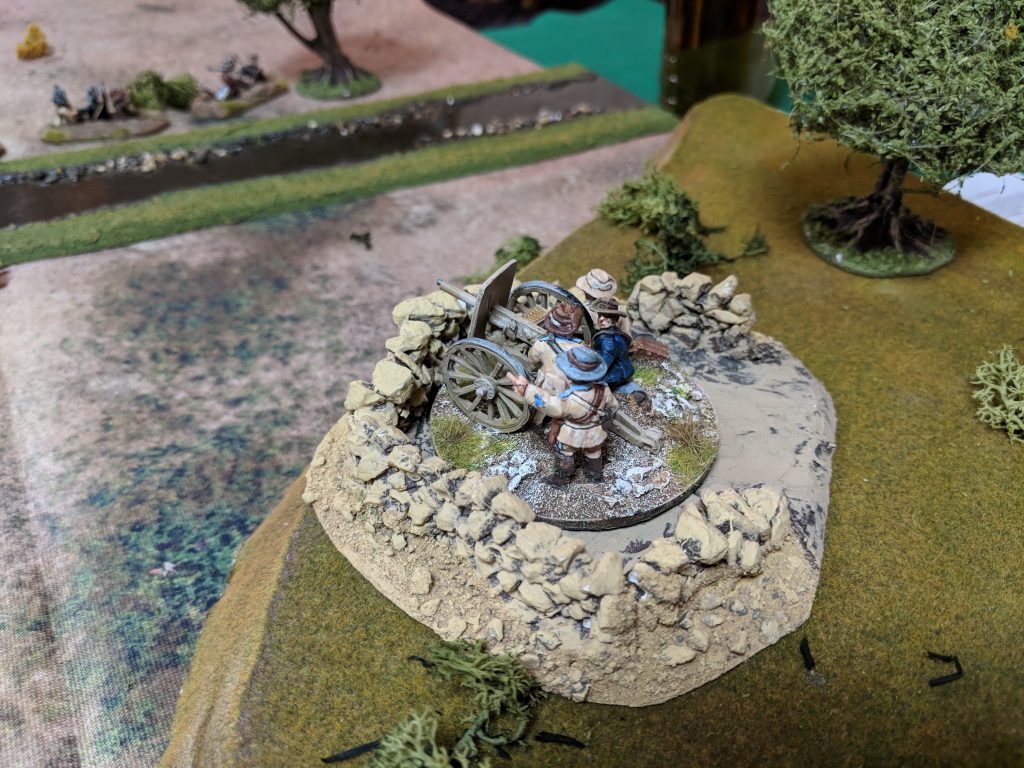
The plan was that this Pom-Pom was going to form the key part of the defence, able to out range the enemy rifles and maxim gun. Unfortunately, requiring 7+ to activate (combined with poor rolling) meant it spent most of the game standing useless.
Behind the wagons, the commandos start to see the British filling the horizon. As well as large groups of infantry from the Devonshire and Gordon Highland regiments, the British also had a maxim gun, a field gun which could outrange the rifles of the Boers.
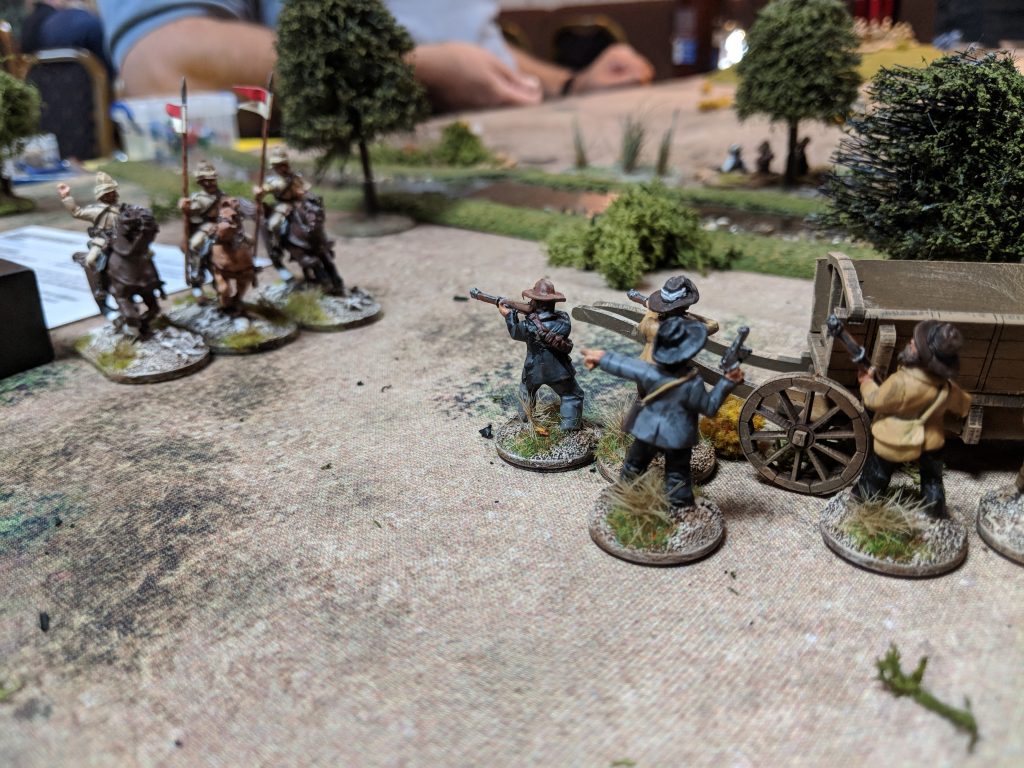
The British also had a unit of cavalry that game rushing down the flank, across the river and then right onto the guns of the Volunteers. Worse, this is how they ended their activation, with a block of commandos ready to fire.
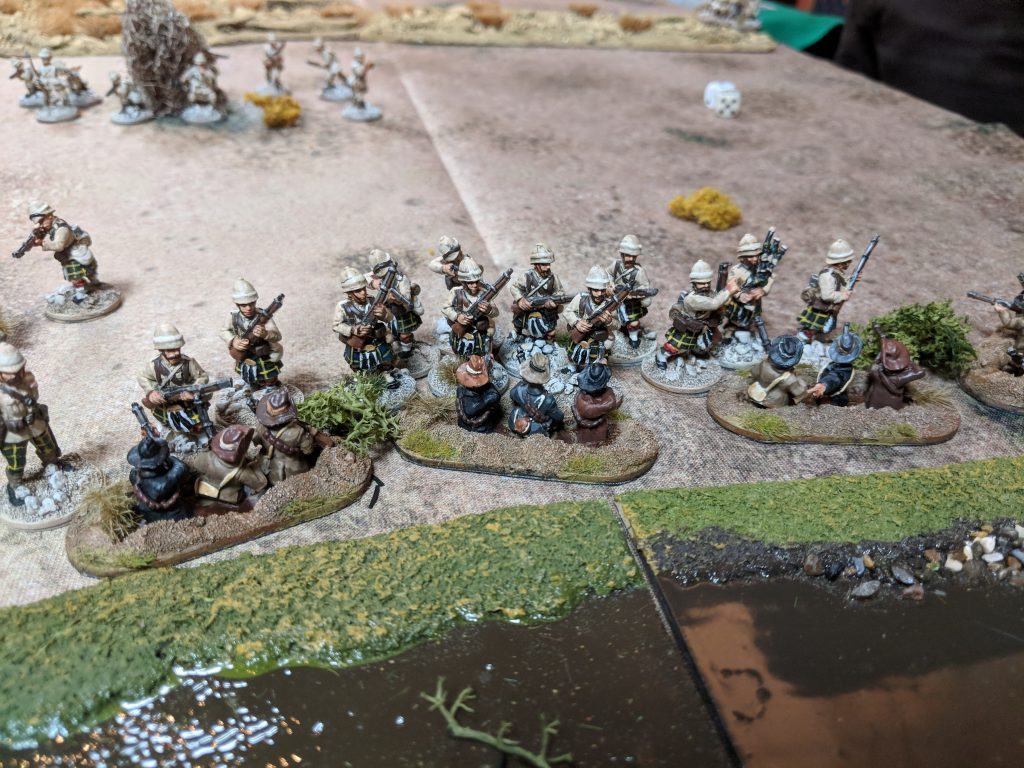
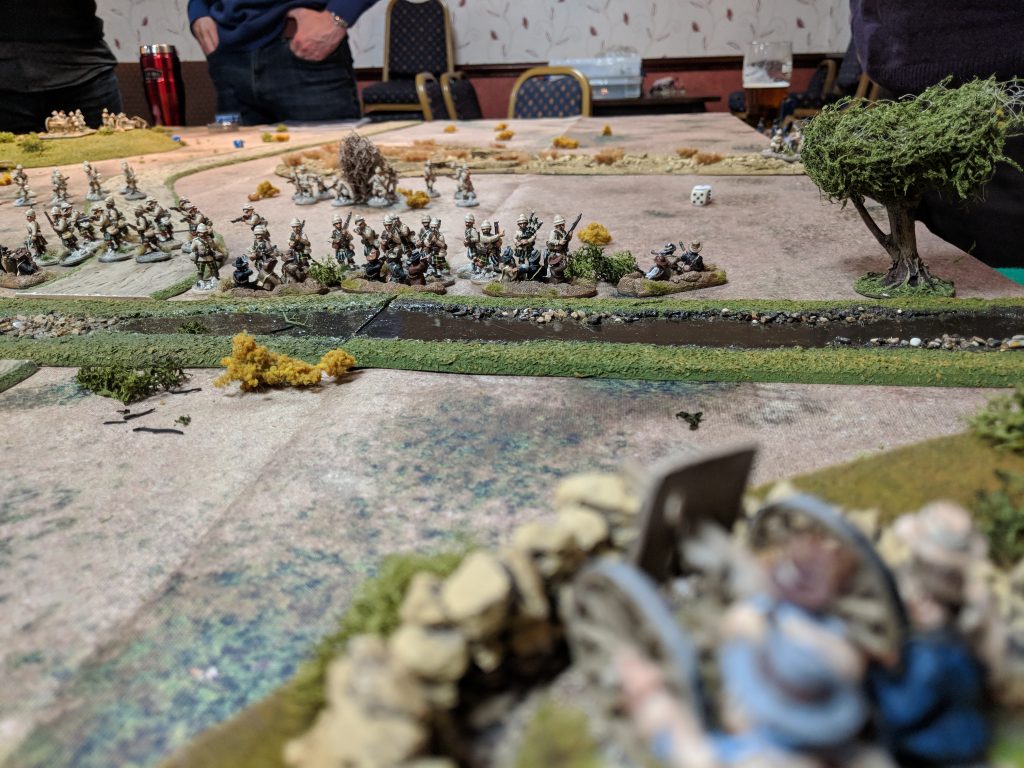
Unfortunately, the Jo-burg Commando failed to activate for most of the game and so sat in their trenches and watched the enemy get closer. A pom-pon shell managed to pin some of the Devonshires but the Gordons charged in, pipes wailing and proceeded to give the Boers a taste of British steel.
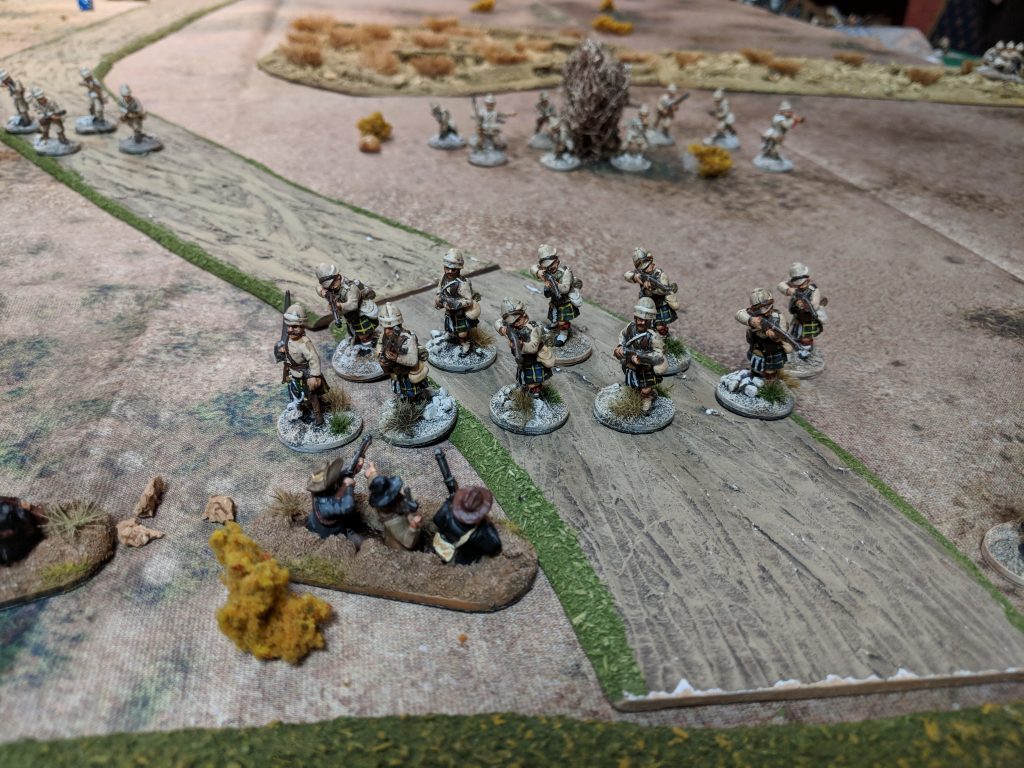
More bad news as the other Jo-burg commando were soon engaged by the Highlanders as well.
The Pom-Pom, having slowed one unit, decided now was the time to dump all the ammo in the dirt and refuse to activate for the rest of the game.
Things did not go well for the cavalry. The volunteers ripped them apart before they even reached melee range.
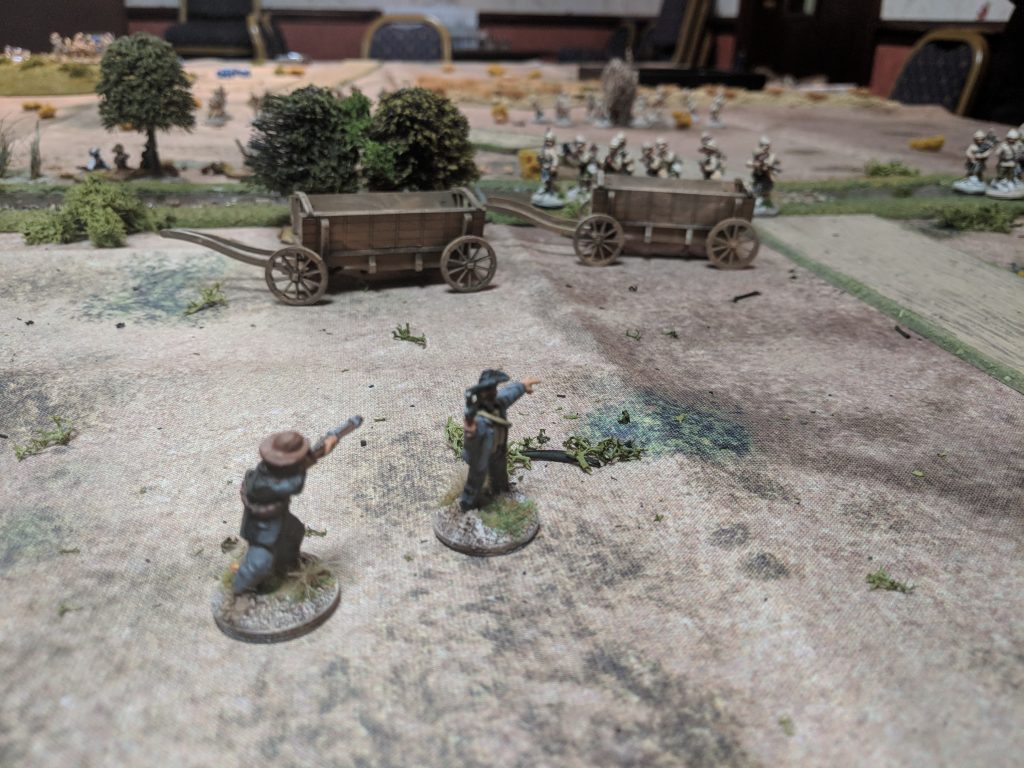
Of course, the Volunteers could also see the rest of the British army was about to turn up and kick their heads in. Seeing no use in staying as the British were already in the ford, the Volunteers packed up and rode for the hills.
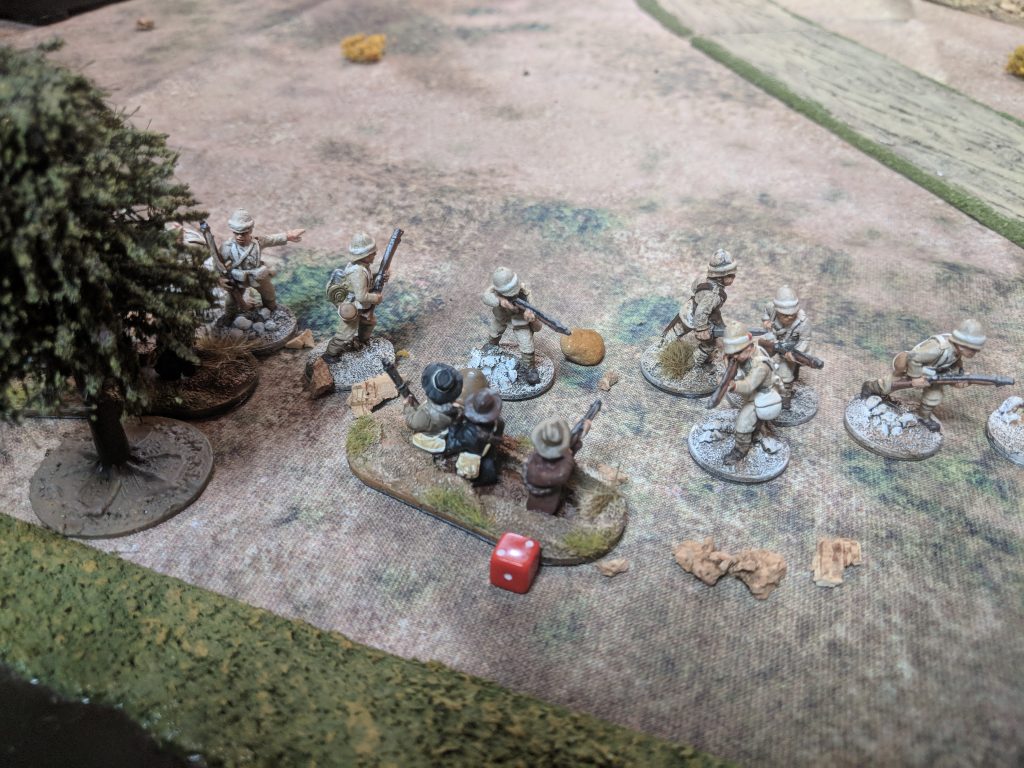
As the game ended, and the Highlanders stormed the pom-pom sangar, the Devonshires finally got stuck in and routed the last of the commandos.
I had a really fun time playing this game. Although we didn’t win, it’s was still nice to get the dice out and move some really nice figures around. The scenario was pretty stacked in the Brits favour (seeing as they had multiple artillery pieces and much better command and control) but it could still have gone differently.
If I was to play it again, I’d have pushed the Jo-burg commandos to the other side of the river (meaning the Brits would need to cross the river to engage them). I’d also put the Volunteer commandos in the wadi, letting them pop off a few shots before using their mounted infantry perks (movement without needing to pass an activation check) to flee before the foot infantry got too close.
What did I think of the rules? Well, like many of the rulesets from Osprey, I picked up the basics of The Men Who Would Be Kings within a few minutes of playing. You can easily see some of the similarities to Daniel Mersey’s rulesets (Dragon Rampant and Lion Rampant) in terms of the basic rules but it has a different flavour thanks to the focus on firepower. This battle was “rifles vs rifles” but it’s easy to see how natives vs empire would go.
Overall, I think this is a nice ruleset if you want to get your colonial stuff on the table and play a game that’s easily finish-able in an evening of play (complete with the usual trips to the bar, photo taking and discussions on the usefulness of trenches in melee causing breaks). I’m sure there are rules that are more realistic but as someone with limited knowledge of the period, these were great for me.
And before you ask, no I am not going to collect a Colonial army. I already have enough side projects.
For readers wanting an alterantive (and more informative) viewpoint, my fellow Boer commander has written up his report. You can find it online at http://www.edinburghwargames.com/de-jagers-drift-1899/


Leave a Reply