
I have already talked much about my love for Skirmish Sangin, and having played V2 remotely over the last few months, I found my energy for it returned. However, I definitely found a few places where the systems in the Beta rules just didn’t seem to work, missing the point of the game or requiring far too much busy work for my tastes. And so I got to work thinking up some ways to take the game I adore.
This has obviously taken some time – writing rules and working through the basics requires some thought. But, Call of Duty Modern Warfare 2 had its campaign released the weekend before this game and I had a good time playing it. More importantly, as I was crossing over a border in pursuit of the villain, I suddenly realised what my next game of Sangin was going to be. Luckily, I also had a game arranged with my former housemate and as a recovering player of Inquisitor and the 40k RPGs, the sight of D100s wouldn’t terrify him fast enough to cause a problem.
So with all this arranged, and with a few custom rule sheets printed out, we return to the Albion/Bazistan border for a new operation.
Cross-border actions by criminals operating in the metro area of Pani (the capital of Al-Bawaaba province, Albion Commonwealth) and Barakat(2nd largest city in Bazi Emirate) have been an increasing issue for the Albion and Bazi Security forces over the last few years. While cross-border negotiations are ongoing to formalise joint efforts, local area commanders often turn a blind eye to operations launched by their counterparts when dealing with certain criminal groups.
These raids are exceptionally dangerous for the officers involved – after crossing the river, any combatants are technically violating the laws of the other nation and are outside their jurisidcation, leading to the potential for political drama. Local criminals take advantage of this problem, calling in the local police as protection from the outsiders.
For six months, the Special Counter-Drug Squad (SCDS) operating in Barakat has been building a case against an Albion national (codenamed “The Jackal”) operating a crime ring across the border. While the squad was preparing to launch a raid to capture him, inteligence reported he had managed to escape into Al-Bawaaba, taking up residence in a slum close to border. Interceptied phone communications revealed his plan to escape to an estate in the mountains deeper in Al-Bawaaba.
Major Saleem Baraca, head of the Special Division in Barakat, has managed to communicate with his opposite number in the Pani Police Force (PPF) and requested approval to perform a cross-border raid to arrest The Jackal. This has been granted, although due to the situation (it is believed The Jackal has bribed officers of the PPF to provide information), only a limited number of local law enforcement has been alerted to the operation. SCDS has one night to cross the border, capture The Jackal and return back to Barakat.
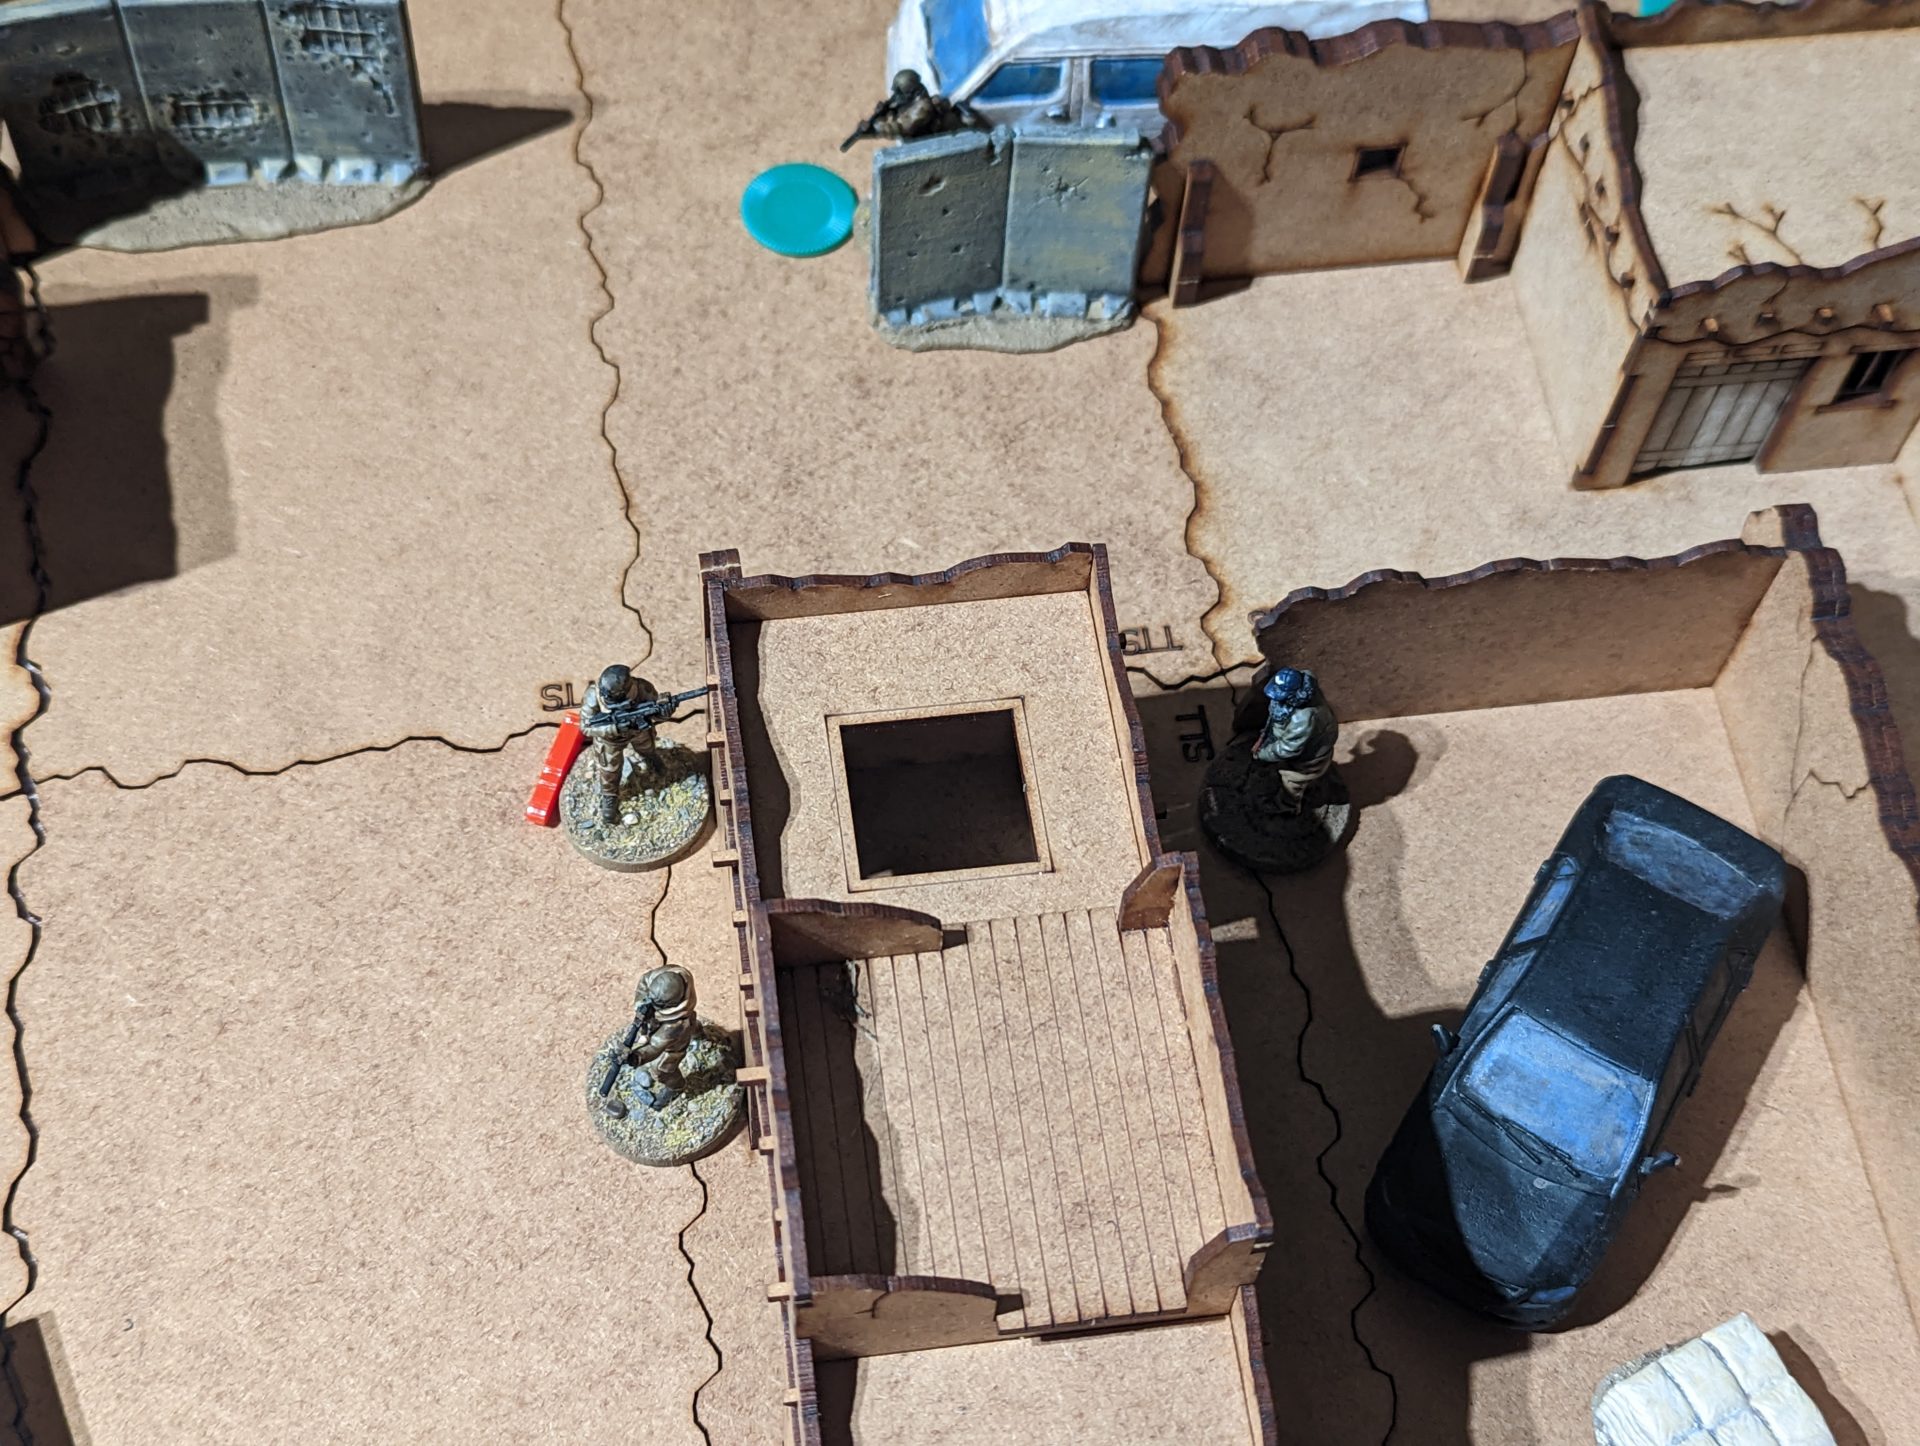
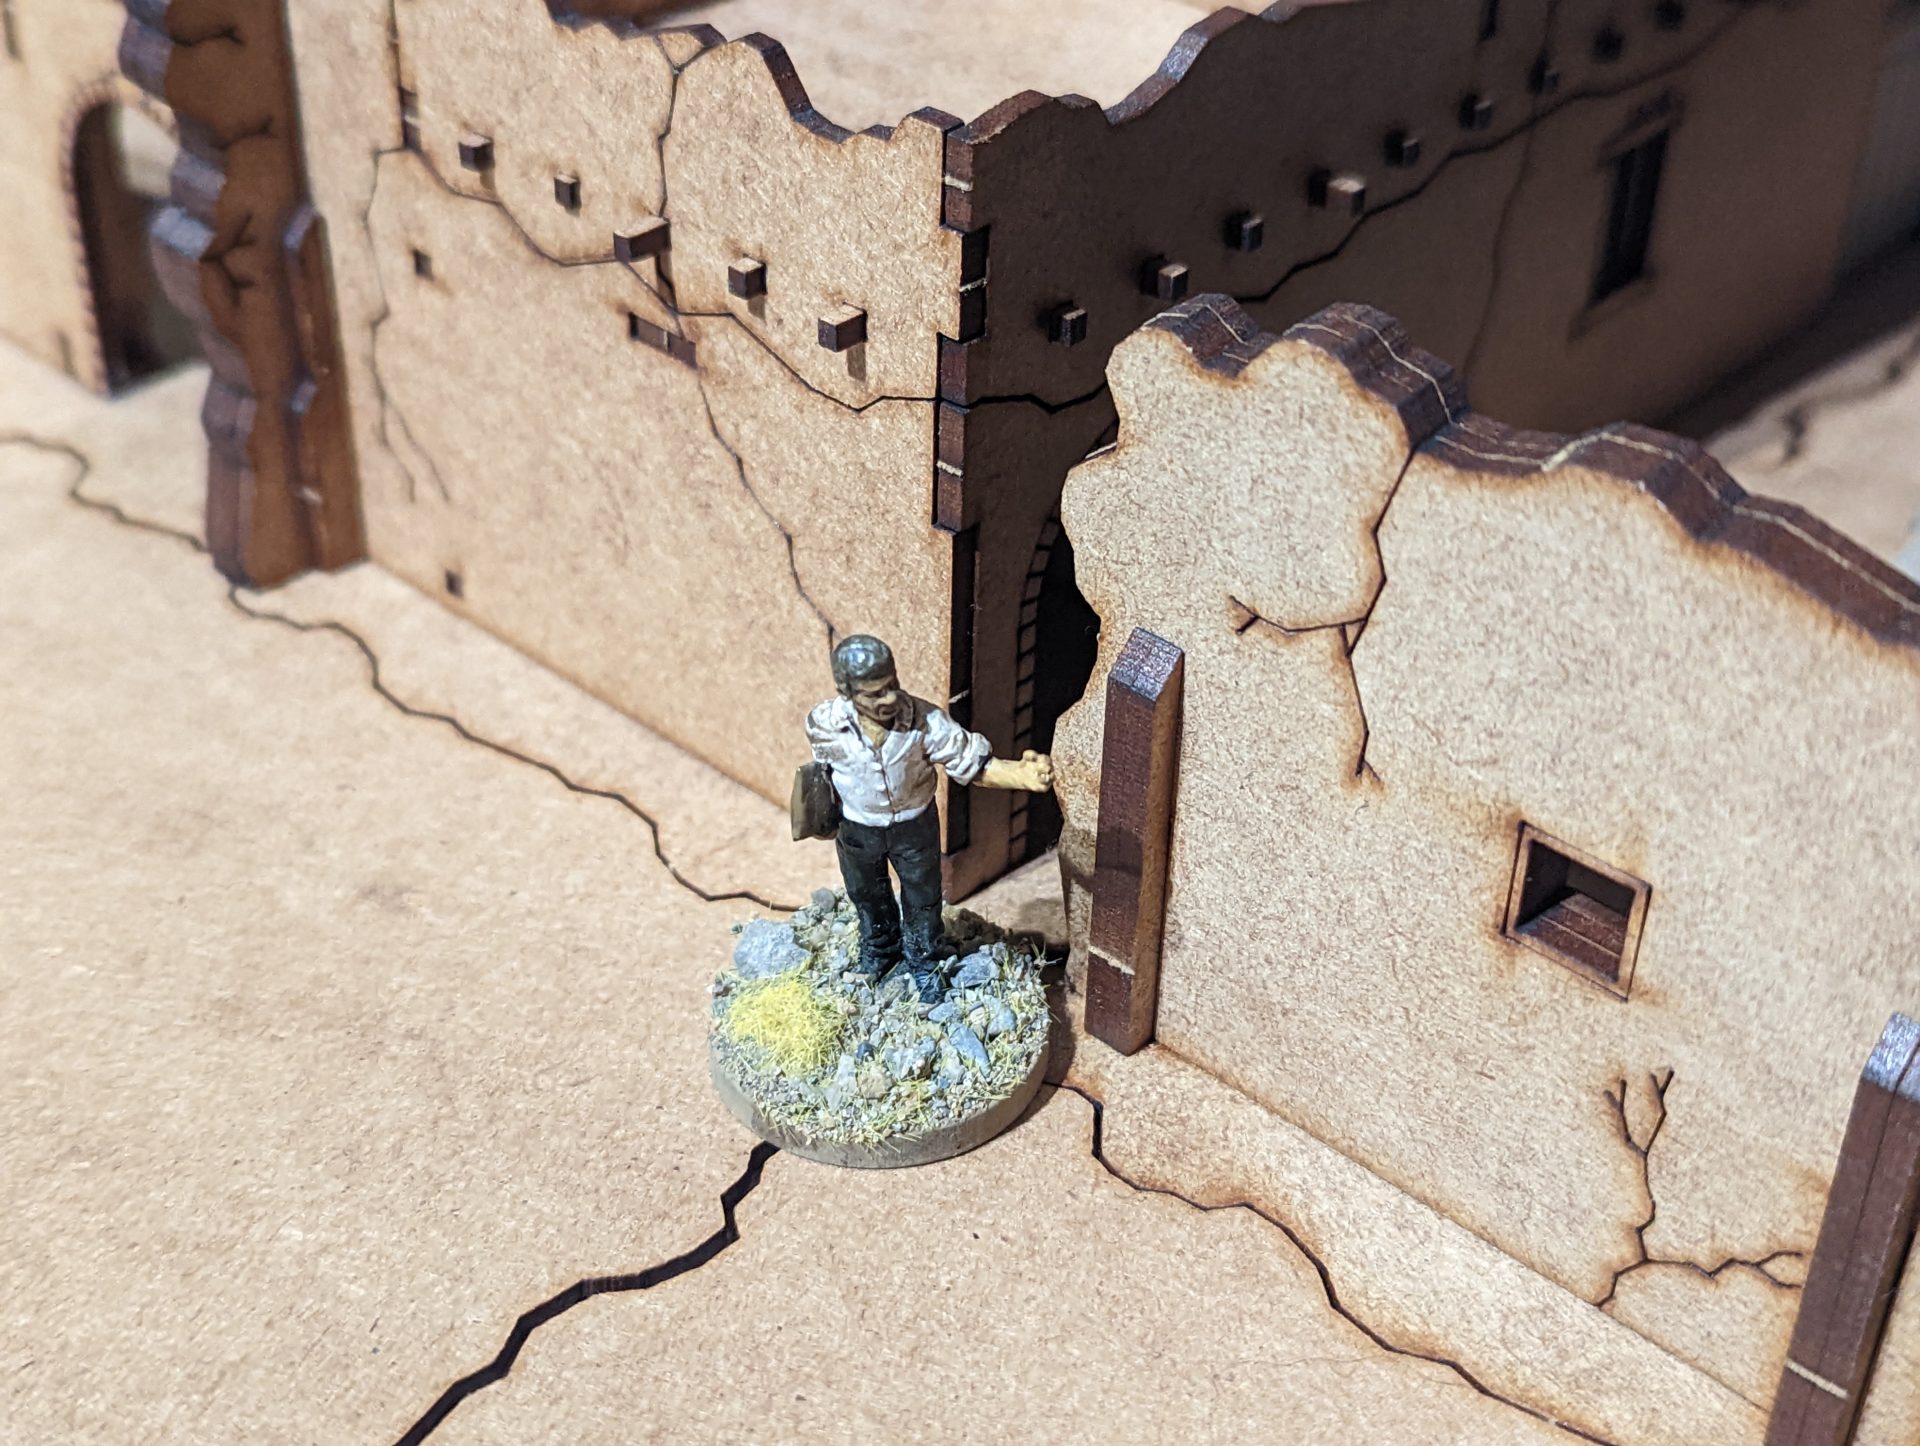
In this situation, we were following the adventures of Captain Bashim Al-Zuri, leader of Barakat’s Special Counter-Drug Squad (SCDS). Al-Zuri is attempting to arrest The Jackal alongside three other officers (Master Sgt Kaheer, Sgt Baraca and Sgt Jaleel) as well as sniper cover provided by Sgt Amari (safely sat in a hide on top of a building somewhere across the river). All of the team is either Veteran or Elite (the SCDS are well trained and pretty busy dealing with smuggling in the region seeing as the city is the midpoint between drug producers and users) except for Sgt Baraca, the youngest son of Major Saleem who has only recently joined the team after a few months on the street. Based on the agreement with the Pani Police force and to prevent misunderstandings, the squad is crossing the border in full uniform and tactical gear – this is not an undercover raid. Weapons in the squad are a mix of suppressed ARs and SMGs, along with sidearms and two frag grenades each. Each officer also has light raid-style body armour. They deploy outside this fortified area of the old town, the lights of Barakat glittering behind them across the river.
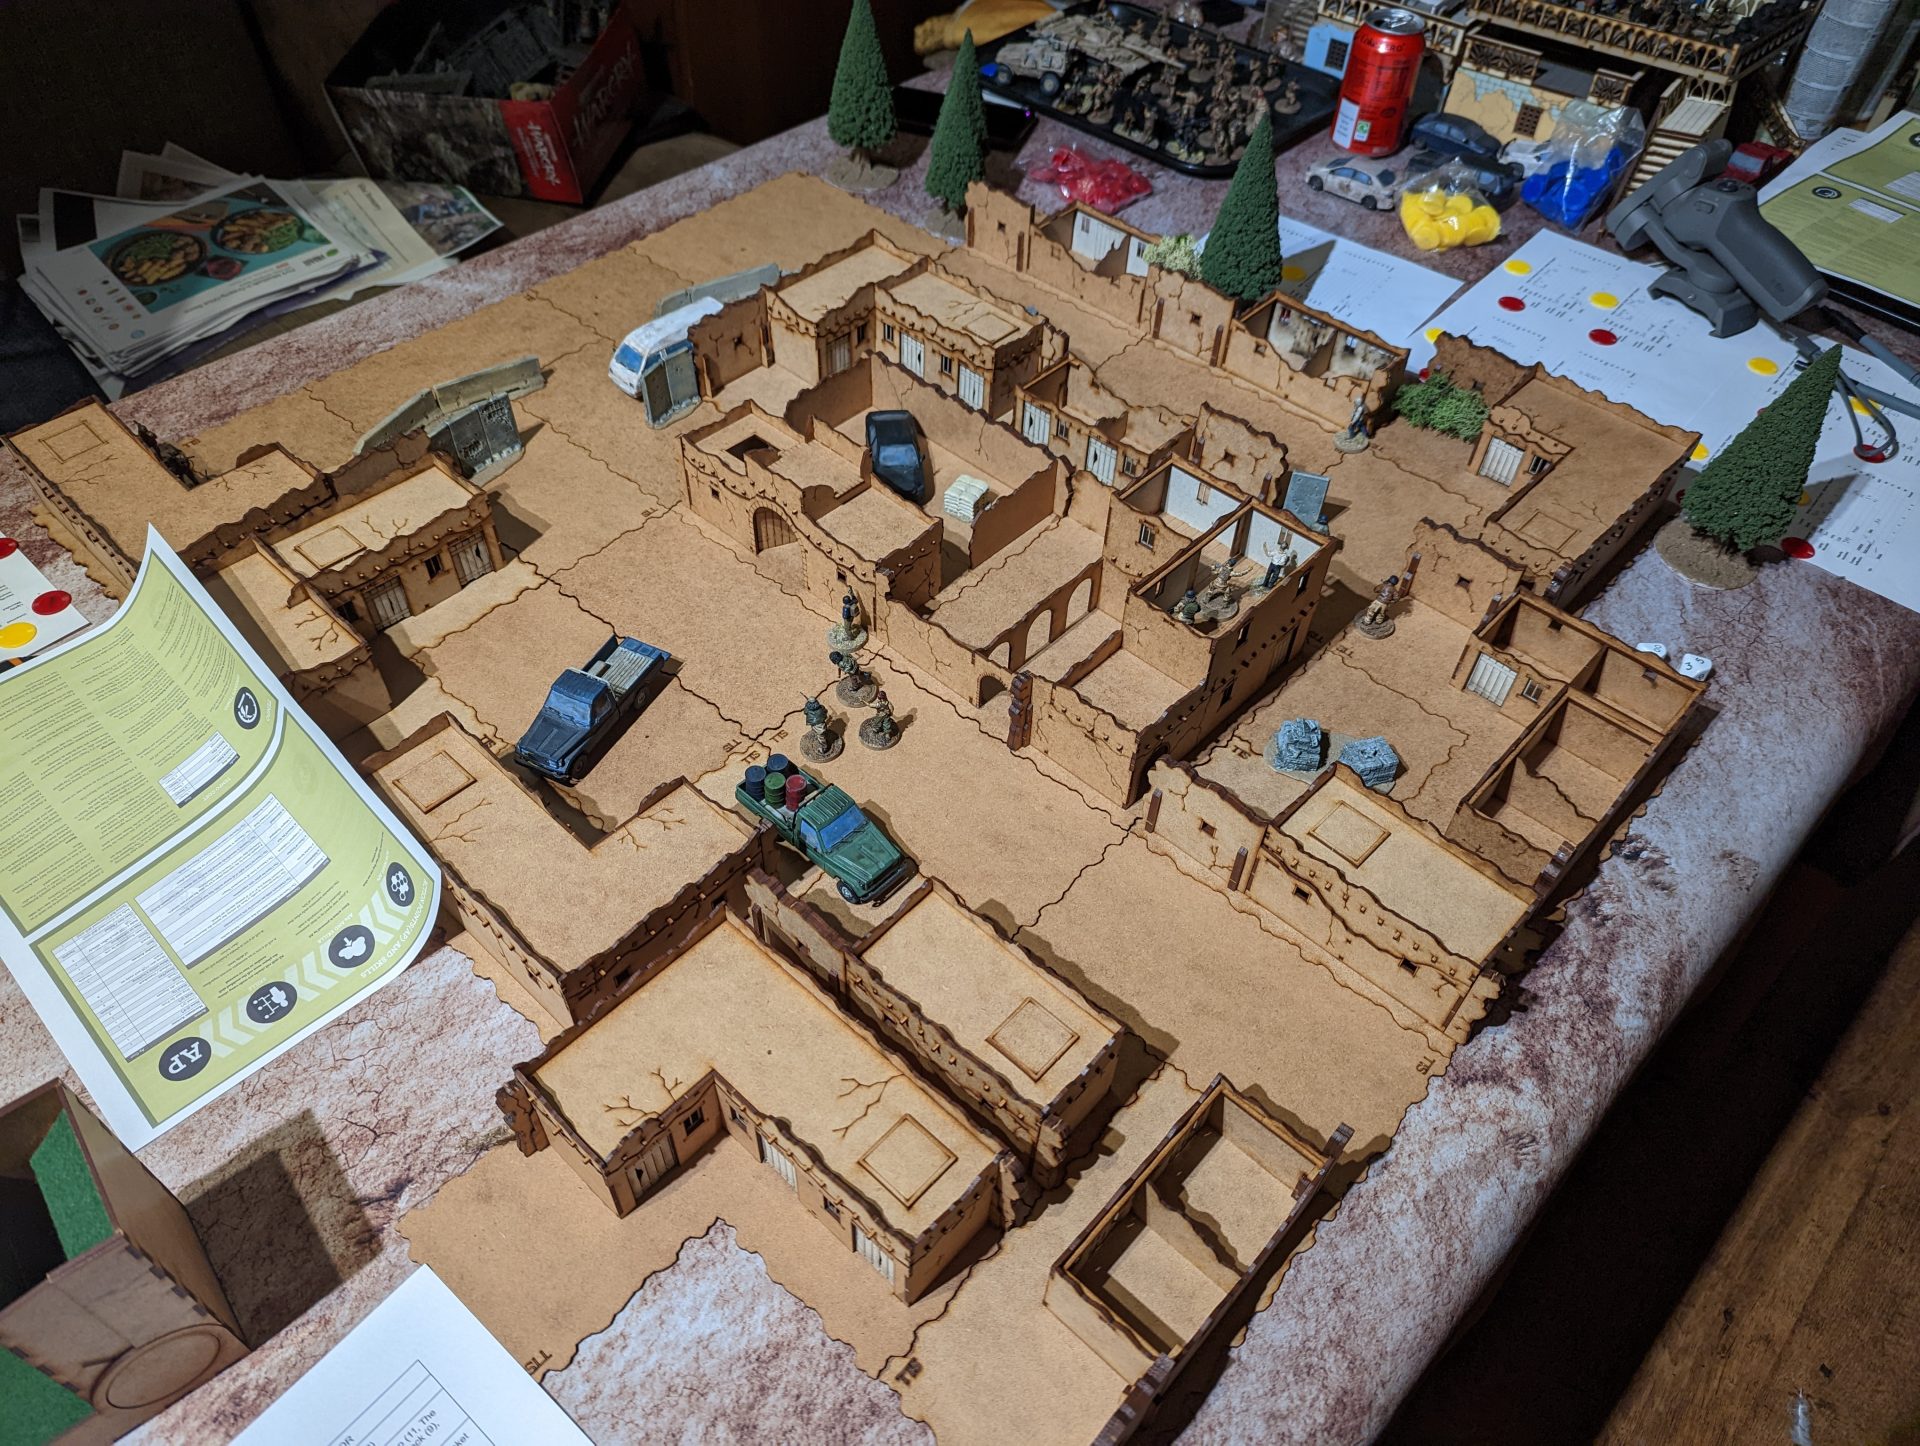
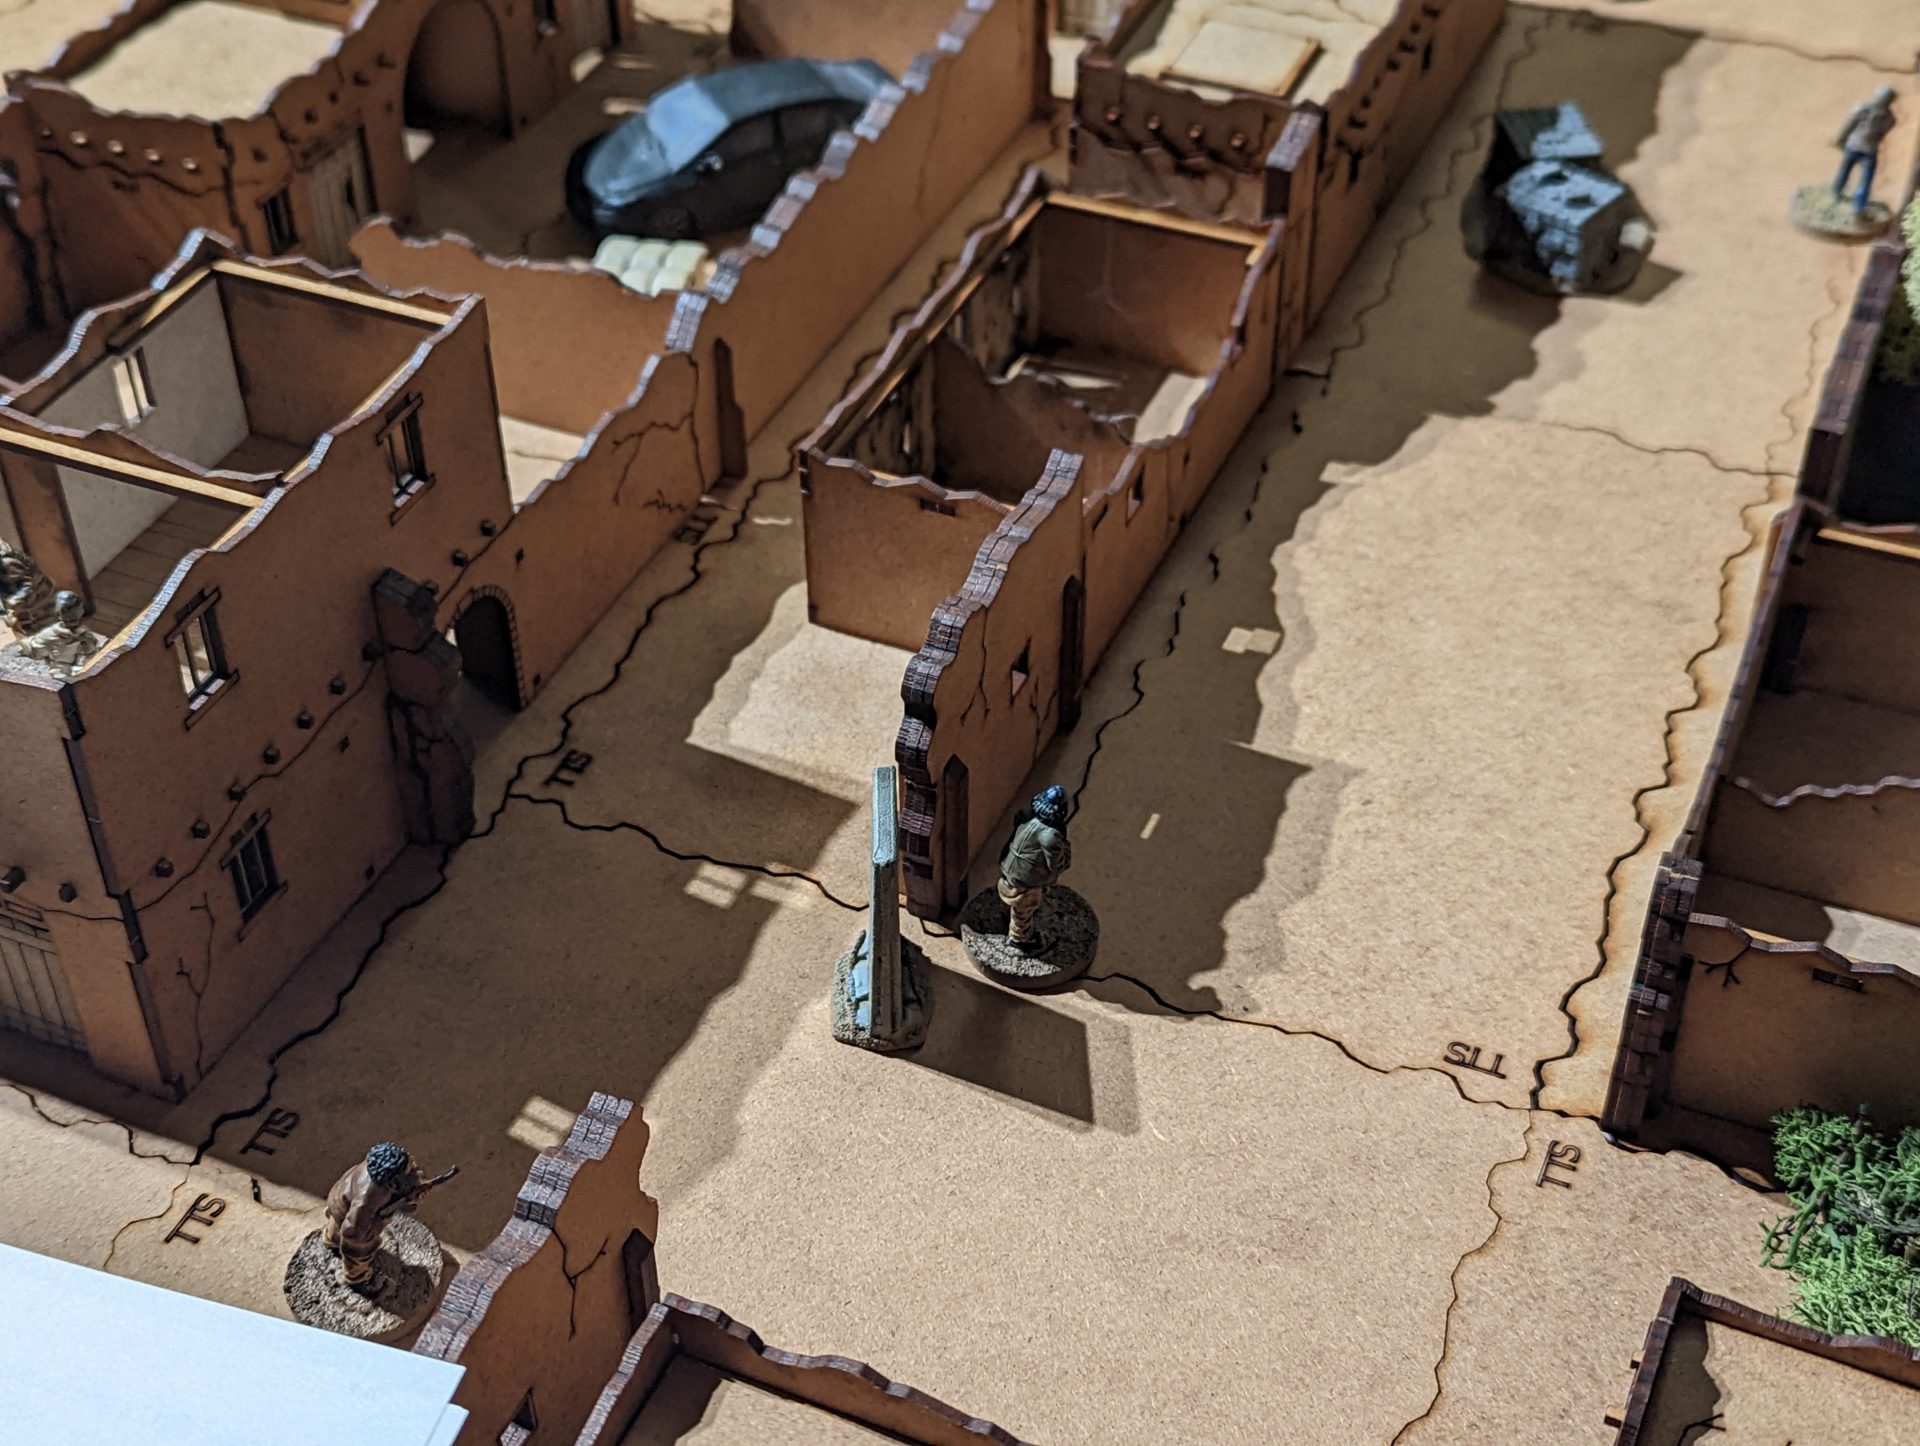
The target compound is in the midst of one of the slums of Pani, in an area under the control of one of the criminal groups. The team is assaulting during the early hours of dawn, the streets mostly empty except for a skeleton crew protecting the Jackal.
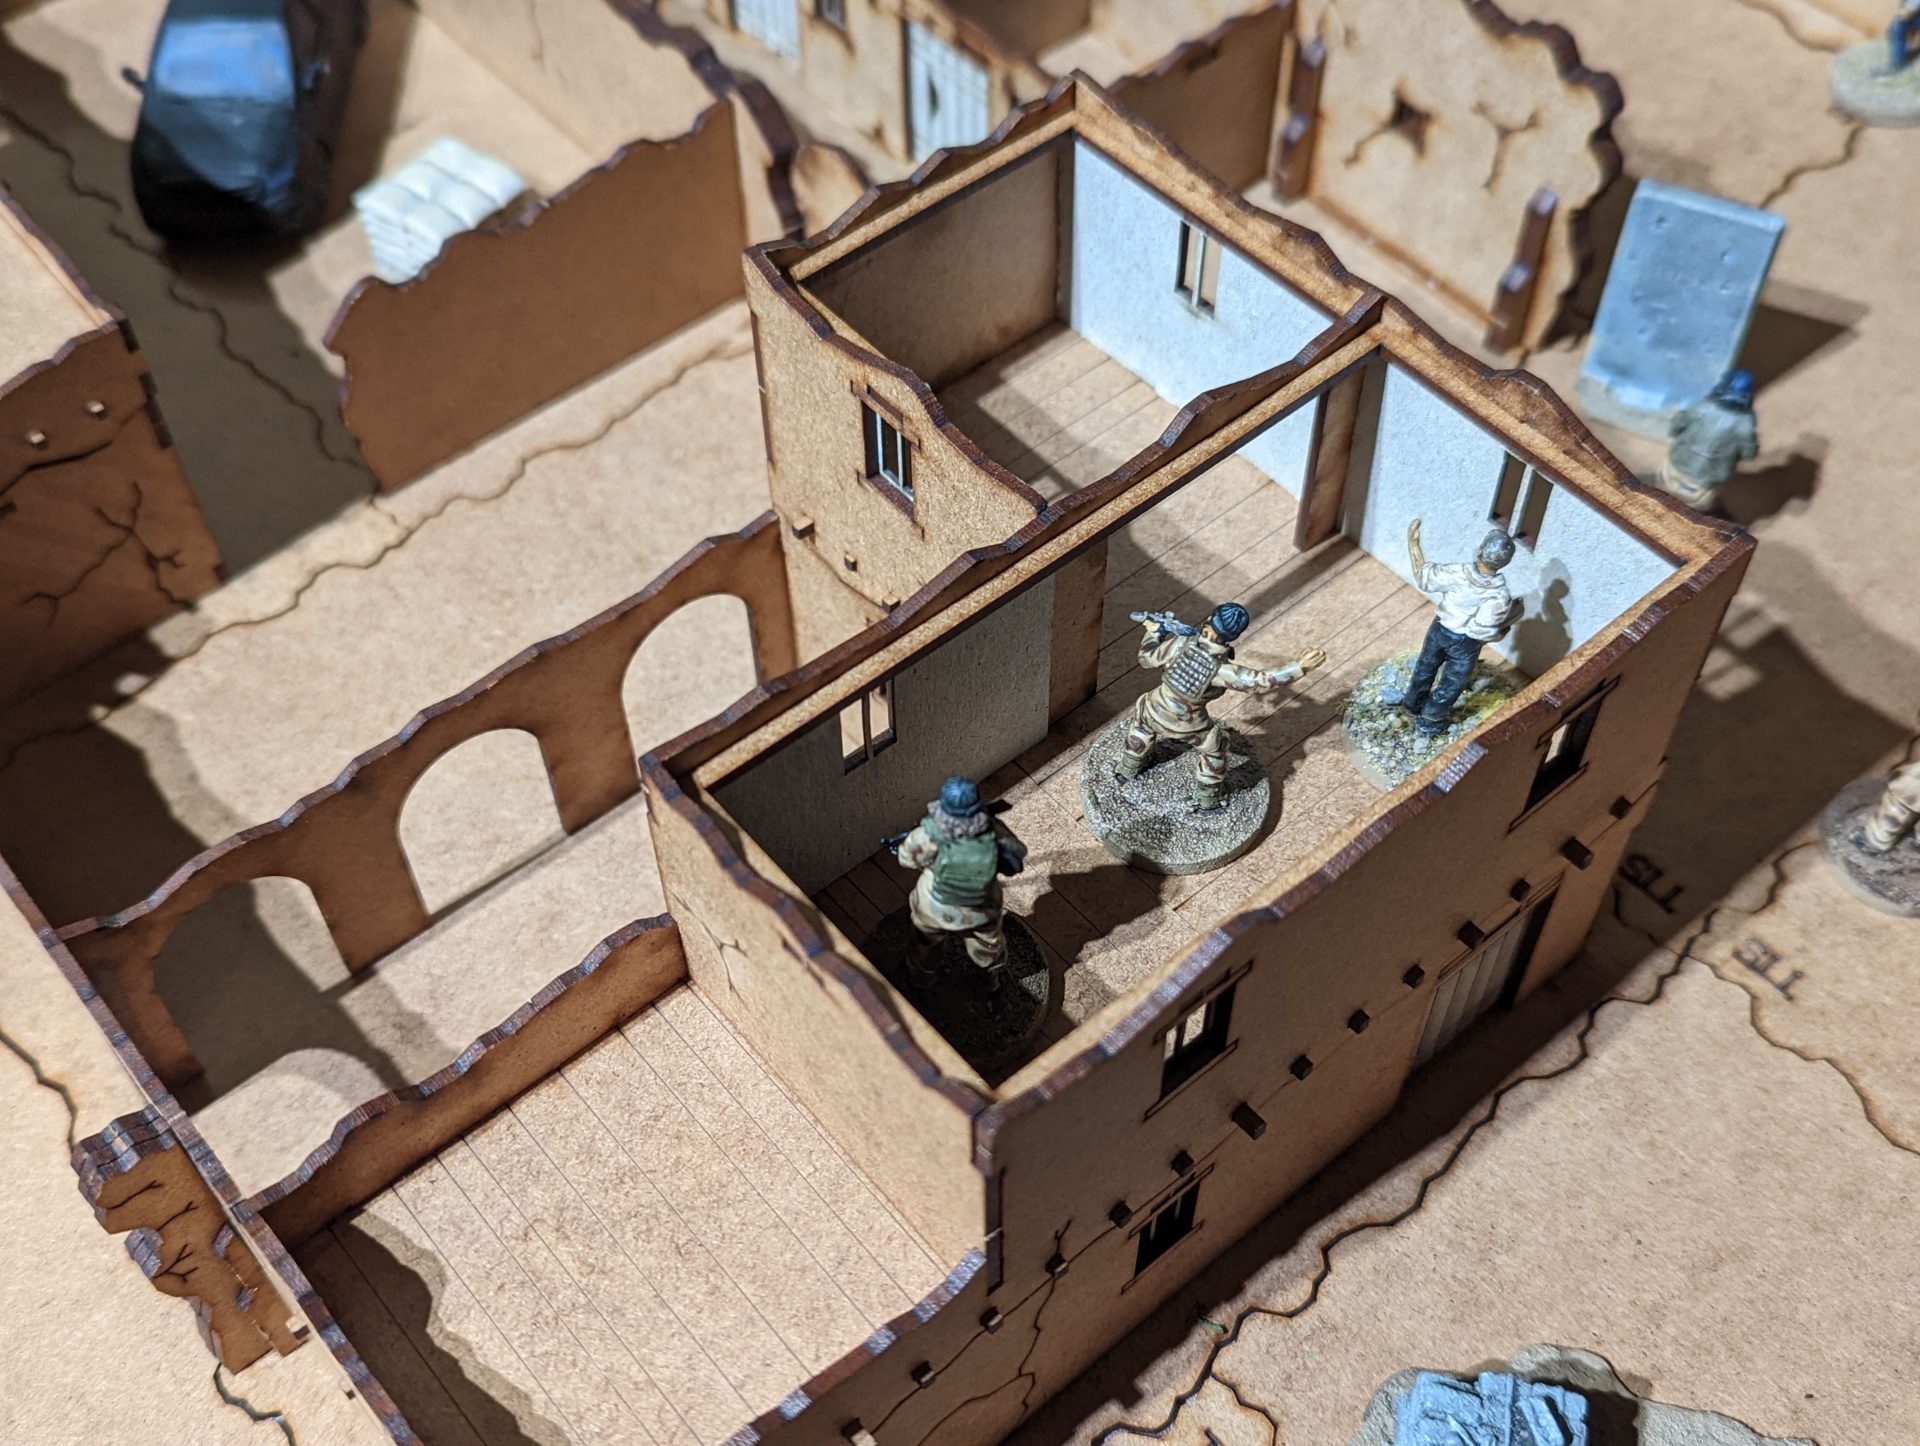
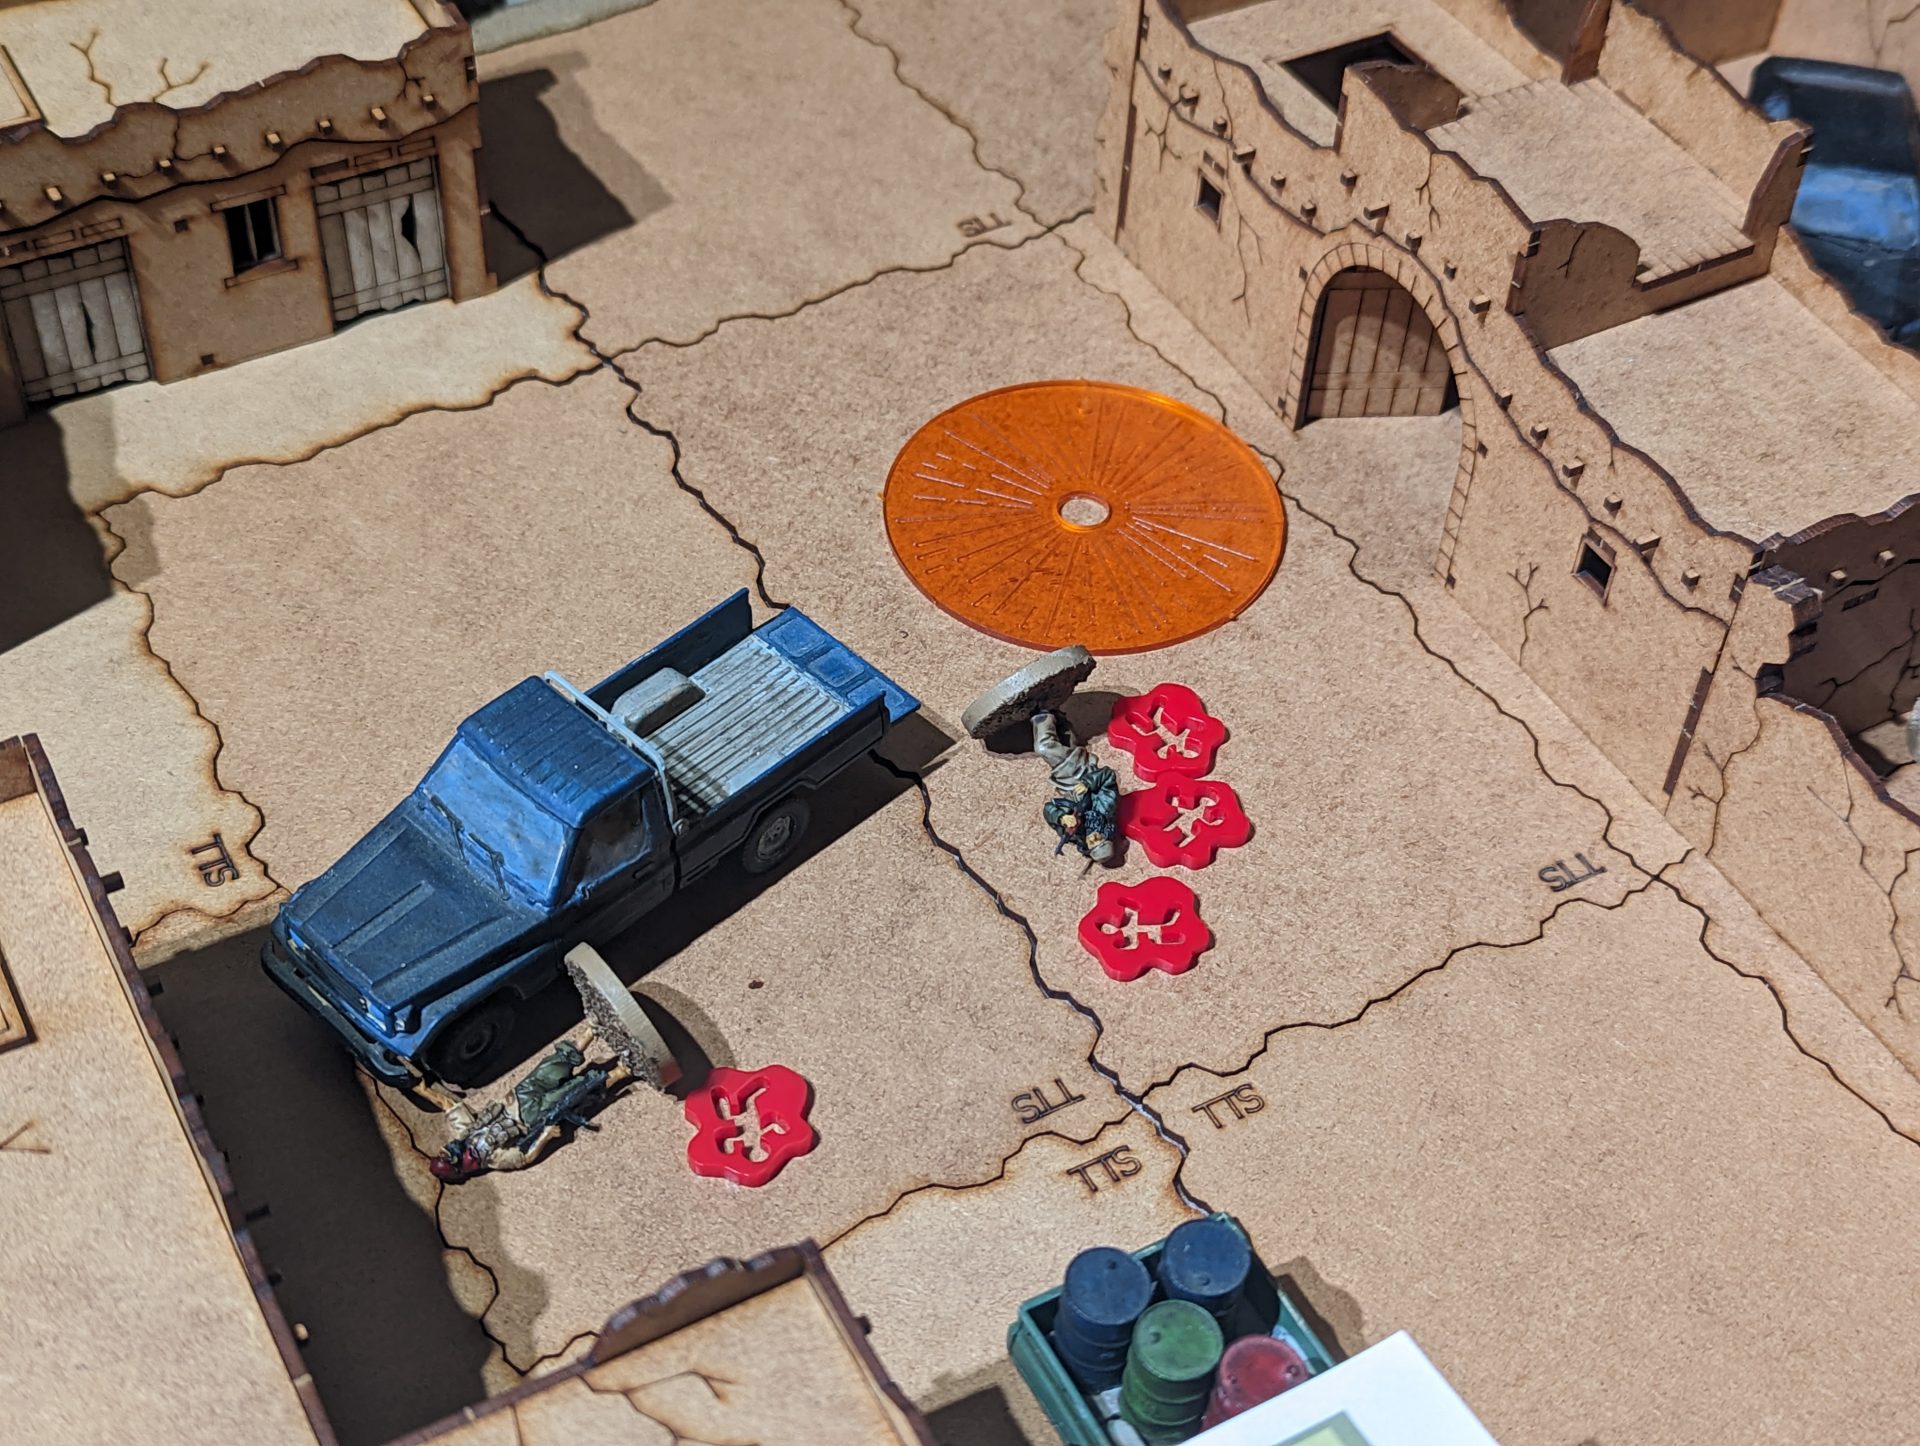
The man of the hour was safely hidden upstairs in the only two-storey building in the area alongside two of his protection detail. Interestingly, these two fighters were not in the same civilian-style clothing as the rest, with one acting as an NCO and the other carrying a medium machine gun (along with a rucksack full of ammo). It seems there are some shenanigans at play!
(Because Sarissa’s buildings continue to be incredibly unfriendly to skirmish gaming where people actually go in the buildings and need things like stairs, we counted the area currently unoccupied on the top floor as containing a way up and down floors)
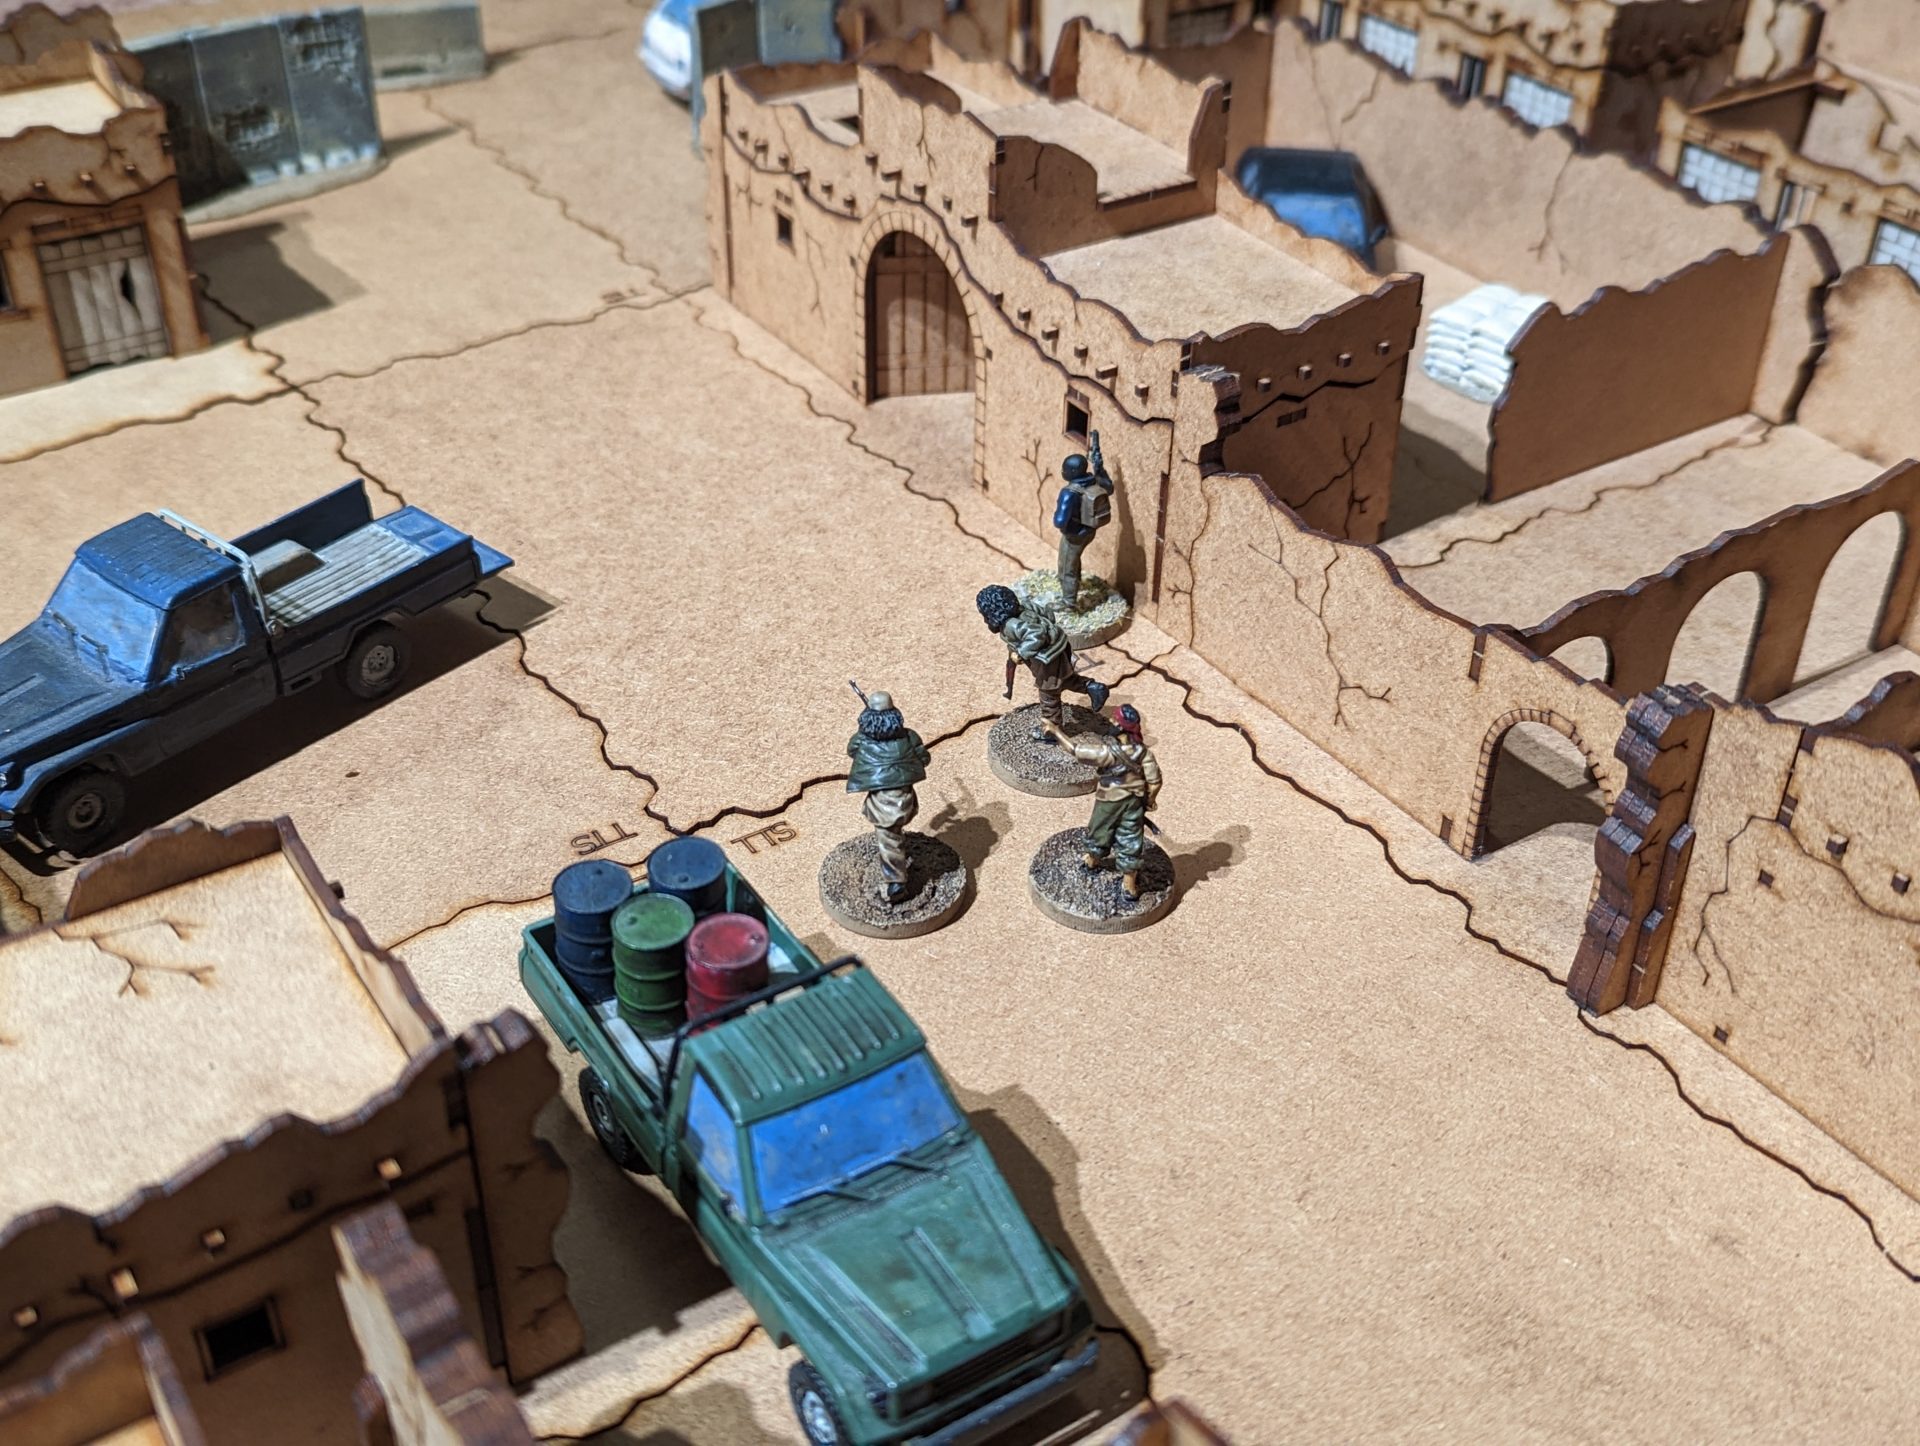
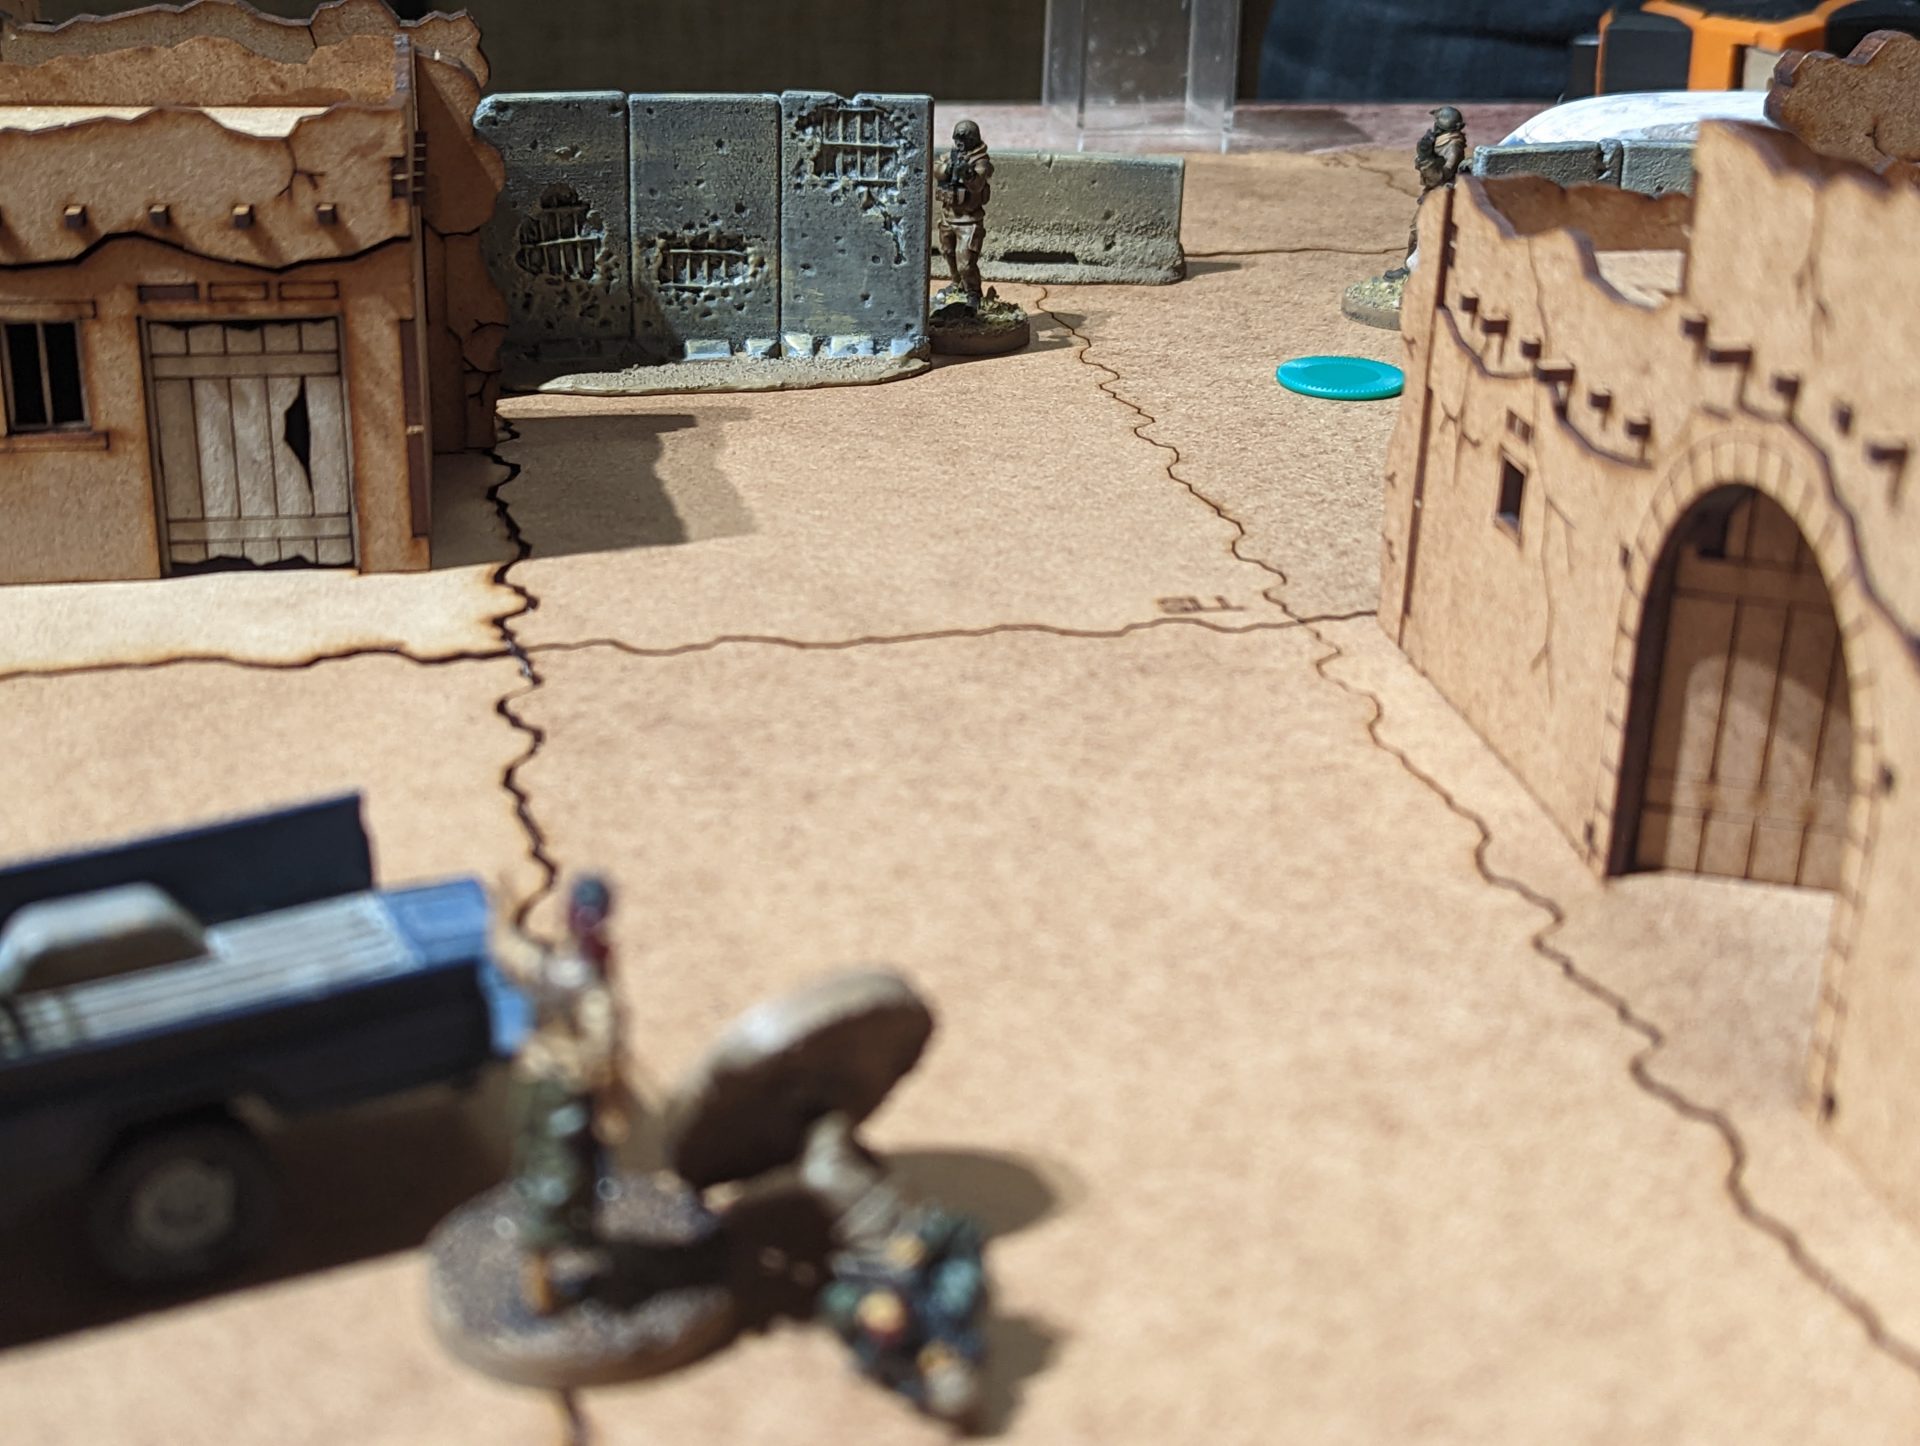
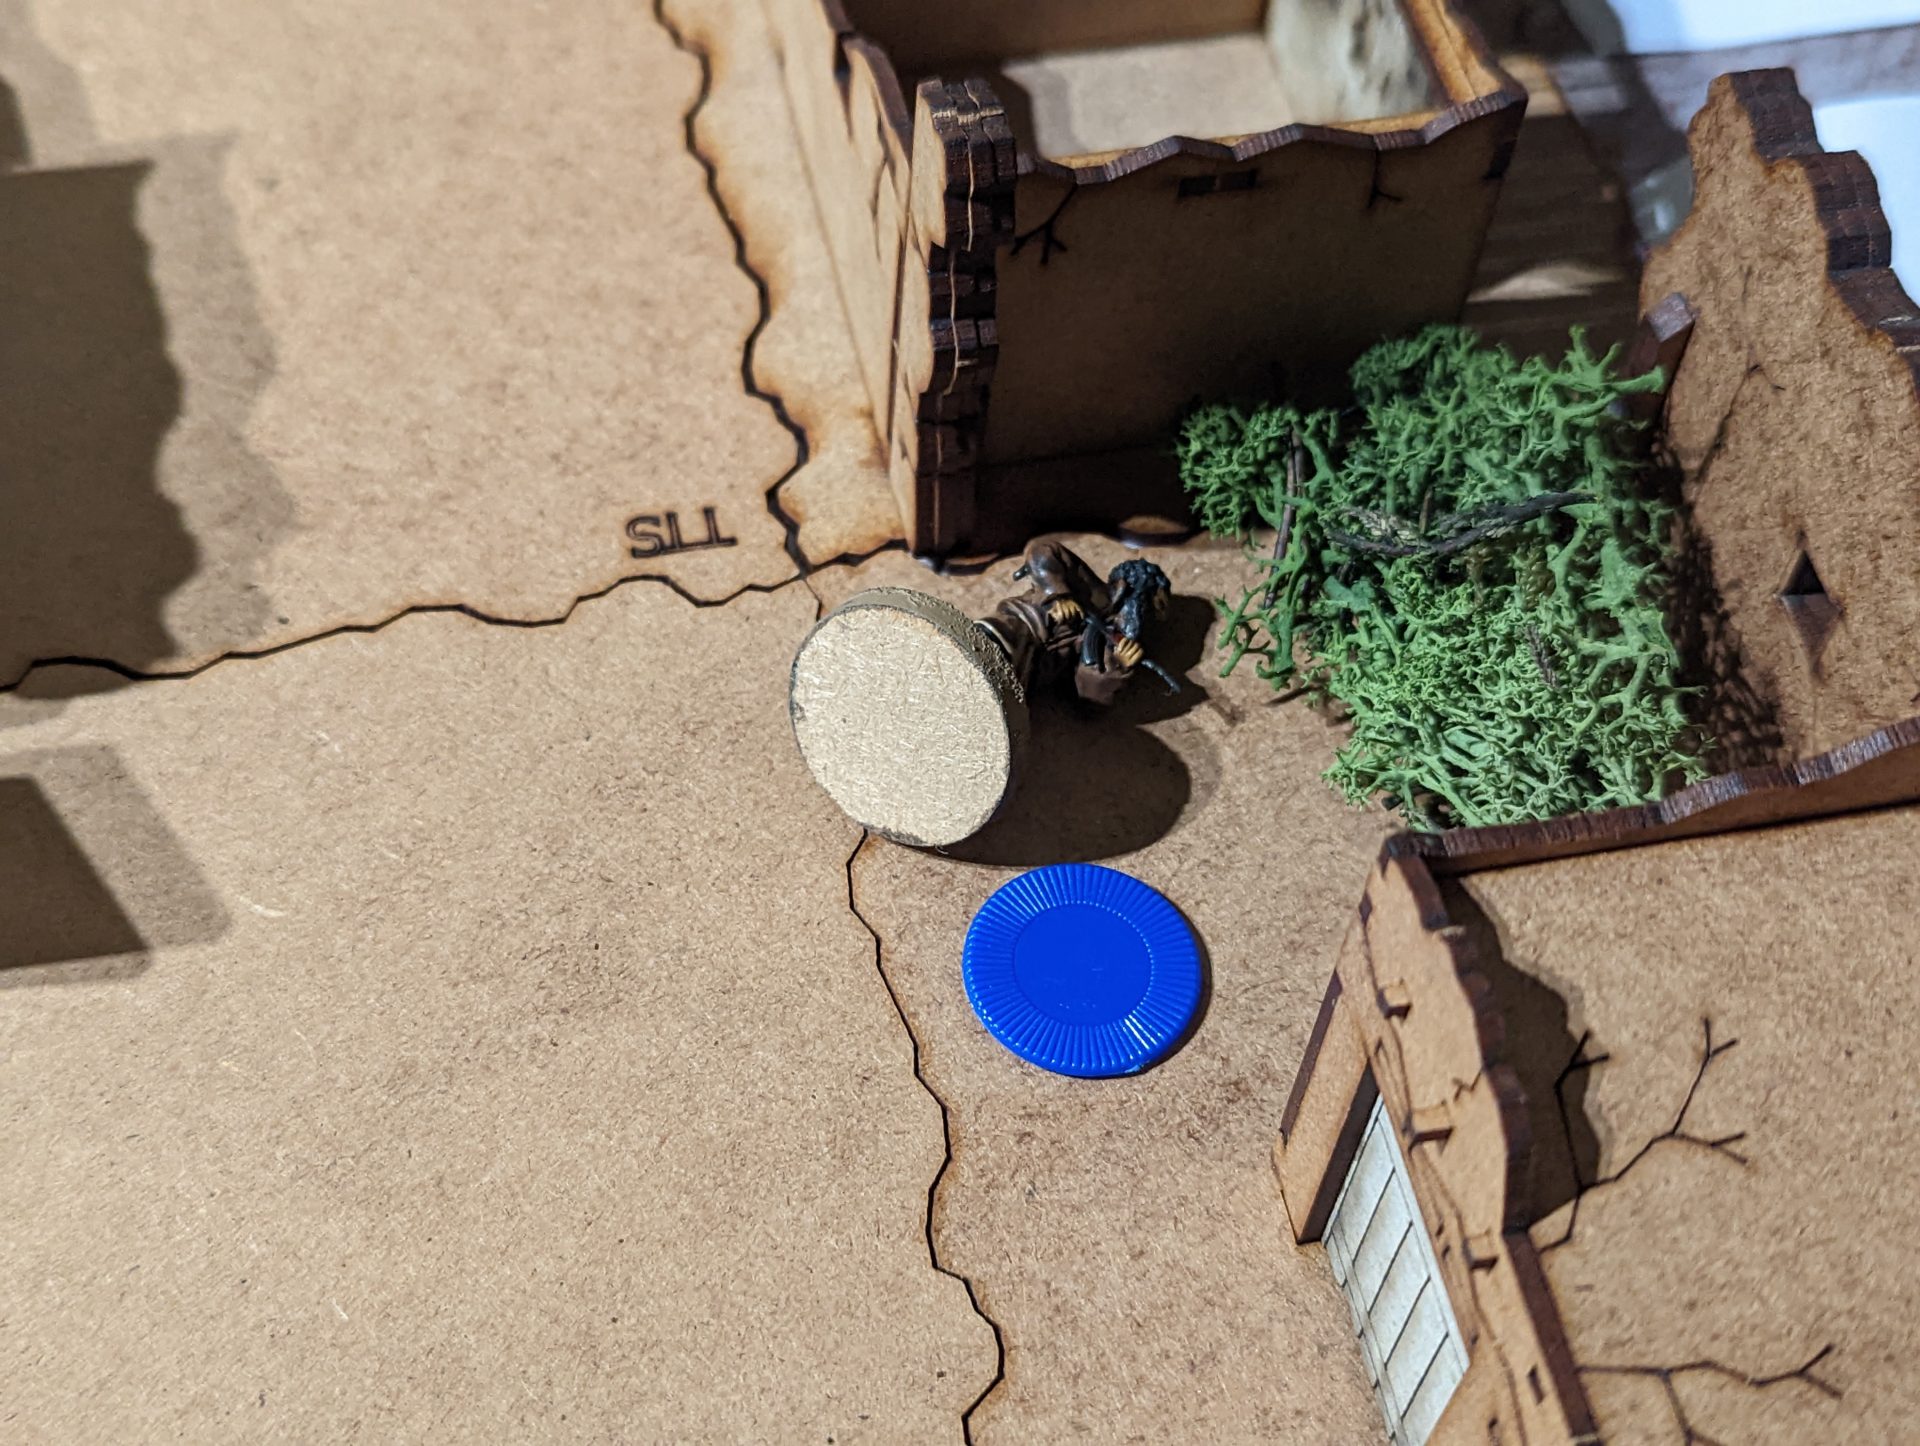
Outside, the other fighters in the area have set up some patrol routes, guarding the area around the target building. On the right, two average fighters and one veteran stand on sentry, the veteran dressed slightly less obviously that he’s an armed member of the group.
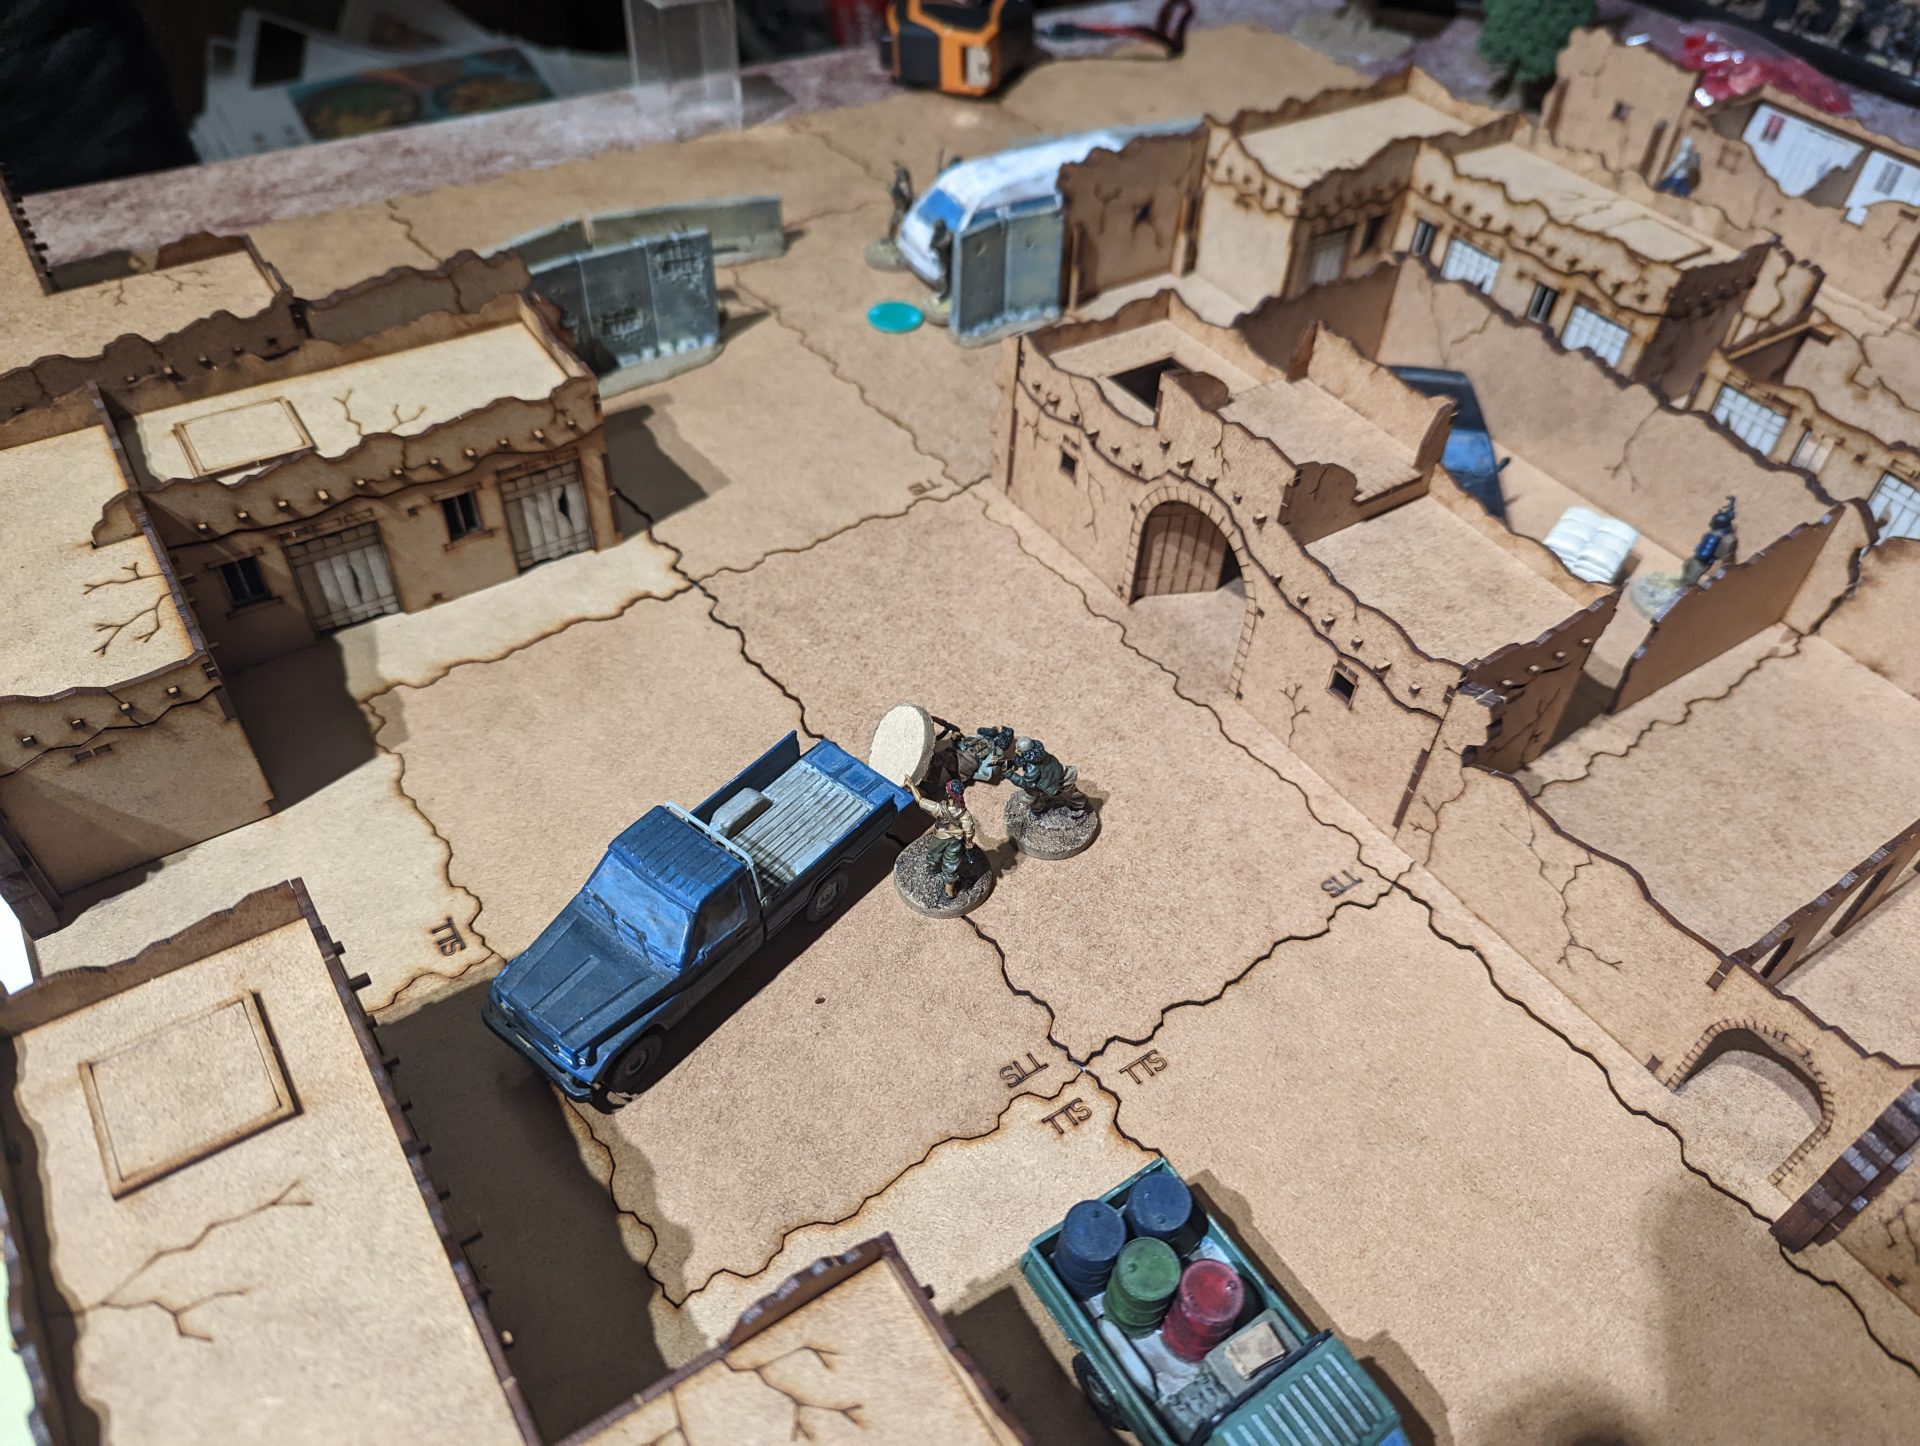
Something similar is taking place on the left – a group of average fighters under their commander are getting to work preparing the pickups for transport, all under the careful eye of a veteran.
The SCDS start the game hidden meaning that for the first few activations, I moved the enemy around like they were on simple patrols. The group on the right clearing up the alleyway before taking a smoke break, the group on the left moving to crowd around the pickup truck. In contrast, SCDS worked their way into position.
During this time, Sgt Amari in her sniper perch across the river was spending her AP spotting possible targets, which means it’s a good time to mention my tweaks to the spotting system! Rather than having to set up a matrix of who has spotted who, my changes now track how “spotted” a character is on their character sheet. This is done via a bar on the top of the sheet – aside from two special locations for scenario-specific levels of spotted (Covert/Hidden), the bar goes from Undetected (the enemy has no idea this character exists) up to Confirmed (multiple enemies have spotted this character so more people are aware of them and get bonuses to spot). Every successful spot check on a character increases this bar, every activation of this character outside of enemy LOS reduces it. To shoot a character, I’ve also changed it so that you have to spot a character every time you shoot. However, at higher levels of “spotted-ness”, spotting the target character becomes 0AP for the first attempt at it which, combined with the bonuses and the rule that spotting with no negatives is an automatic pass, means that characters still get to engage the enemy they have spotted.
With Amari having radio’d in the location of the enemy contacts, it didn’t take long for the SCDS to start the party. While Baraca took his suppressed P90 for a flank down the right side and to watch for squirters, the other three setup on the group near the vehicles. Jaleel started the party with a single aimed shot, dropping his target and then confirming with a spot.
Lets talk about the damage system. The HP tracker of the core game is a very RPG-esque system but I definitely find it can feel very gamey, require too much tracking and can often lead you to having a load of people who are functionally useless but still taking up activation time. My tweaks turn it into another tracker, with unharmed at the top, Lightly wounded (-20% on all tests), Heavily wounded (-60% on all tests), Combat Ineffective (no longer activates but is in need of medical support) and KIA (dead so no longer activates). This helps to streamline the effects of injuries.
However, actually causing damage has also changed. Once an attack hits, rather than rolling however many D10s to match the firepower stat, you instead place that many injury tokens on on a character. And that’s it! You know you’ve hit them but rather than immediately knowing their situation, you just know they have come under fire. Instead, when the injured character activates (or if a friend/foe manages to spot them) then you roll an injury test. First of all, you roll to see if body armour has absorbed any of the hits; roll a D10 for each injury token, aiming to roll equal to or under your armour value (for light armour in this game I used 3). Once that’s done, you roll a D10 and compare it to a table, with the result depending on how many injury tokens are left. With the fickleness of combat, 1s always count as no effect (other than having been knocked to the ground and suppressed) while 10s are always KIA, while the other injury values vary between how much fire has been poured into the character before the test. The only exception is if you manage to reduce the number of injury tokens down to 0 – in this case, the effects range from nothing up to Heavily Wounded (by all accounts, cracked ribs from a plate hit still hurt like hell). The system isn’t perfect (there is still some confusion when it comes to what happens with follow-up injuries) but we found it quick to handle and slightly tense when you fired a shot and didn’t have enough AP to make sure the guy was actually dead.
Of course, after Jaleel puts the first shot in one guy, the rest of the squad opens up. Amari and Kabeer soon put rounds into the rest of the group in the group, the sound of suppressed gunfire slightly overwhelmed by the THUMP of a .50cal rifle.
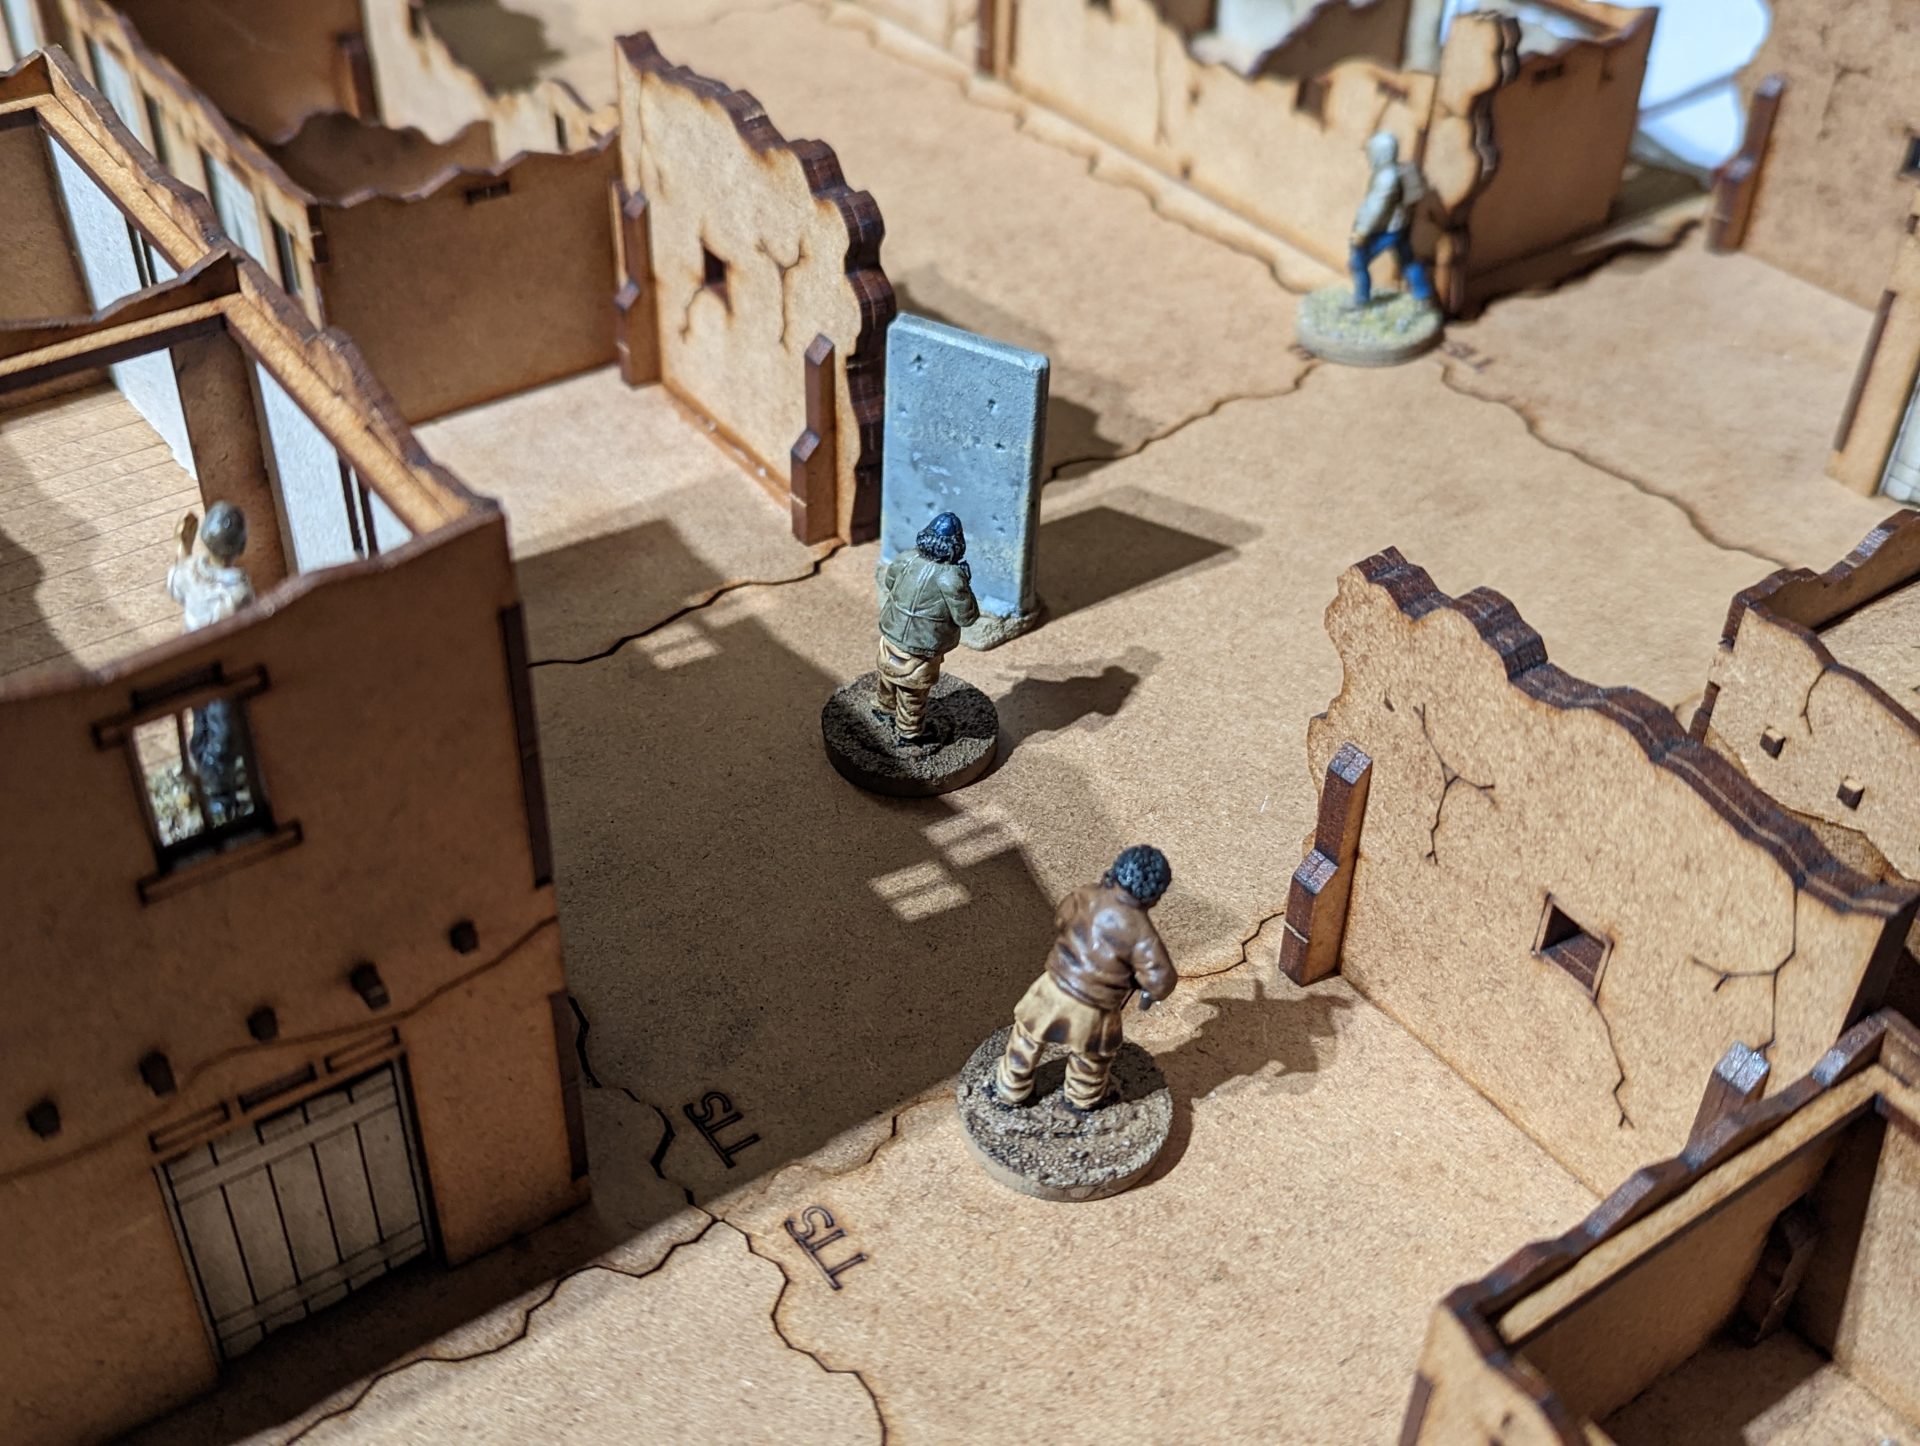
Of course, with gunfire coming in, the Jackal’s men would start reacting. Starting on the left, the injured fighters had activated and were revealed to be Heavily Injured, with both barely able to function other than getting out of the firing line. The veteran that had been with them sought cover in the maze of buildings, going to ground to avoid appearing in the firing line of the sniper. He did however manage to spot the source of the incoming fire.
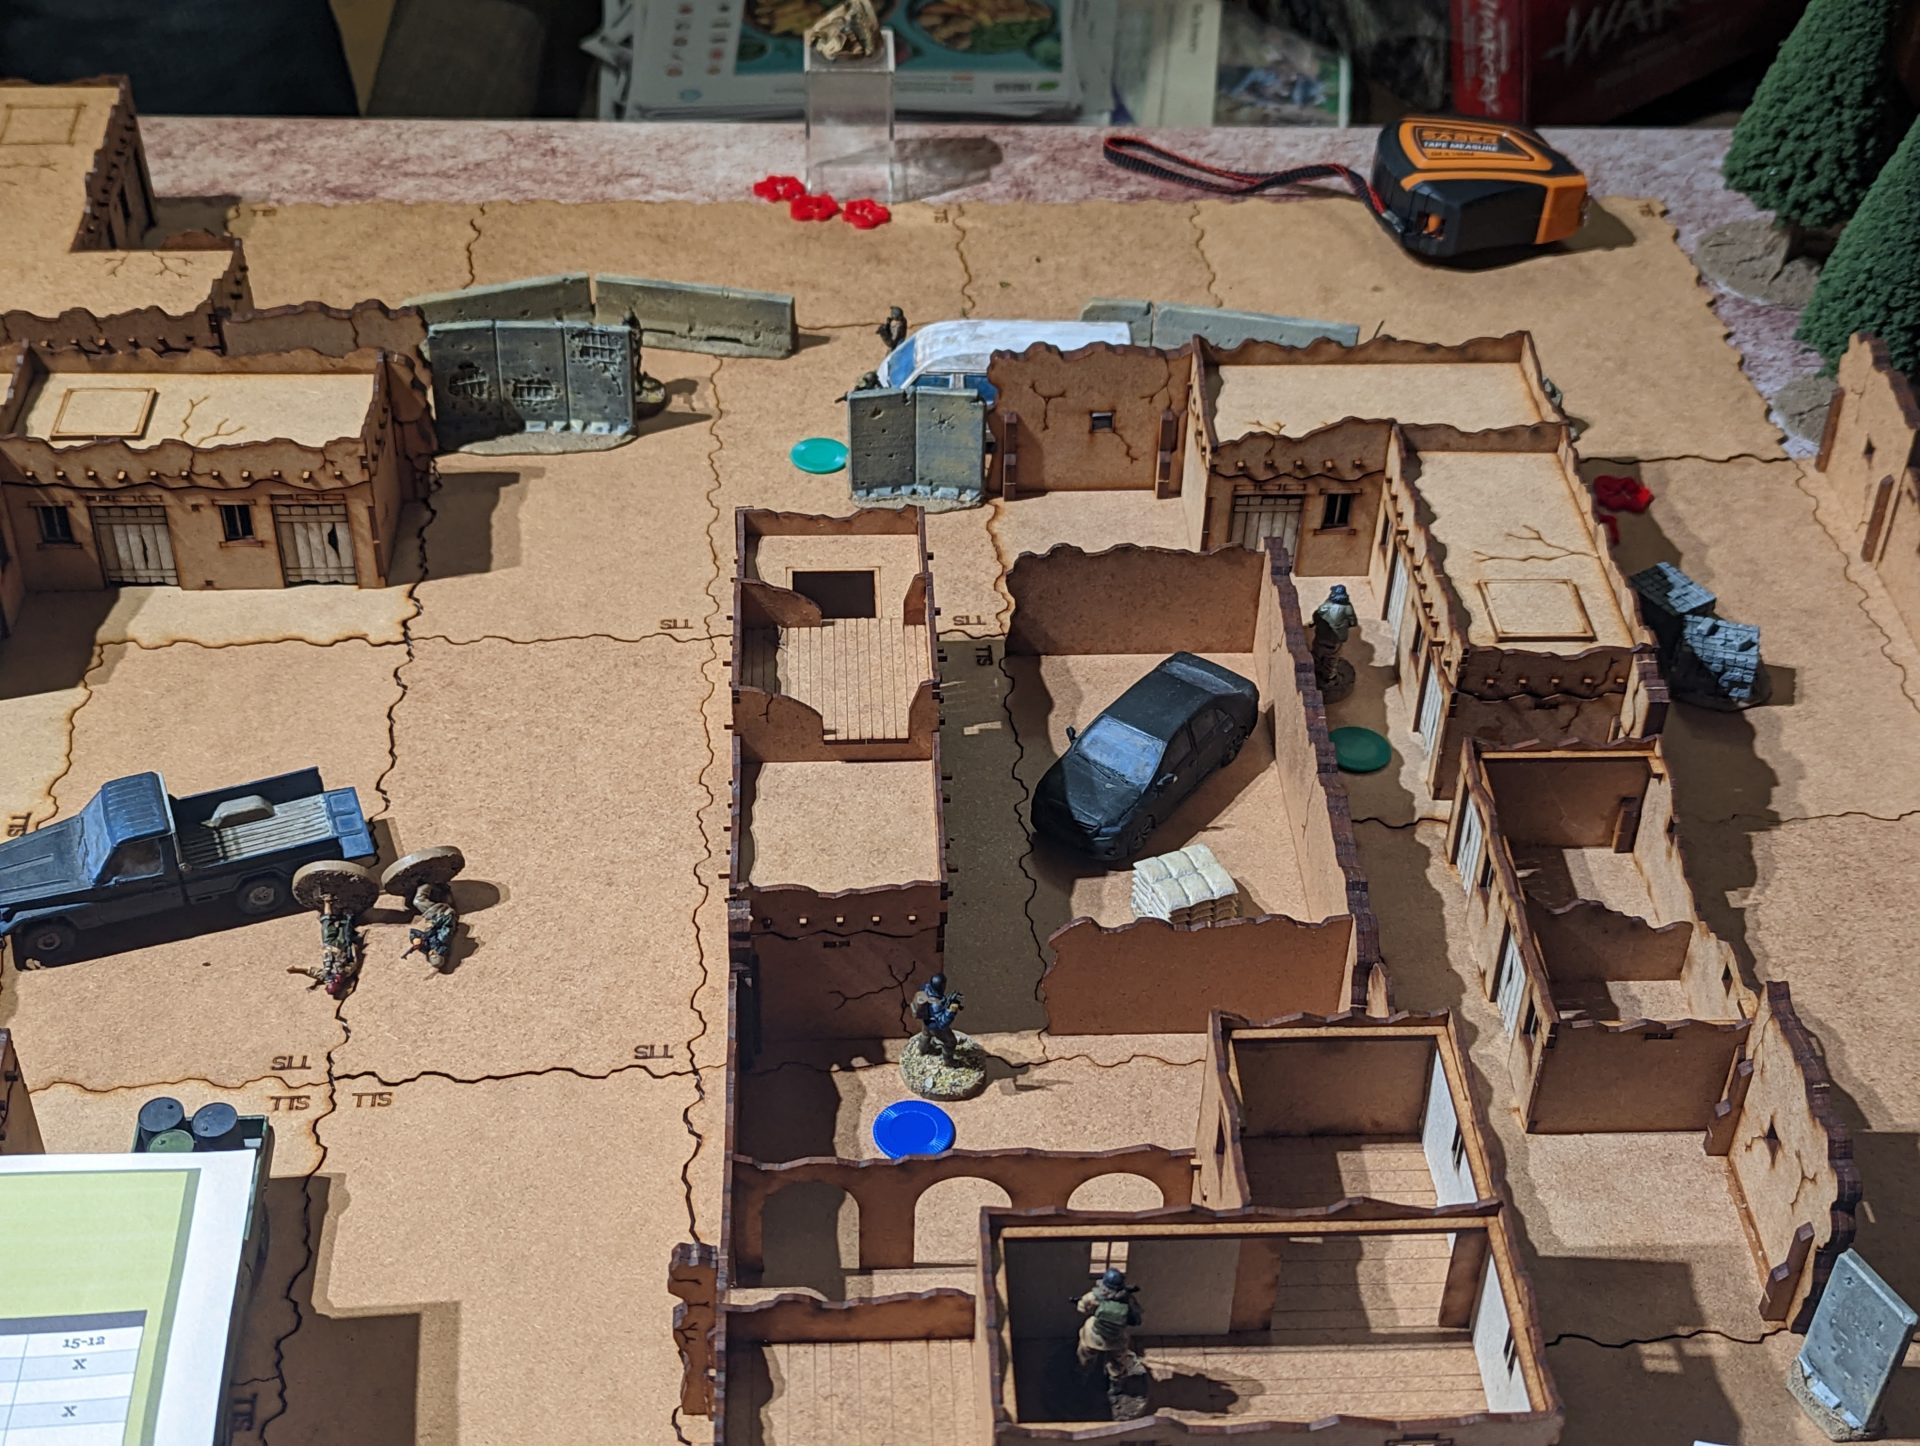
On the right, the other veteran had managed to make it up to the corner to see what was going on. However, he reached the corner at the same time as one Sgt Baraca did who, while still moving, managed to stop and drop the criminal veteran causing an instant KIA. The other two criminals on that side split up, one hunkering down in cover to protect the street, the other using the alleyways to move up to a flanking position once the SCDS pushed into the compound.
However, the big news was the machine gunner on the top floor. Spending some of the tempo generated by his NCO, the big guy managed to spot Amari’s position aim and unleash a burst of machine gun fire in response to hopefully suppress. Despite an incredibly low chance to hit (being in cover and gone to ground makes things pretty hard) the machine gun hits managed to slam home causing three injury tokens. When Amari next activated, her body armour had absorbed some of the hit, and the result was only a light injury – we imagined the gunfire had managed to rip up the cover she was behind, sending splinters into her rather than any direct hits. However, this burst had knocked her to ground, so it would take some time for her to set back up.
Not that it would save the poor unfortunate militia out in the open. Before one of them had a chance to activate (and while the other had managed to crawl away slightly), my opponent was introduced to the possibility of what frag grenades can do in Sangin. Despite his skills, the throw landed a little short, bouncing off the back of the pickup and rolling along the floor before exploding. The scatter actually meant that the thrower was barely out of the damage zone. However, the two criminals were both within the zone taking shrapnel hits and taking one of them completely out of commission. The other however managed to roll up a 1, leaving him dazed in the aftermath but still barely alive.
As SCDS advanced, they ended up in a close-range gun battle with one of the criminals. This almost ended in disaster when the team leader, while crossing a gap, attempted to spot and then shoot the enemy. However, the spot roll?
Yeah, he rolled a 00.
What this means is it’s time to hit up the fumbles table to see what happens. In this case, he rolled exceptionally well, resulting in the Captain lining up his rifle on the bad guy, pulling the trigger and suffering a stoppage. This forced his final AP to be spent diving for cover rather than pushing on into the fight.
This is something I really like about Skirmish Sangin, these little moments of madness where for one moment the dice take a wrench and throw it in the works, which ends up giving you the moments it’s easy to visualise.
After the stoppage, Captain Al-Zuri decided he didn’t have time to clear it and so swapped to his sidearm to continue the fight. This actually worked out well as, in the following activation, Jaleel called a CQB action and charged in, spending a point of Focus to bring Al-Zuri in with him for the +20% bonus in CQB. This helped him easily take out the insurgent, causing a KIA and removing the enemy from the board.
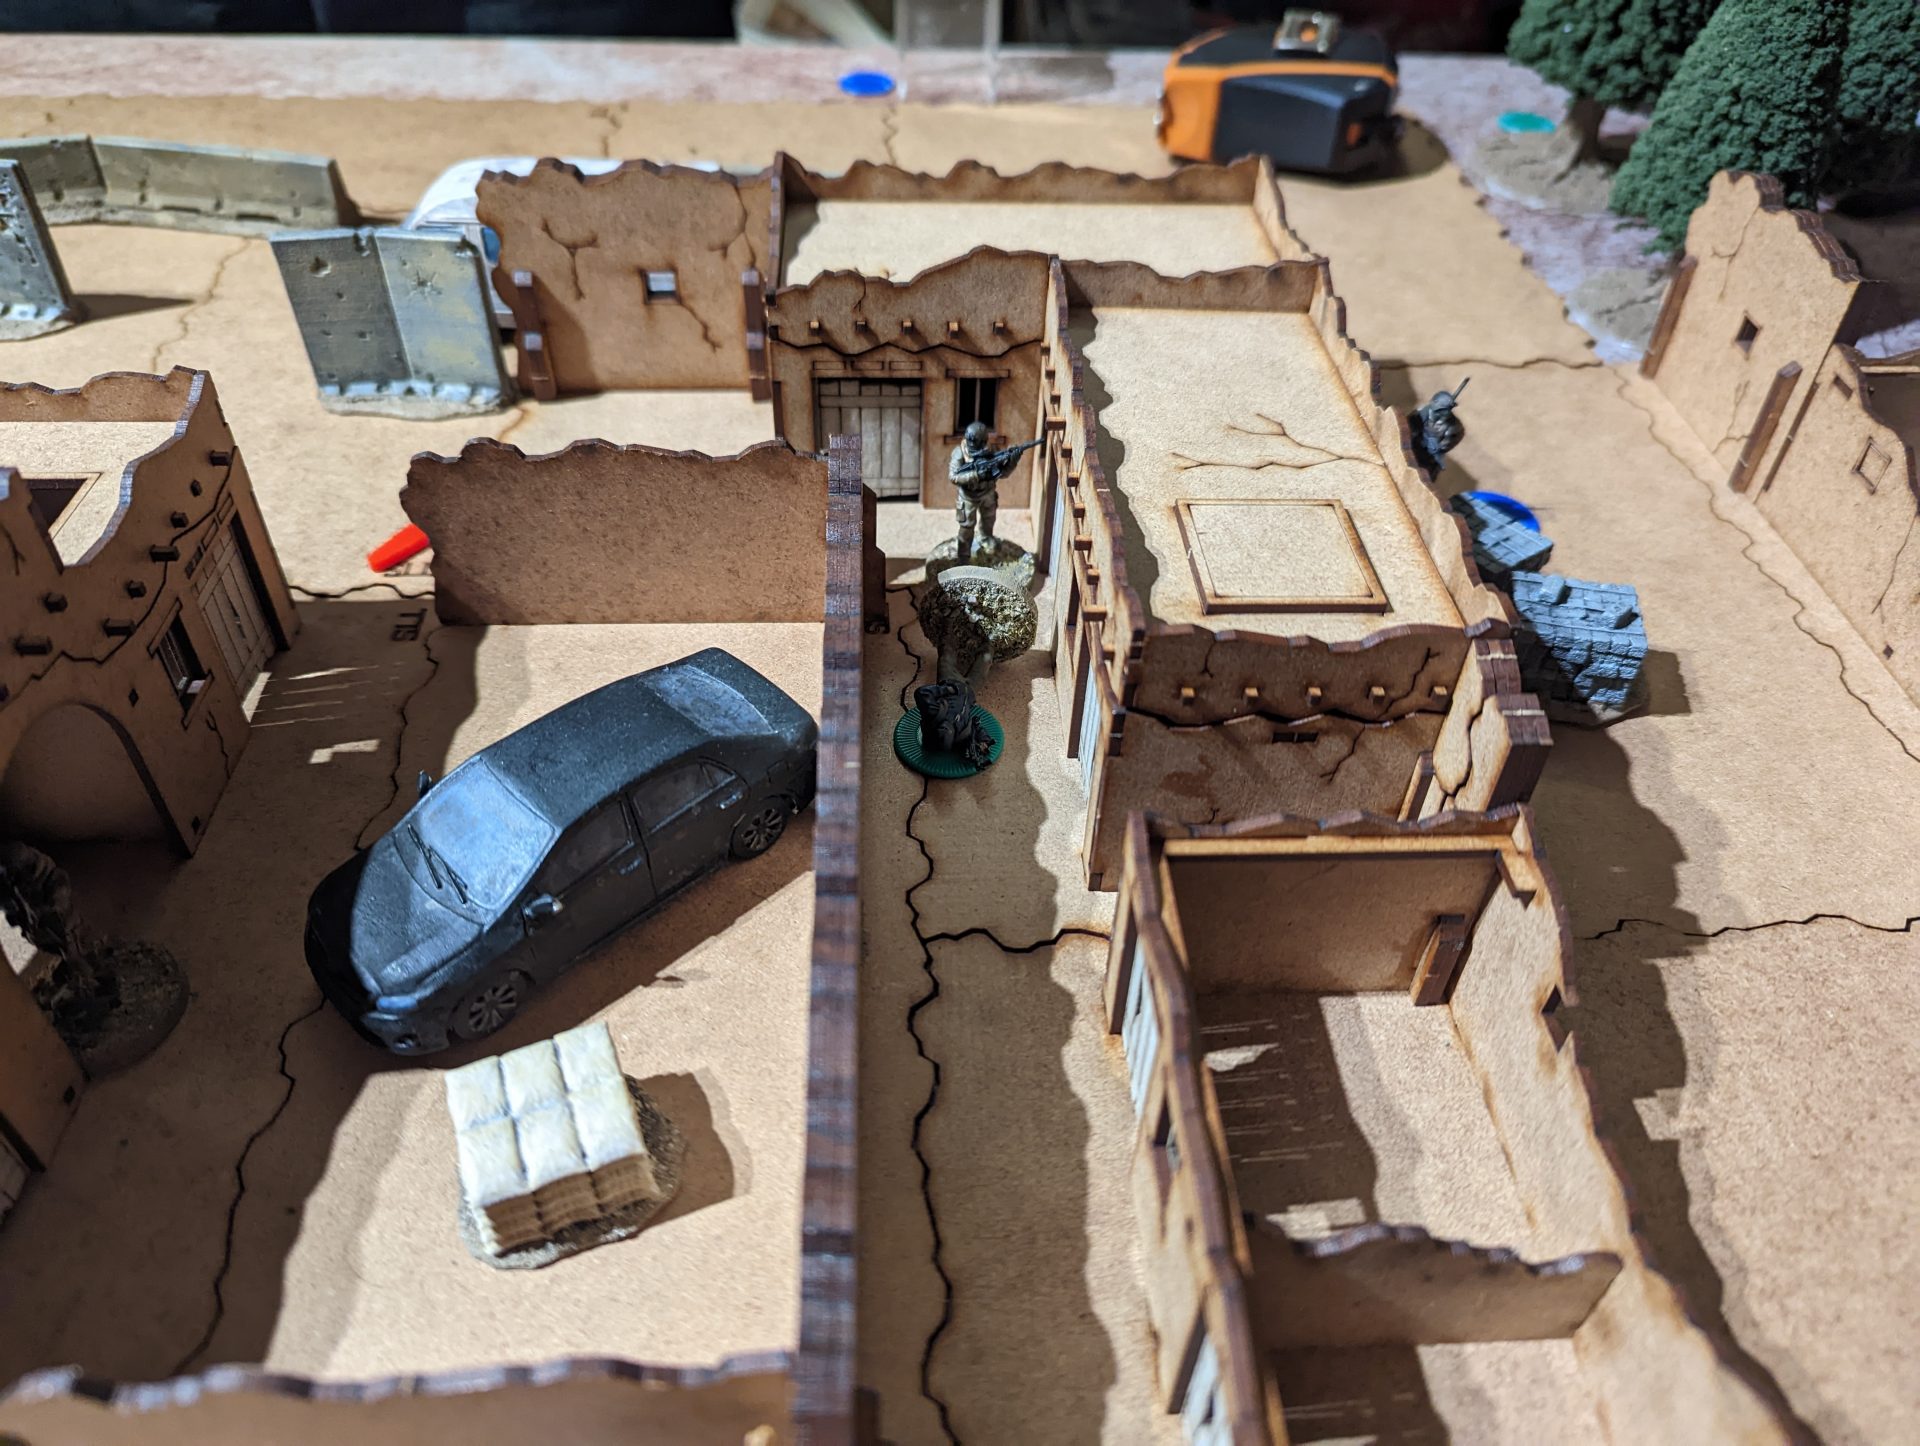
The CQB action continued as one of the Veteran criminals found himself assaulted as he advanced down the alleyway into contact. This time however, Al-Zuri didn’t finish the job, instead critically wounding the Veteran before pushing forward to advance on the Jackal’s location seeing as time was rolling on.

However, this caused a pretty major problem as the injured Veteran, rather than simply lying there, instead rolled over and (through a haze of pain) sent a burst of SMG fire down the alleyway at Al-Zuri’s back. Luckily (and thanks to having some left over points of focus), Al-Zuri was able to react to the contact and dive into cover. Kaber, bringing up the rear of his long time commander, finished off the criminal before he could cause any more problems.
Sgt Baraca, having delivered a killing blow to the first militia fighter, advanced further down the right side roadway heading to the rear entrance. However, he only got a little way along when suddenly he found himself in a two way shooting range with one of the locals. Both had gone to ground and were in cover (a total of -70% modifer), leading to a suppression war back and forth as the two traded shots.
Until eventually, in his first activation of turn 2, Baraca popped up with a final burst of P90 fire and took his opponent down, causing a Combat Ineffective result. Not bad for a relative rookie – nepotism might be strong in the Emirate but in this case it seems to have worked out well.
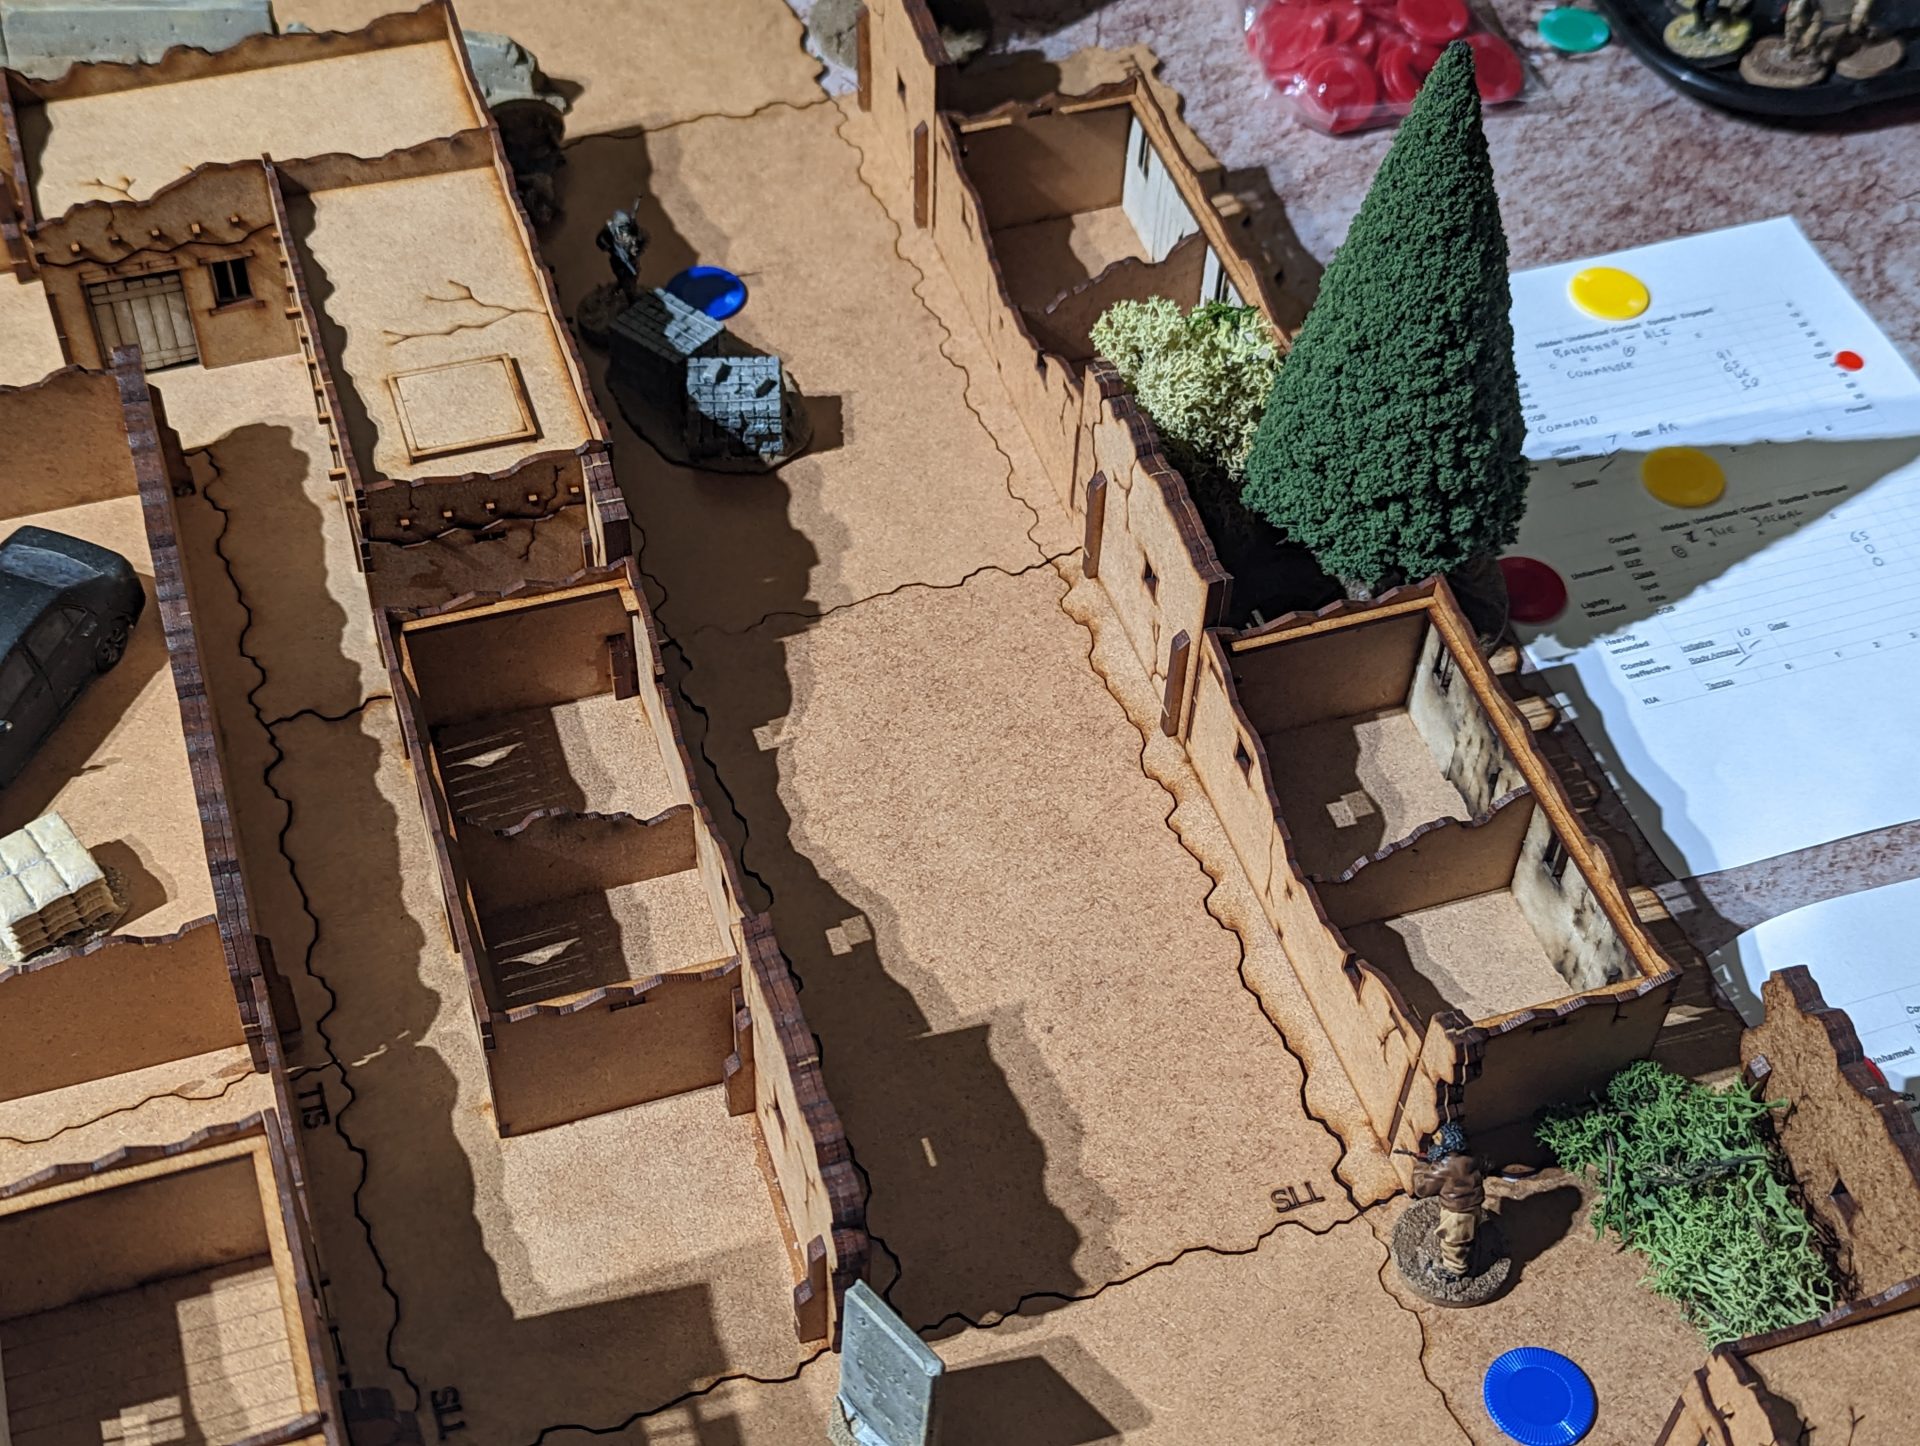
While the squad was moving towards the building, and avoiding the advice of his handler, The Jackal decided now was the time to escape out the back door. He actually managed to get pretty far before anyone had realised he was gone. Jaleel however ducked out to the main road, and spotted a figure fleeing the compound. He managed to spot it was an enemy combatant, brought his rifle up and shot the figure down. This led to a rather tense wait for the injury check and at the end…
The Jackal was unharmed. Dusting himself off, he managed to disappear off into the morning mist, vanishing into the slums while the SCDS were too busy finishing clearing the compound.
As we ran out of time before we got to going room by room in the the final building, we ended up talking our way through what might have happened in order to setup the next mission. With the Jackal gone, and with a team of operators about to kick the door in, we decided that the two remaining fighters in camo (having spent most of the game being pinned down by Amari’s fire) decided to surrender… by speaking Bazi.
Turns out these two are actually members of one of the Bazi Army’s many Special Forces teams, hailing from somewhere in the Kingdom itself. For all the talk of the Jackal working with allies on the Albion side of the border, it seems that someone in Bazistan is wanting to support this particular criminal. However, SCDS would have to get answers to this question back across the river as dawn was breaking and their allotted time without local police kicking the door in to arrest them. Bagging as much intel as possible, and cuffing their two new friends, the police officers made a break for the crossing point.
Overall, the game went really well. Both of us had a good time (the most important part) and there was definitely a few dicey moments in the game with some close calls. My former housemate picked up the basics quickly, wrapping his head around the AP system quickly and experience the same frag joy everyone who plays Sangin gets
For the new rules, I think they worked out pretty well with a much faster flow and less confusion (such as who spotted who). They aren’t perfect, with some tweaking needed to help reduce odd behaviour (how best to handle Injury rolls on a character already injured) and the layout needs to be worked on above and beyond what my hasilty printed character sheets can do. But that’s a future problem.
Finally, this is going to be the start of a new campaign. I’ve been wanting a story using the forces in Bazistan as the lead, and these guys should be able to be fitted into a selection of mission types using the terrain I have.
Speaking of, I really have to get my adobe buildings painted up…


Leave a Reply