If you’ve been reading this blog for a while, you’ll know I’m a big fan of Too Fat Lardies Chain of Command. You’ll also know that my Dastardly Regular Opponent is also keen on the game. Before the Great Move, we had roughly scheduled gaming into our calendars once a month (the most frequent we could arrange due to the regular opponent being busy with other commitments). The problem with this arrangement was although we managed to hit pretty reliably, we ended up trying to play lots of different things. And as anyone bouncing around playing different rulesets can tell you, you end up having to relearn the basics every game.
Now we’re back to having free time, the Dastardly Regular Opponent and decided that it was time to begin anew. Time to focus on the game we both really enjoy playing, but then actually play it enough to really get the specifics of the game down. So for this reason, we’re planning on getting some Chain of Command campaigns going, playing that game within a framework that helps to make each mission have more of an effect than simply slamming the platoons against each other.
We’re going to need to do some planning (including selecting exactly where our battles will be taking place) but both the Dastardly Regular Opponent and myself are excited about getting to play some more Chain of Command
Before all of that though, we should probably actually play some of the game to make sure we still like the thing. And remember how the rules actually play.
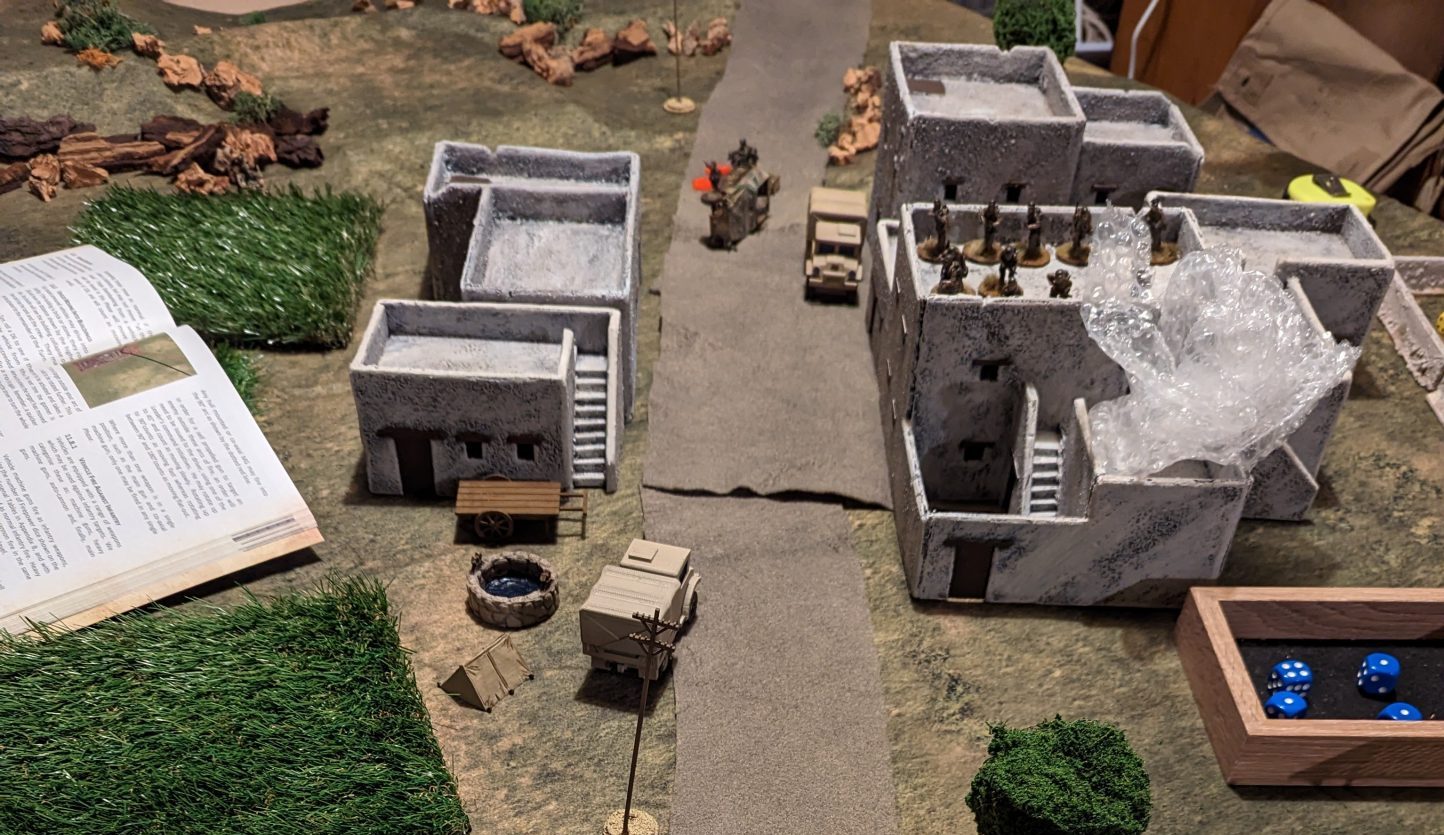
Somewhere in Italy, sometime in the mid-war, a British Infantry platoon (commanded by myself) and German Falschjimgaer (under the Dastardly Regular Opponent) encounter each other around a substantial farming complex in the mountainous foothills. Each force is performing a patrol along the lines, resulting in what was supposed to be a meeting engagement.
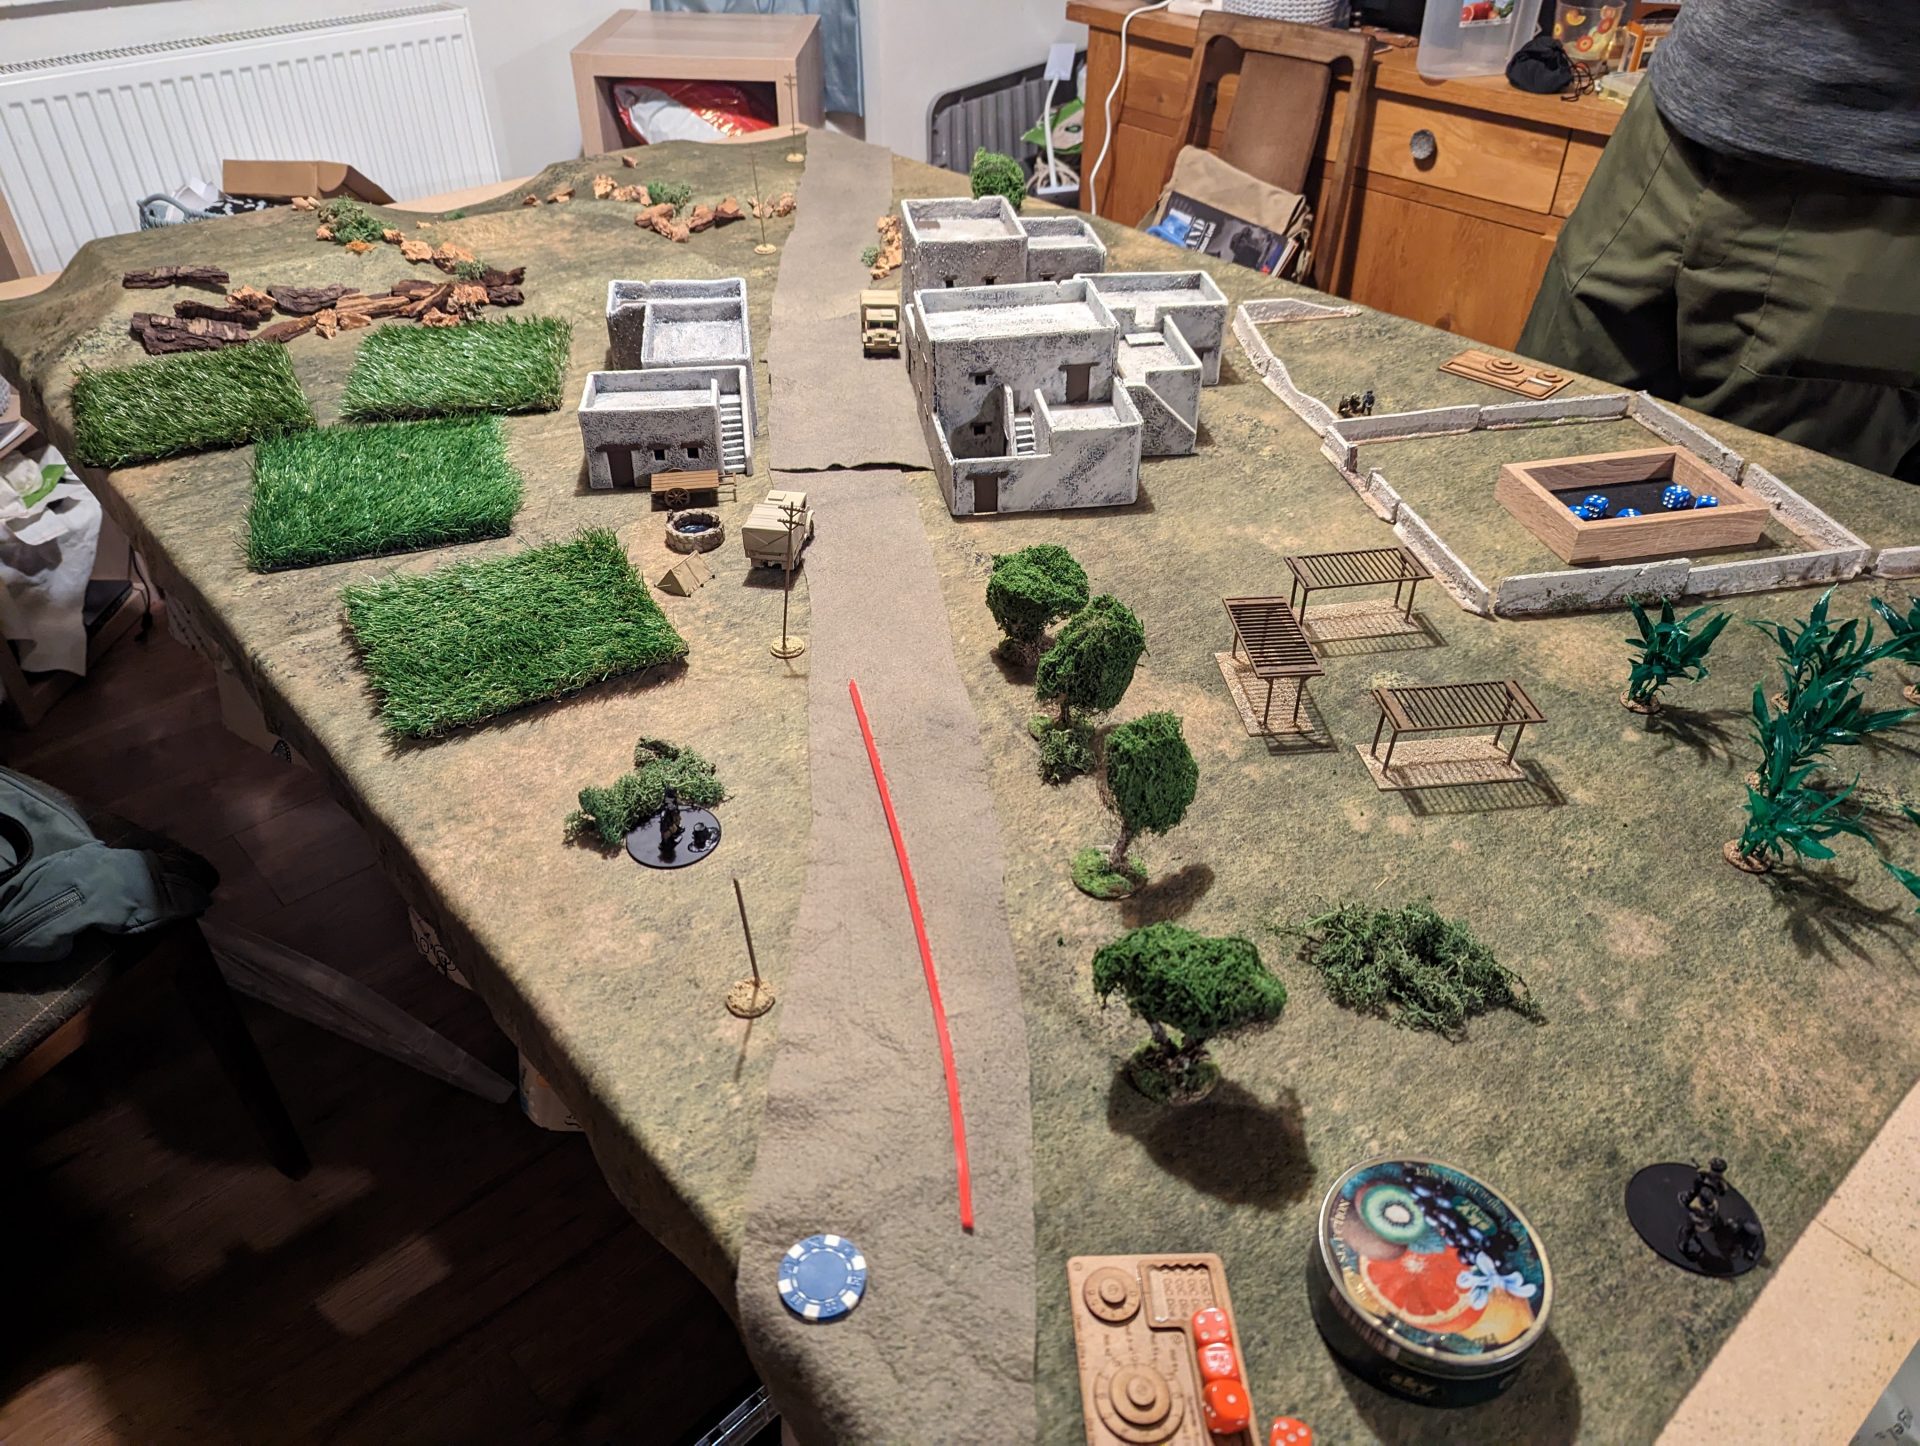
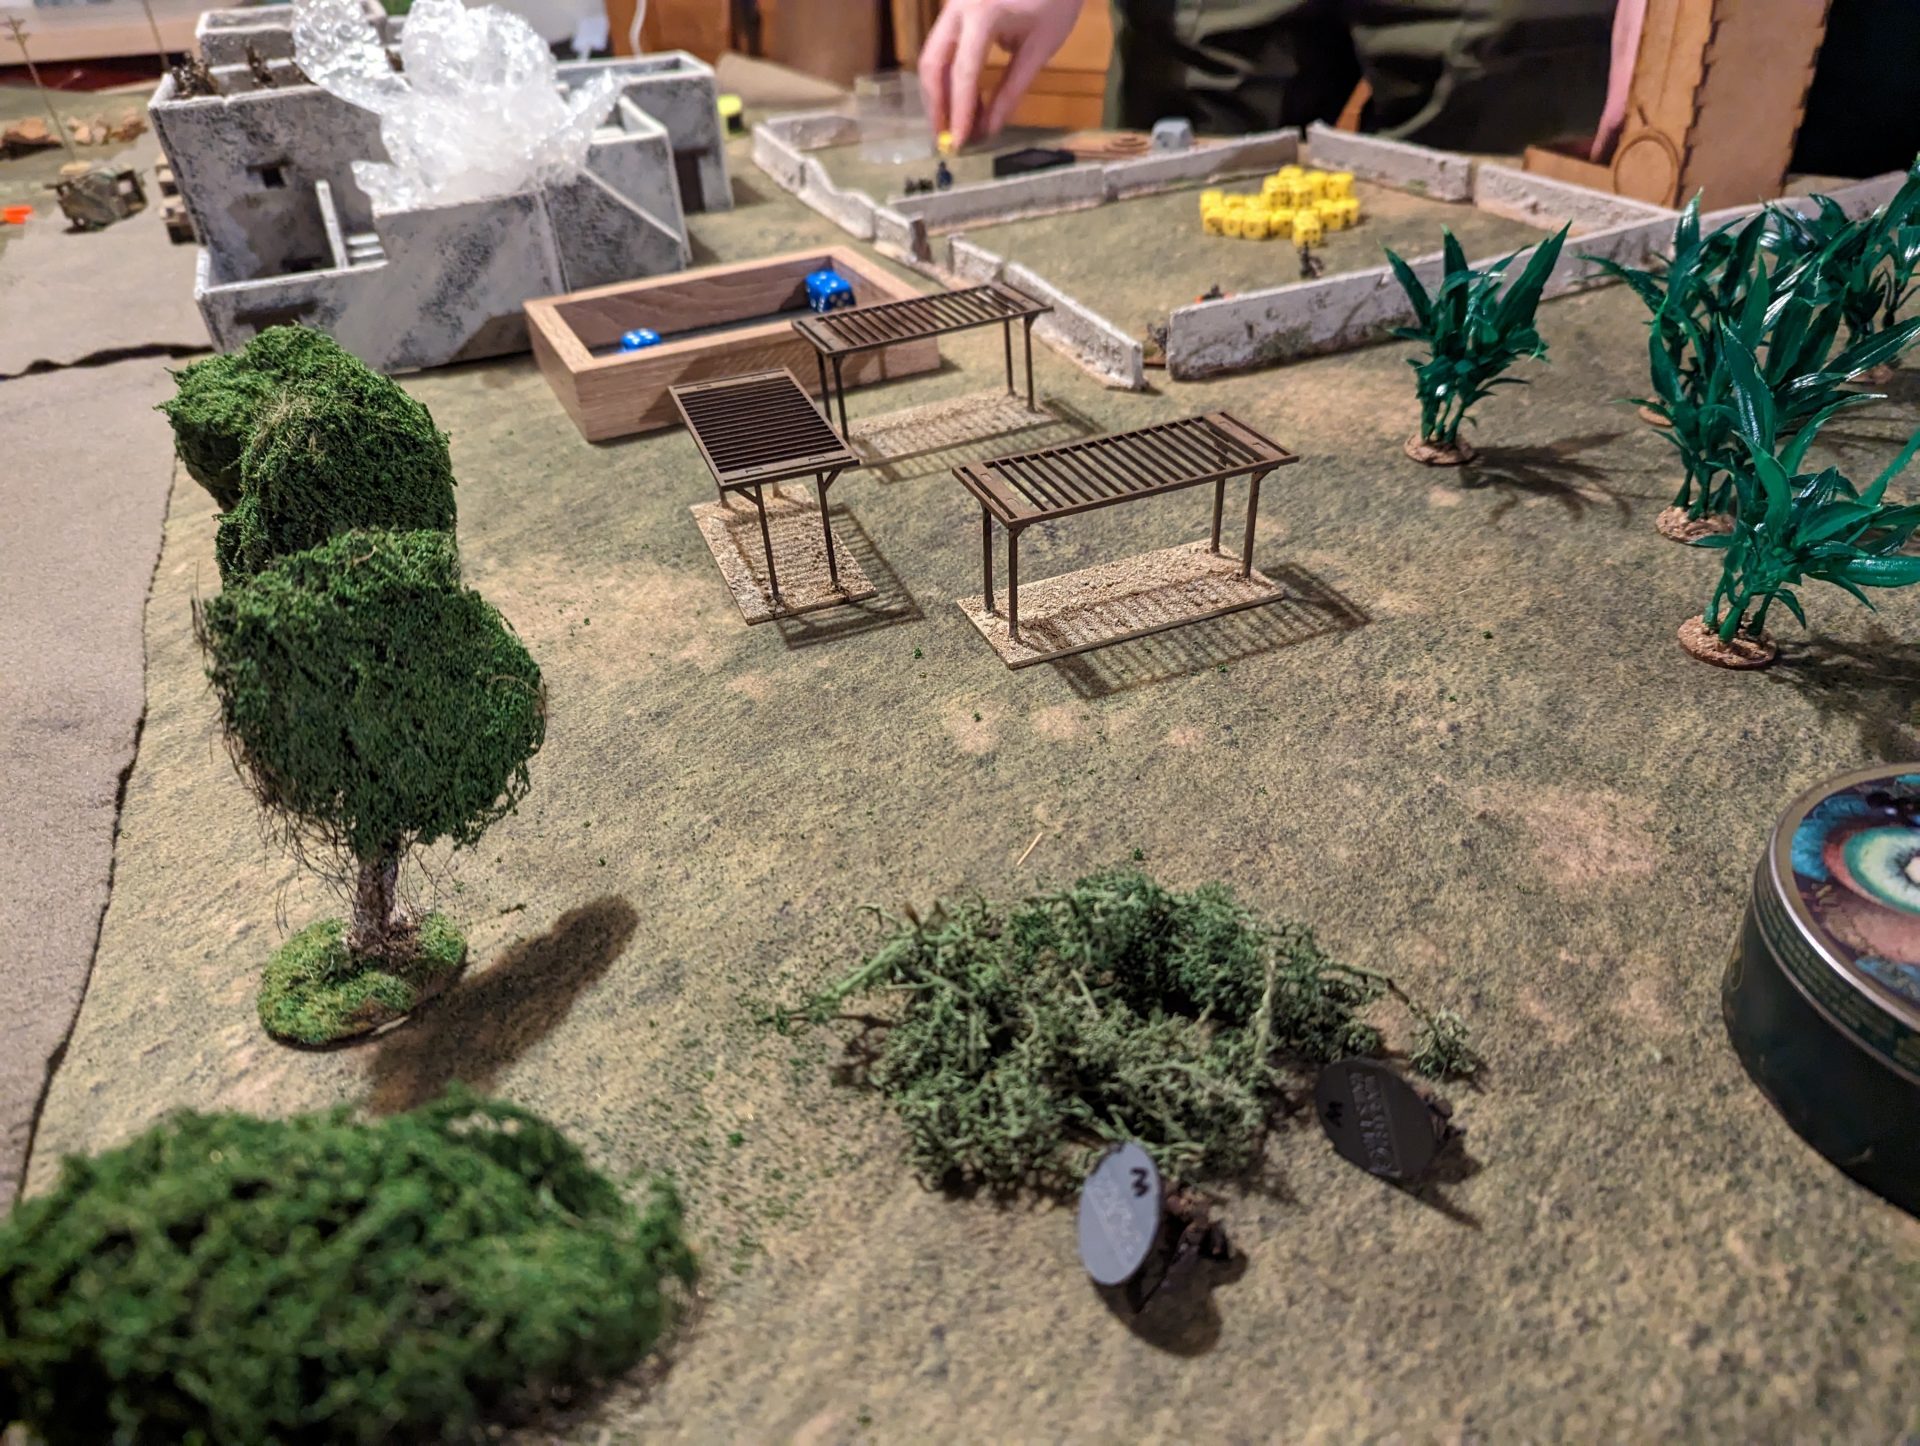
The Germans rolled up a higher force morale value and managed to get a far better start to the patrol phase, a key part of CoC that effectively acts as a game BEFORE the game to determine how you’ll deploy. With the Germans starting their patrols in the centre of the board, they were easily able to advance and outflank the British, made worse by my troops arriving in the corner of the board that had the least cover. This means my jumping-off points (the position troops deploy from) ended up boxed in in the corner, right on the board edge or behind only light cover. Not ideal, but with the right amount of smoke or a double phase, a problem that could be fixed.
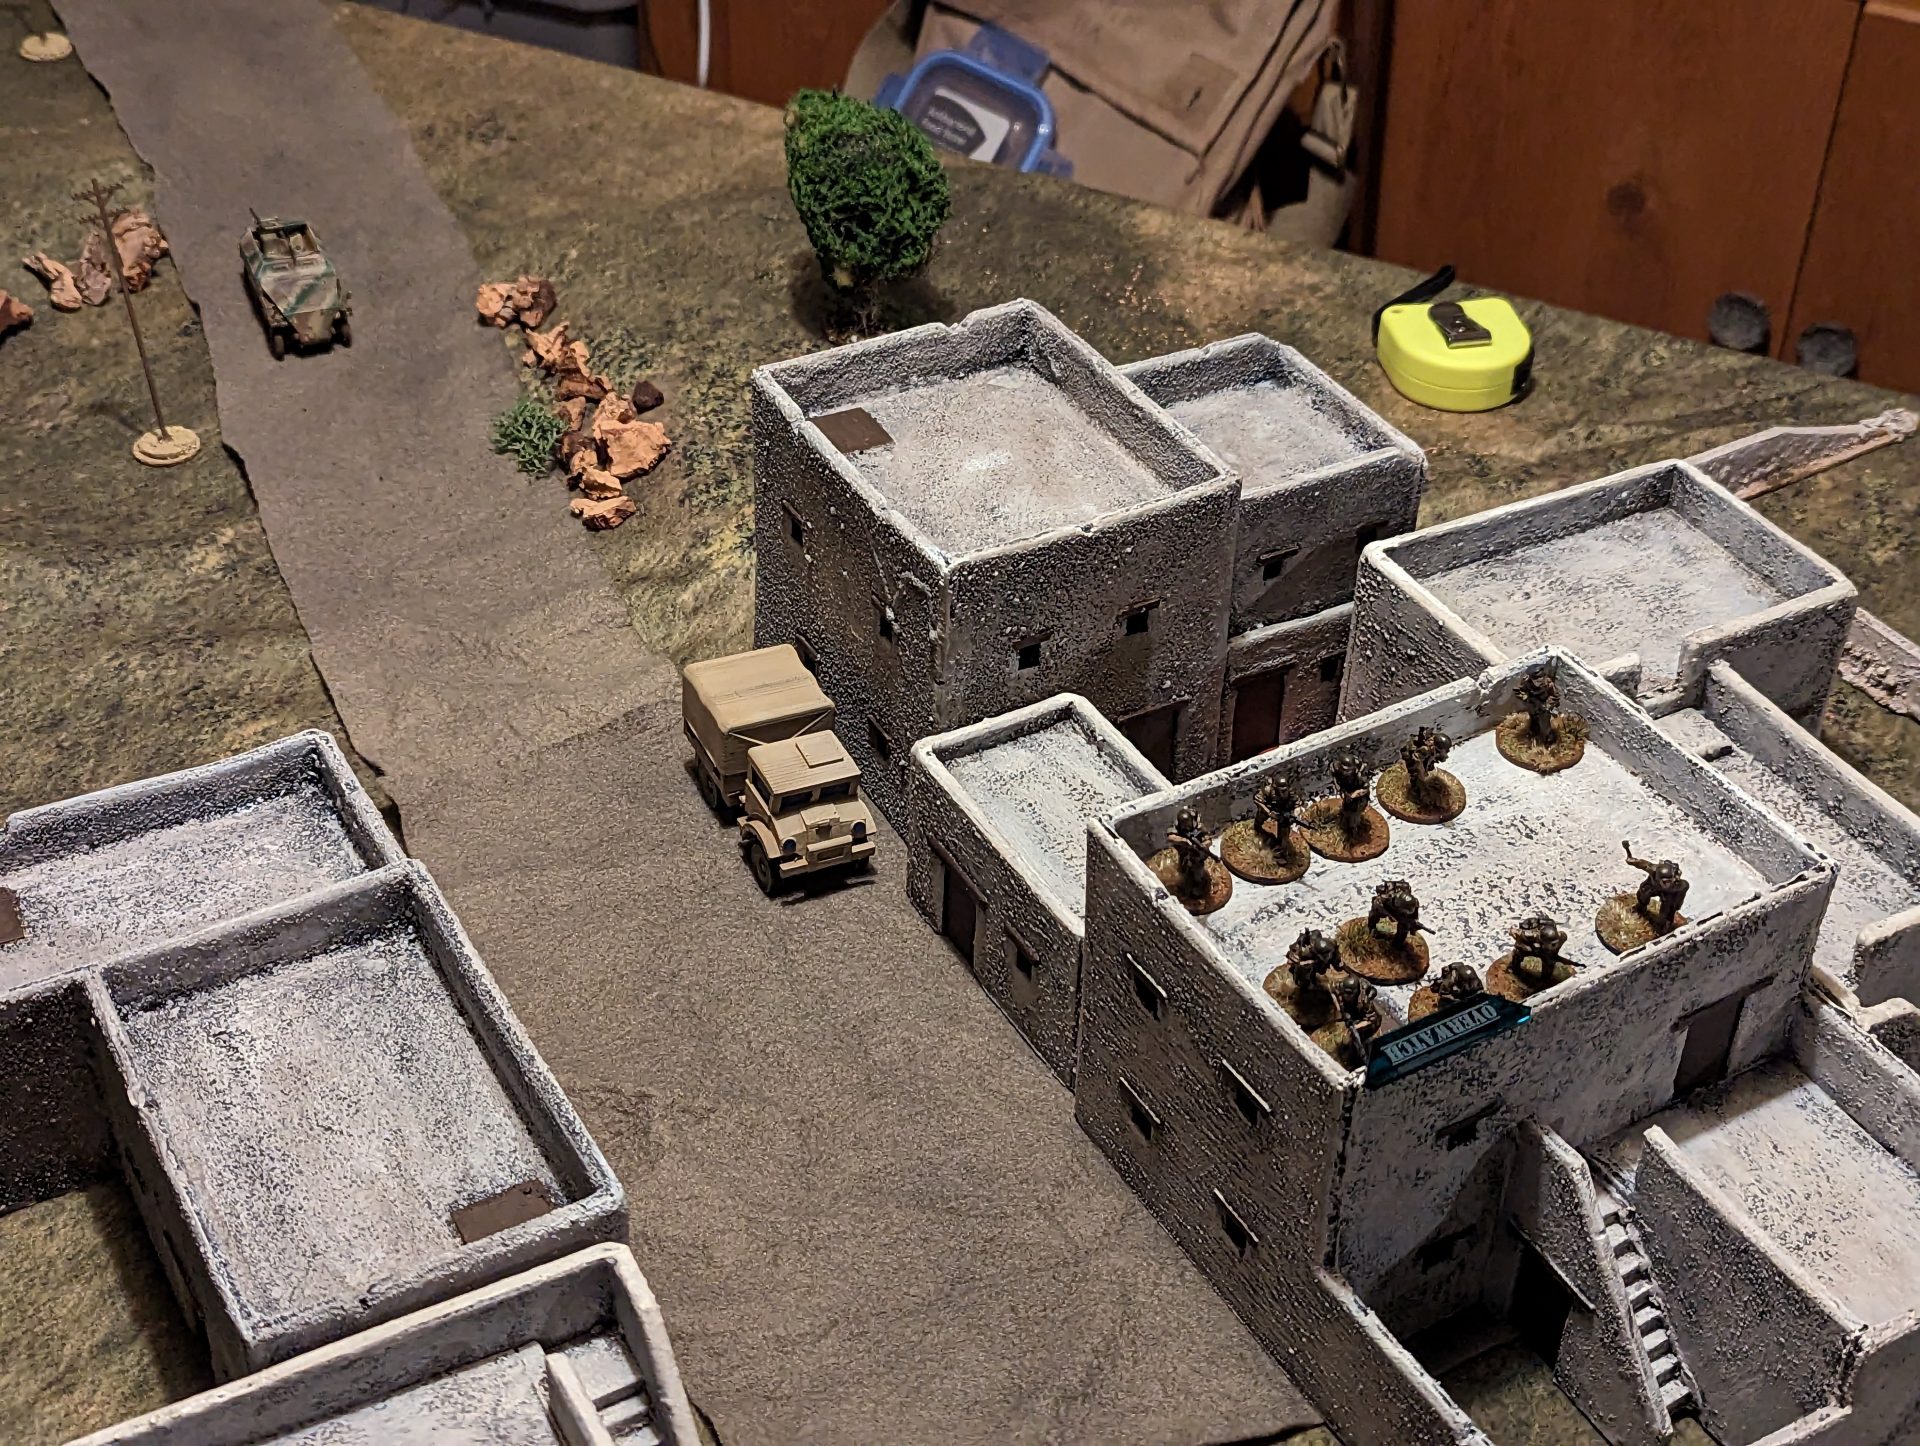
The Germans however decided to deploy quickly, jumping from their starting position into forward positions, attempting to stop the Brits before they could get anywhere. As well as FJs appearing in the main complex and the animal pens, a Recce team in half-track came racing down the road in what appeared to the British eyes as an attempt to Coup De Main my jumping off points.
Well, that had to be dealt with. And luckily the dice played ball.

Mostly – although I took a useful double phase early on, the fours (activating senior leaders) were unusable until I had enough to get my forces in position. I could have used the three to bring on an infantry section (and attach a senior NCO) to start advancing but they would still be vulnerable to Overwatch from the Germans in the buildings and all I had was, at most, light cover. Luckily I had something else in mind:
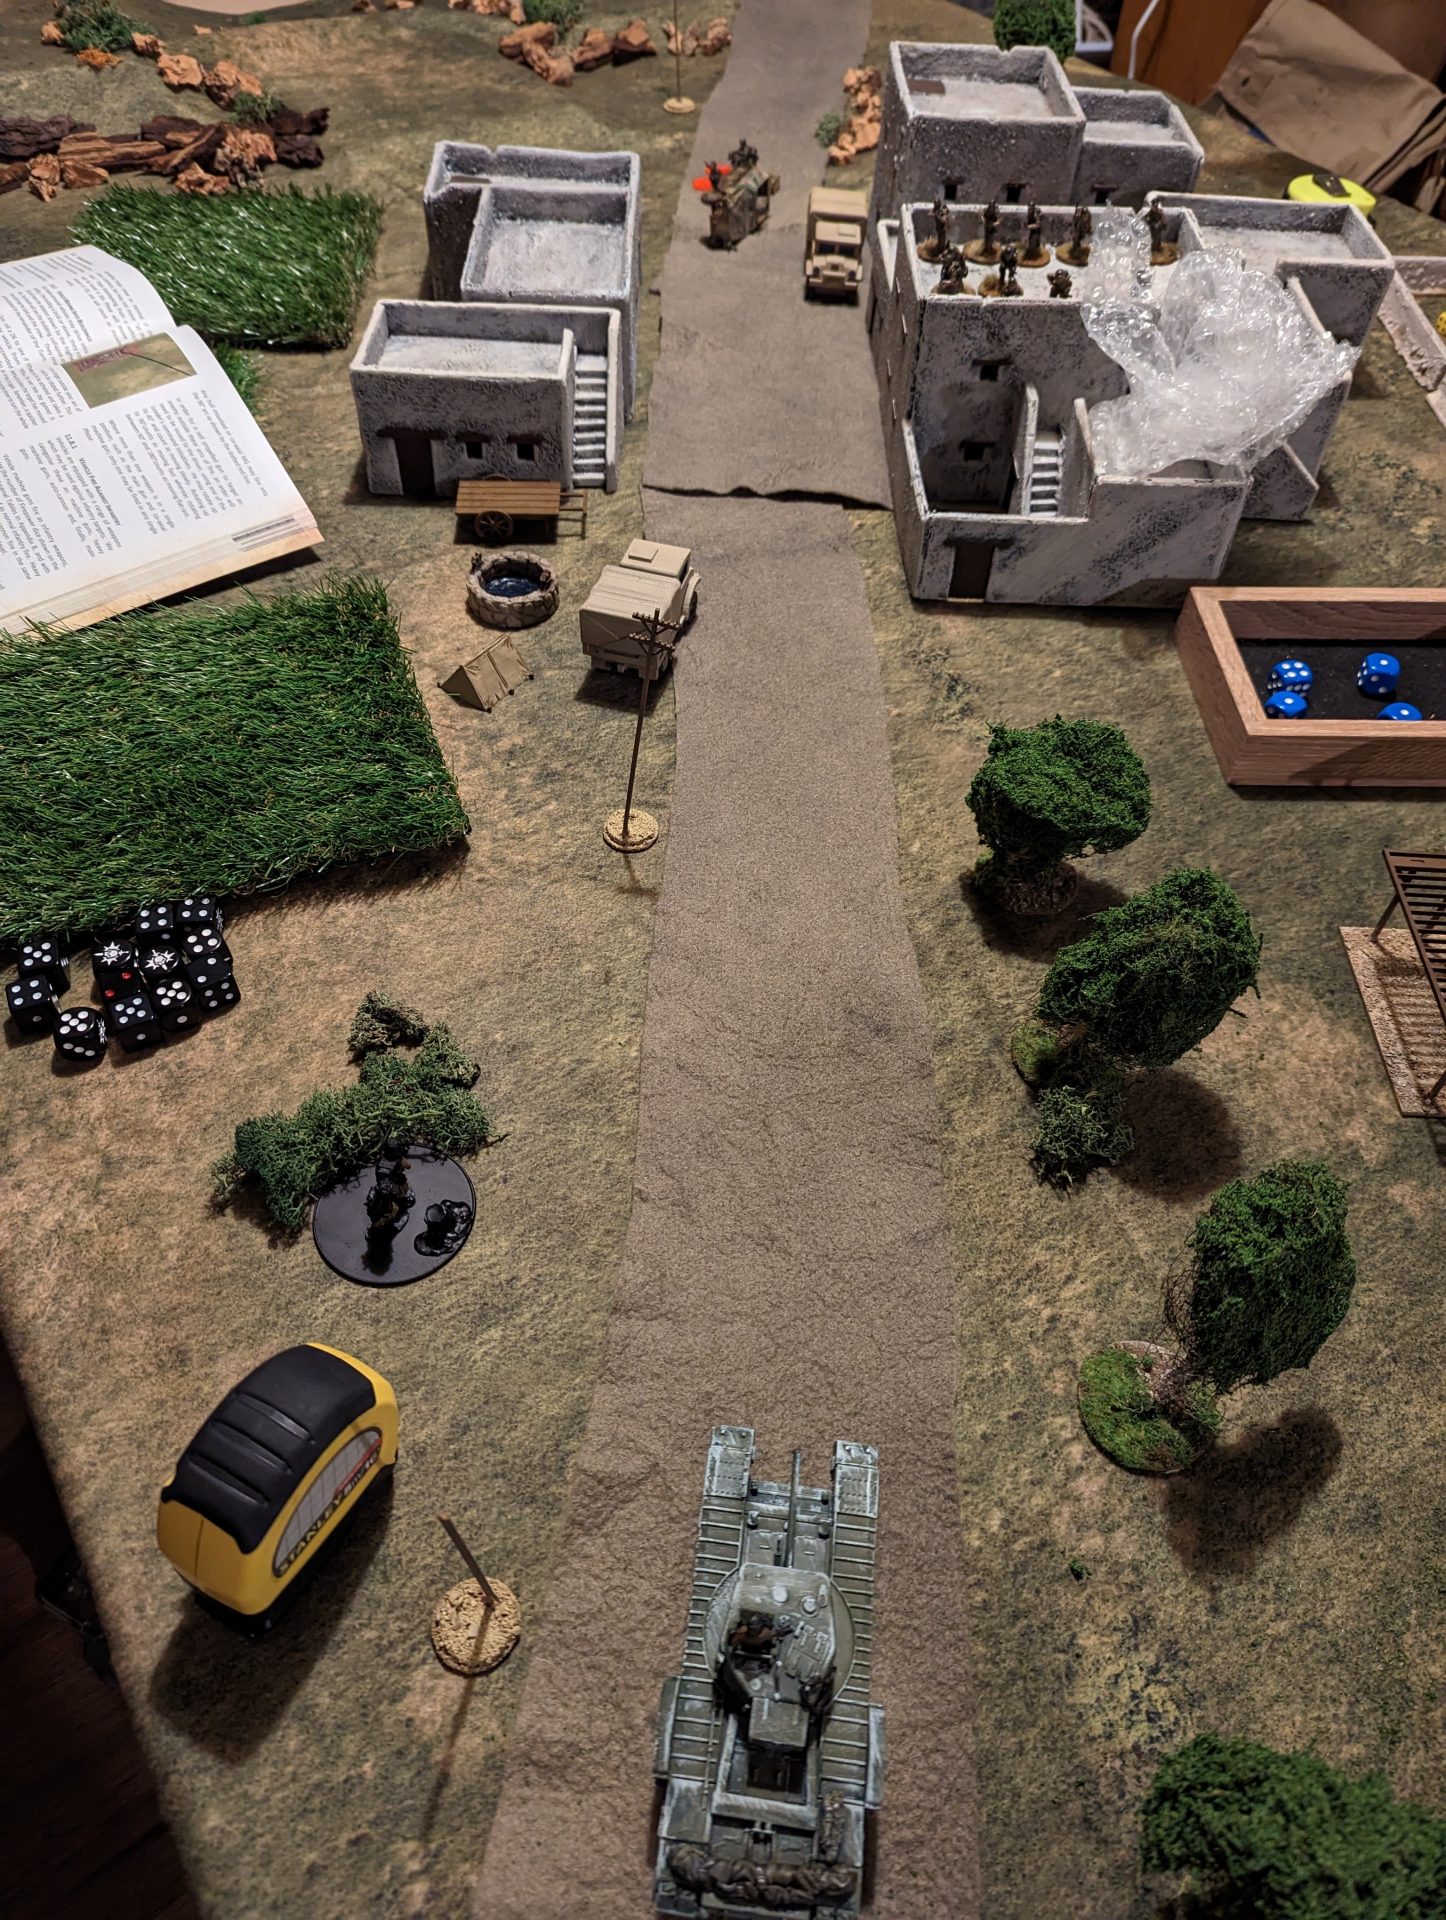
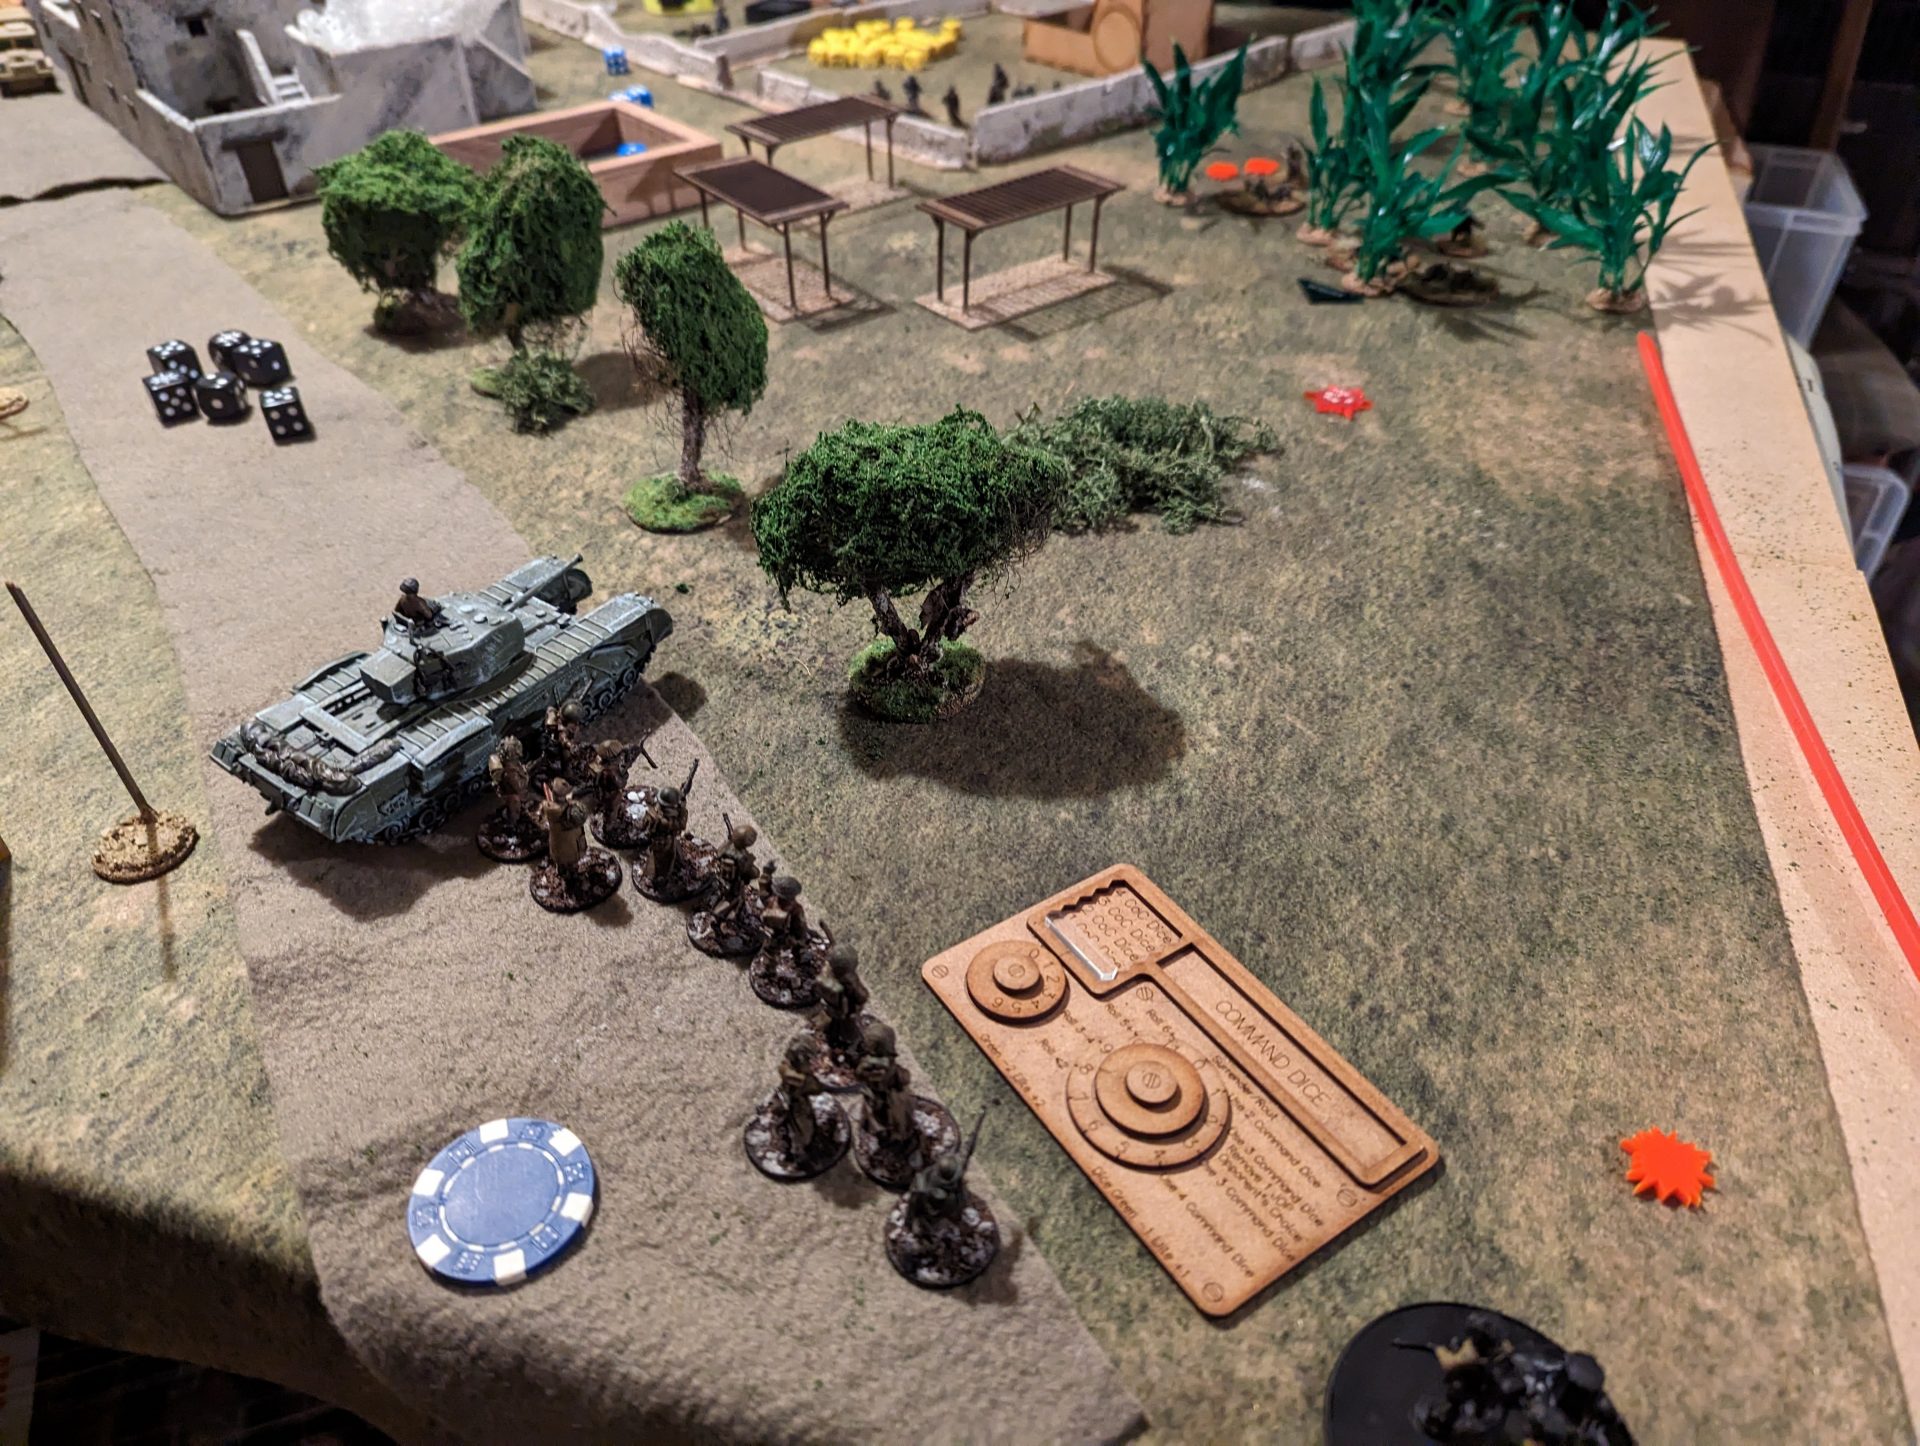
I will freely admit, the sensible reason for getting the Churchill on the board is to counteract the massive firepower advantage that German FJs have over British sections – it can churn out 6 HE dice (so 1 less level of cover) and 6 MG dice each activation all while in a package that would be tough work for the FJs to take out. But the main reason I want it on the board?
Tanks are cool. Chain of Command is mostly an infantry game, so it’s very rare that we actually get to put the heavy metal on the board.
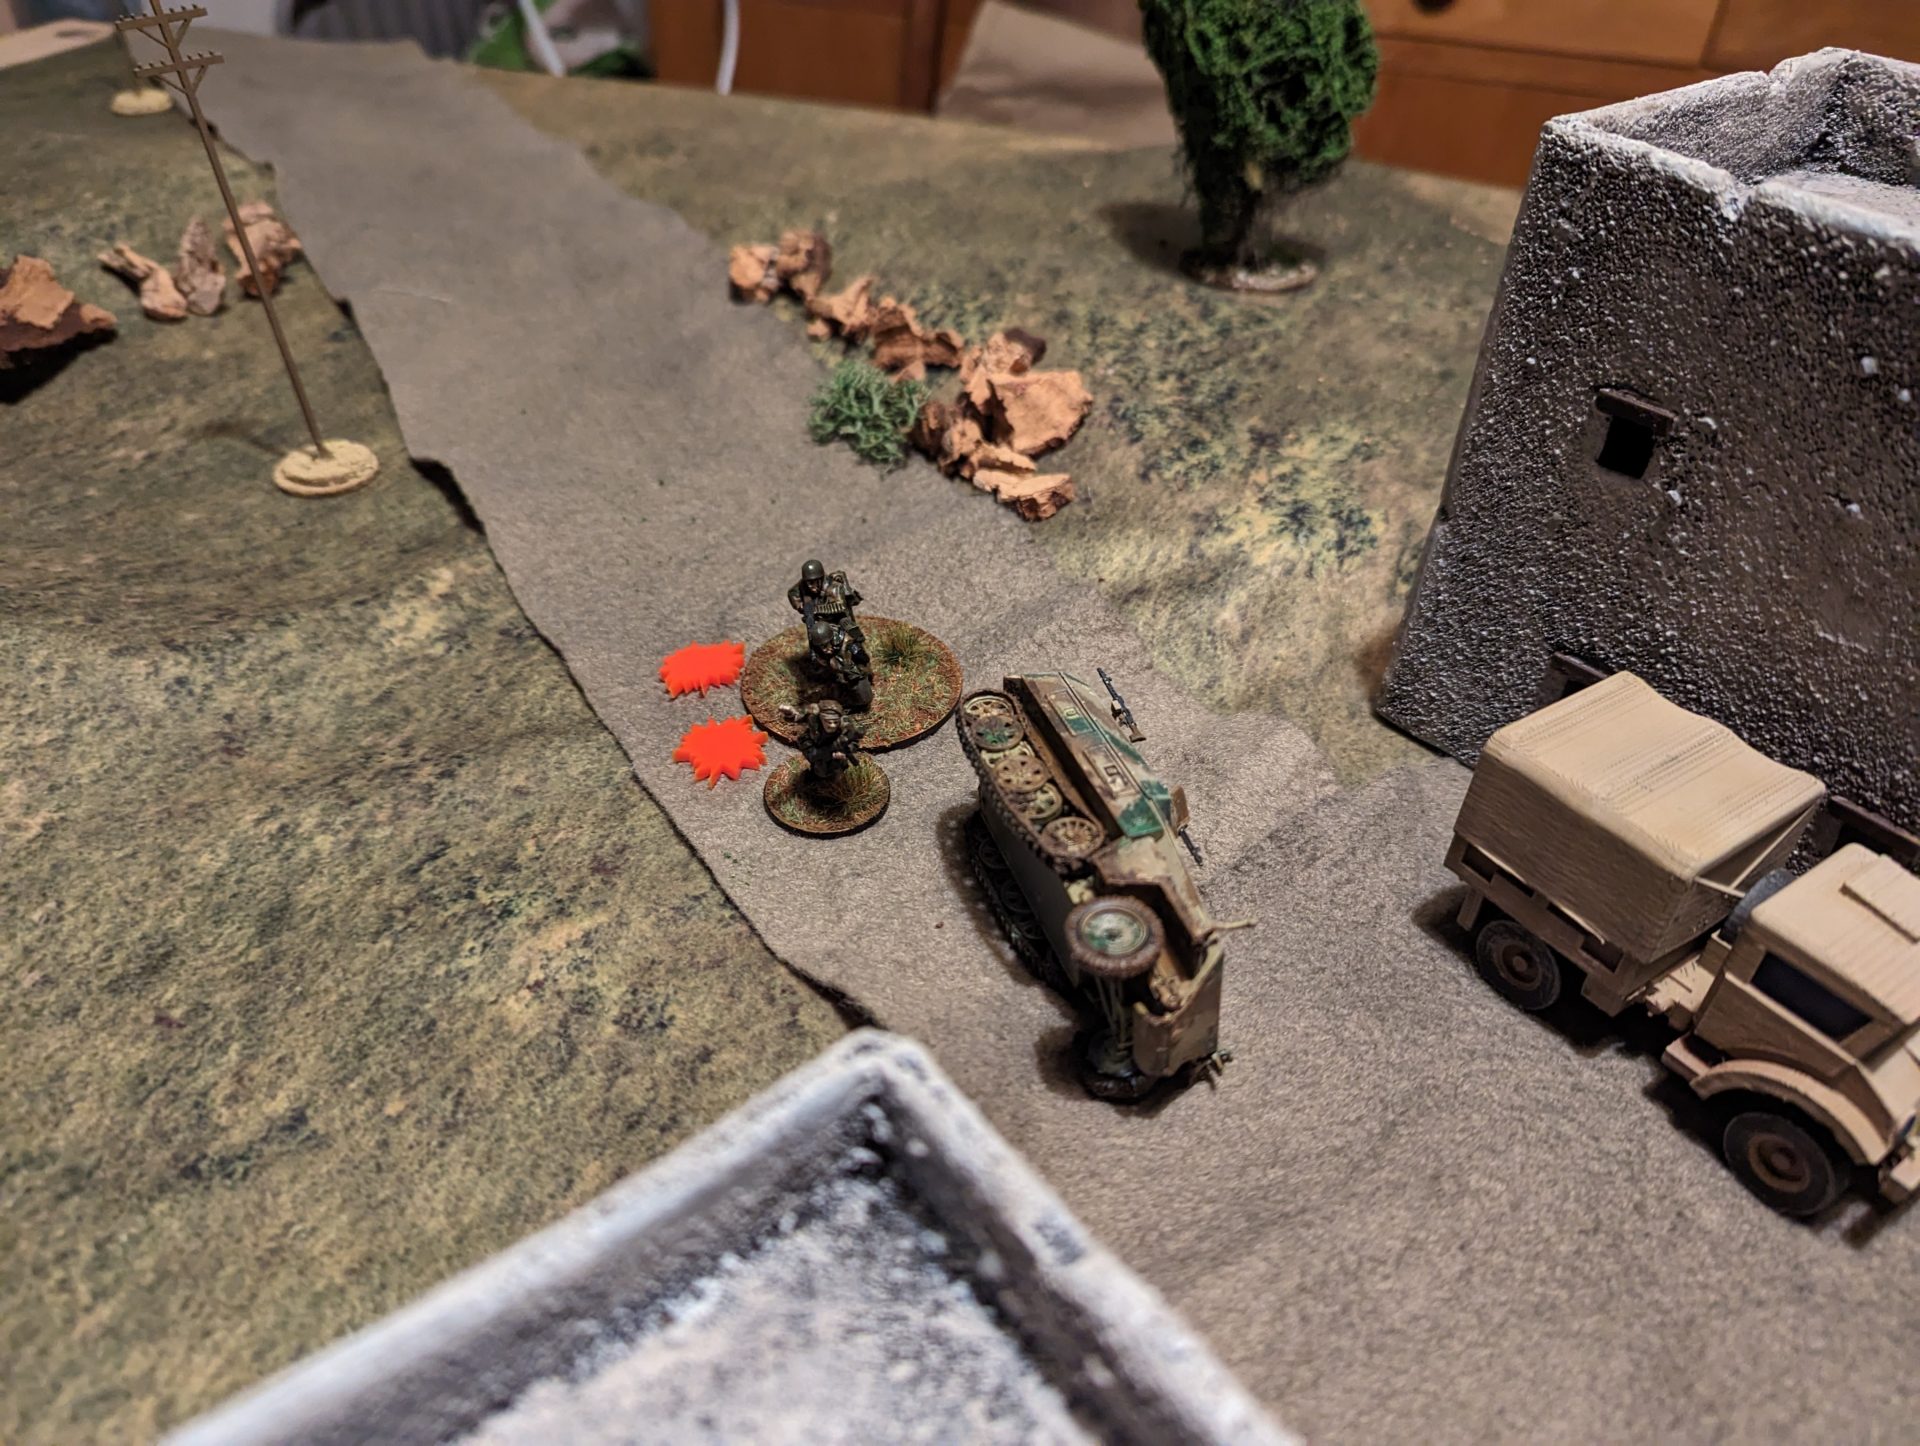
And to drive my point home, my Churchill took the double phase, activated both times and in two shots utterly destroyed the Recce half-track barrelling towards it, including a kill on the team inside. Not a bad start! For a while, the tank would actually be my only unit on the board, putting gunfire while the commander was probably shouting over the radio wondering where his infantry support was.
Not that the tank actually needed it – the crew seemed pretty on the ball about dealing with any troops capable of damaging it. By holding back out of panzerfaust range, the tank was able to hammer rounds back and forth with little incoming fire. When the Panzerschrek team popped up in the animal pens, it only managed to fire two shots (neither of which hit) before a 75mm shell came right back at them, killing both members and almost injuring one of the German Senior Leaders.
Alas, not everything was going my way. The other team to activate in that second phase was the 2″ mortar team. Attempting to get myself some breathing room, I deployed these guys to drop smoke in front of the fortified position and prevent the deadly machine gun fire. Unfortunately, the first round dropped a little off to the right, leaving the mortar team entirely exposed. The Germans used this missed shot to hit me with two lots of MG fire and eliminate the team. A pretty major blow to my tactical planning as I was now without a smoke-laying device and still with my jumping-off points in the open.
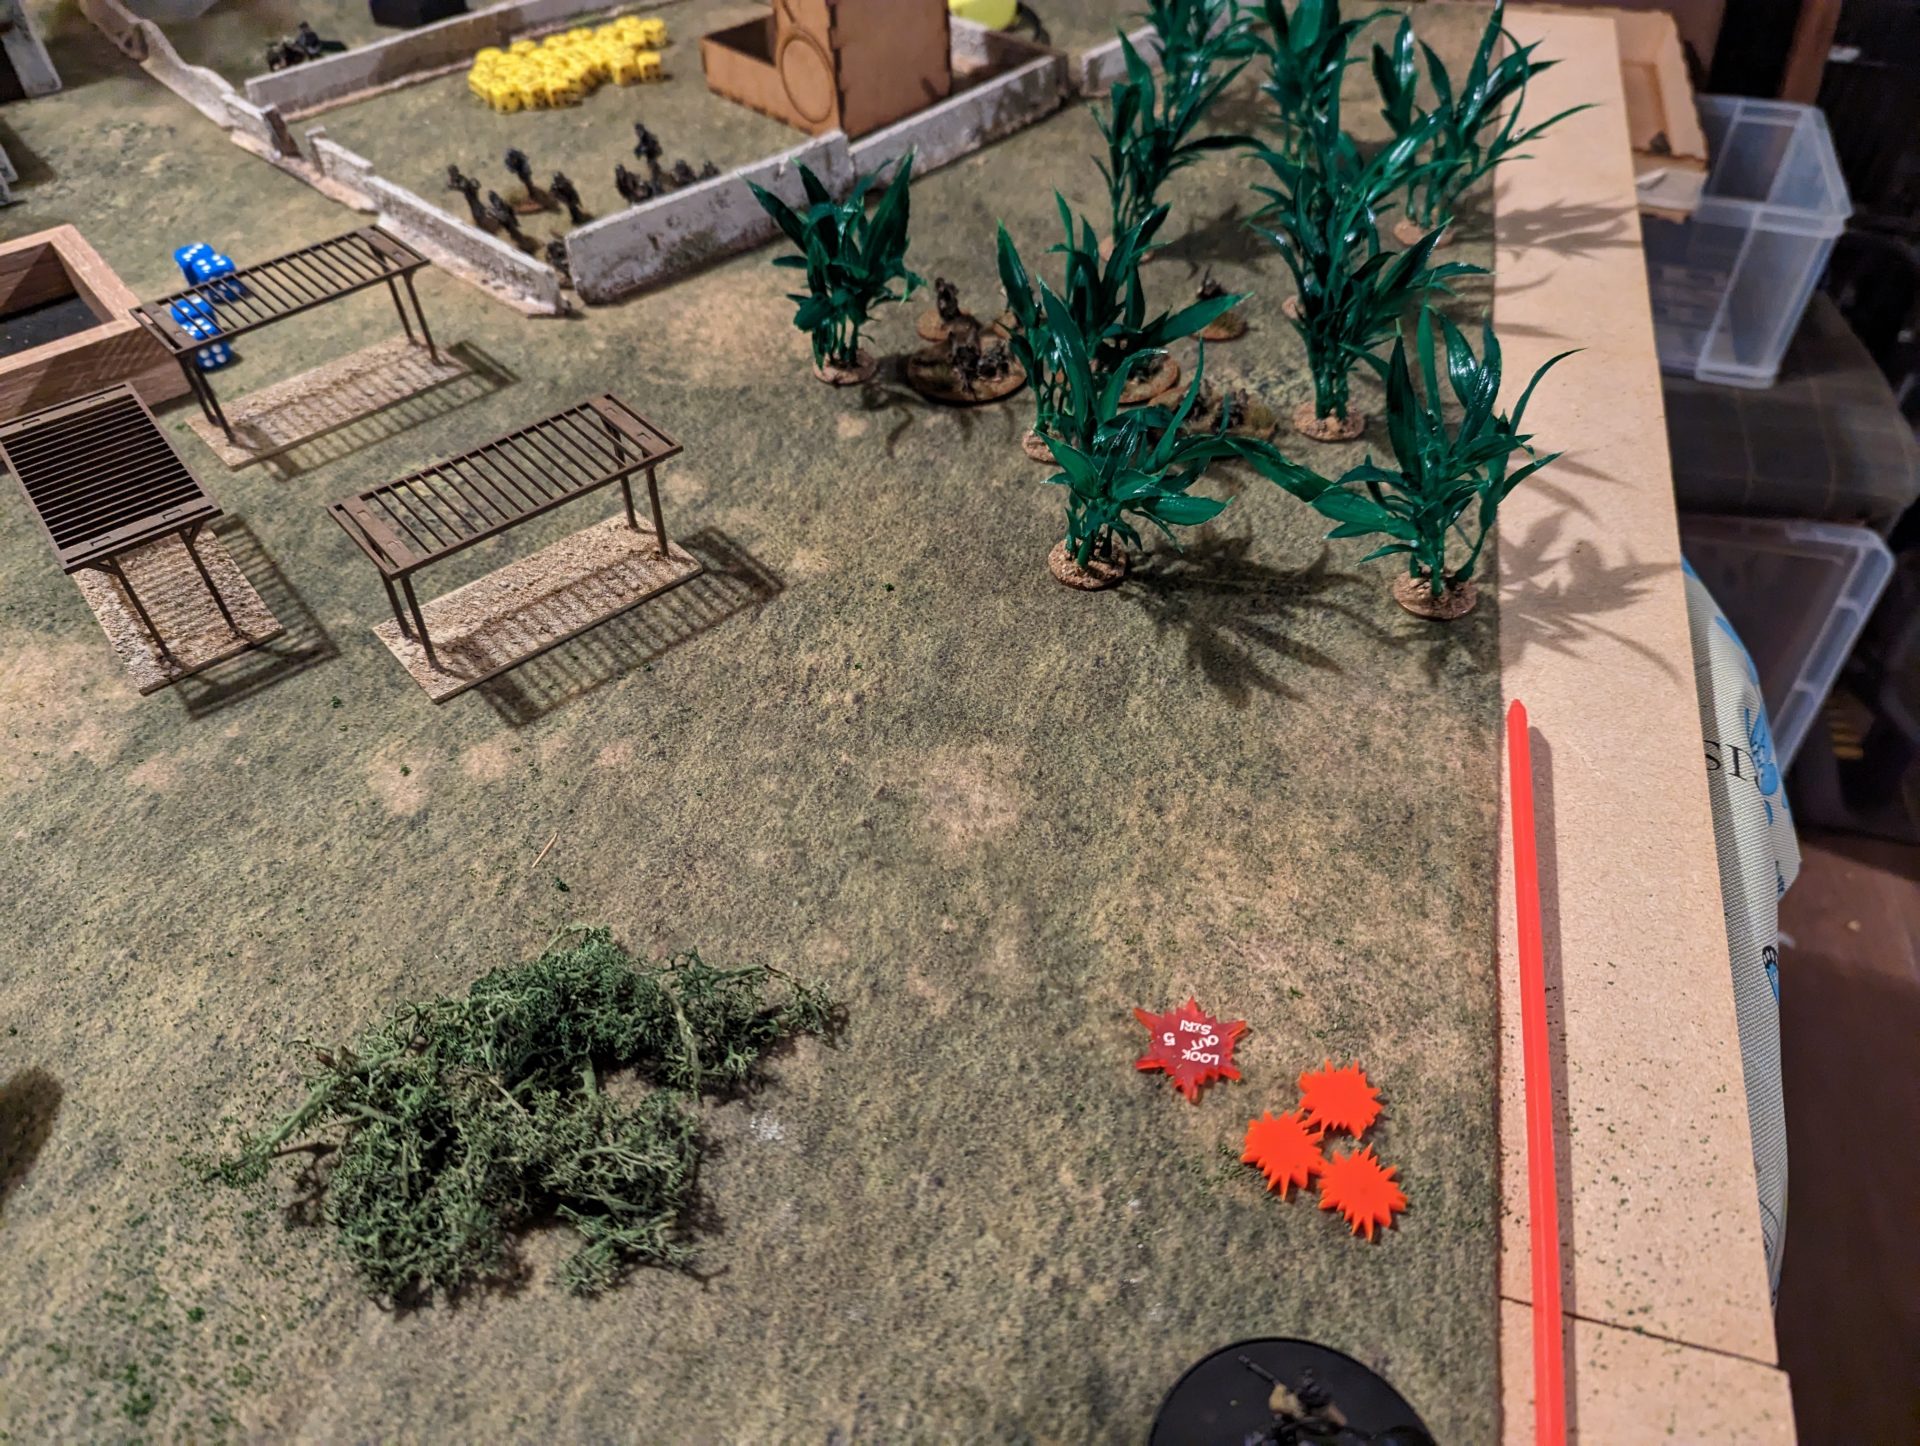
The Germans were eager to take advantage of my corner deployment and decided to attempt another push around the flank to try and capture at least one of my jumping-off points. With one Trupp taking cover in the animal pens, the other pushed into the undergrowth and started advancing into a position where it could take my position. Losing a JOP would be a major issue in terms of morale, especially as Germans getting close enough to one would probably put them in place to advance and take the others.
In order to counter this, I managed to deploy one of my infantry sections as a desperate stand. They deployed, immediately fired (putting down some harm from close-range Bren and rifle fire)… and then almost immediately got caught in a crossfire from multiple enemy Trupps that broke them and forced them off the board in a single turn. It’s lucky I had done well rolling 5s that I could use a CoC dice to withdraw the JOP at risk, forcing the FJs in the undergrowth to have to cross the open space in front of the tank’s guns in order to fulfil their mission.
I start running out of pictures at this point but the basics were that the British found themselves boxed into a corner and unable to advance. Even deploying a section and then using a CoC dice to interrupt and push into the field still left me exposed and unable to make a breakthrough without getting ripped apart by MG42s. My last throw of the dice was attempting to push an infantry section in behind the tank, but this was quickly hit in the flank and forced into a gun line defence of the Jumping Off Points. Even this was not successful, with MG fire able to shoot over the tank and still cause some hits.
We sadly ran out of time but it’s safe to say the Germans had won this day. They would now be able to dig in on this map, prompting the British to have to come back for another attempt at pushing forward. Maybe with more armoured support.
Overall, this was a weird but fun game. The roll-off for spawn locations and the patrol phase basically took a hammer to my knee caps giving me probably the worse start I could have (not helped by dice that just wanted to roll 5s and 6s when you actually need a good mix). The Germans took advantage of this, managing to box me in and keep me on the back foot all game. What I should have done is pushed the patrol markers along the board edge rather than pushing to contact, giving me a wider area to deploy into (and with less open space to get caught in).
On the other hand, there was still some really interesting play. The Churchill tank reminded me just how useful but not overpowered tanks are – yes, 6 dice of cover-reducing HE is handy, but it’s still far less than an infantry section. Once I took out the Panzerschrek, and by sticking out of range of the panzerfausts every squad had, the tank was a good solid baseline. That said, the advancing germans did get me very concerned, with several phases where I couldn’t bring on friendly troops to assist as the panzerfausts crept closer.
A game like this really backed up our idea of playing Chain of Command in a campaign. Having to consider if the fight is worth sticking in or if it’s worth trading time for a better setup gives each game a bit more of an emotional hit and reduces the chance of the game turning into just slamming units together. Next month, we’ll start the campaign proper, probably going back to the desert. I just have to decide on which force I want to play…


Leave a Reply