The last few reports I wrote were done in a narrative fashion. I’m not abandoning that format, but as this is a special game I’m going back to a more descriptive style.
Rather than using a pre-made scenario, I instead decided to spring on them a brand new, beta version of a scenario I had been working on. Tentively named “House Call” the new scenario sees the ANP and British advisers entering a Afghan village to hunt down an insurgent leader. However, the insurgents have dug in hard and have a load of special items in the toybox to use. Additional, most of the OPFOR are in hiding, waiting for the opportune moment to pop out.
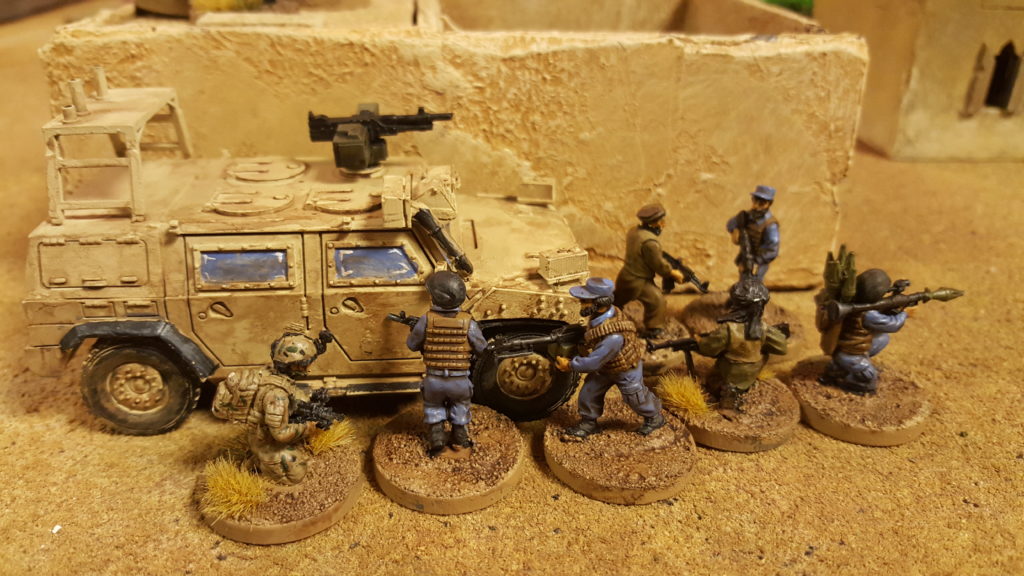
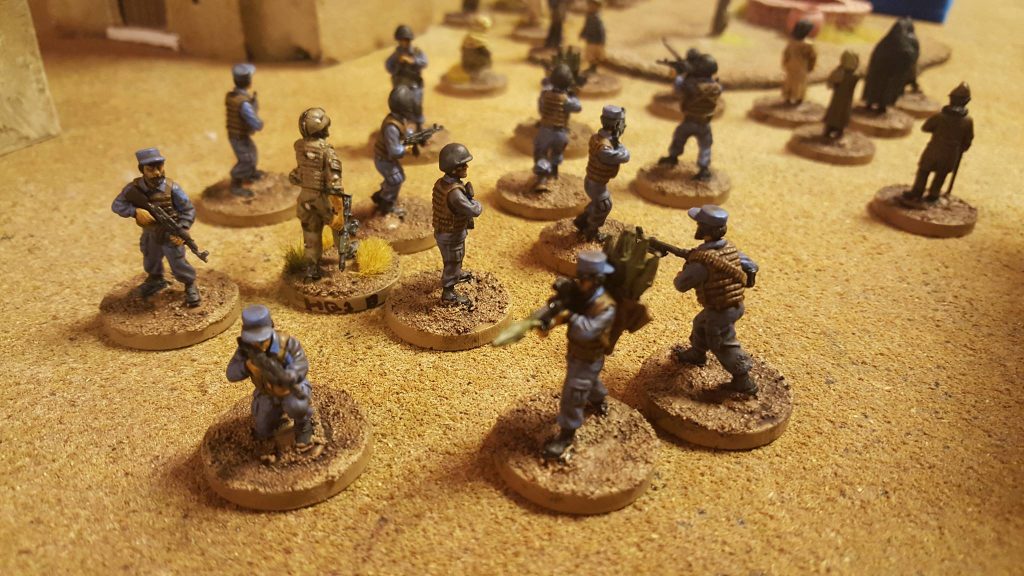
As the game starts, a squad of Afghan National Police (along with a British NCO acting as an adviser) ready to start searching from house to house. In addition, a Panther CLV is heading into town carrying two engineers and a medic to assist the search.
Testing Notes: Checking a house requires 6AP worth of action to be spent on it. The idea behind this is that a single soldier will take a while to search while a big group is more efficent. The downside to rushing in with a load of guys to clear is that after clearing you roll a D10. Roll high and you might find intel, reveal an enemy fighter or even bring the target VIP out of hiding. Roll lower and you’ll either find nothing or set off a booby trap. In the initial version of the scenario played, ISAF players gained 30VP per building cleared to incentive them to actually clear buildings. However, this is way too much. The plan is to increase VPs from finding intel and not give any if you search the buildings.
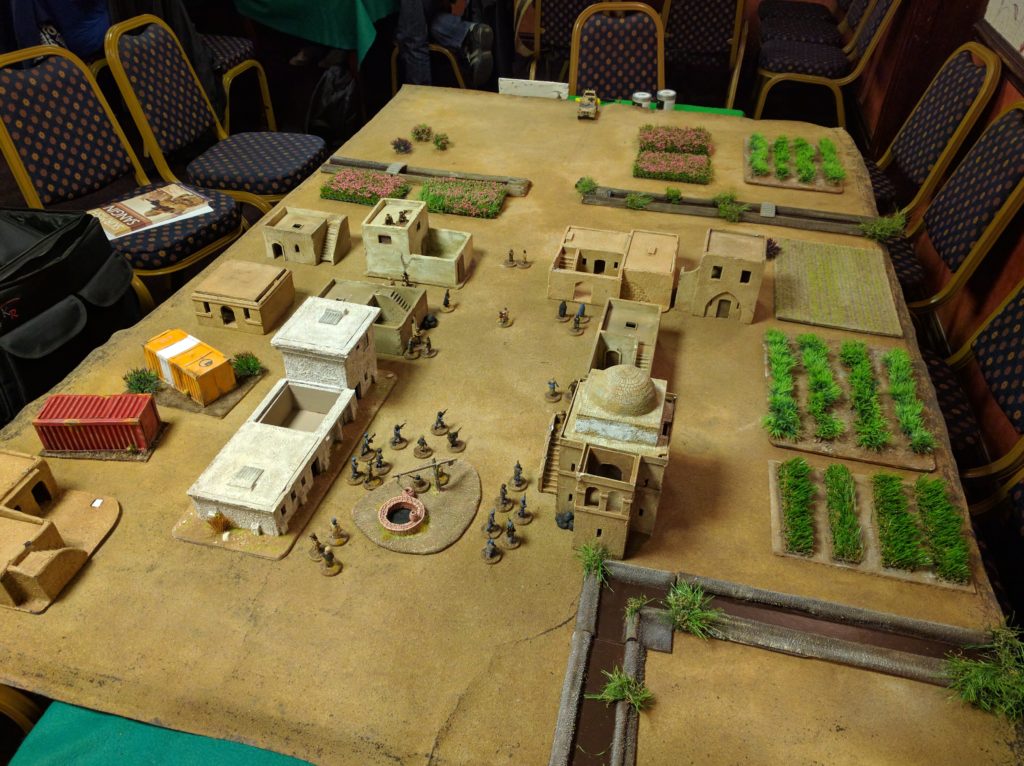
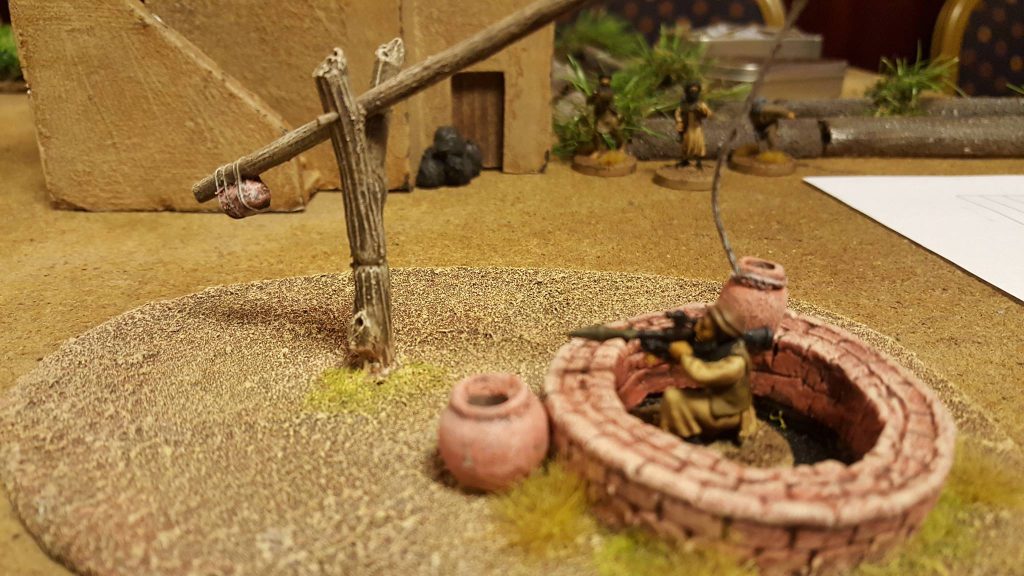
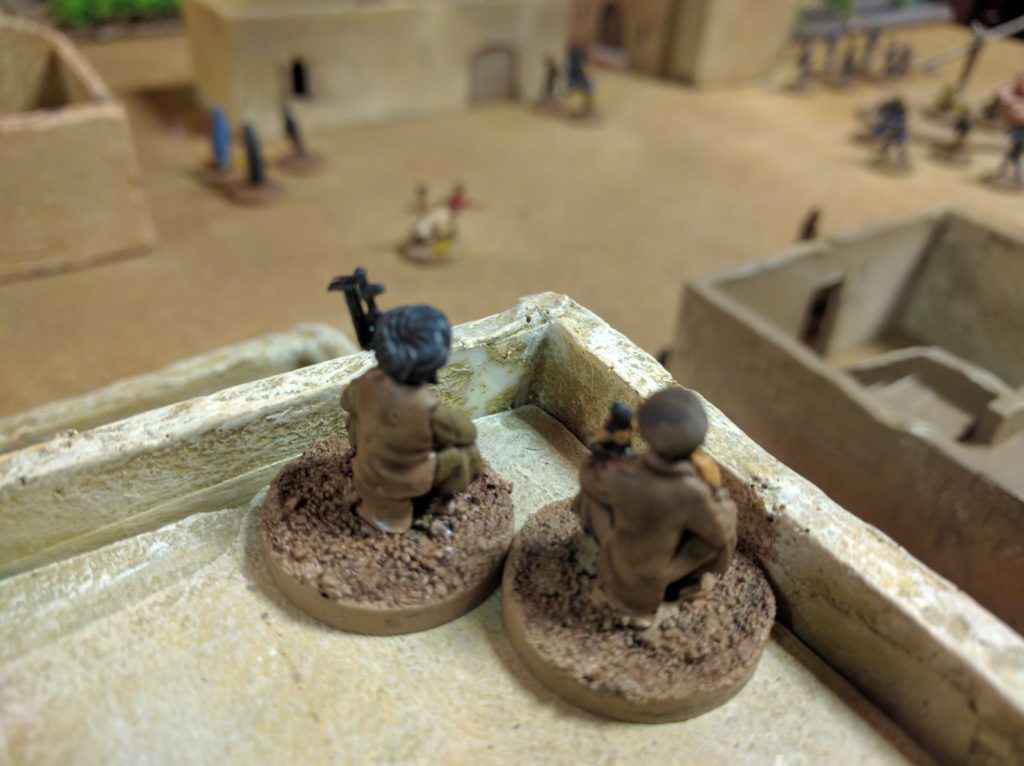
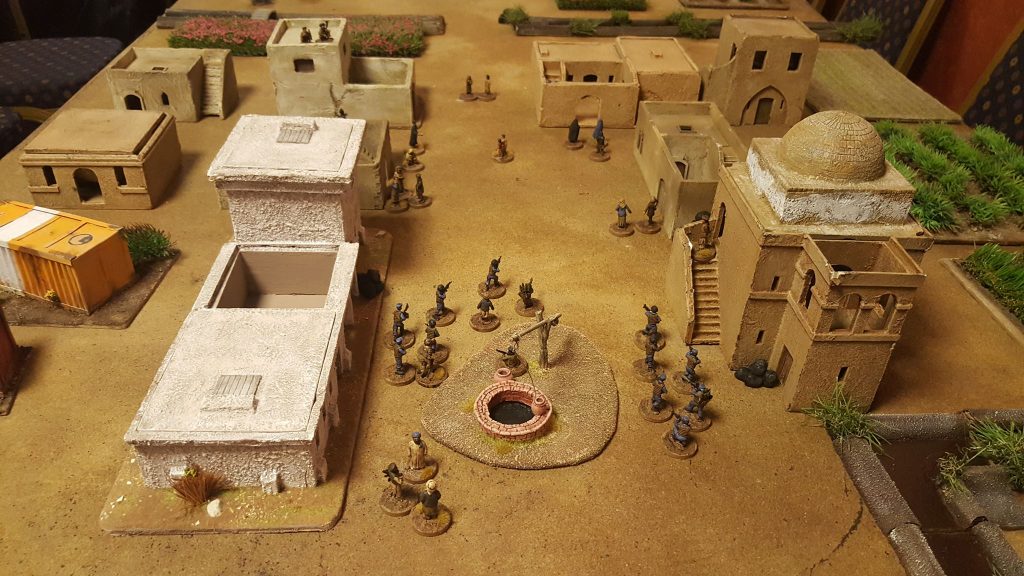
You can see in the above picture, the board is pretty scenery dense. You can also see there are a fairly large number of civilians milling around. In fact, the board above only has two hostiles on it – two spotters ready to set off IEDs and spot targets. The rest of the insurgent force is currently lurking in the ratlines waiting to deploy. The insurgent player also got to place three IEDs and (initially) 5 booby traps.
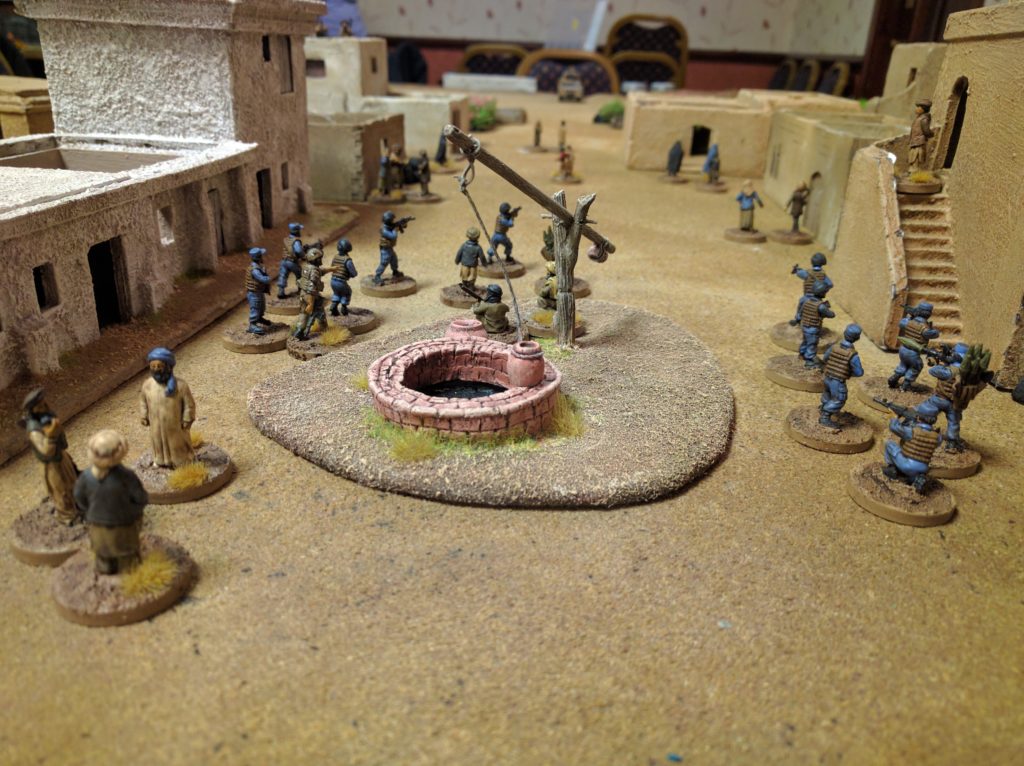
As the game began, civilians milled around as the ANP starting investigating buildings, primarily as a big group so the check only takes one combat phase. As one group cleared the white building with the courtyard, a second group (along with the British NCO) moved up to the street to investigate another building. Crossing an alleyway, there was a sudden boom as a booby trap was triggered.

This booby trap was initially placed on the corner so the damage was less than it could have been – the lead guy and the NCO were both only knocked down. However, both machine gunners took damage through their paper thin body armour. One was still able to keep fighting but the other was knocked unconscious, a major blow.
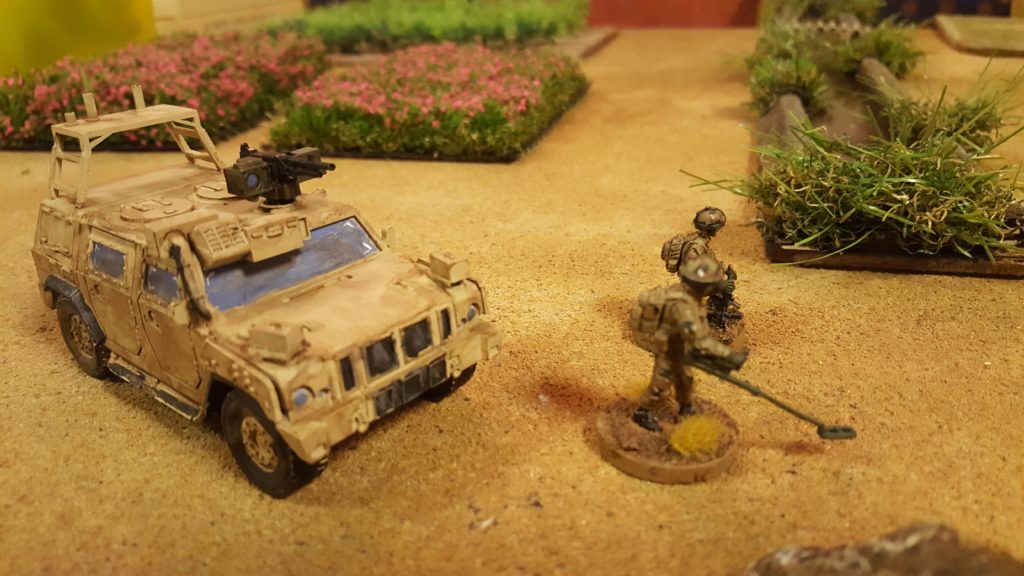
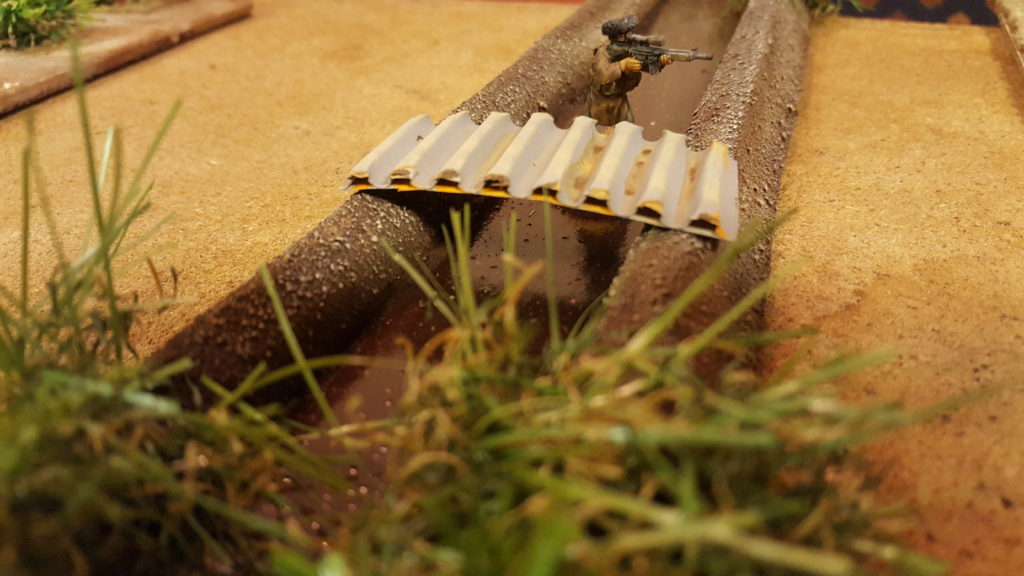
Outside of the town, the approaching armoured vehicle decided to stop and start searching the route instead of possibly blundering into another IED. Disembarking the two engineers, the vehicle stopped and went into a covering position. After a few tests, the engineers eventually found a medium IED with a pressure plate and managed to disarm it, clearing the way for the Panther to move into town.
Testing Notes: When the scenario was written, the Medium IED had a booby trap placed with which went off when the engineer originally failed his IED test. This would have required a casulty evac, ending the mission pretty quickly. As accurate as this is to the potential situation and after careful investigation of the rules, we decided to roll this back in order to keep playing and reduce the number of booby traps for the insurgent player.
As ANP troops rushed to clear the building close to the booby trap, they quickly discovered an enemy fighter and dragged him outside. As this happened one of the players turned to me and asked “Can we start interrogating him?”. After a little bit of persuasion, I agreed and the leader of the ANP started doing activities that if the British were doing this and a Western news crew were nearby, they would be in serious trouble.
Testing Notes: Okay, so Skirmish Sangin doesn’t include rules for interrogating captured enemies. There are several probable reasons for this (including the issue we had that certain characters spent most of turn 1 kicking the snot out of an opponent in order to get any info from them. However, thanks to the RPG style system, it was super easy to throw in a morale check and then start providing information that a novice fighter would know whenever the poor devil was being interrogated. This is a potential rule I’m playing around with as part of some civilian interaction additions, but I will be making it an awful lot harder.
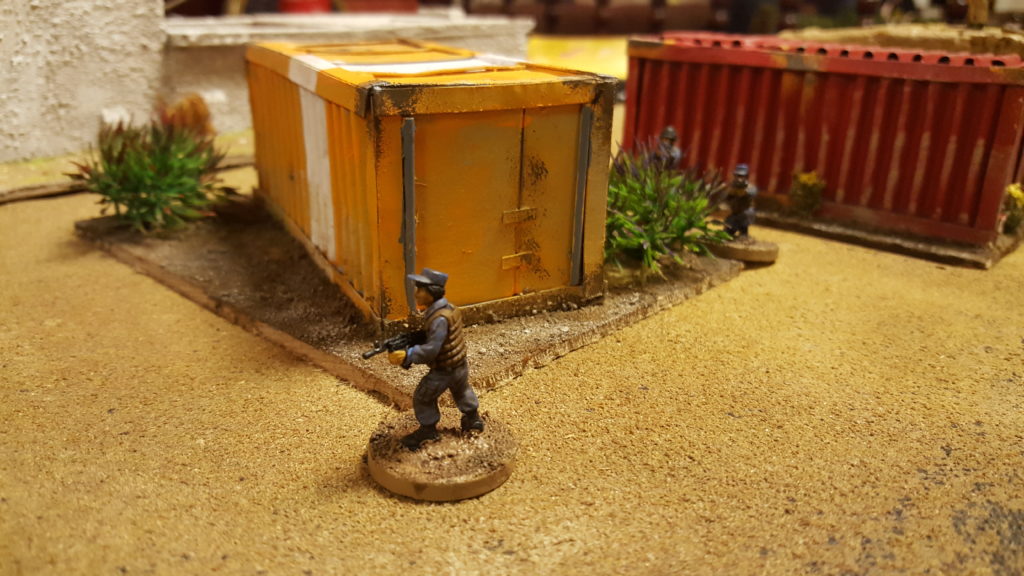
The ANP continued to move around clearing buildings and as they checked they found some weapon caches but not much else (although they did cause both of the spotters to swiftly move off the street to prevent their arrest). However, clearing the buildings did reduce places I could make insurgents appear. In order to make the most of this situation, I popped up both a sniper and an RPG team on the outer edge of the town. However, the RPG gunner decided to duck back in the ratlines to avoid death at the hands of the Panther’s GPMG. His assistant moved to a position overlooking a group of ANP heading into an alleyway and managed to spot them. Bringing his AK up, he fired a burst and… hit nothing. Oh dear.
Testing Notes: Ratlines are a useful way of getting troops in place, breaking the frontlines that most players want to setup in any game. Sticking them in buildings is handy way to make the town seem like bad guys are everywhere and clearing buildings becomes a way of preventing them being outflanked.
The response was what you would expect – pretty much everyone who could see the shooter opened up, hitting him with 10 points of damage and knocking him unconscious. The ANP moved on to start clearing the building the shooter had been on top of in order to prevent it being used as a ratline position. The other ANP group moved up to the final few buildings, sprinting past two IEDs which failed to detonate before running headfirst into a recently arrived machine gunner.
At this point the British had parked their vehicle at the town’s entrance and appeared to be setting up a casualty/prisoner collection point, administering aid to the various unconscious fighters.
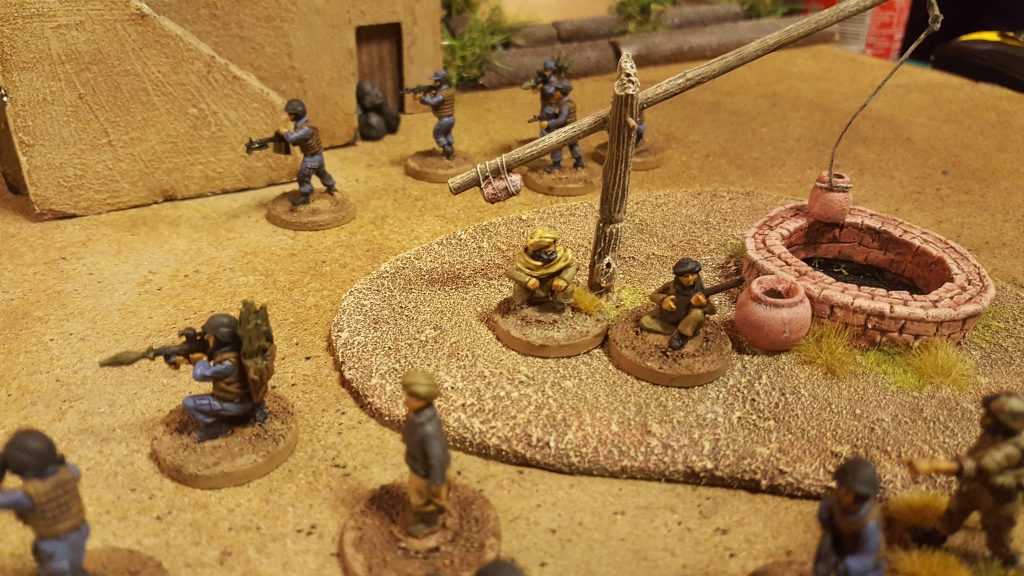
The battle was starting to wrap up, and I was running out of time to cause some more damage to the (so far) successful BLUFOR forces. IEDs and booby traps had been failing so far so I decided to deploy my commander and a few other fighters down in the south (including an RPG popping out of the well). My plan was to get them close enough to attempt and arrest and then detonate my last IED. After, of course, I tried to knock out the Panther with an RPG. Sadly he was obviously not happy about having jsut climbed out of a wheel and the rocket spiralled off into the fields. As a response, the GPMG on the Panther swung around on it’s weapon mount and leveled the attacker with a burst of 7.62.
While the gunfire banged up and down the open square, the ANP 2IC decided to put pressure on my sniper. The sniper’s response was to dive off the building and make a run for it. Deciding to snapfire, the 2IC put a burst down and did nothing more than spook the guy as he ran past. This did expose the 2IC and left him locked in place, perfect for The Fox (newly arrived via the ratlines) to pop up and drop him with a single shot from his trusty G3.
Down the far end of the street though things were going horribly wrong for me. With one fighter down, another stuck in the street with five morale markers on him and several markers on the commander and his bodyguard, some of the ANP managed to get close and arrest them both (even if it took a while for the commander to actually get it). As the ANP mopped up, both of the snipers on the outskirts manged to merge with the population and disappear away.
At the points tally, BLUFOR wins, thanks to clearing every building and arresting quite a few of the insurgents. Part of the massive win was due to how the points had been awarded by – I was giving away 30pts per building which quick adds up on a dense urban map, in addition to points gained to taking out enemies and finding intel. Although that said, managing to actually arrest the commander was also a pretty big boon.
Final Thoughts:
This scenario has lots of little additional tweaks and really needed a good play. There are a few things I’m going to take away and work on before getting it finished off. Its a different style to many of the other scenarios, with BLUFOR having to react to the moves of the OPFOR while the OPFOR has lots of angles of attack to strike back against the .
As for playing the game, my opponents seemed to really enjoy it. This is kind of the most important thing when playing at the moment – as interesting as it is to be simulating a warzone, playing something that people loose interest in by phase 2 is a terrible thing and almost a waste of an evening’s play.
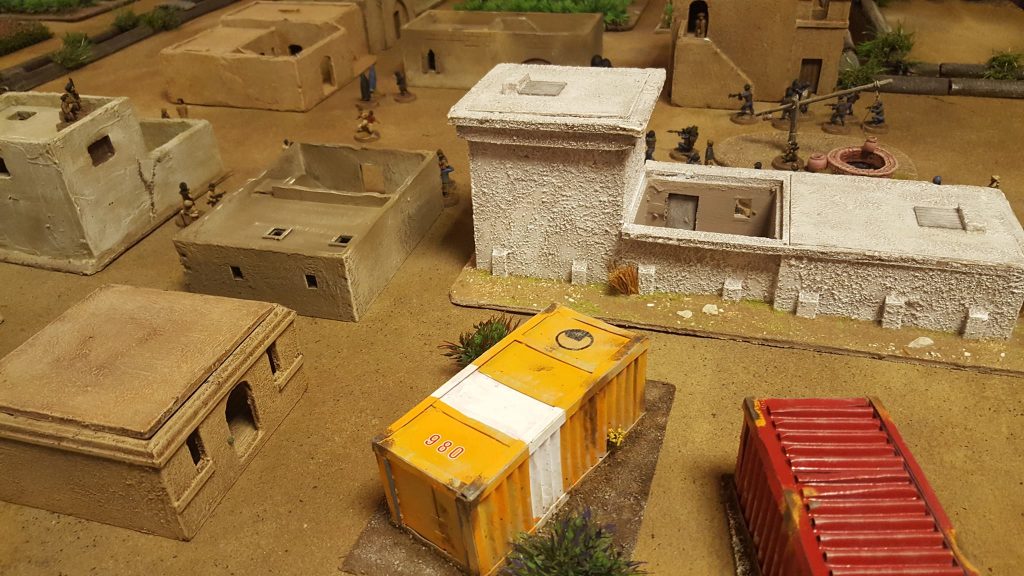
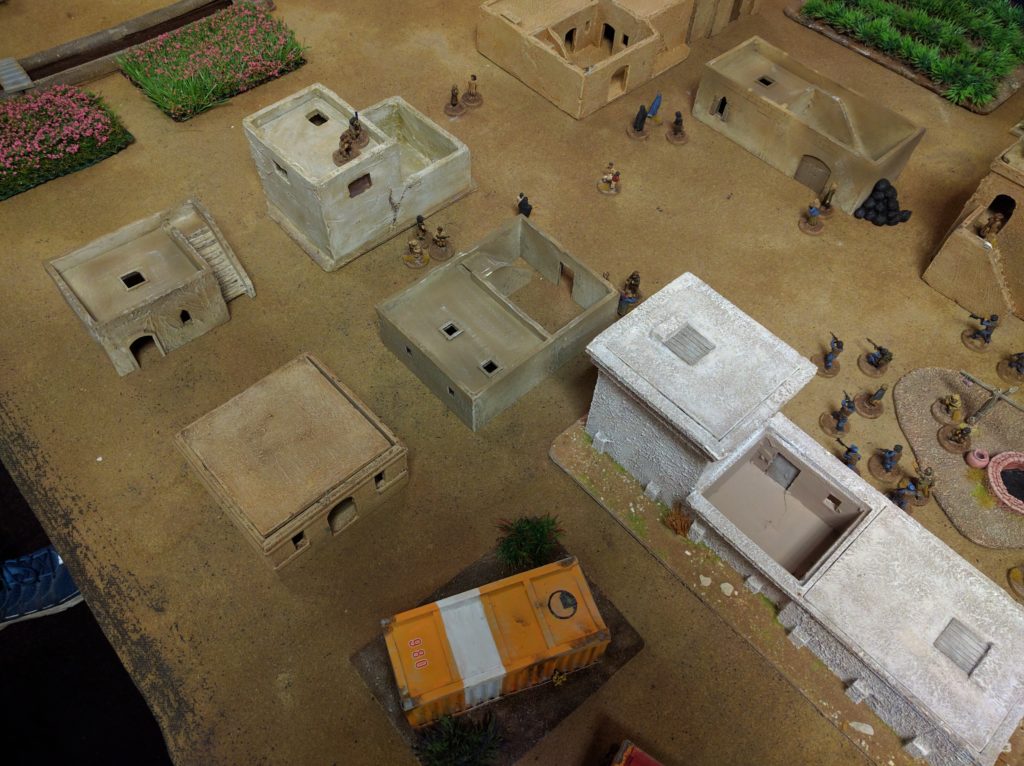
Looking at the board, I may occasionally be annoyed by all the models I’ve purchase/had to paint but it makes for some great shots. Civilians in particular help to set the scene, especially when you dot a few of the armed guys among them – Eureka have some wonderful sculpts for the Taliban in more static poses, perfect for matching with their civilians. Spectre’s
Also vehciles look cool on the tabletop so it was great to get Evil Bear’s Panther out on the streets of Afghanistan. I’m not 100% on the wash job but I was happy enough to get it on the tabletop. As I write this I have more vehicles ready to be painted, so expect a shift to an imagi-nation soon so I can get my Challenger 2 on to the streets of Bazistan or some other fictional warzone.
Additional Photos:


Leave a Reply