More photos and coverage of the game can be found at Pioneer Painting and SESWC
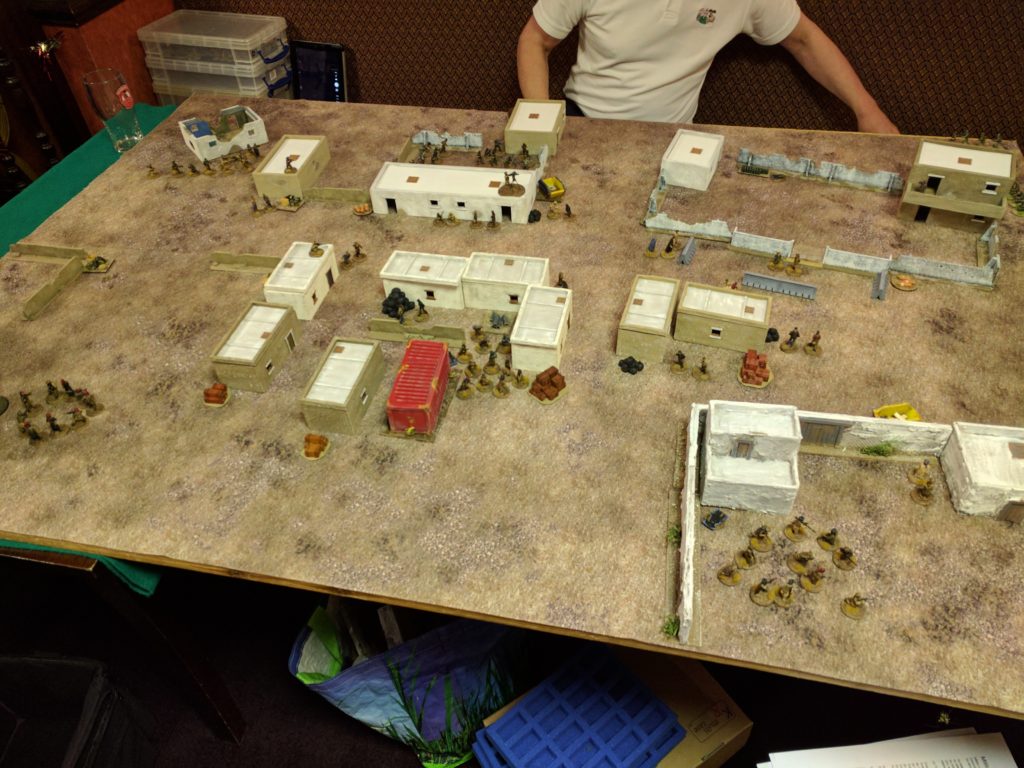
This week’s wargaming took me back to Spectre, demoing the game for the first time to two members of the SESWC. I also wanted to put on a bit of a show and get lots of insurgents on the board. I had originally planned for the game to be 4 sections of Professionals vs an equal points value of militia and trained but I very quickly found myself running out of figures (and time to paint more). Luckily, I had overestimated the number of players that would be taking part and so my points values worked out great against only two sections. Moral of the story: stop panicking.
This mission saw the NZDF commitment to Bazistan moving into an area to destroy weapon caches and confront the opposing force.
NZDF
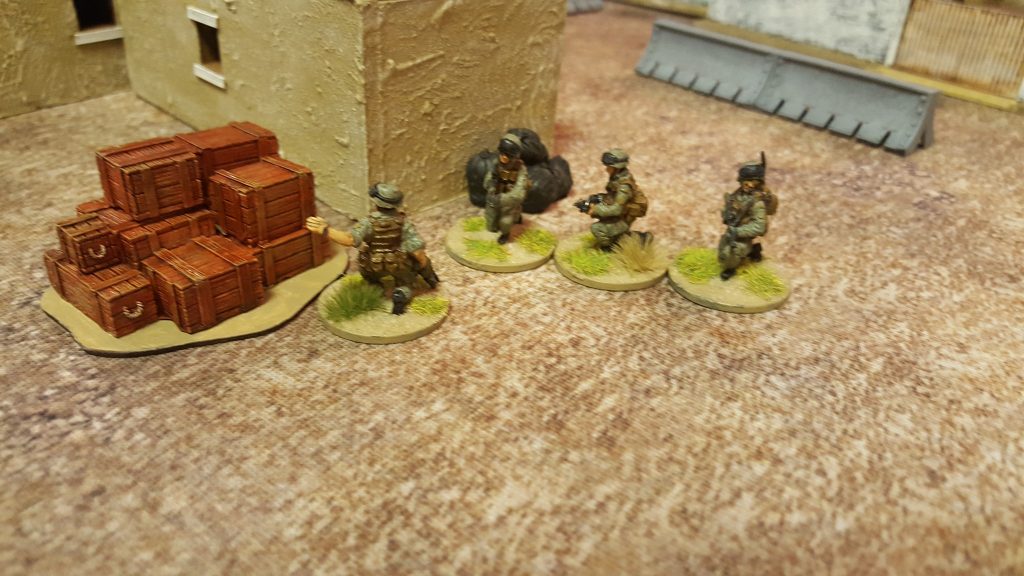
Two sections with body armour, radios, PMK, pistols, frag and smoke
- 2x Professional Squad Leader with Assault Rifle (scope and red dot)
- 4x Professional with Compact LMG (scope and red dot)
- 4x Professional with Assault Rifle and UGL (scope and red dot)
- 6x Professional with Assault Rifle (scope and red dot)
Militants
Militia Commander w/ Assault Rifle + Long Range Comms + Binocs + Radio + Remote Detonator
3x Mortar Strike
3x Militia Squad Leader w/ Assault Rifle + Radio
4x Militiamen w/ RPG
6x Militiamen w/ MMG
20x Militiamen w/ Assault Rifle
Militiaman w/ HMG
Trained SL w/ AR + radio + remote detonator
Trained SL w/carbine + radio + remote detonator
9x Trained w/AR
5x Trained w/ carbine
Trained w/ AR and UGL
2x Trained w/ MMG
Trained w/ DMR + scope
Trained w/ RPG
Trained w/ Combat Shotgun
2x Trained w/sniper rifle w/ scope
4x IED (victim operated)
2x Vehicle IED
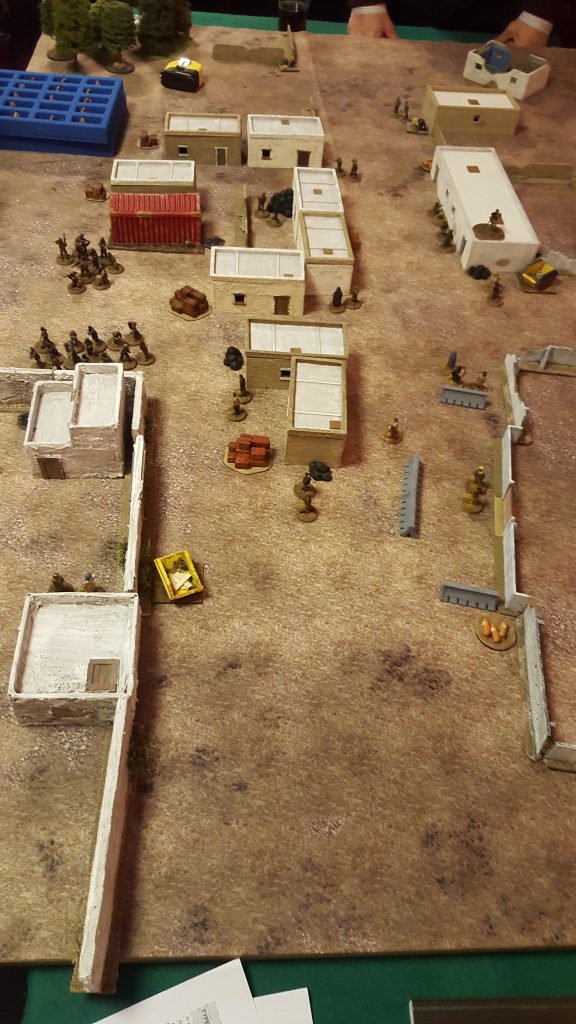
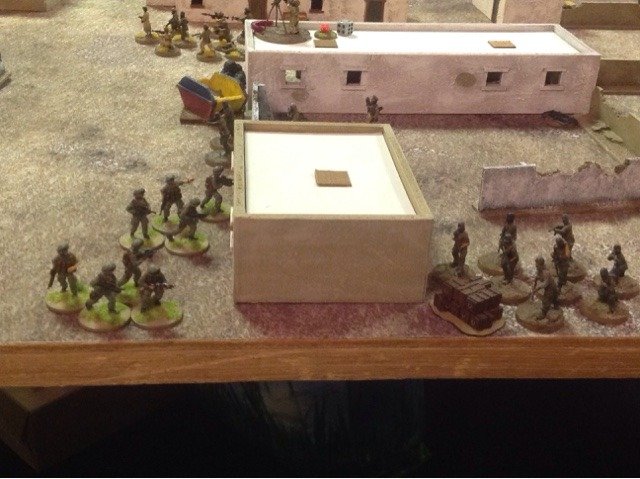
The game started with the Kiwis advancing onto the board behind the diplomatic compound giving them plenty of time to creep forward around the unalert militants. The two sections broke down further into fire teams. Two teams went south towards the main street (with one team vaulting the wall into the compound itself) while the other two crept along the north wall. However, as one of the southern groups crossed the street, both an insurgent sniper and HMG weapon spotted the team and became alerted. In the following turn, the HMG hammered down the street. It caused nothing more than a few points of suppression but it did alert every figure on the board. In response, the other fireteam opened up with its Compact LMG and brought the gunner down.
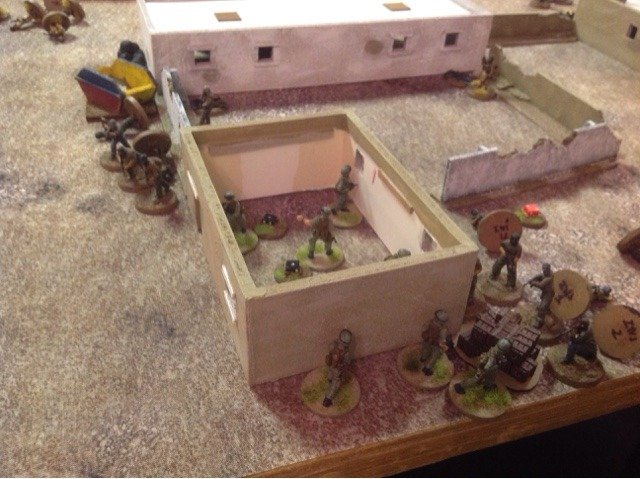
Drawn towards the fire, other militant forces started to stream through the village. The militia led the way, intending to mob the better trained and equipped New Zealanders, while the trained groups waited back. One mob streamed around the buildings towards the southern most fireteam and managed to put some fire down. In response, the Kiwis opened up with an LMG and Grenade launcher knocking most of the mob down and getting them some breathing room. In the next turn, section 2 relocates with one fire team falling back to the security barriers while the other climbs onto the first floor to provide some top cover. From this cover, the section managed to put a lot of fire into the mob coming down the main street and wipe them out. They also managed to put a lot of fire into a group that came streaming out of the southern most courtyard and knock out all but three of the militia.
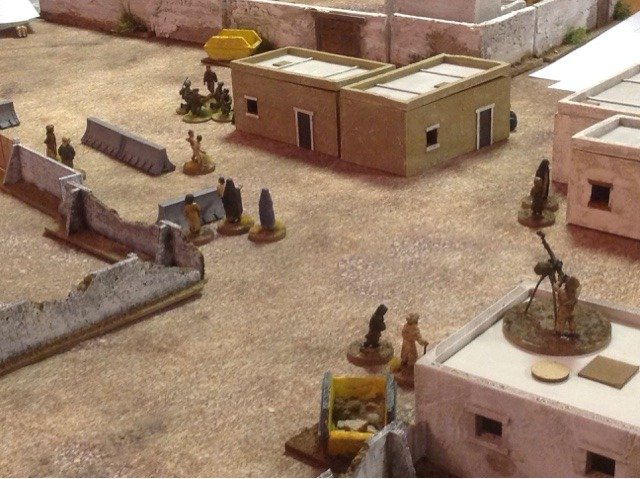
On the northern edge of the board, section 1 had managed to skirt round the compound and get close to the courtyard where another arms cache was being held. However, before they could do anything, trained fighters started streaming over the wall (except for one soldier). A round of shooting managed to kill 2 but more appeared, forcing the NZ player to frantically get out of the road and into a piece of cover.
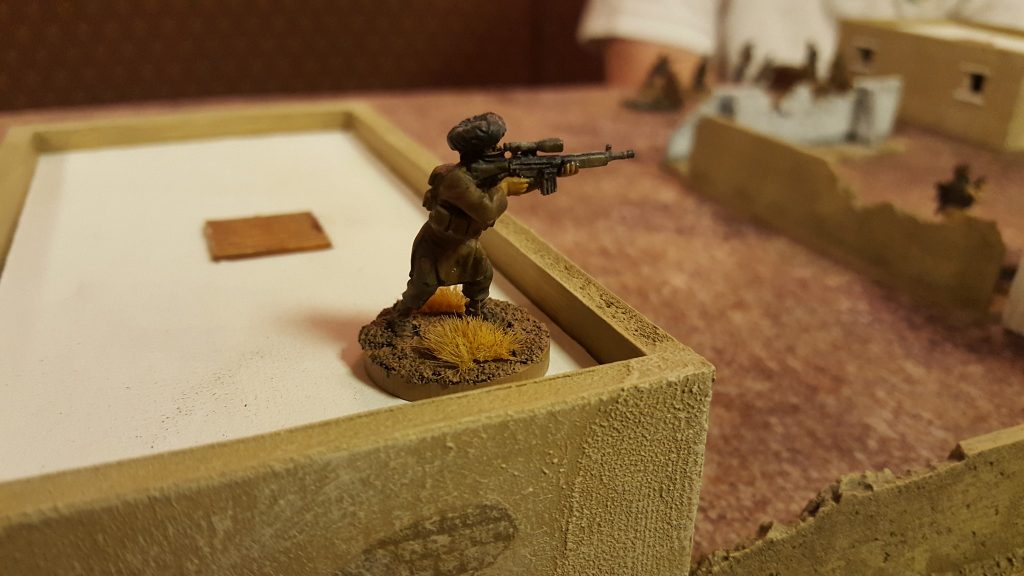
Now at this point, I was ably assisted by a friend of mine at the club walking over to the game and offhandedly commented “Hey, can’t that sniper see someone?”. A quick check, a lucky dice roll and one member of section 2 was lying down bleeding out. The fire team drags their injured comrade back behind the concrete walls of the diplomatic compound. Up top, the overwatching team causes casualties to more of the militia but they just keep coming. The three fighters left alive suddenly prove their worth, hammering MMG fire and an RPG into the overwatch team and causing more casualties and downing two more professional soldiers.
Back in the north of the board, one of the two NZ fire teams crept around the top of the board and got into a close quarters fight with one of the trained squads. The fight downed another Kiwi but also cost quite a few of my unarmoured troops including the squad leader. As the last move of the game, one of my opponents noticed I’d left my commander by himself and within line of sight of the Minimi gunner in the surrounded building. Three round burst later and my highest command value suddenly dropped.
As we ran out of time, its was obvious the militia had taken a beating but only one arms cache had been destroyed. This is the first time as a militia player I’ve managed to make a huge dent so I’ll be doing much more mobbing in future games
My main takeaway? THE FOX (and his spotter) STRIKES AGAIN!


Leave a Reply