This is a supplement post to the main impressions piece for Supreme Littleness Designs showing off the buildings under construction. This is designed to illustrate the process without filling the main article with lots of similar pictures.
The main article is at https://wp.me/pvEn5-2kE
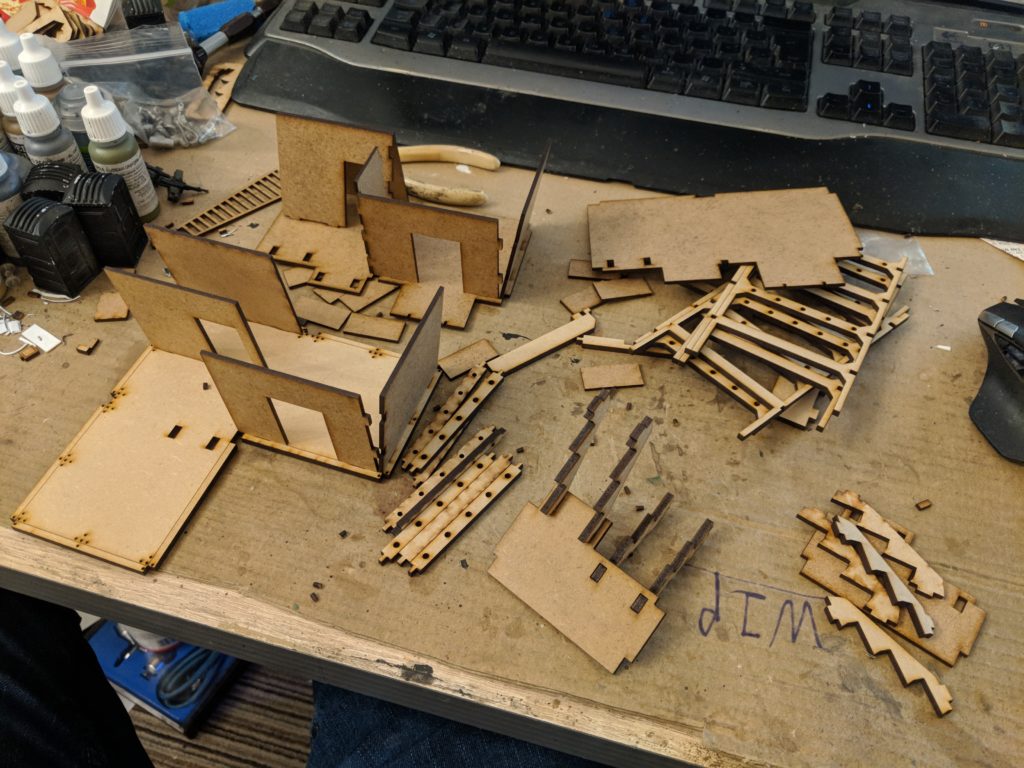
Building 1

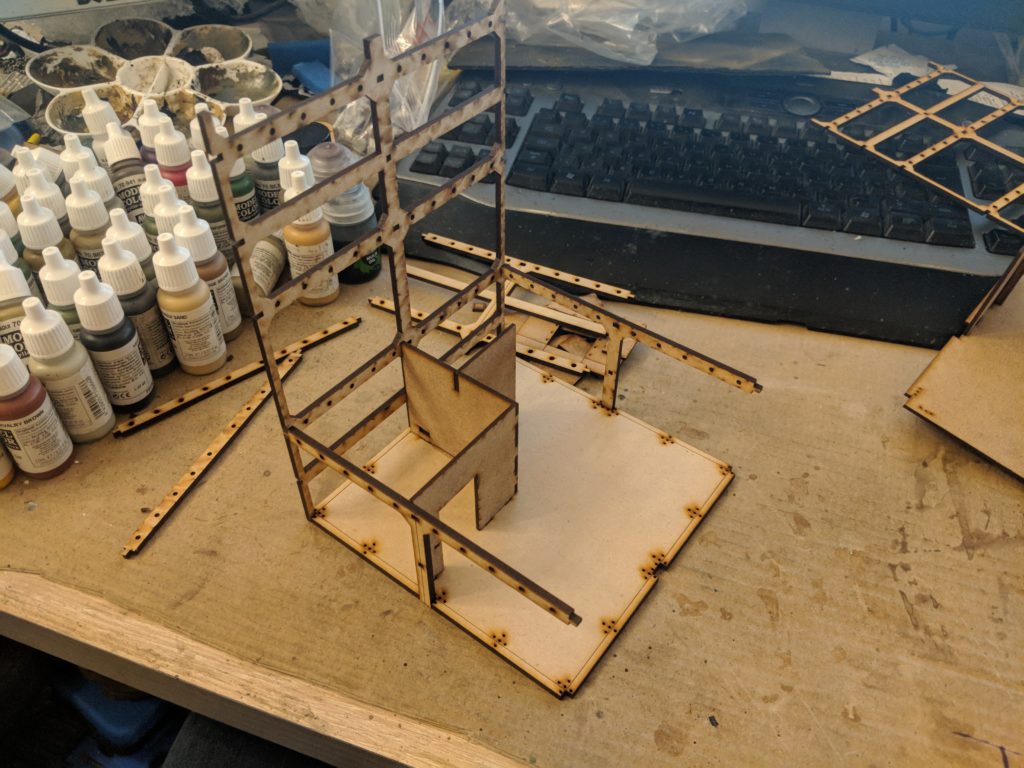
I’m not sure if this is the final design for sprue but here is an example of the cutting. As you can see, nice and cleanly cut. The pieces separated from the sprue without any tearing.
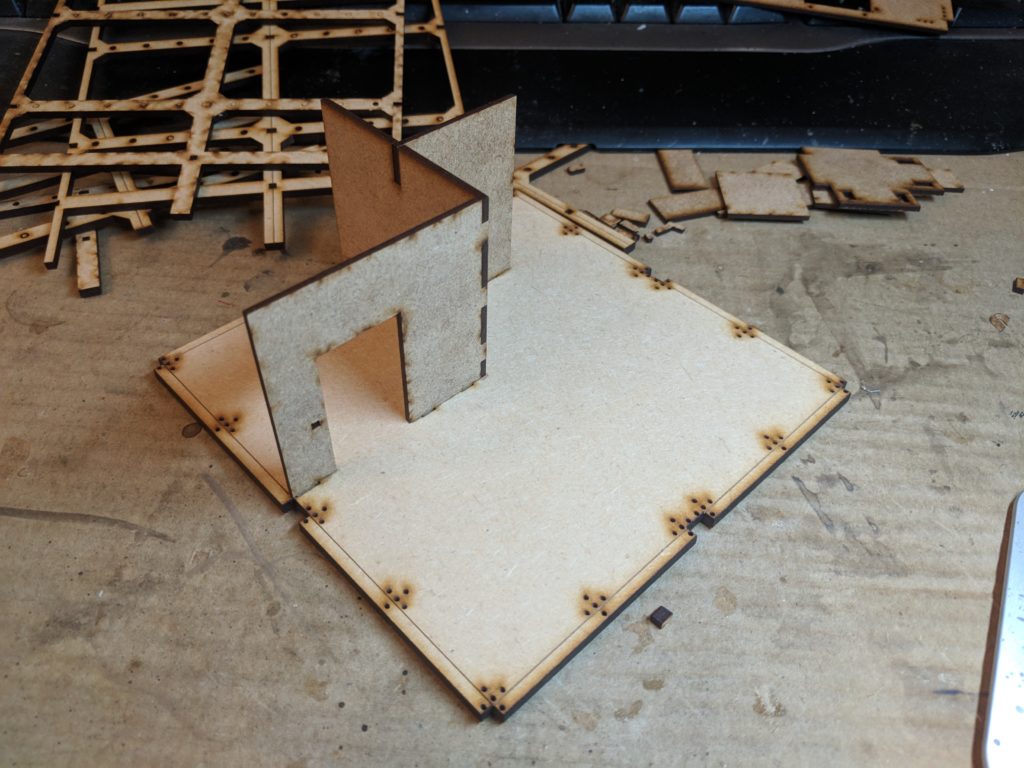
While putting the buildings together, the rule of thumb was to assemble each floor and then attach to the framework. This is the ground floor.
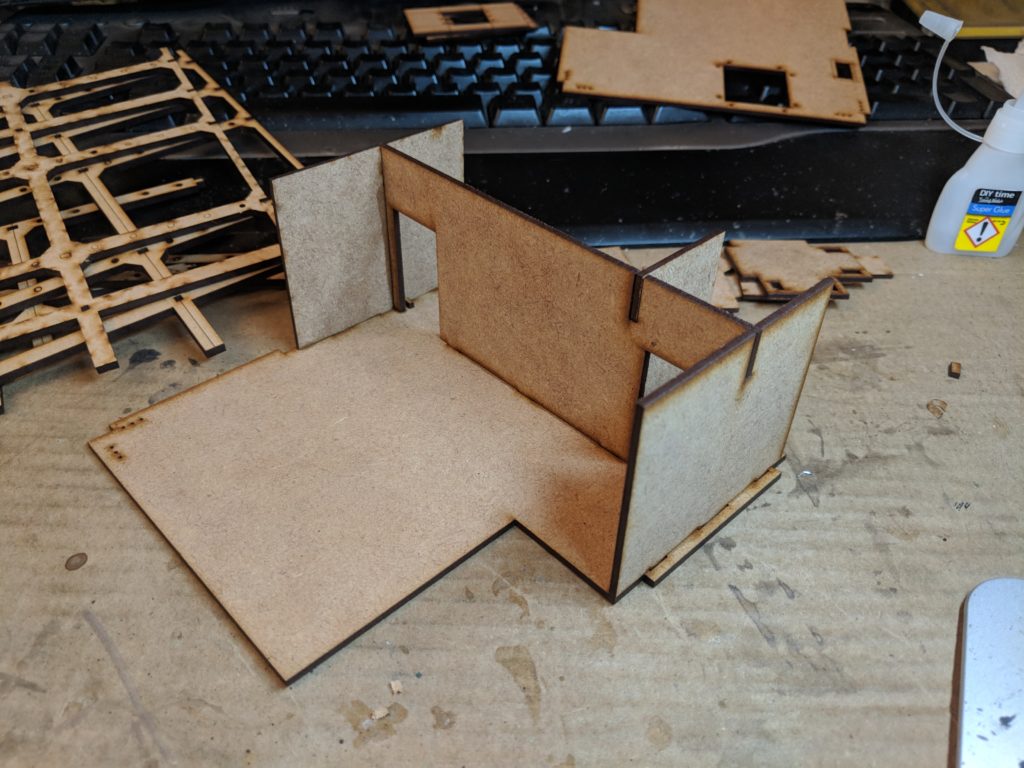
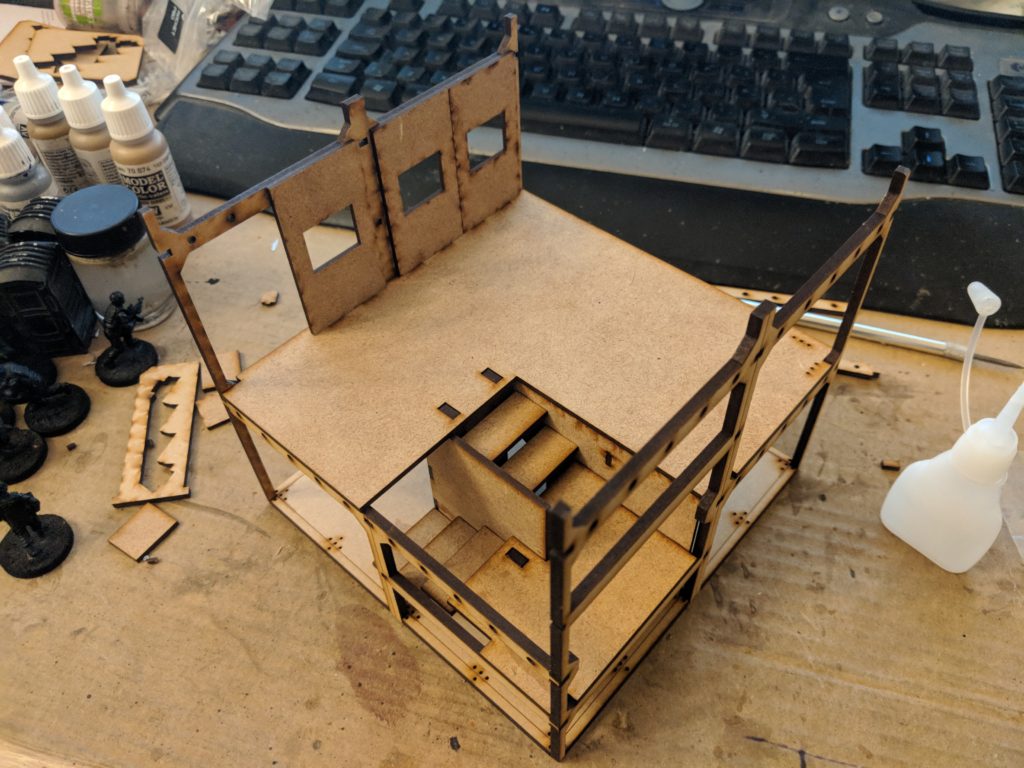
First floor provides a slim side room and corridor next to the large main room.
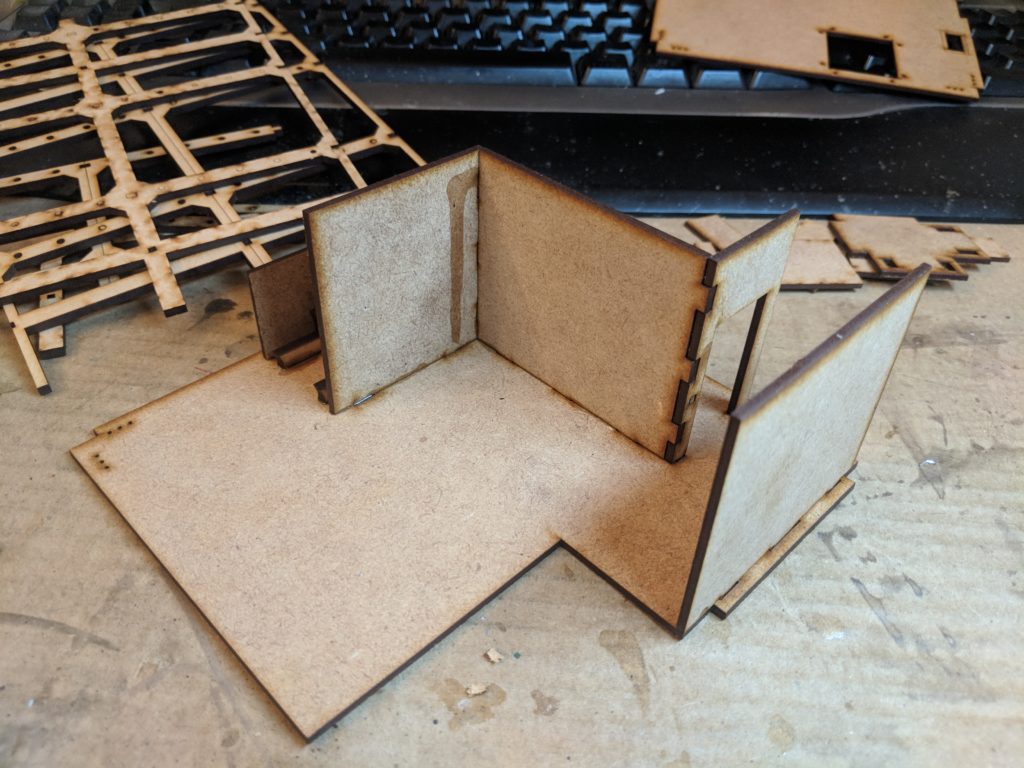
The top floor is split partially by the stair case
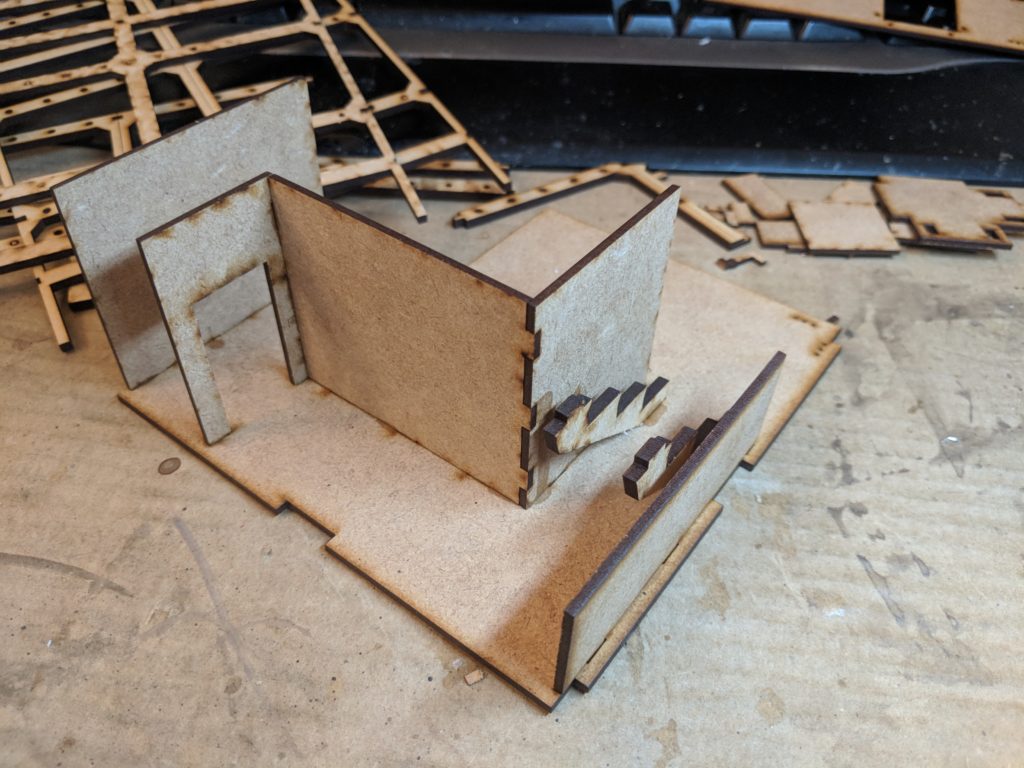
As you can see here, the staircase are made out of two structural pieces which plug into the baseboard and a set of flat MDF pieces that form the steps. This set connects into a landing piece that rests on the half height wall you can see here.
The two full size end pieces for Building 1 are actually different. There is a minor difference in the depths of the notches the two sides. The instructions will show this in more detail but this was the major mistake I made during assembly.
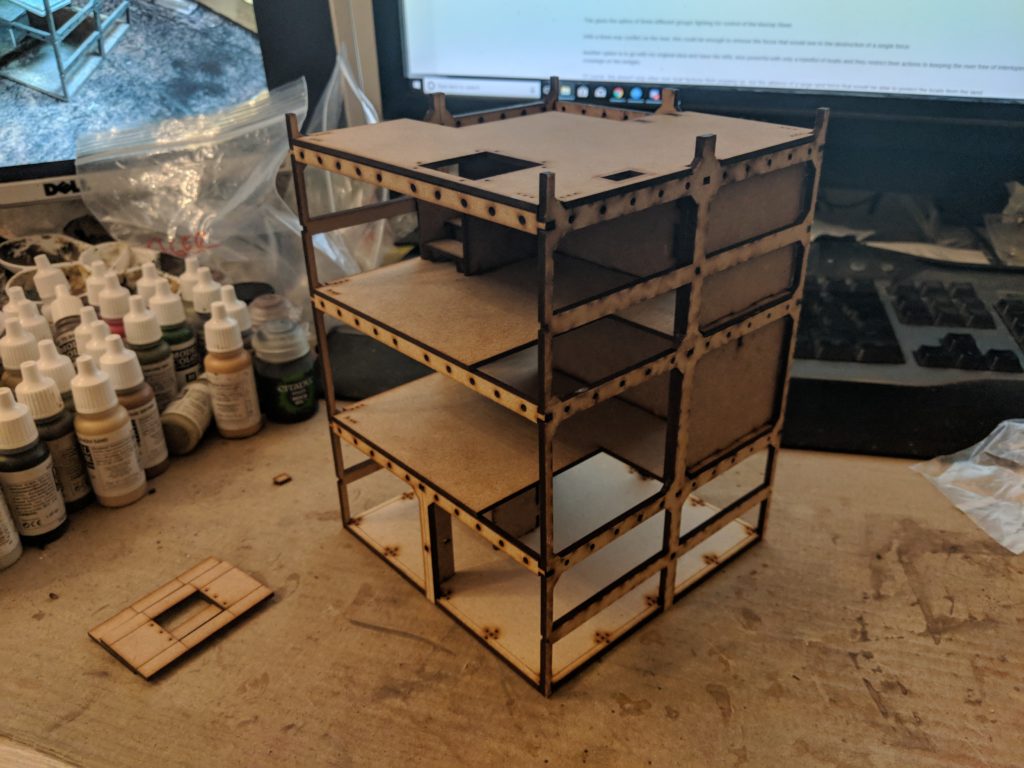
And there is the final version all assembled!
Building 2

As you can see, building 2 is much simpler with only two floors to assemble. The staircase complicates things but assembling it using the same basic idea worked out. The downstairs piece of interior cladding has fractionally longer tabs due to the deeper baseboard so don’t get it mixed up.
At this point I assembled the framework due to the top floor resting on it. After filling in the top floor, the roof was then added.
Finally, the building in situ next to it’s big brother.
Building 3
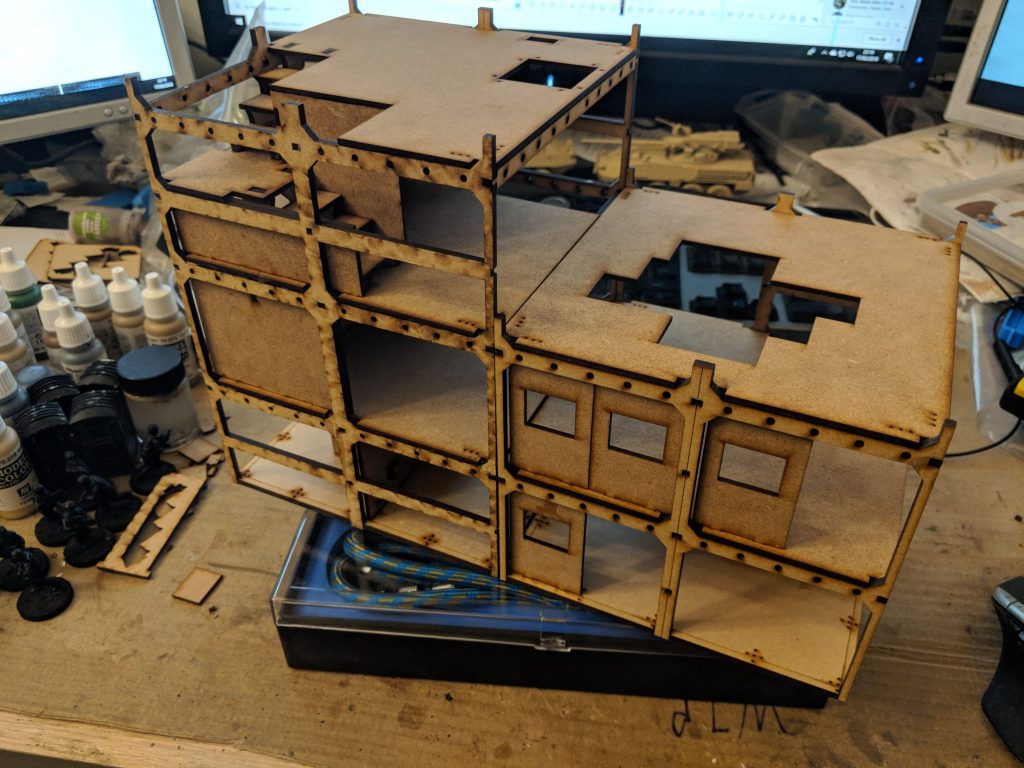
Building 3 has a lot of pieces to take a look at but most of it is due to the staircases.

Here is another shot in process.

The stairwell is finally assembled.
Painting
Painting these buildings up was super simple. Textured spray paint, metal paint over the struts and then various sprays and drybrushing to make it look dusty.
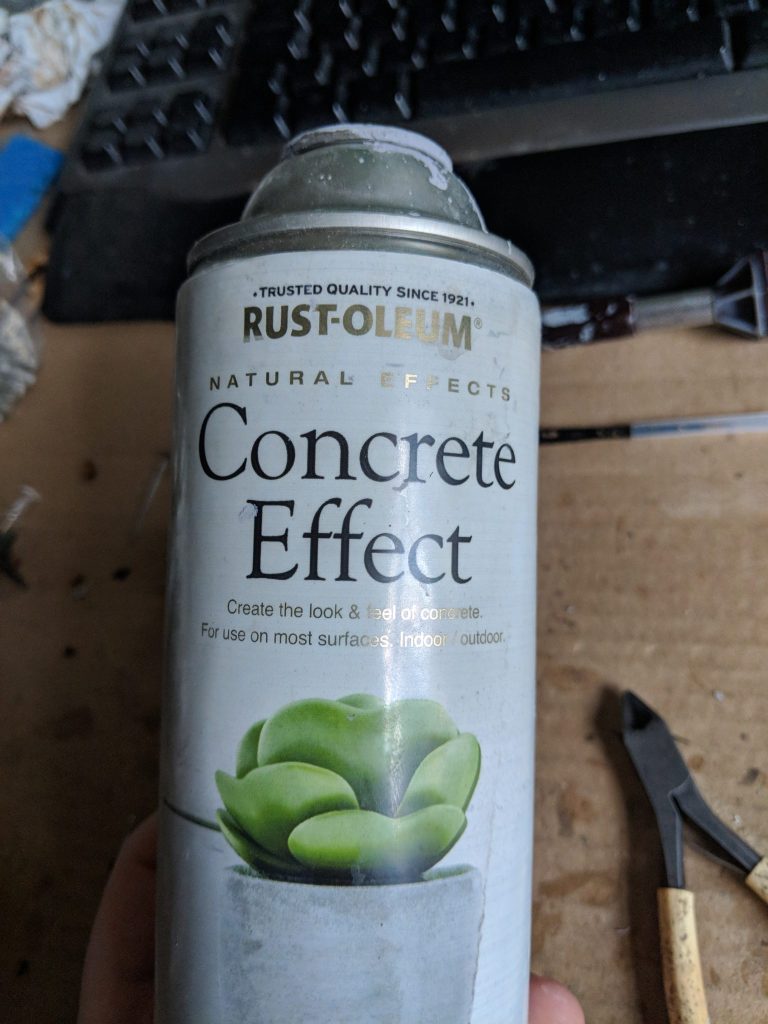
Now, I say super simple except for this textured spray. The end result is great but the methodology was a fucking pain. I ended up buying three cans of this stuff and all of it gummed up after a couple of minutes of spraying, no matter how much it was shaken. Even cleaning the can with iso and messing with the can only gained a little more use out of it. Luckily, B&Q accepted me returning the cans I grabbed from them. I am never going to buy this brand again, so I’m on the lookout for a new concrete effect.
The main article is at https://wp.me/pvEn5-2kE


Leave a Reply