
One of the more interesting systems you’ll see on technicals is the use of anti-aircraft guns. Requiring a bit more engineering work than a simple PKM or a HMG (unless you want to flip your vehicle) these AAA guns are pretty useful to an irregular force seeing as they are able to easily engage a whole host of targets from infantry to light armoured vehicles to helicopters and aircraft. Spectre have three of these weapons in their range and I’ve finally got round to finishing them off.
Pedestal
A common element of all the AAA weapons is the square pedestal mount. When it arrives from Spectre, each of the four legs has a slight cut out so it fits into the slots in the cargo bed. This makes sure that it gets a proper fit when glued into place. However, with me wanting to hot-swap the elements, this locator lug would probably start ripping through the paintwork. So, as with all my other weapons, I decided to mount on plasti-card pieces
I have three pedestals (one for each of the guns) – for two of them I simply cut out the usual “I” shape out of plasti-card so it fits around the wheel arches. For the final pedestal though, I had something else in mind.
Chopped Pedestal
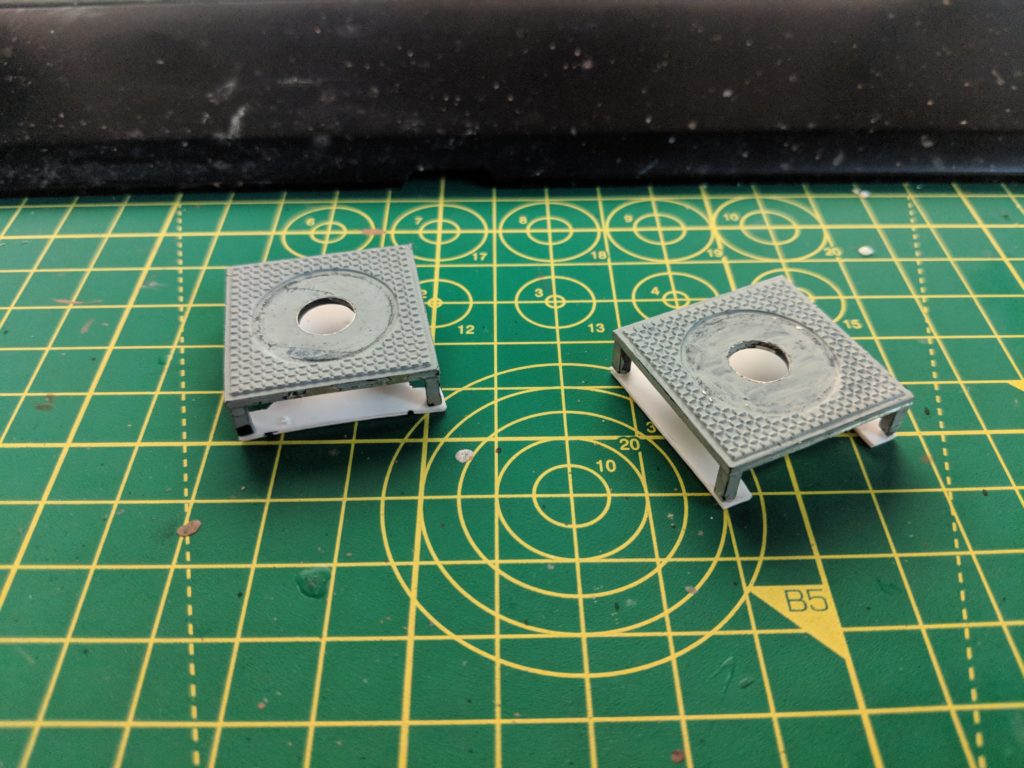
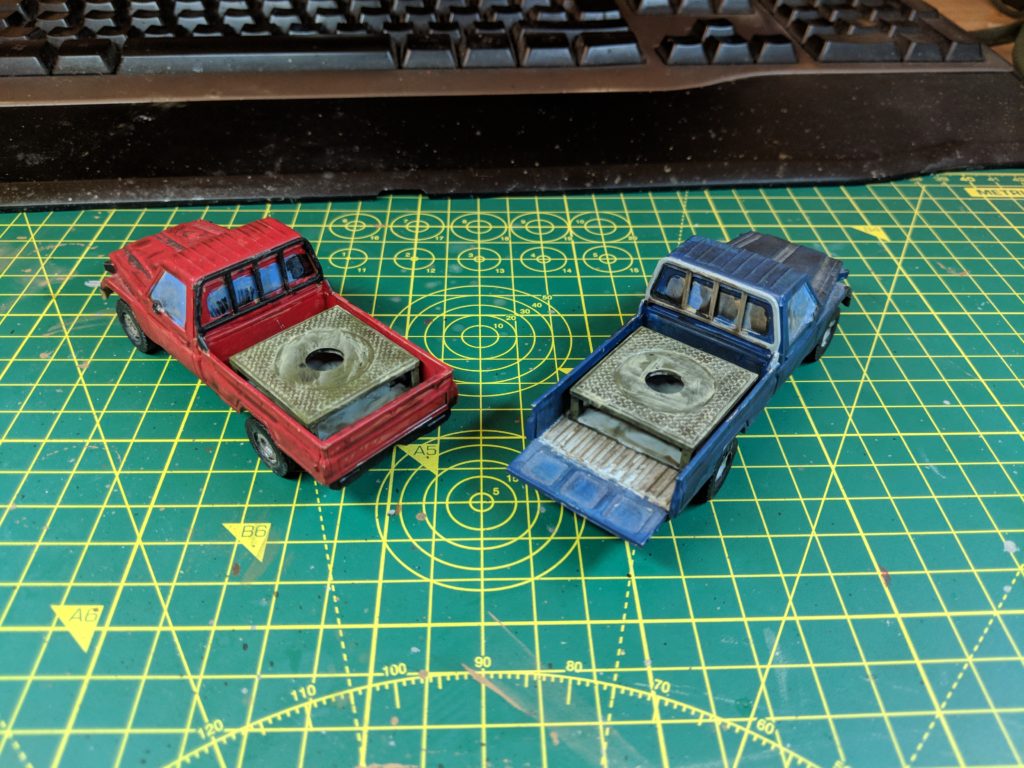
By default, you can fit the pedestals into the cargo bay of the Technical Bravo chassis by either sticking it on top of the cargo bay or by trimming the legs and sliding it into position. However, both these options are pretty permanent. For hot swapping, I had to do something else. The plan was to cut down the pedestal to fit inside the cargo bay while still having a method to lift it out when changing weapons.

Unfortunately, my cutting wasn’t as precise as perhaps it should have been and so made a bit of a mess. Worse, the trimmed legs ended up not fitting correctly as I had worked off the wrong height for the wheel arches. So I had to re-do it; The intact legs would now rest on the wheel arch while a plasticard framework would hold up the other end. Overall it’s a cheap nasty fix but seeing as I’m close to finishing this project I kind of just wanted to get them done.
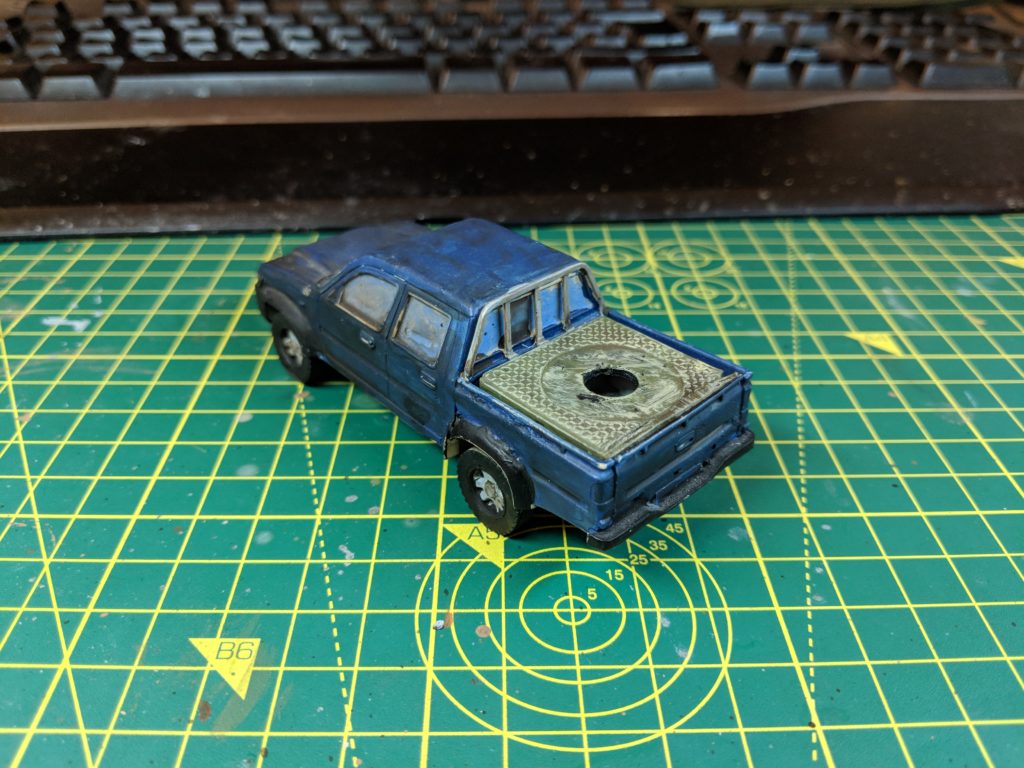
As you can see the it works pretty well, with most of the bad construction hidden by the cargo bed. It does mean I can’t mount all three weapons on Technical Alphas but it’s unlikely I’d be using all three of the heavy guns without having access to a Technical Bravo chassis.
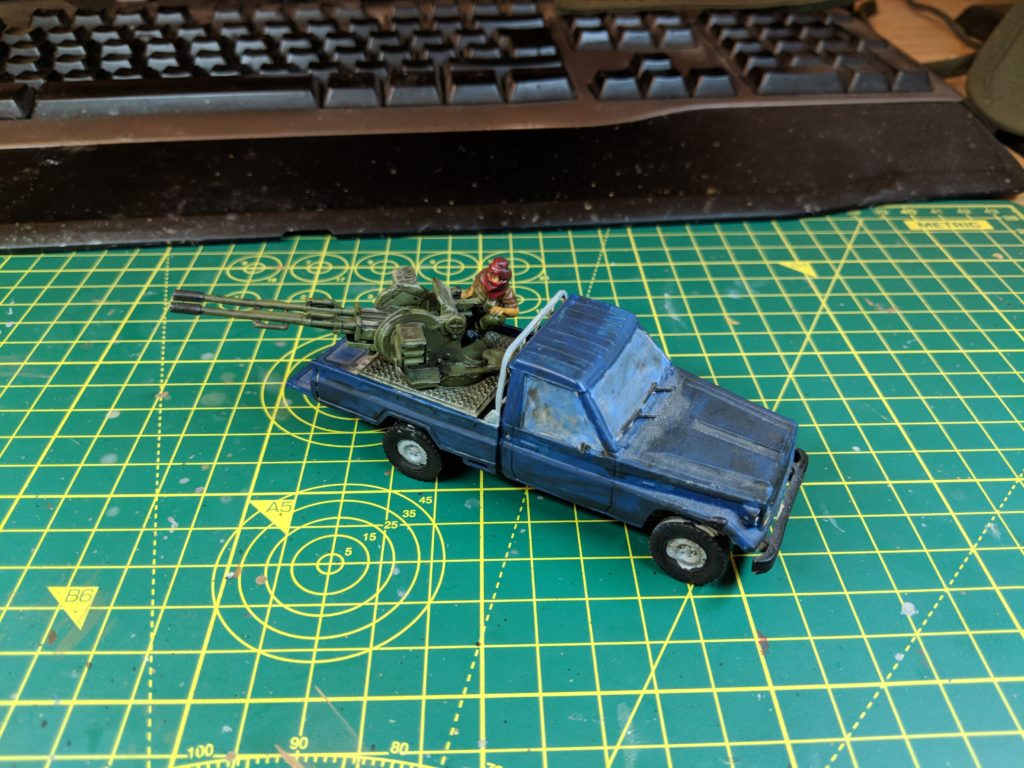
ZPU-2
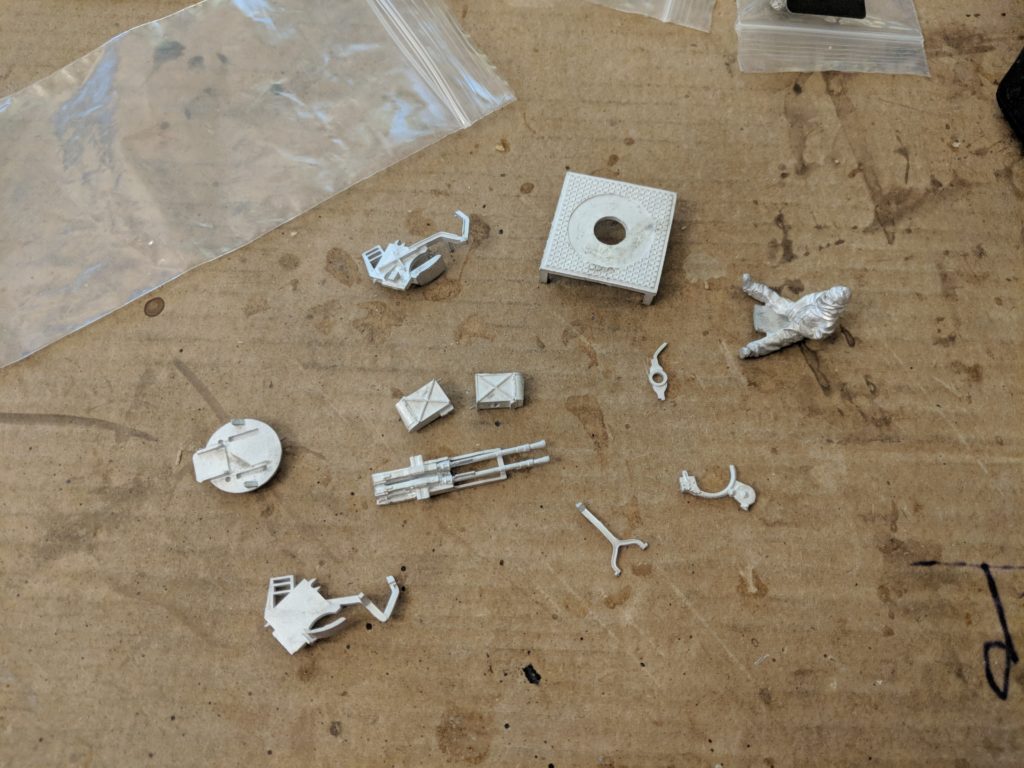
The ZPU-2 is a two barreled version of the 14.5mm KPV machine gun I mentioned in one of the earlier posts. The dual mounting upgrades it with proper anti-aircraft sights and large boxes for each gun to feed from. As you can see above, when it first arrives, there are plenty of pieces to put together. The main thing is getting the central section around the gun barrels and on the base and then work up from there.
Once assembled, the painting was pretty simple. I worked up from various metal shades before topping off with the usual Russian green. I painted the figure up while assembled although I can definitely see the advantage of painting him separately.
ZPU-4
If the two barreled version wasn’t nasty enough, the four barreled variant is designed to get as many rounds as possible down range in a short amount of time. With two massive ammo caskets on either side feeding each barrel and firing 4x the fire rate of a single gun, this is a nightmare to go up against in Spectre and other games.
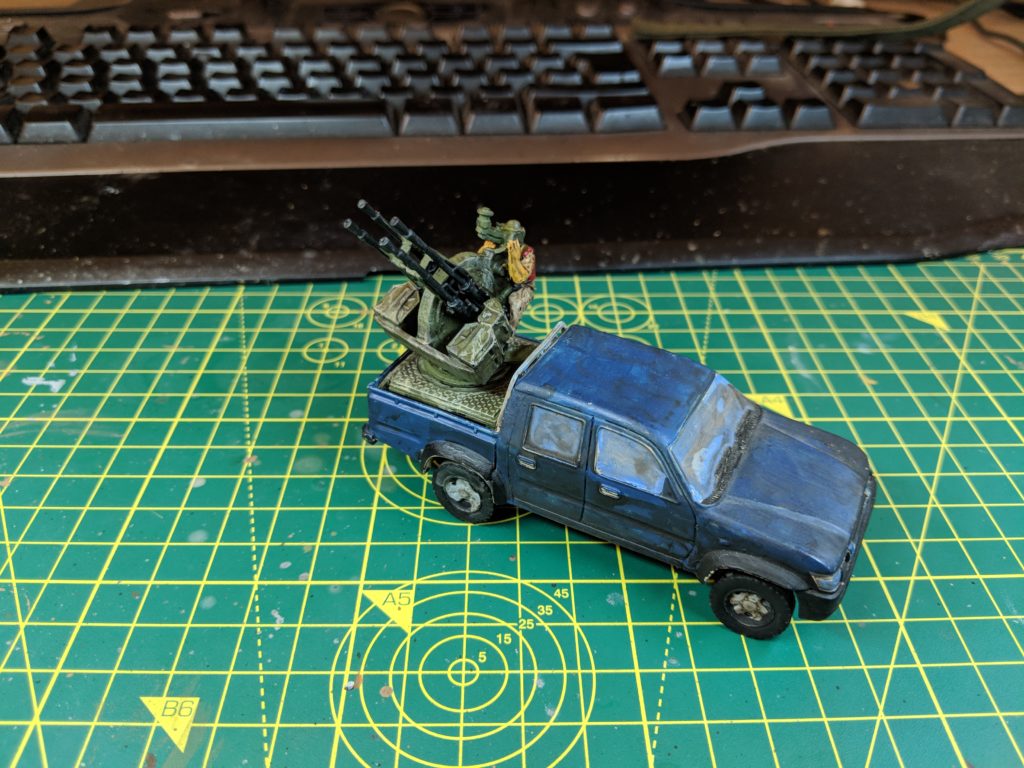
I covered the basics in the first technicals post so I’ll focus on the painted side. Its the same process as the other Russian guns – metal and Russian uniform. Unlike the other guns, this one has a gunner already attached to the main body of the mounting.
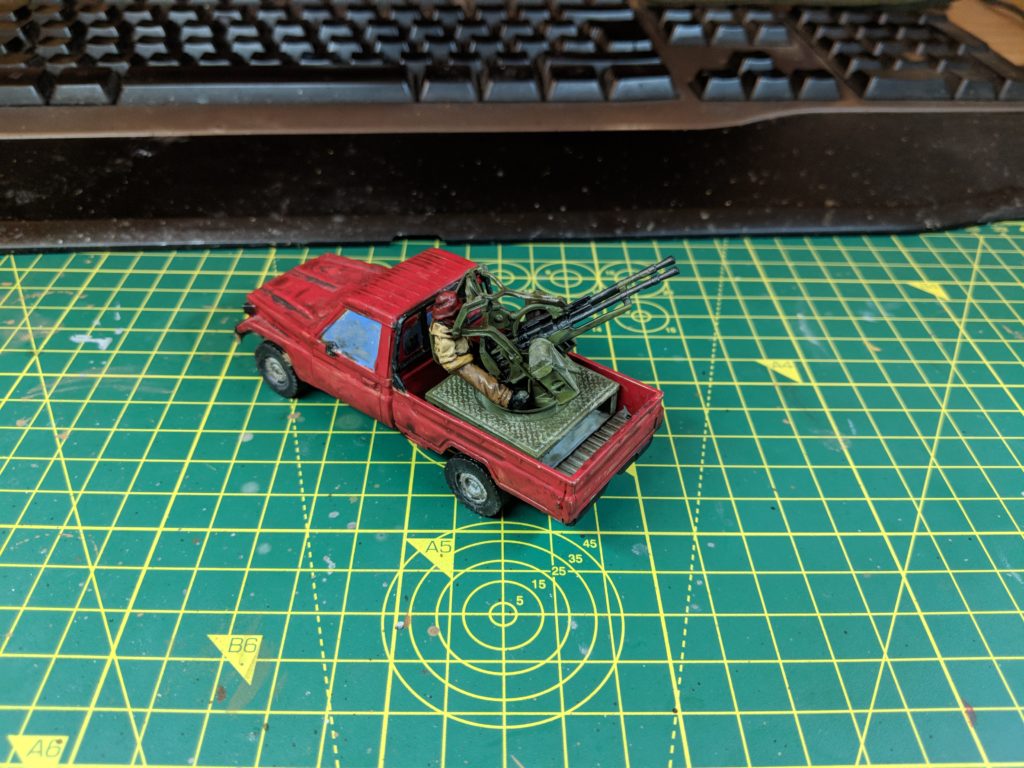
ZU-23
The ZPU works by getting lots of rounds on target. The ZU-23 works by getting rounds on target that cause massive damage to whatever they hit. Rather than slinging the 14.5mm round, this dual barreled auto-cannon fires 23mm rounds with a variety of ammo types such as high explosive and armour-piercing. In game, this makes it very effective against groups of infantry and can even damage light armour and APCs. A real danger to most modern forces.
As with the ZPU-4, this was covered in the initial post back in 2017. One point I didn’t mention is that I seem to be missing the AA sight that sits in front of the gunner – luckily with these being for insurgents it’s easy to imagine it was snapped off at some point. Painting up was similar to the other AA guns.
THE END?
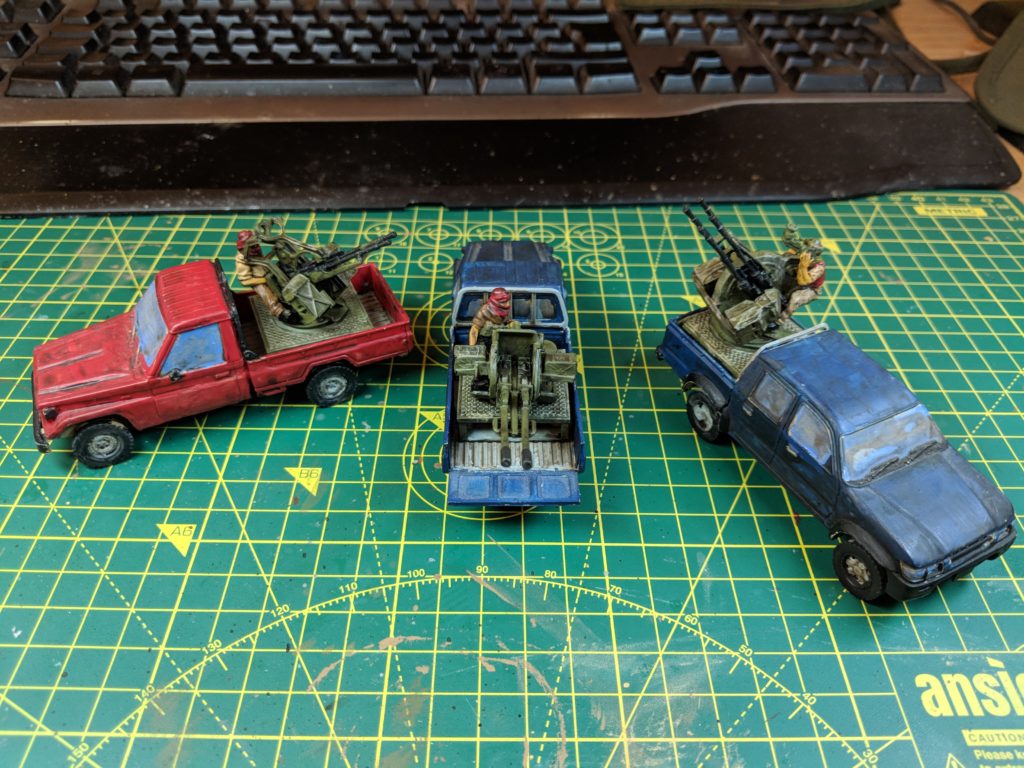
The AA guns are another way to help give the Insurgents a bit more firepower and increase the challenge for the more regular forces. A quad HMG or auto-cannon can really wreck a squad’s day, forcing them to actually use cover and smoke to prevent being caught in the open. It also gives the militia something that can take out vehicles with a bit more reliability than poorly trained troops popping up and firing RPGs. Finally, much like the improvised weapons from last week, these are also something that screams “militia” – they look gloriously ragged on the back of the pickups.
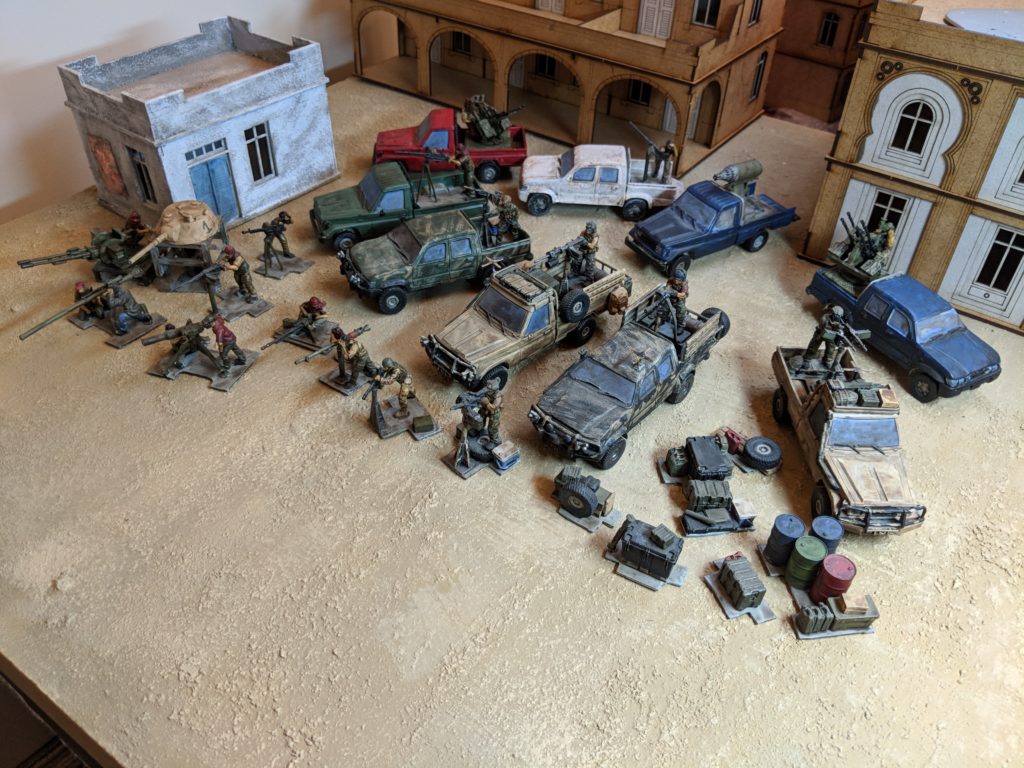
And we these finished, I have now painted up at least one of every weapon system offered by Spectre for their technicals. I’d say at this point, this is the final main Project Technical entry. From working away on these posts, I hope I’ve shown off what you can do with the range, from the conversion to add a PKM gunner for the MENA Regulars up to the heavily laden SF technicals and their massive selection of weapon systems. I’ve now got a nice selection of weapons that I can easily jump into most scenarios and pick out which weapons I want to use depending on the situation at hand. It also means that, I think, I can now fill a board with vehicles.
The real question is what modelling project to work on next. If only there was another range of modular vehicles coming soon to form a project I could really sink my teeth into…


Leave a Reply