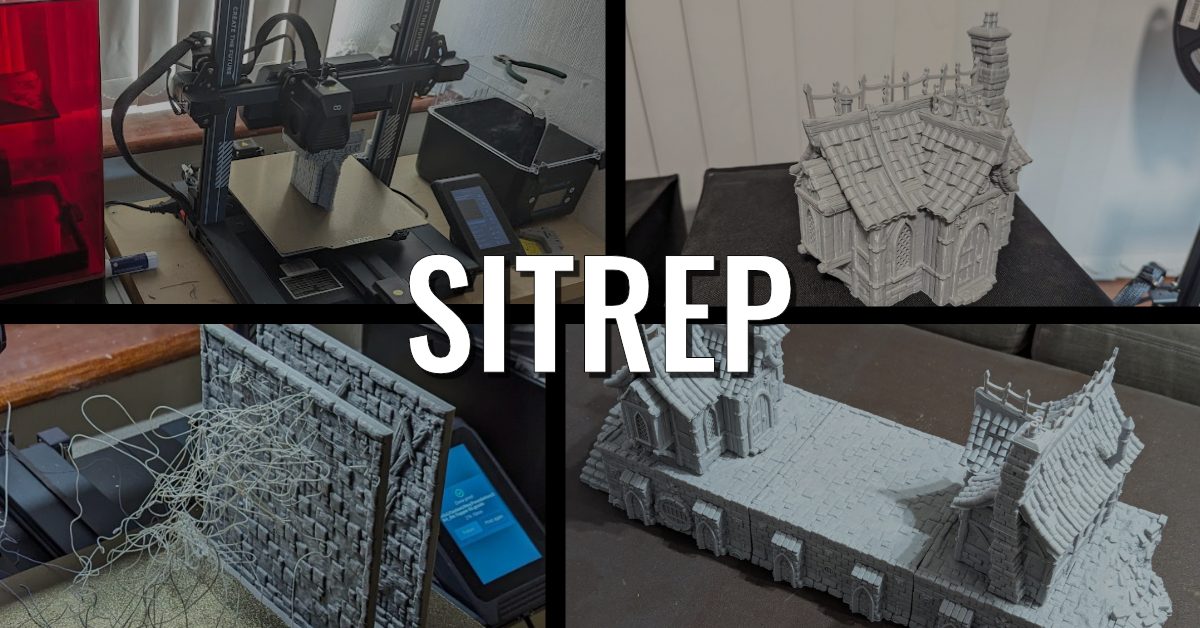
I bought a replacement FDM printer back in September last year after seeing the Neptune 4 on a good deal. The previous printer (an Ender 5 Pro) worked but time has moved on and the Neptune on paper was such a huge step up, that it just made sense.
So it’s strangely odd that this blog has been relatively quiet about it. In fact, it’s never been mentioned on here at all. That was because I managed roughly 3 days of printing on it before I had major issues with first-layer adhesion (kind of vital for a system that slowly builds material up) then I screwed up the levelling thinking it was at fault, got annoyed with it and put it to one side. I’m sure that story sounds familiar to a lot of people. However, in the brief time it fully worked, I did manage to print a house from Last Sword with it which you can see above and it came out pretty okay! But as I say, I didn’t have time to fix it and get it up and running.
However, one does not simply abandon a FDM printer. Even putting the cost of it to one side, it’s also a bulky piece of equipment that takes up a chunk of the room and reminds you of its presence every time you walk past. Luckily, I was able to talk with the Creative Regular Opponent who bought a Neptune 4 as well after showing him the stats on it. He revealed the secrets of using hairspray for the initial layer (as an alternative to the traditional prit-stick) and when I finally tried it worked. But the issues with levelling still existed and I just didn’t get around to fixing it.
We now arrive in January 2024. And on the last day of my long holiday break, I finally decide to sit down and do the work to get the printer back online and really start learning how to print in FDM. I’m coming from the resin printing side so there are a few basic facts I’m having to relearn.
First up, FDM printing is infinitely more interesting to watch than resin, as you get to watch the layers slowly build up and up. I’ve grabbed a time-lapse above, slightly ruined by how fast the print head moves, but you get to see the layers go up and up. Maybe it’s time for a side live stream just showing it all printing to lo-fi music?
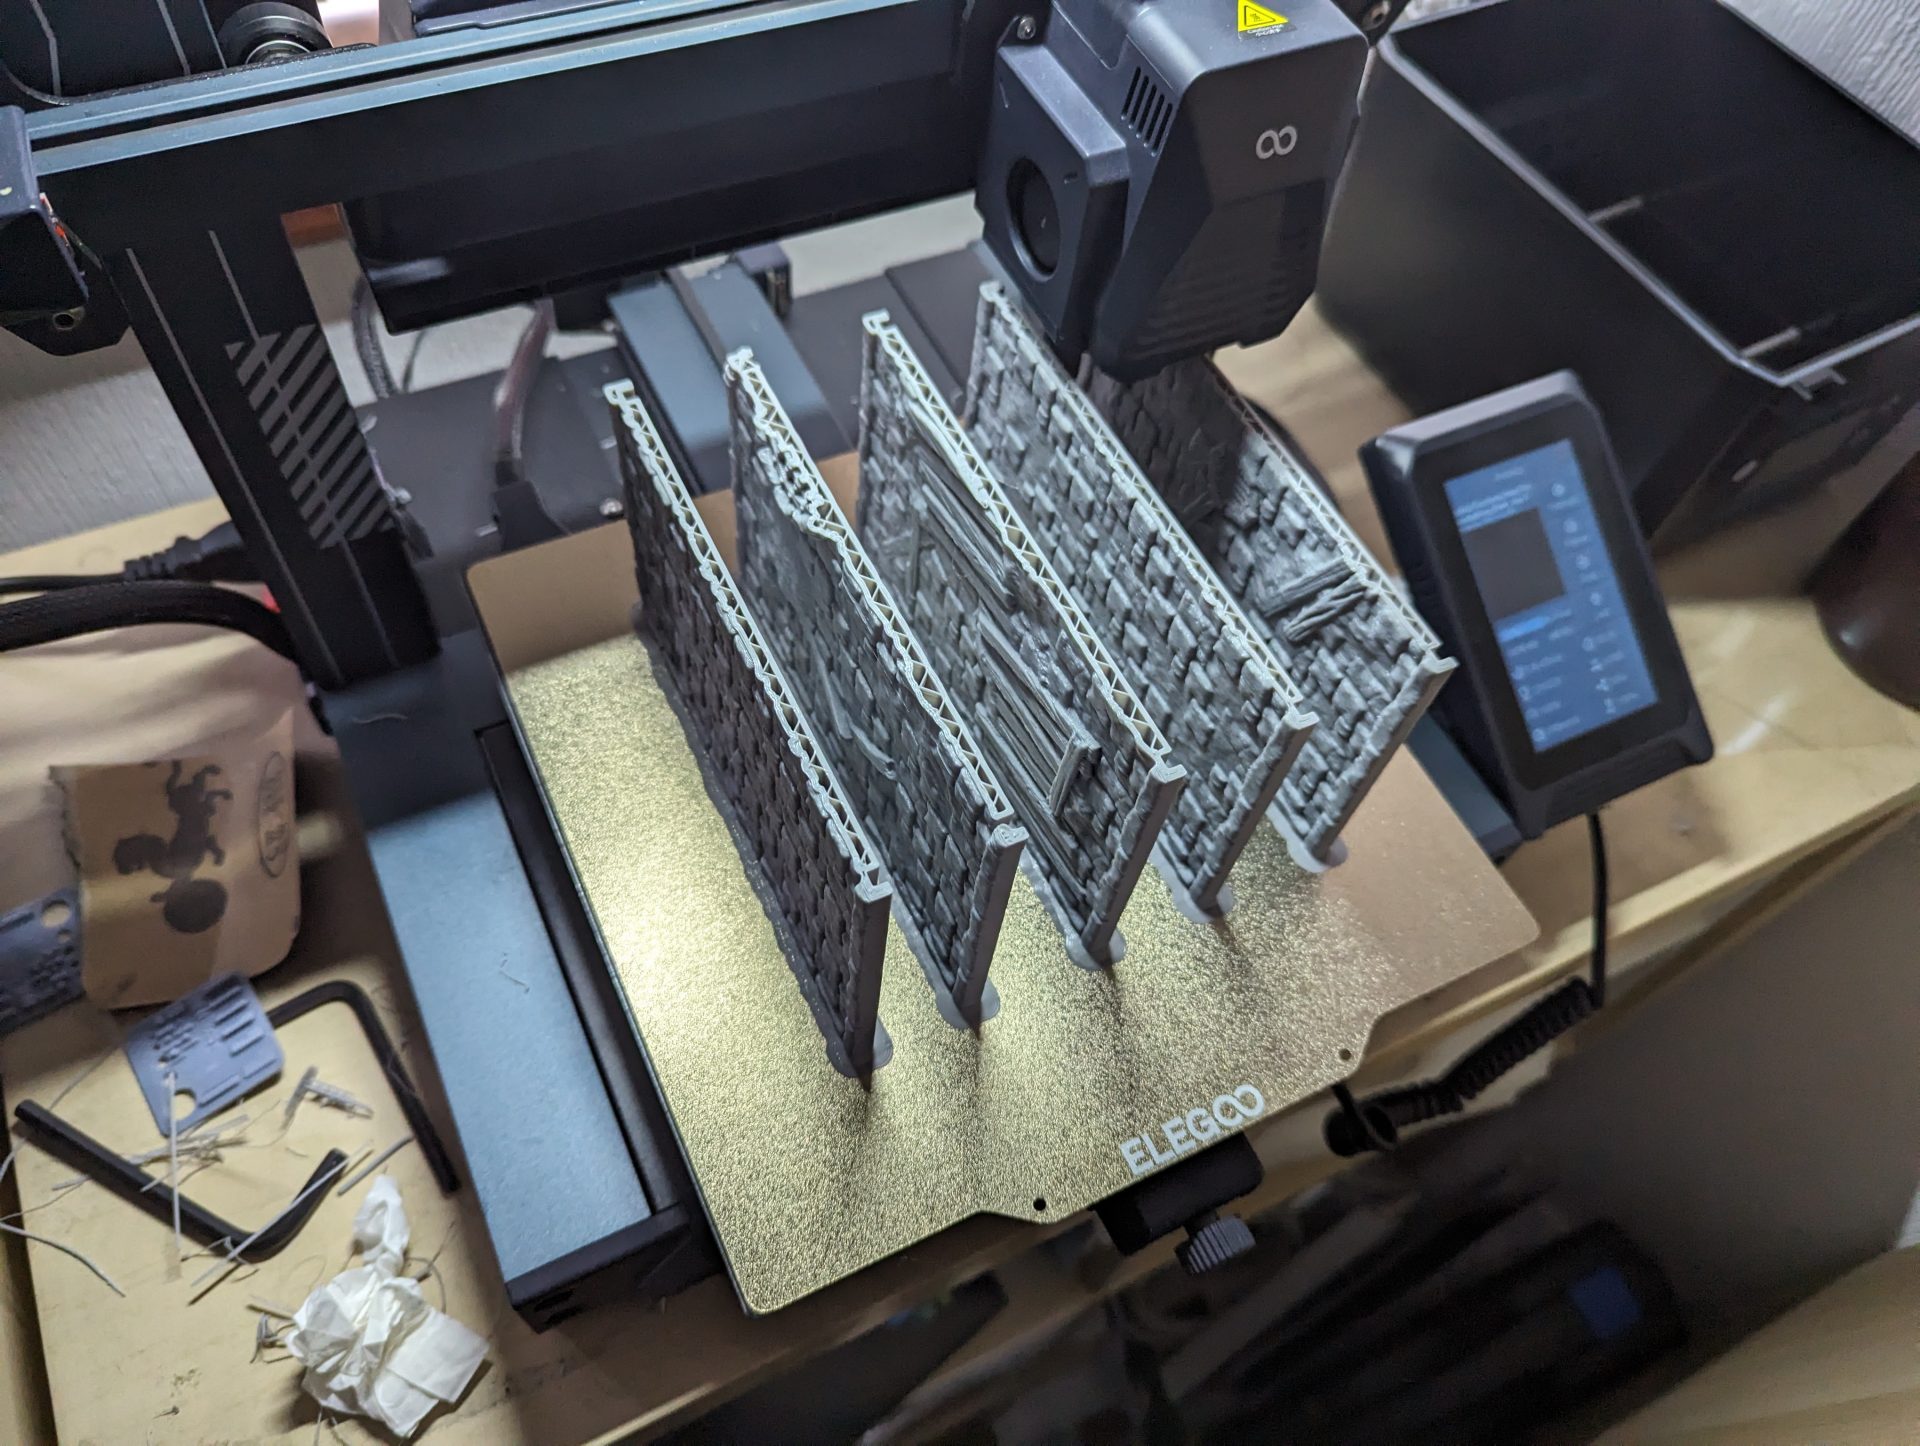
The second is about part positioning and build plate construction. With resin, the key thing about how long a print takes is the number of layers – therefore, it doesn’t matter if you’re printing one 28mm figure or twenty on a build plate, it’s going to take the same time. In filament, because you also have to deal with the print head physically moving to each object on the print bed, so packing stuff onto a bed massively increases the length of time a print takes.
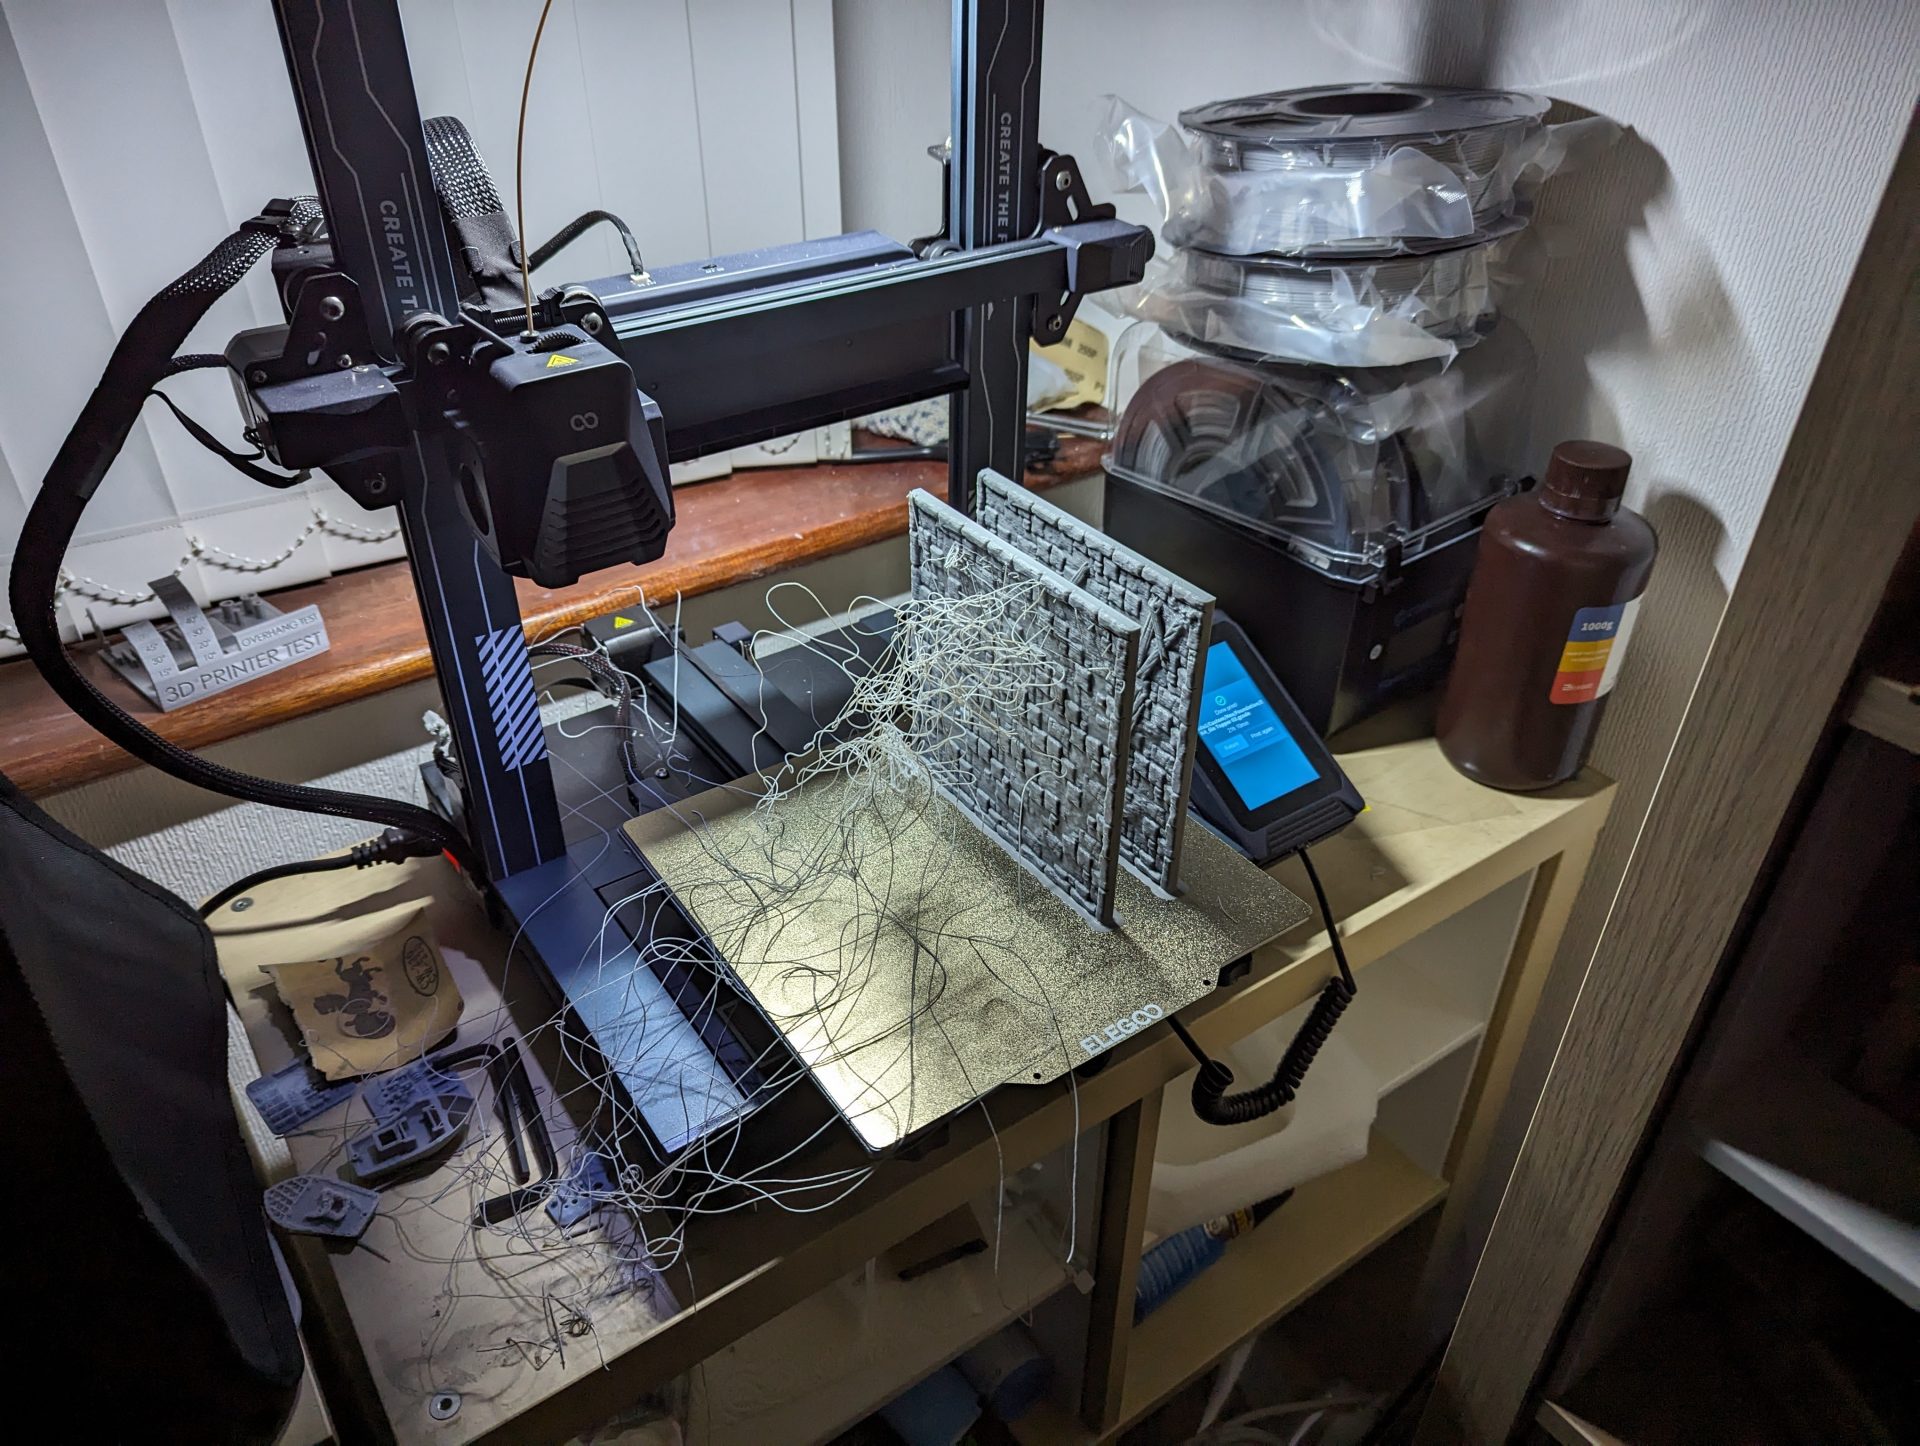
There is also another problem as you can see above. Increasing parts on the print bed increases the amount of waste if something fails, as the next layer of molten plastic fails to adhere to the last and suddenly you have the plastic spaghetti spiralling over the surface. Worse, this can then start to adhere to successful parts, causing damage and requiring more cleanup. If this had only been a single piece, I’d have only lost a single part’s worth of material.
The other thing to remember with filament is which surfaces will have the best details. The top and bottom of any print are going to end up being pretty rough – the bottom needs to be flat for adhesion, while the top is going to need a lot of post-processing to smooth it down. The sides however can have a pretty great level of detail to them, hence why sometimes printing vertically is better although more risky.
I’ve also found filament to be less predictable than resin, with the same file being run several times in a row with slightly different faults each time. I would guess this is down to just the sheer level of additional variables – FDM is much more mechanical, with the print bed itself being moved back and forth alongside the print head. I still need to work out if I can minimise this unpredictability by tweaking settings or parts, but it’s something to be aware of.
That’s the overall out of the way, let’s talk about what I’ve been printing. As I mentioned in the last SITREP, Mordheim is one of those games that has been living in my brain rent-free for years. However, it would be very expensive to go and buy all the terrain in MDF or cast resin and not really practical to print in resin. However, printing in filament makes a lot of sense both with cost and in terms of the range of projects out there.
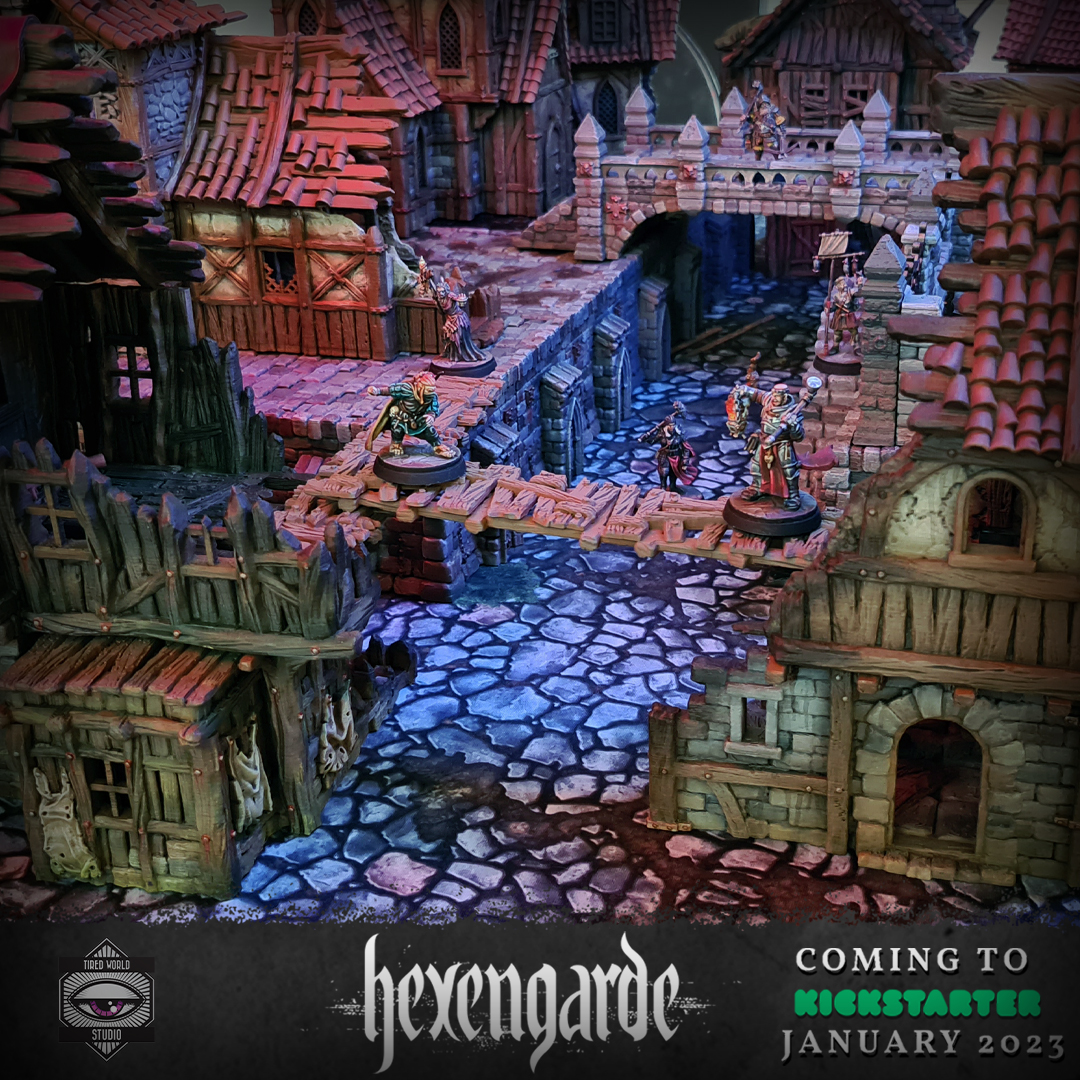
I backed the Tired World’s Hexengarde Kickstarter when it launched last year with the intention being that, once I got my act together, I’d print enough parts for my own trips into a fantasy city. However, it’s quite intimidating to look at, learning how best to print and then deciding which of the kits to work from and sorting out all the pieces each kit needs. And that’s even before you have to start making the Ruined vs Intact conversation, or where you are going to store the damn things.
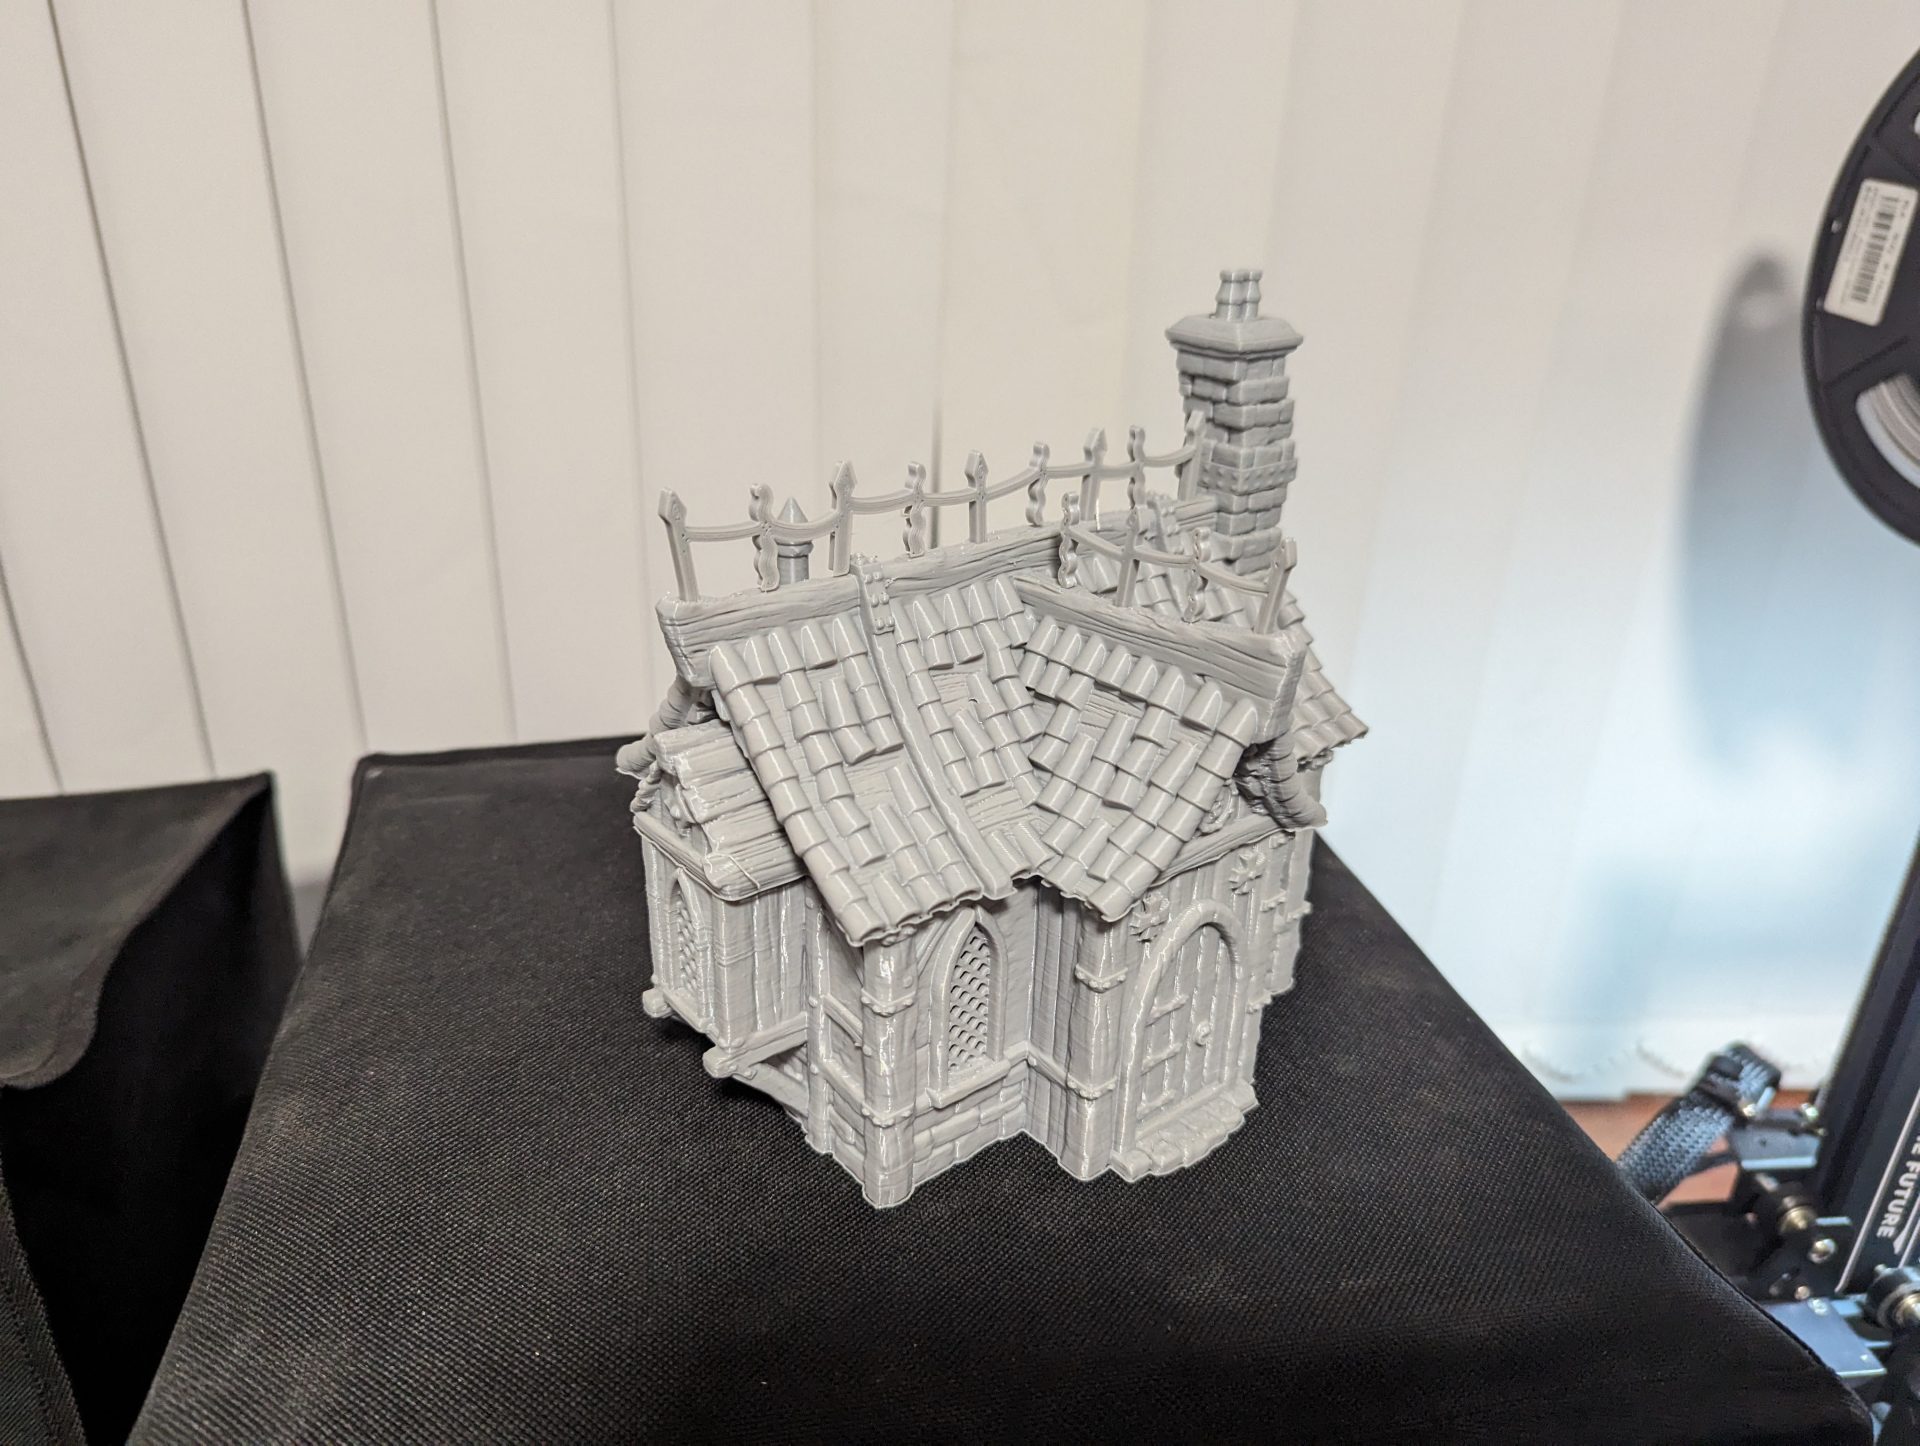
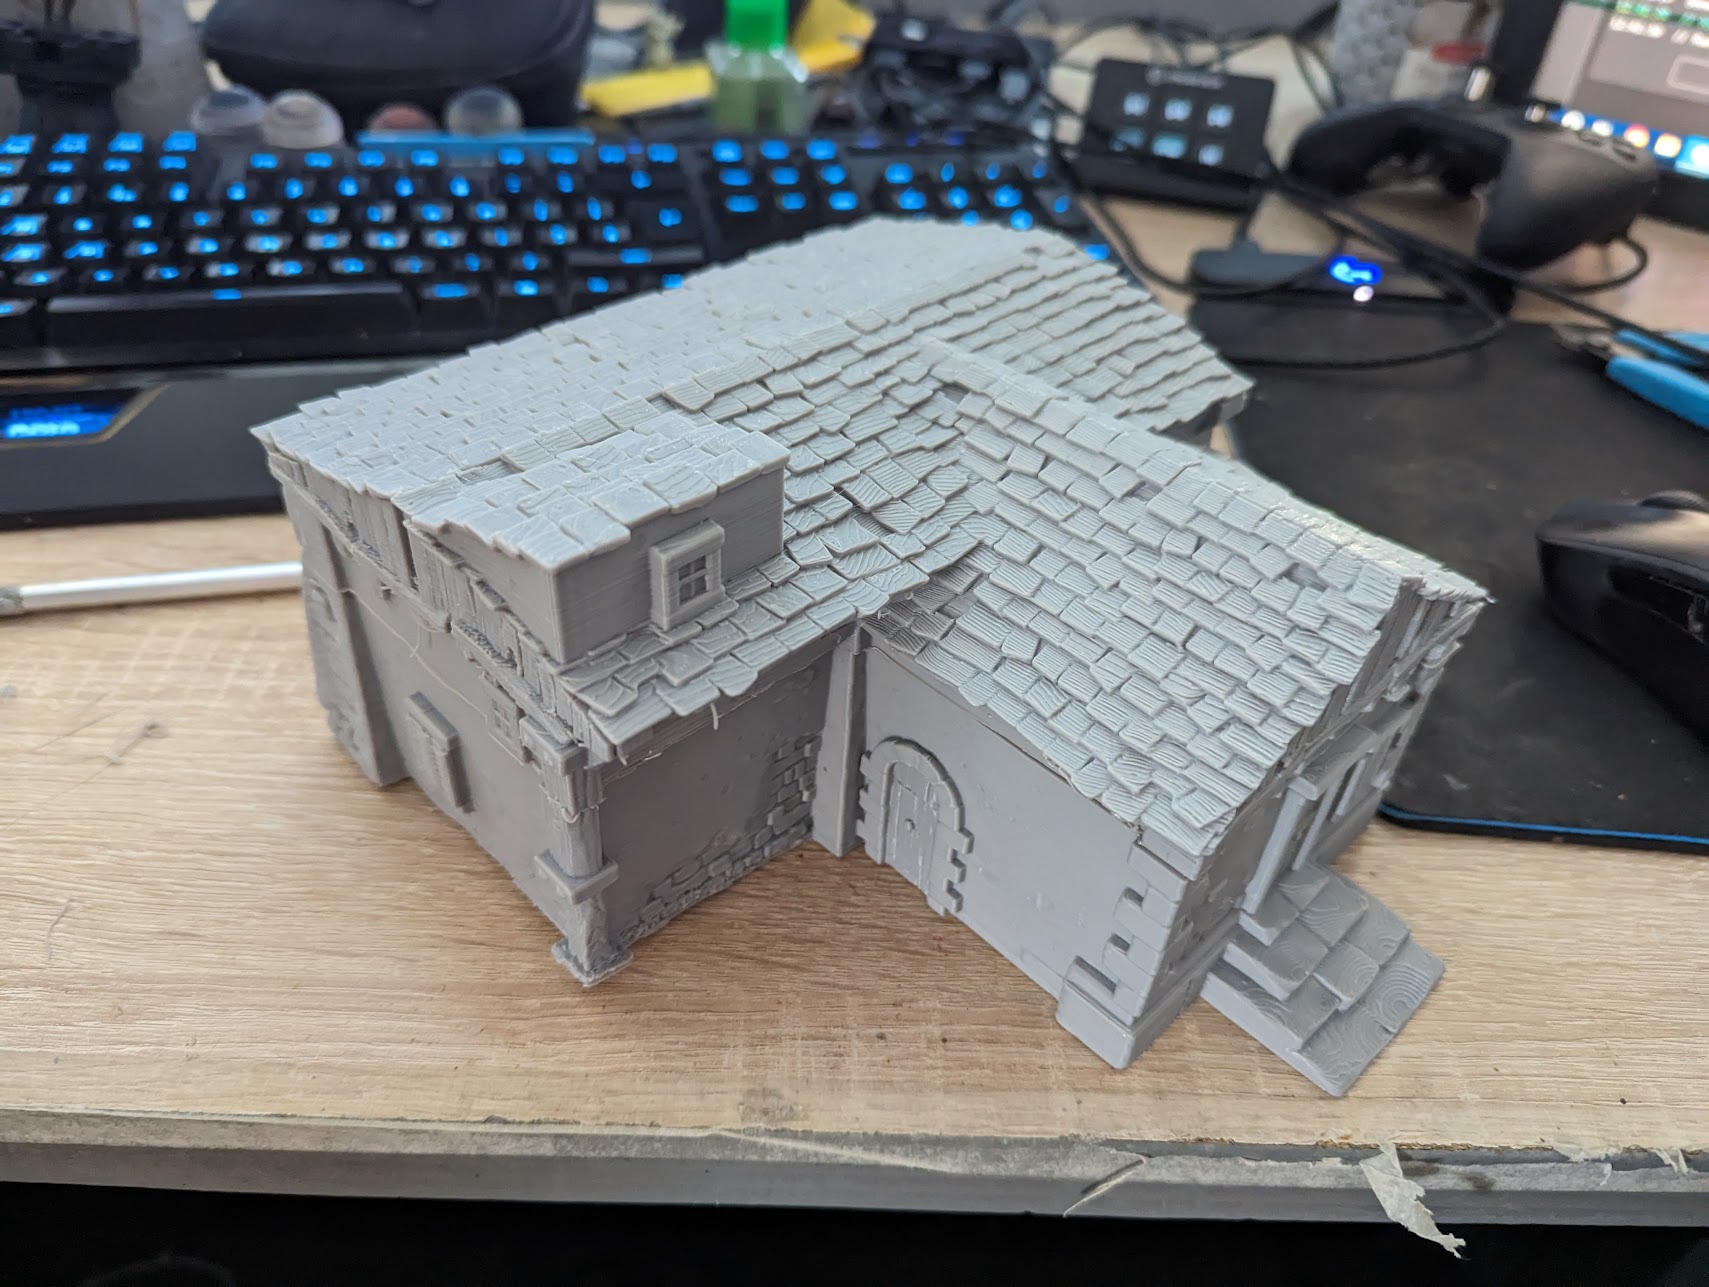
My first (and second) print was the small Latchkey building, mostly as a test as to what the printer could do. I laid everything out onto a single build plate (ground floor, roof and two sets of railings and went to print. There was a little bit of curling on the first print which just meant I needed more hairspray the next time around but both prints came out well enough to put on the table. I think they are both designed really smartly for FDM printing, with big details that show up well when printed without looking overly cartoony. I still need to do some tidying up but these houses were a first step. I had to go bigger.
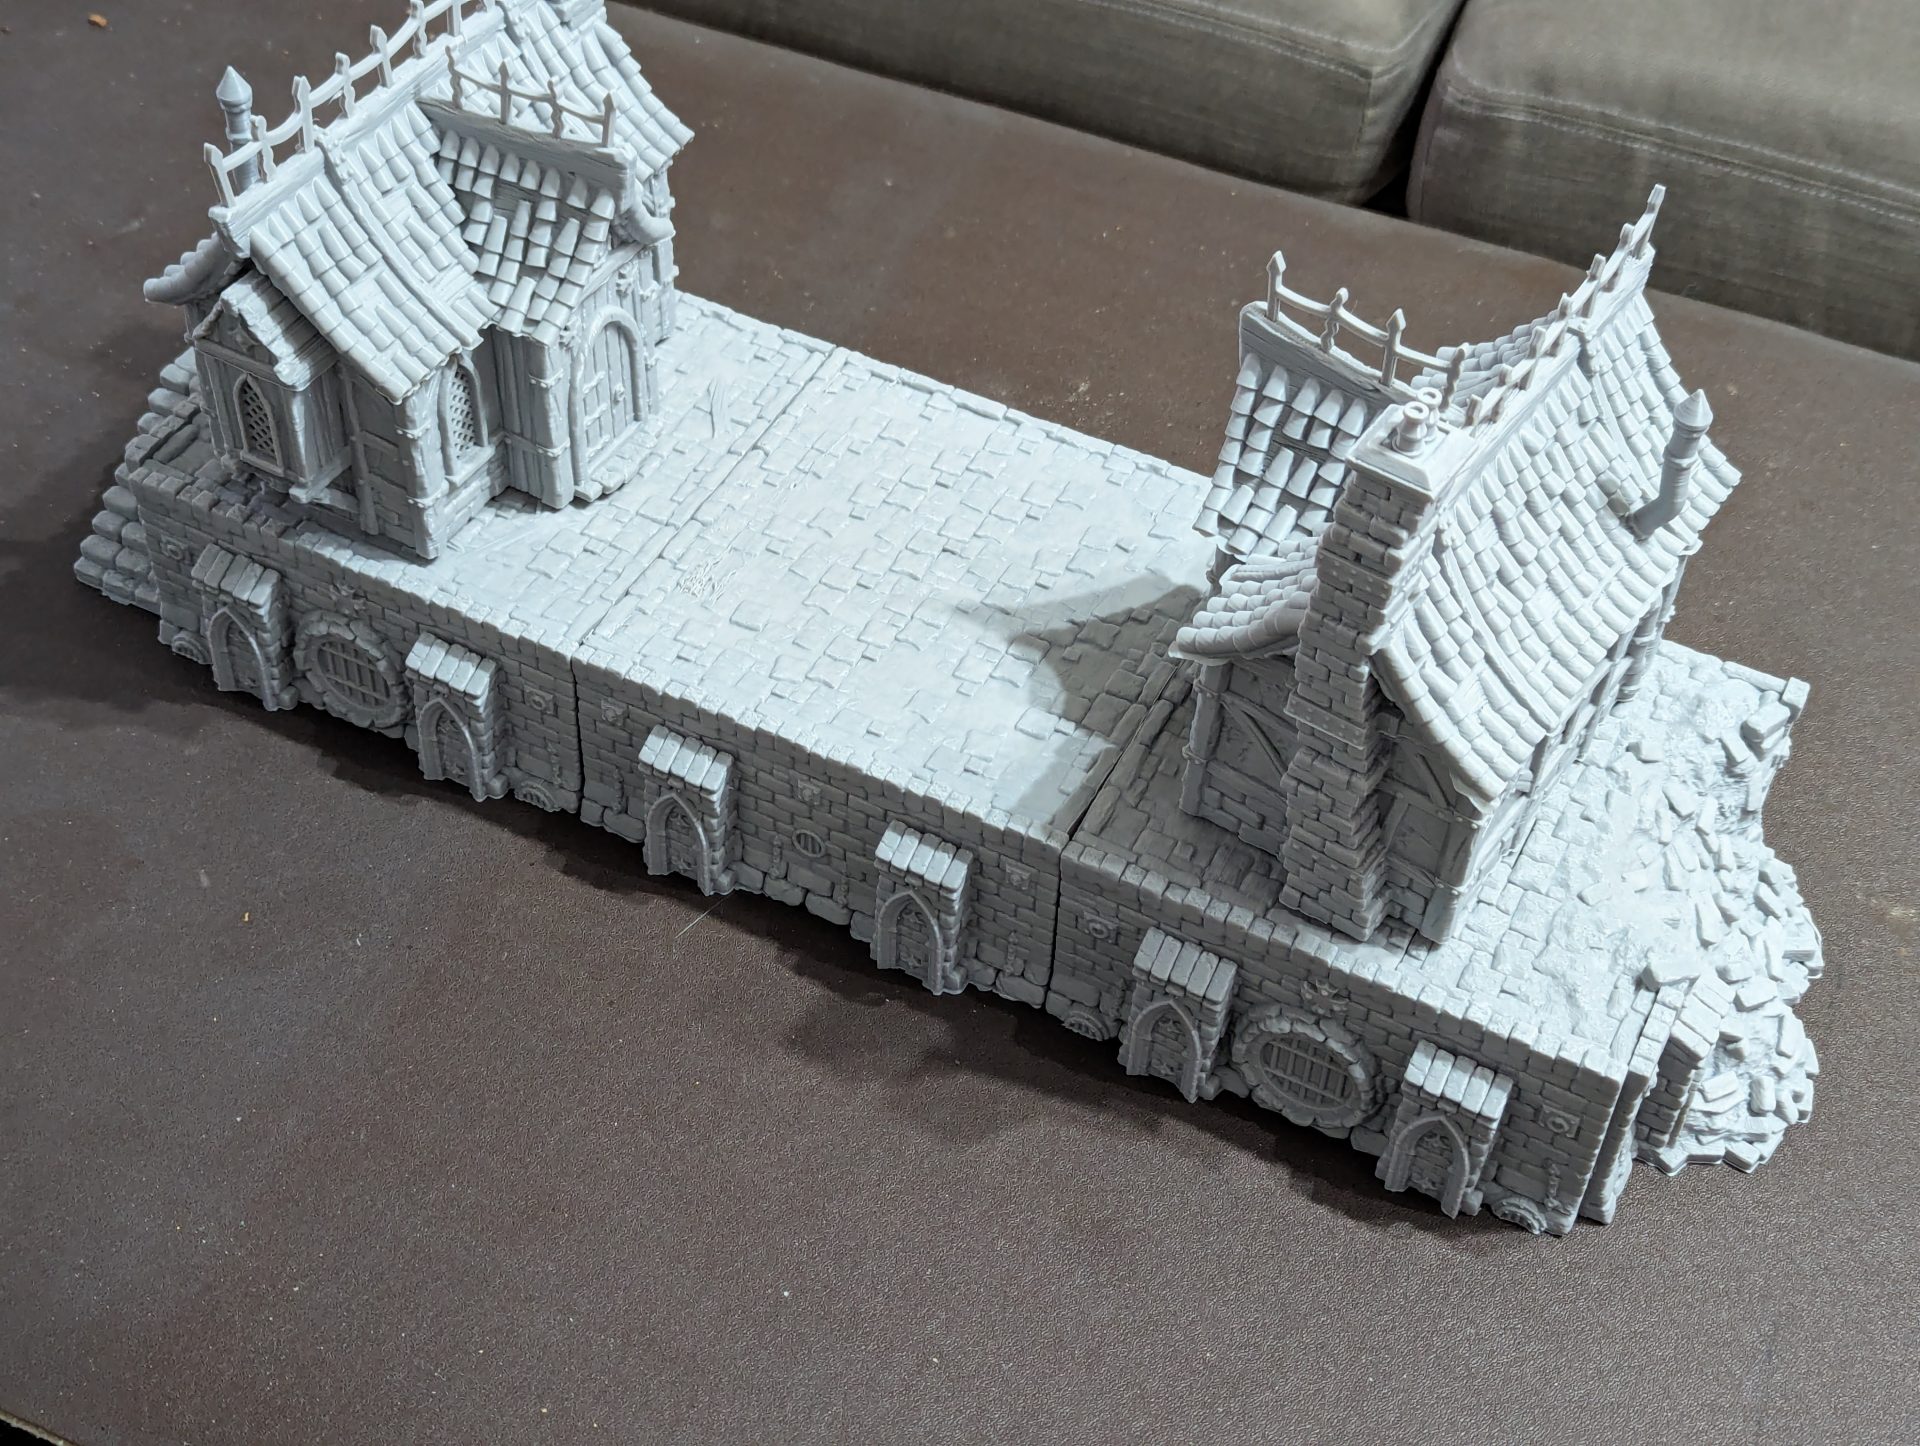
Once I knew it was working, it was time to think about what I needed next. Buildings would require some more planning but something that caught my eye was the Foundations set. These pieces lift your battlefield up and off the mat, instantly giving you some height difference in an urban environment without needing a towering set of buildings. In addition, to me it just ties into that look and feel, the minor variations in height that are perfect for sneaking around guards or leaping from tall places. As a good next step for the FDM experiment, they seemed perfect.
The foundation set is based around the core of a 6″X6″ riser piece. Onto this you can clip one of five topper pieces (or two in my case based on what survives your printing attempts) before getting to work on the surrounding elements. Each side has two OpenLock clips, a friction-based connector that means you can connect wall pieces, stairs, ramps and other risers to form continuous sections. After connecting a few of these together, this system seems rather good – the connectors hold together very well without falling apart but if you need to pack the board away at the end of the night, a little bit of force will separate them. In addition, the clips themselves should be easy to replace if they get worn out, although I doubt I’ll be swapping back and forth THAT much.
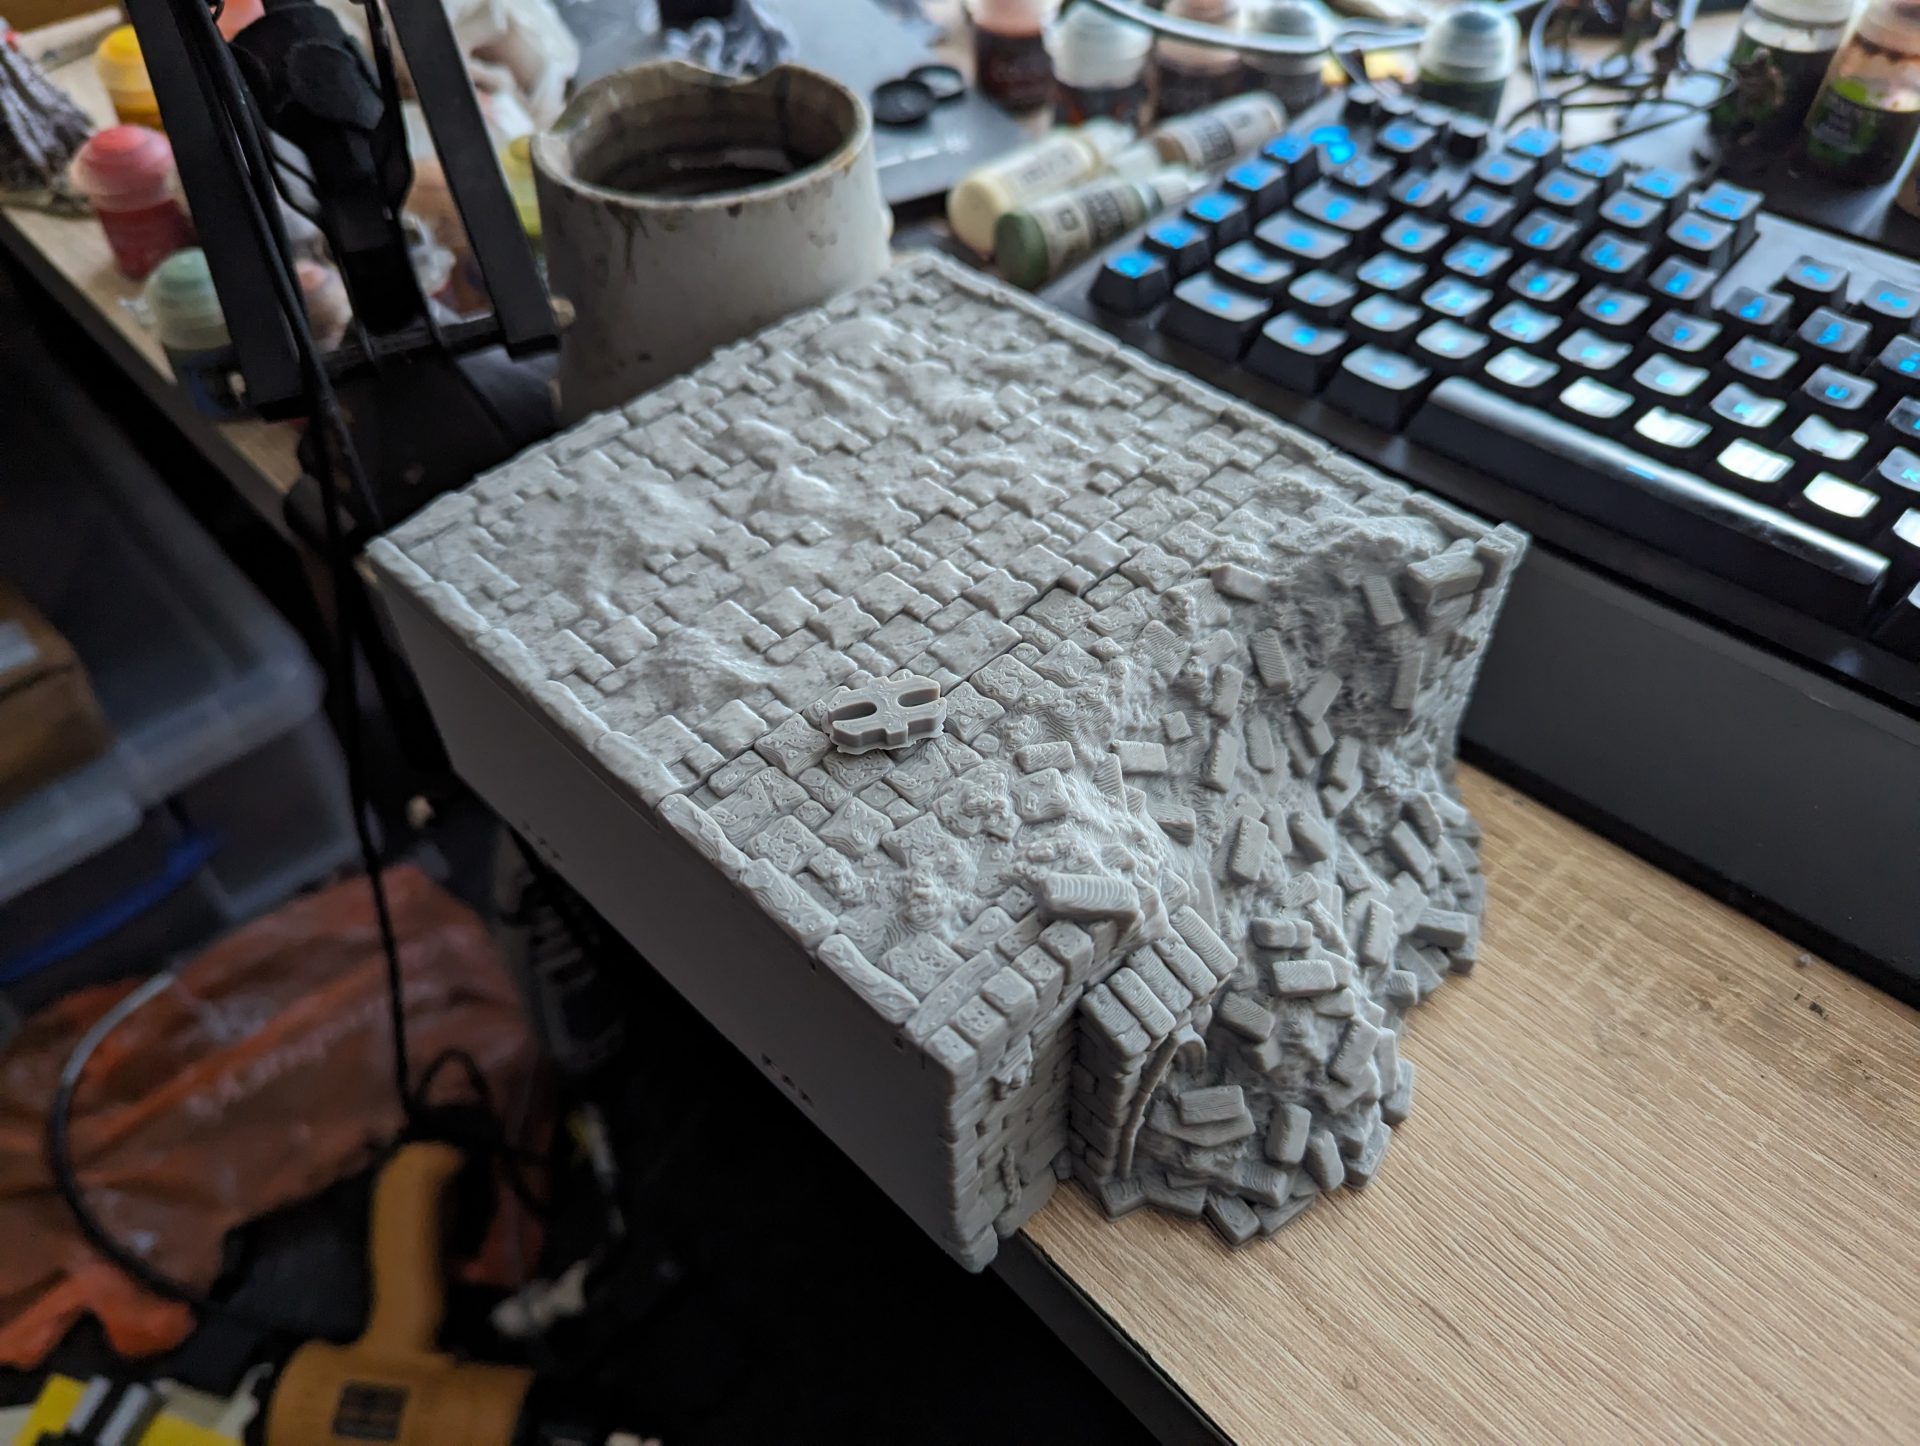
In addition to the core foundations, there is also an expansion set with more interesting variants, such as this ruined section, some corner pieces, stairs and even a few additional wall sections to add some variety (the repair sections would be ideal for the rougher parts of town). The Corner pieces especially I think will add some more variety to the scene, making the city look more planned rather than crammed together.
Of course, once the foundations are down, the next step will be adding some buildings. I really want to do the tavern that was a stretch goal on the original Kickstarter (what fantasy game is complete without a tavern) but seeing as it’s not released yet I’m going to start off with some of the other buildings in the pack. One thing I need to learn about is the consistency and cleanup side of FDM printing – all the prints you’ve seen so far have had minimal cleanup and were mostly slotting together. Once we get to the stage of needing to actually glue and fix things, then minor imperfections will become an issue.
Overall, I think FDM is another great tool in the arsenal of a wargaming hobbiest. It’s a great way to build relatively well-detailed terrain at a reasonable price, by pulling from the creative space online to give you a wide selection of pieces without having to wait for the postman to deliver it (and all the other issues that can bring). Much as resin printing allows for the easy distribution of highly detailed figures, FDM does the same for those pieces where size is more of a concern.

I do have a couple of personal concerns I need to deal with. The first comes down to waste – every print includes a brim and every fault spews molten plastic into long strings. This material I am using is listed as 100% recyclable, but it seems that the places to take it aren’t readily available. I’m going to take care to collect it all together and try and find the correct way to handle it. The other concern comes down to actually painting and playing with all these things I’ve printed. As you have seen with my MDF collection, it’s very easy to collect everything and then not actually get it to the tabletop. It’s even easier to do that when you’re not even ordering each one and having to build it, instead just pressing a button and watching machine go Brrrr.
Speaking of MDF though, I think I’m actually tempted to see if there is some potential to shift from mostly MDF terrain to FDM structures. MDF requires lots of work to get them to a realistic state, but things such as texturing can be done by the model’s sculptor, leaving you only with something requiring a few minor touches. I have piles of MDF, but if I can simply print the structures in parts and then assemble them together, then I might need to be taking the MDF away to some tabletop sales.
Expect to see a lot more about FDM over the next few months as I give the machine a workout. For now though, I should probably go investigate how much space the Watch Tower will take up in the garage…


Leave a Reply