As I mentioned in a previous post, I may have printed a load of FDM buildings out but I am yet to actually start painting them. In part, this comes down to the unfamiliarity with a new material (how well will it take spray paint etc) but the other side is just needing to get in the experience.
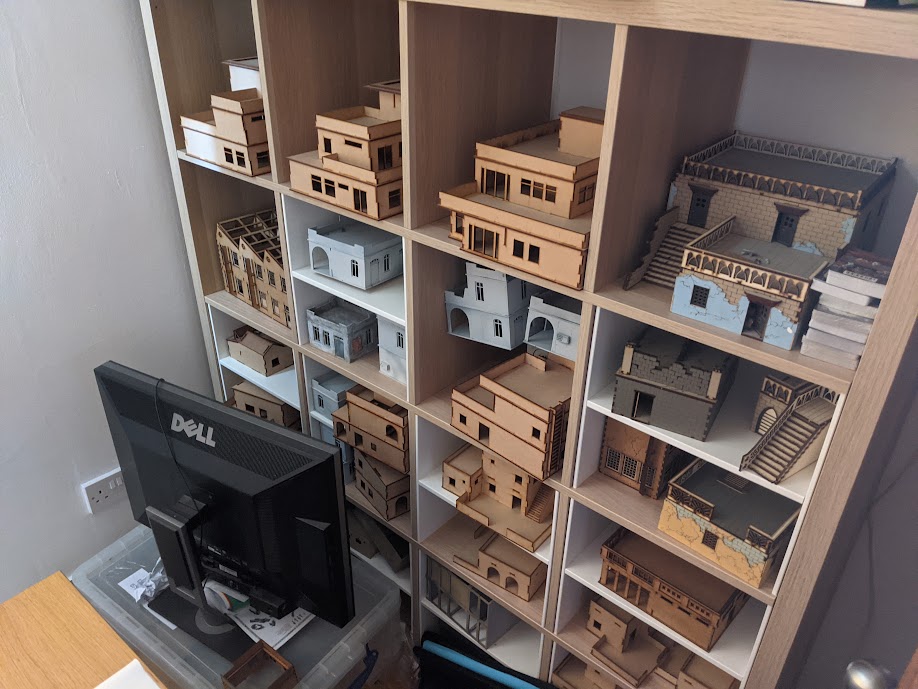
However, something else I’ve been considering is why my terrain collection is made out of. Currently all of my structures are MDF, ranging from Sarissa Precision (a lot of Sarissa Precision) to Knights of Dice to random eBay purchases. It is, with a few exceptions, assembled but almost entirely unpainted. I really enjoy the collecting and assembling part of MDF buildings but absolutely do not enjoy the work needed to make them look less like “buildings assembled from pieces of wood” and more fitting for the tabletop (something that became readily apparent when doing the project I started last year). However, with a FDM printer in a state that I would class as mostly usable, I started to ponder if it might be worth doing a swap, removing the unfinished MDF in favour of 3D printed alternatives as and when they are needed.
The more urgent need for new terrain however comes from another angle. I’m currently doing a project set in the fictional Republic of Shyluz, a nation with more of a Russian/Eastern European influence mixed with the central Asian countries that used to be part of the Soviet Union – my idea is that they build their houses out of wood, with what little stone/brick available being used for larger walls around more well-established settlements (a hold over from the time you were defending your extended family and more importantly your cattle from bandits, raiders and your rivals). To begin with, I was going to get my hands on some core wooden structures. I don’t have much of this style of structure (I blame playing 10 years in the Sandbox) so it was time to find some buildings to play around with that are more suitable for this setting.
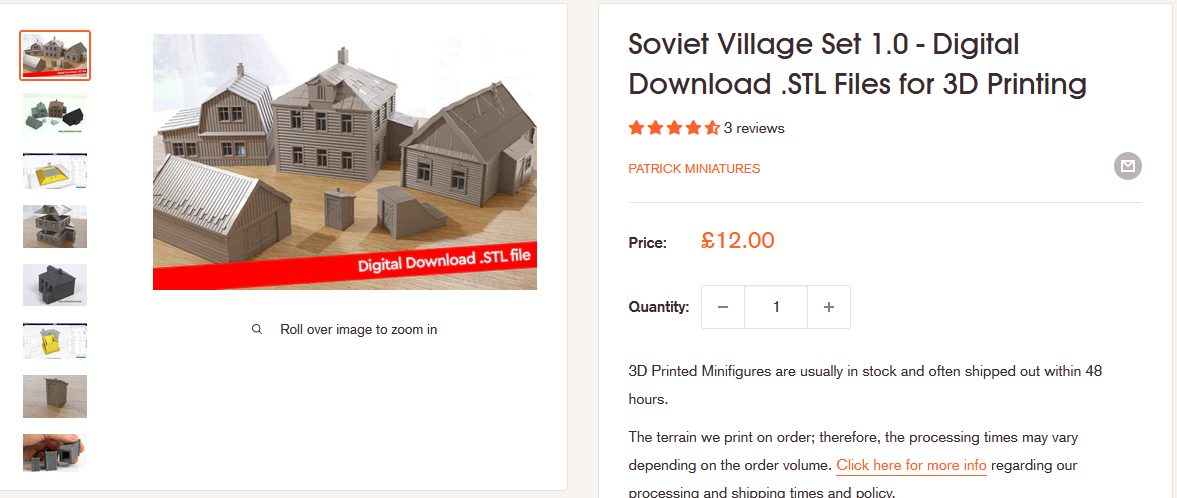
I found myself on the Patrick Miniatures website after a quick Google search. I’ve in the past ignored Patrick Miniatures as I have my own printer and don’t need the print-on-demand service they provide. What I hadn’t seen however was the range of STLs they sell for terrain. The Soviet Village pack was exactly what I was thinking of, a small barn and the farmhouse ideal (with the toilet and root cellar as scene-setting pieces). I also thought the price was pretty good for the whole set, at an average of £2 per item.
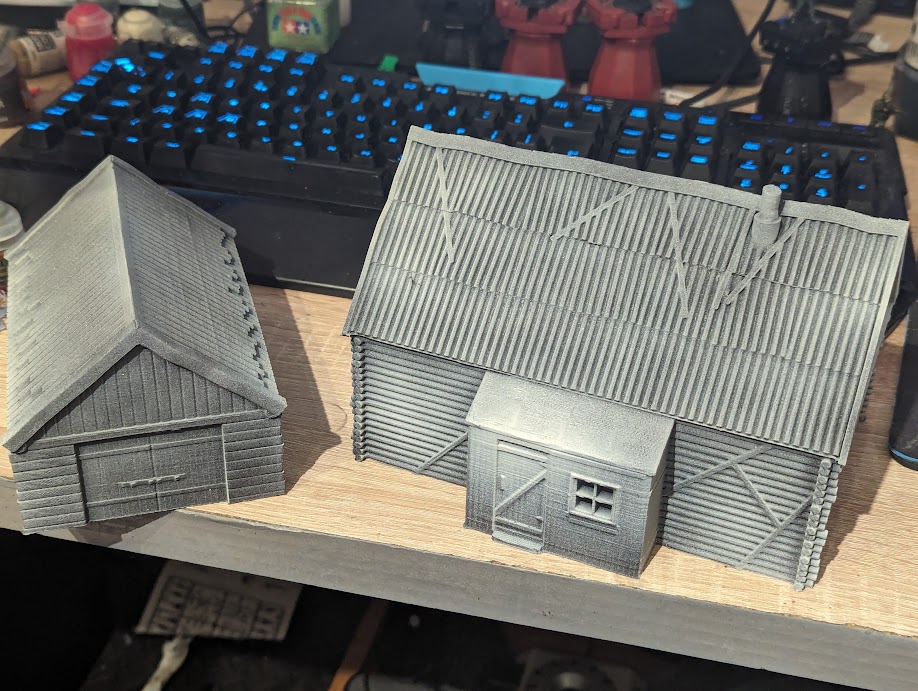
After buying and downloading the pack, I got to printing. I’m using a 0.4mm nozzle with 0.2mm layer height and 15% infil. The pieces of each building worked out to roughly 5-7 hours according to the slicer (so take that estimate with a pinch of salt). I didn’t have to use any supports to get the products you see below, always handy to avoid surface damage and excessive material use.
Of course, it was only after printing the first tiny barn that I remembered the buildings are scaled for 1/56. Although this is TECHNICALLY 28mm, the scale creep in the industry (as well as my own preference for slightly larger than usual figures) means that a 1/56 building looks tiny next to a figure on a base or any form of transportation. So, putting the tiny building to one side to throw at my Corporate Regular Opponent, I re-scaled everything up to 112% and printed out the rest.
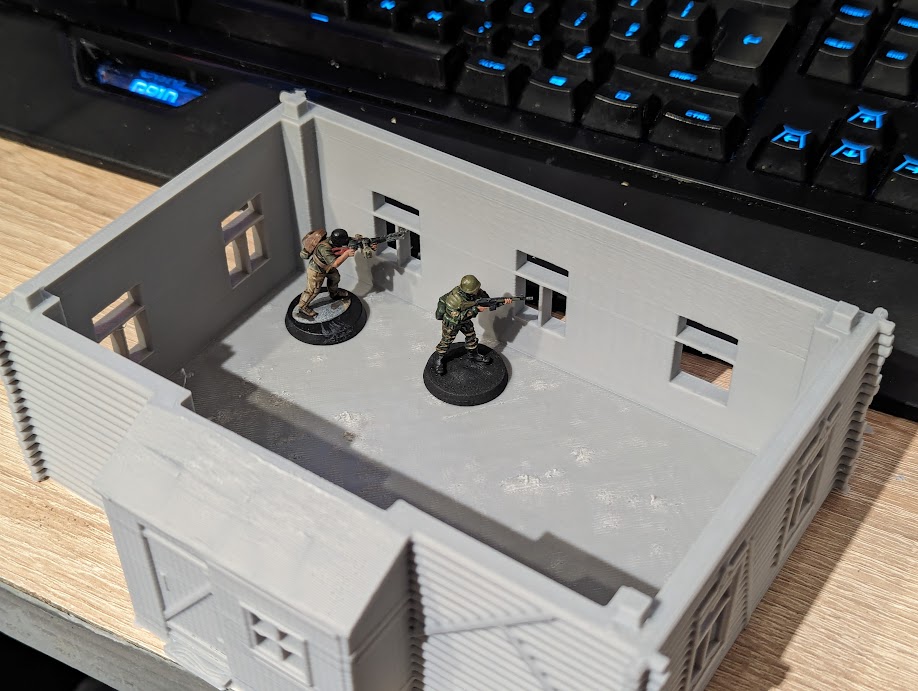
The final results were pretty good. My printer isn’t 100% perfect so I have some quality deficiencies that I’ll need to work on (such as layer shift and whatever is going on with the floor on the piece above) but overall I’m happy with what came out of the printer. the buildings are simple shells (so no interiors), pre-detailed but not absolutely covered in little knickknacks. I did manage to snap one of the window pieces while tidying up some greebles that came from the overhang but it wasn’t a big enough break to be concerning.
After a quick trip to the outdoor workshop to do a black spray all over and a dusting of white, it was time to get painting. If you look very closely you can just about see layer lines after the initial spray, more so in person versus from a photo. The bigger issue is that I failed to remove all the skirt that I used for additional adhesion so the roof has a very definite straight edge at the bottom.
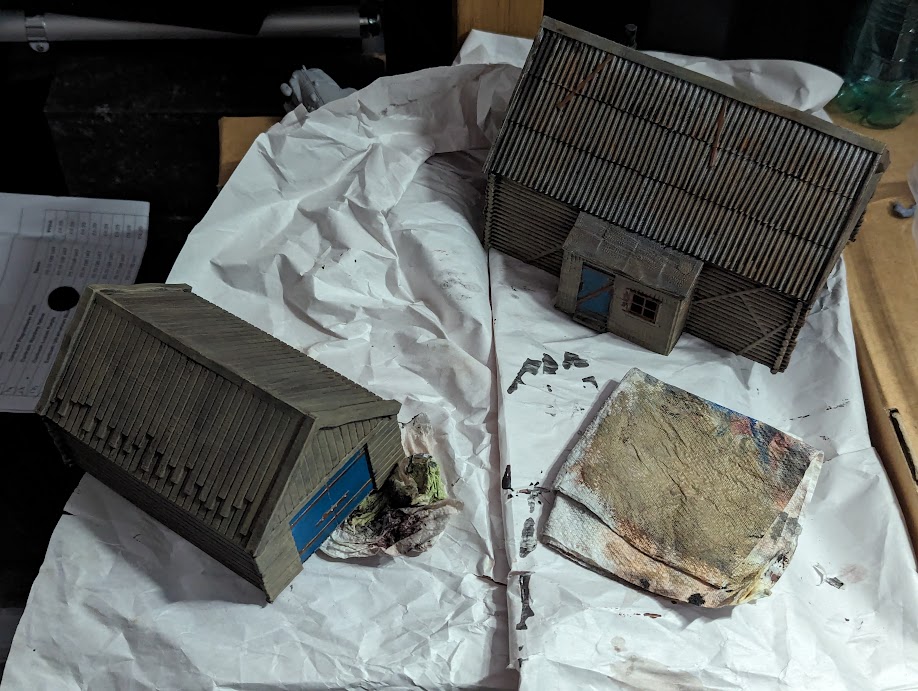
For the wood, I started with GW Wyldwood contrast before working up with heavy drybrushes of GW Rhinox Hide (although next time I’d probably use Dryad Bark) and GW Mournfang Brown, the same brown I used to pick out wood slats such as the bands on the doors or the extra planks. On the roof of the main house I went for metal sheets over a wooden frame, so the metal was GW Leadbelcher followed by a splash of Nuln Oil. I then went HARD with GW’s Typhus Corrosion for that weathered look, before a drybrush of Ryza Rust. For a pop of colour, GW Thousand Sons Blue over the wooden colours came out with a good final effect.
I’m not 100% on the final paint job, so I might touch up a few very light drybrushes just to pick out the edges. I may also add a splash of washes over the wood to change up the visuals, making them look a little less neat.
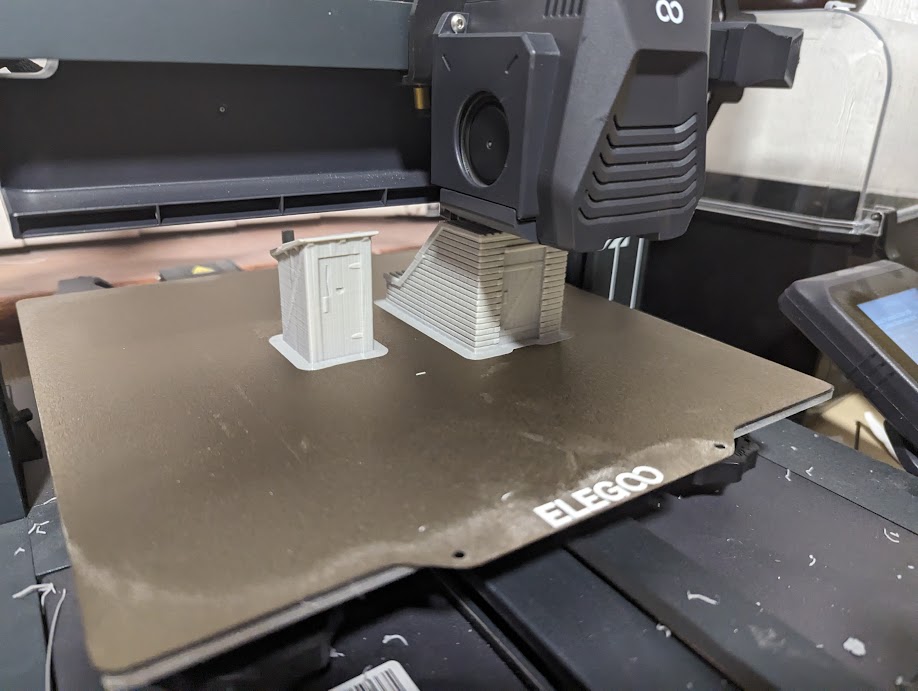
I also printed out the outdoor toilet and the root cellar entrance, both little touches that help to turn it from “two houses in the woods” to “a small farming settlement”. Nothing else really to report about these other than them being something really nice to be able to slap on the print bed and get your hands on. I’d never do an order for touches like these, but a 3D printer means that stuff becomes easy to just print off on a whim. I did however forget to get these painted before game day, but did manage to spray coat so at least it wasn’t pure black.
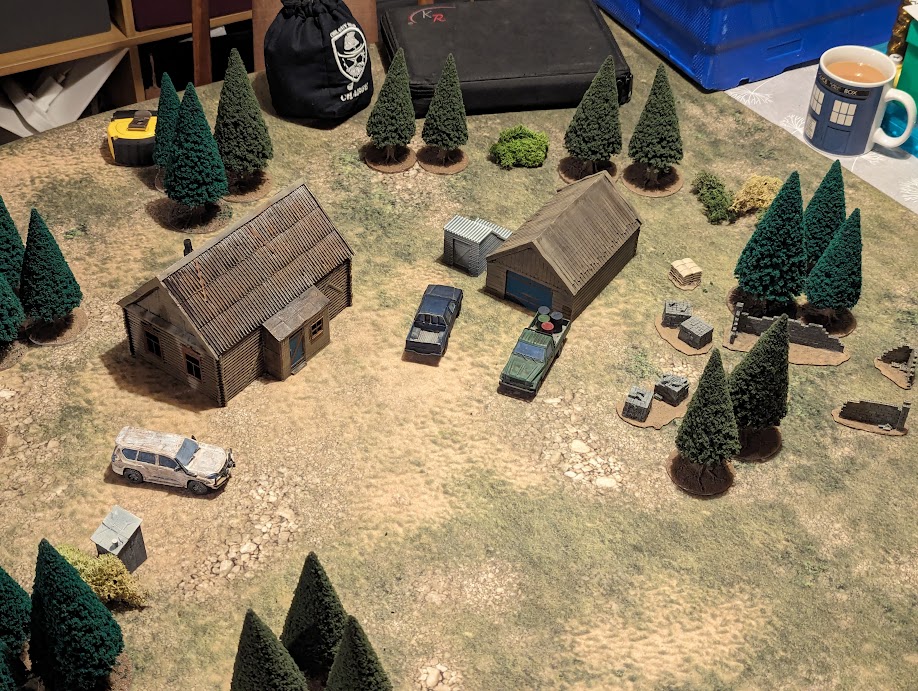
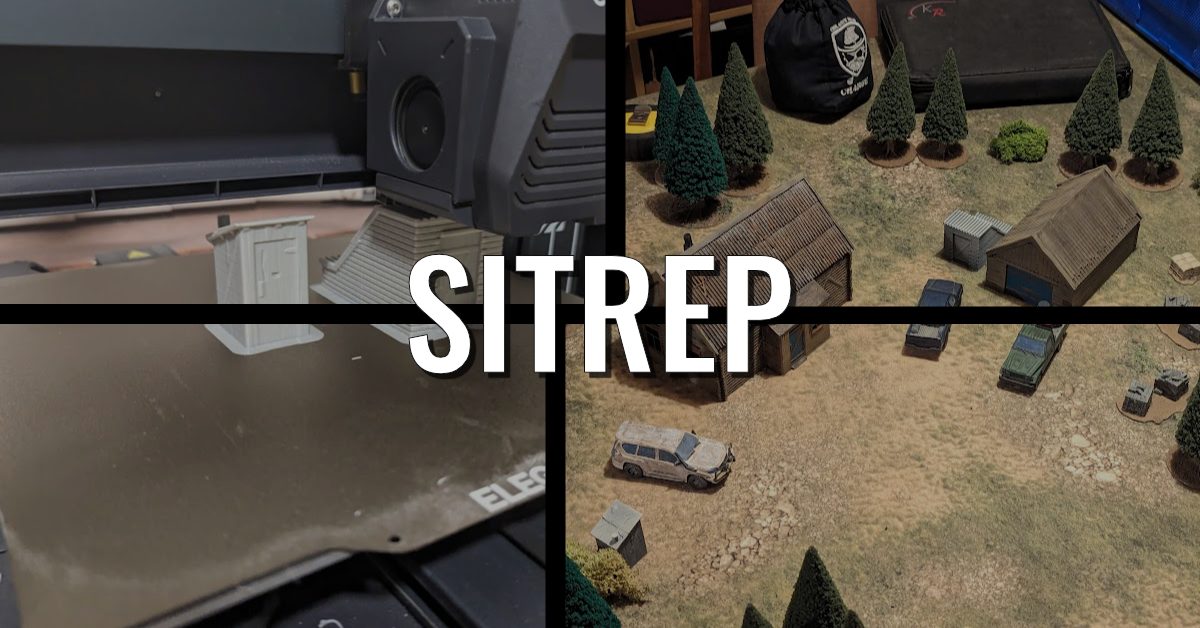
Come Saturday evening and the buildings were on the table, all ready for the operators of Commando Global Solutions to do a recce mission and nothing worse (totally didn’t escalate). I was really happy once I got to the Dastardly Regular Opponet’s house and set the table up to see the houses in place – the rusted metal roof and dark drab wood felt very suited for an isolated settlement in the middle of nowhere. They pass the 3ft rule and it was really cool to be able to get them tabletop-ready in less than a week’s worth of hobby time from the initial idea to game day. The next step would be to add the smaller details – fences/enclosures and other small details to get in the way.
Do I think this is the end for MDF buildings now that you can just print them in FDM with all the details? No, definitely not. I still think MDF buildings provide you with a cheap and easy way to get stuff ready for the board while still providing plenty of options to improve on if you want to, even if they look better with a bit of extra work.
That said, for me personally, I think I’m going to start to look towards reducing my MDF collection and moving to 3D-printed buildings as when needed. There are still gaps in the market between MDF ranges and STL sources but it is closing all the time. The next step for me (alongside listing everything for sale) is to begin looking at what else I’ll need for Shyluz – a few more of the houses from the Soviet Village set are first on the printer (with some of them mirrored for some minor variation), alongside some more modern buildings for more recent constructions.


Leave a Reply