February 6th 2022 – as the hordes descend on York Racecourse for Vapanartak, for many the first wargames show of the year, a few streets over in the local scout hut, a different horde was appearing. From North, South and even the wrong side of the Pennines, a group of friends assembled…
Surprise, it’s time for more Big Chain of Command!
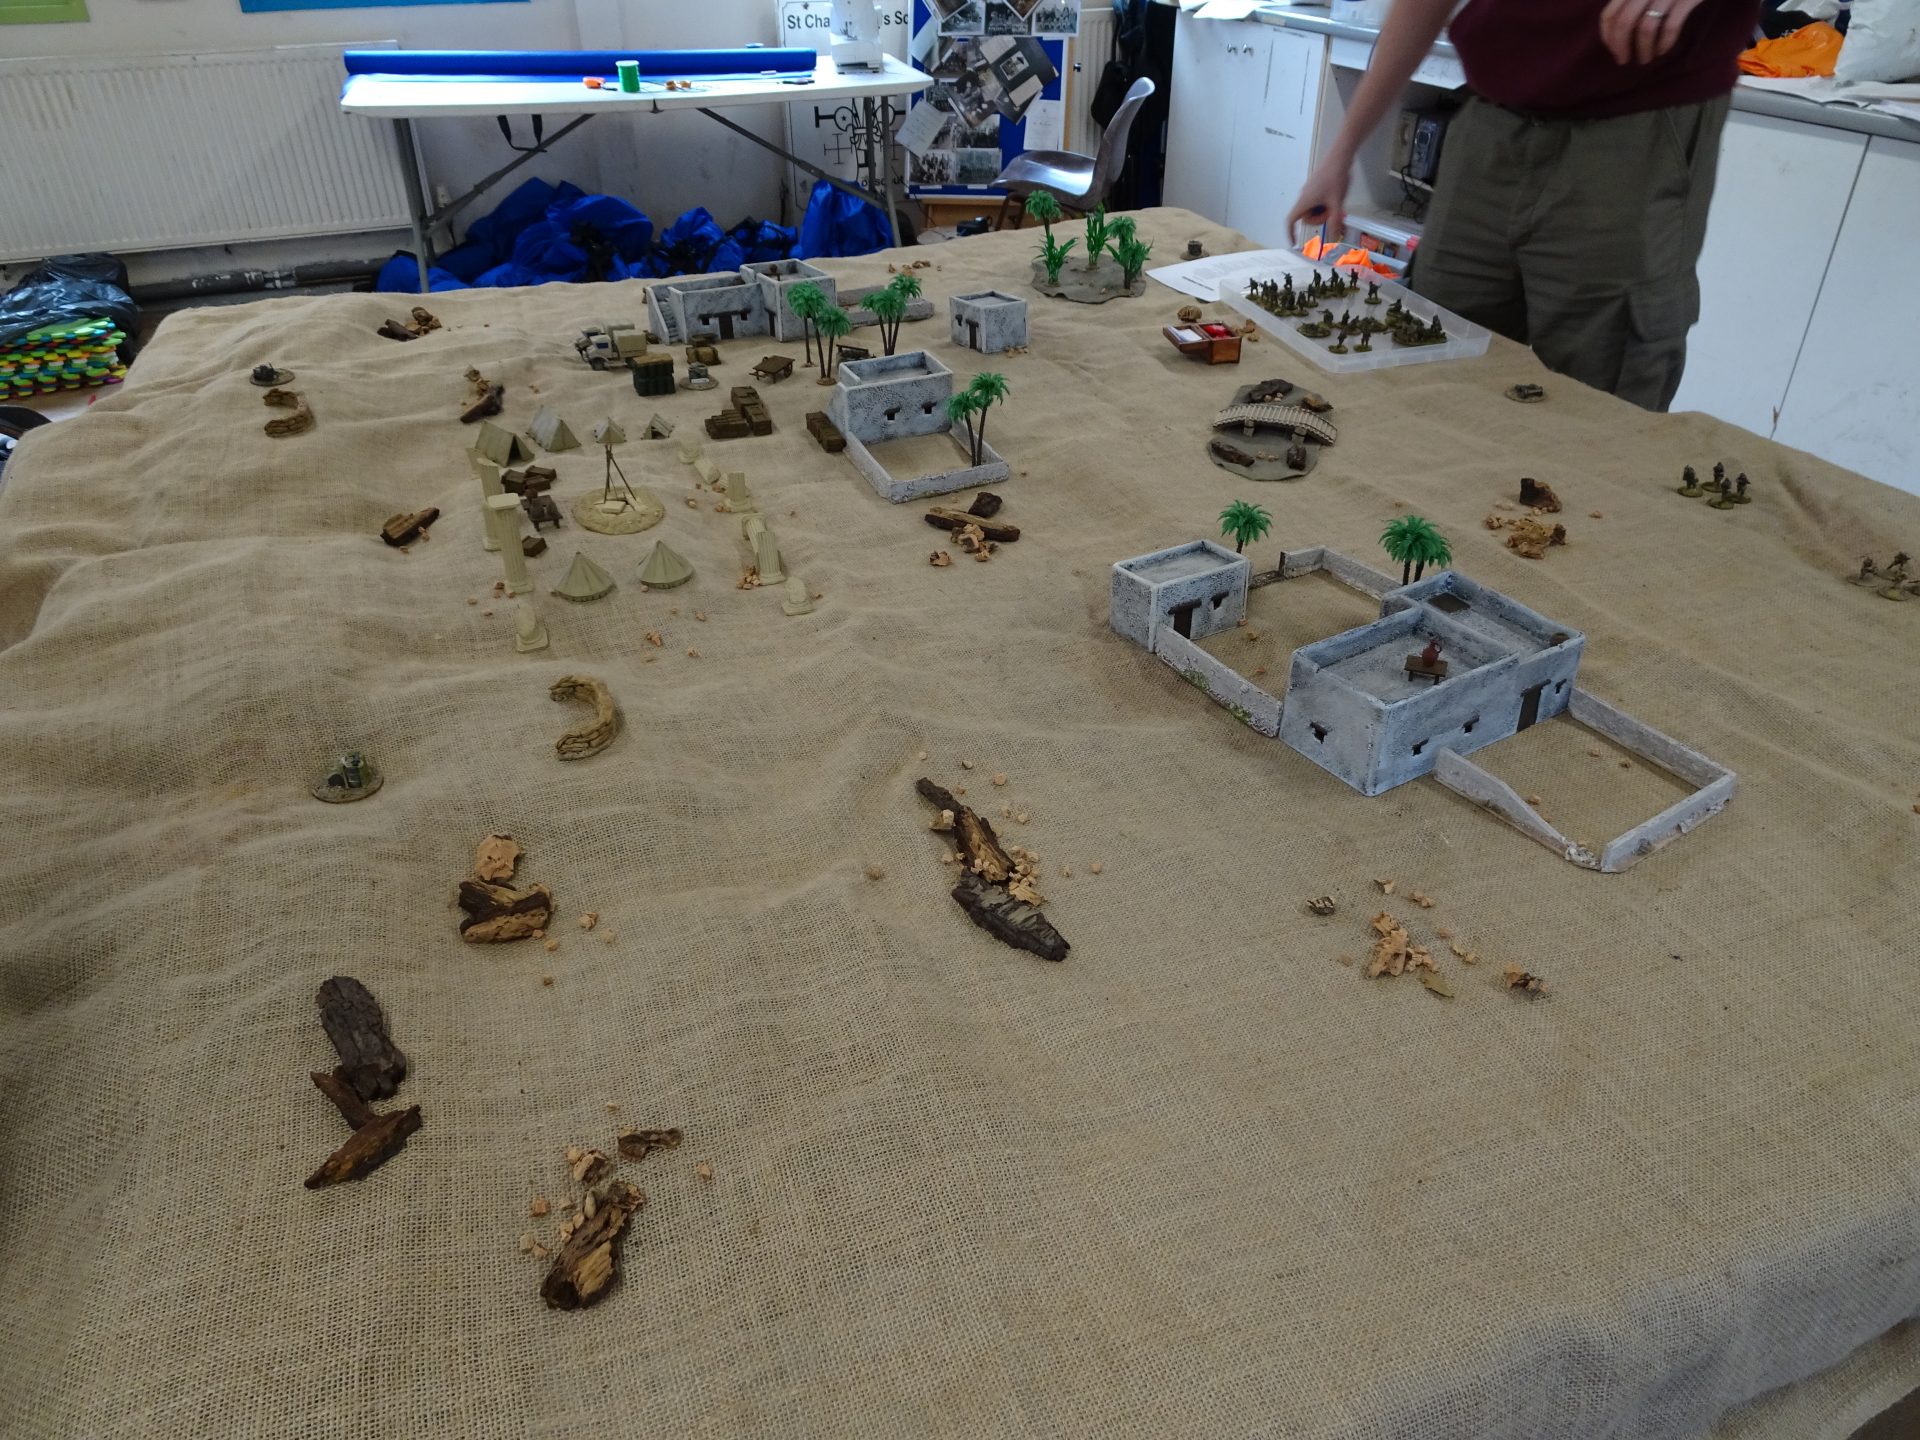
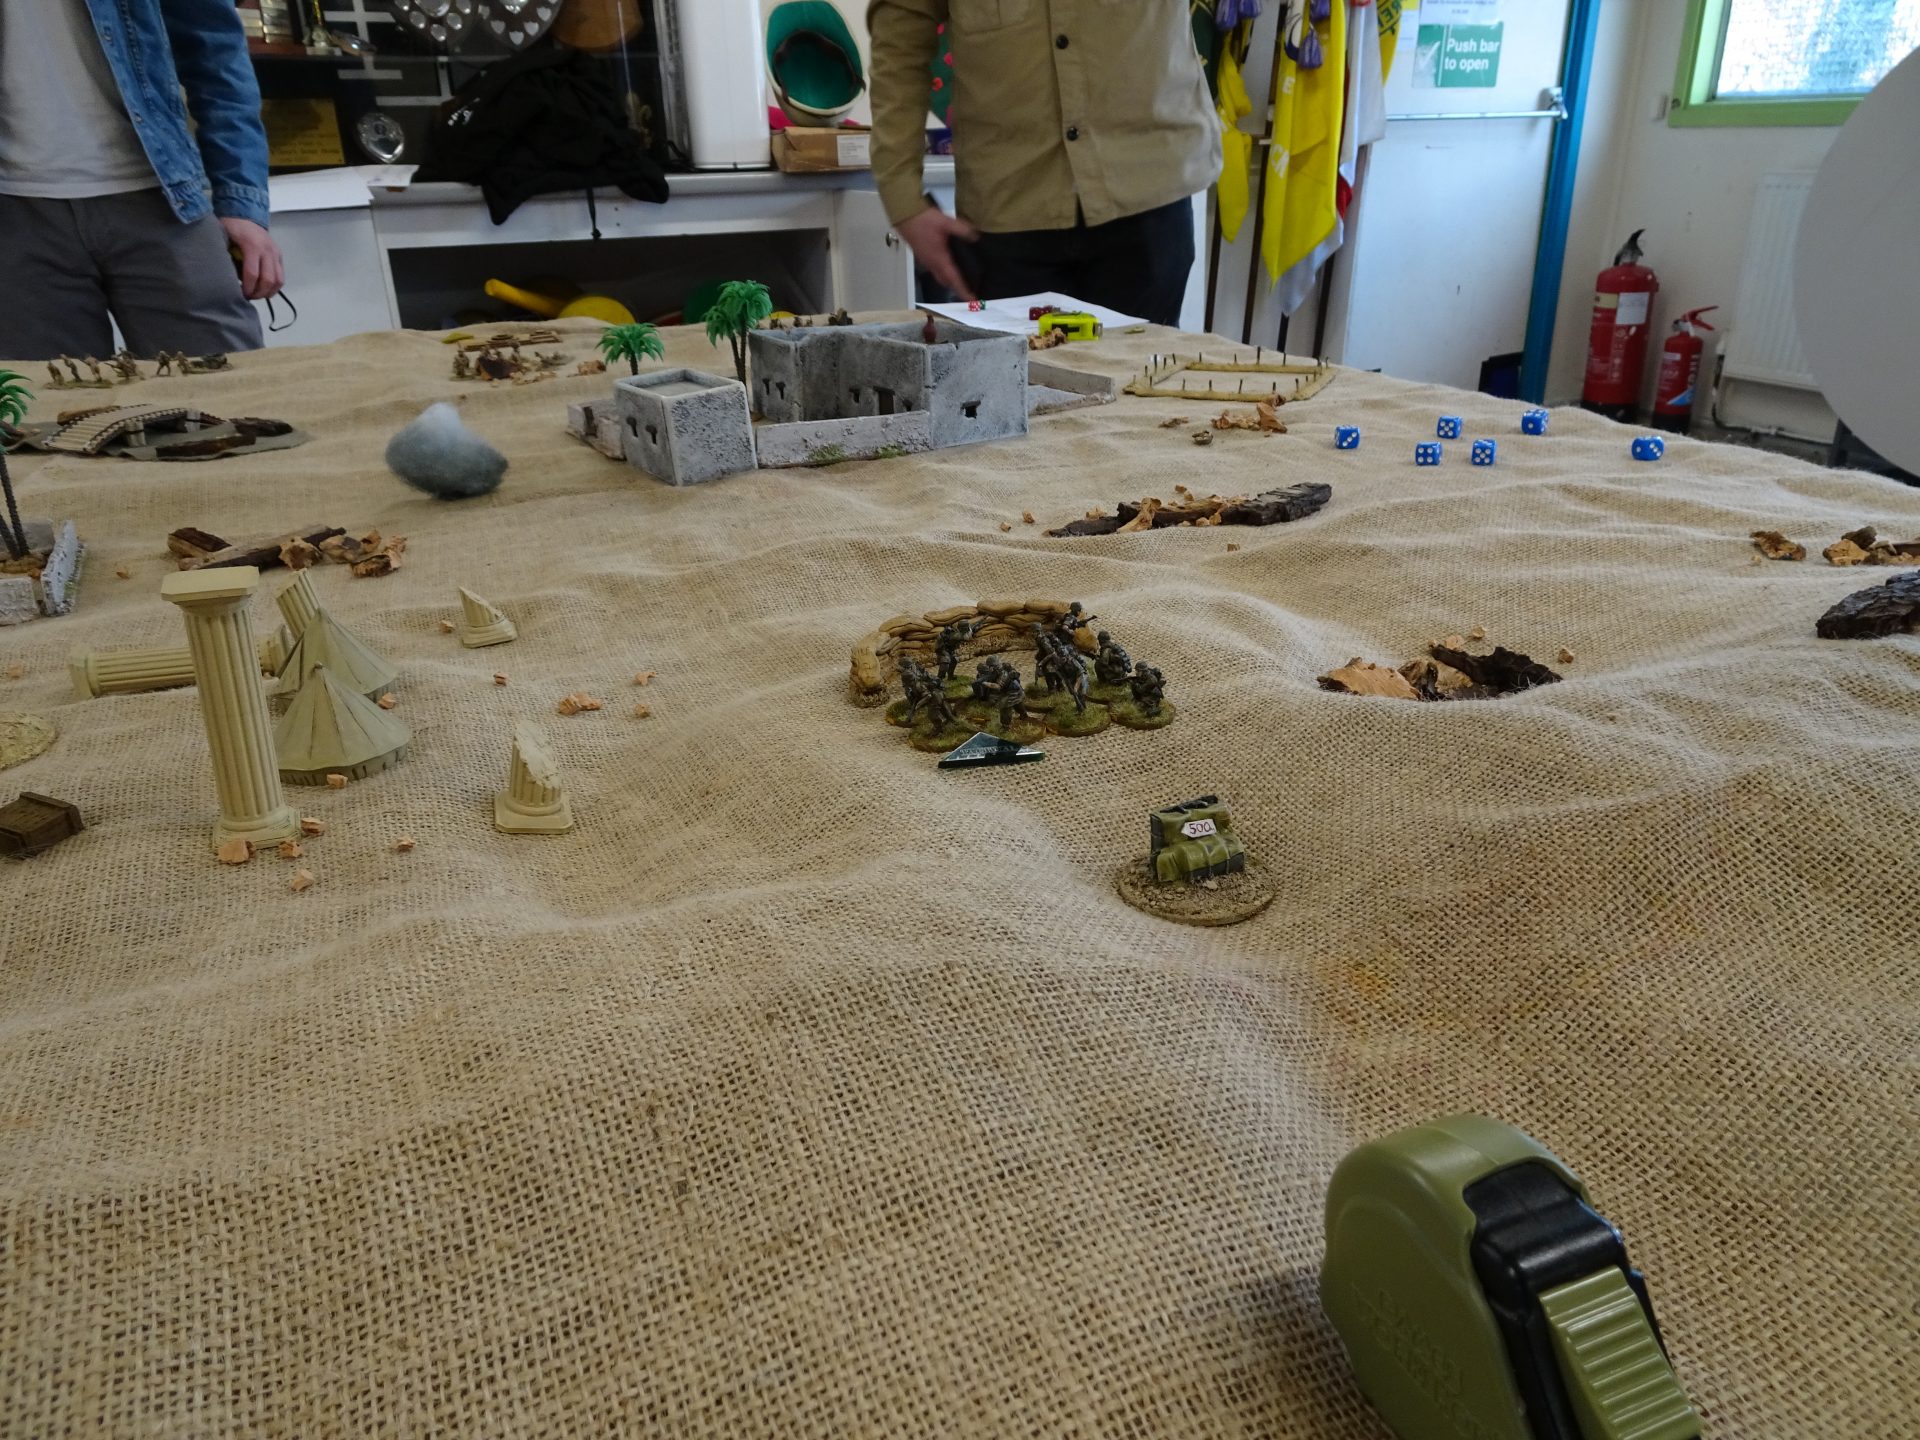
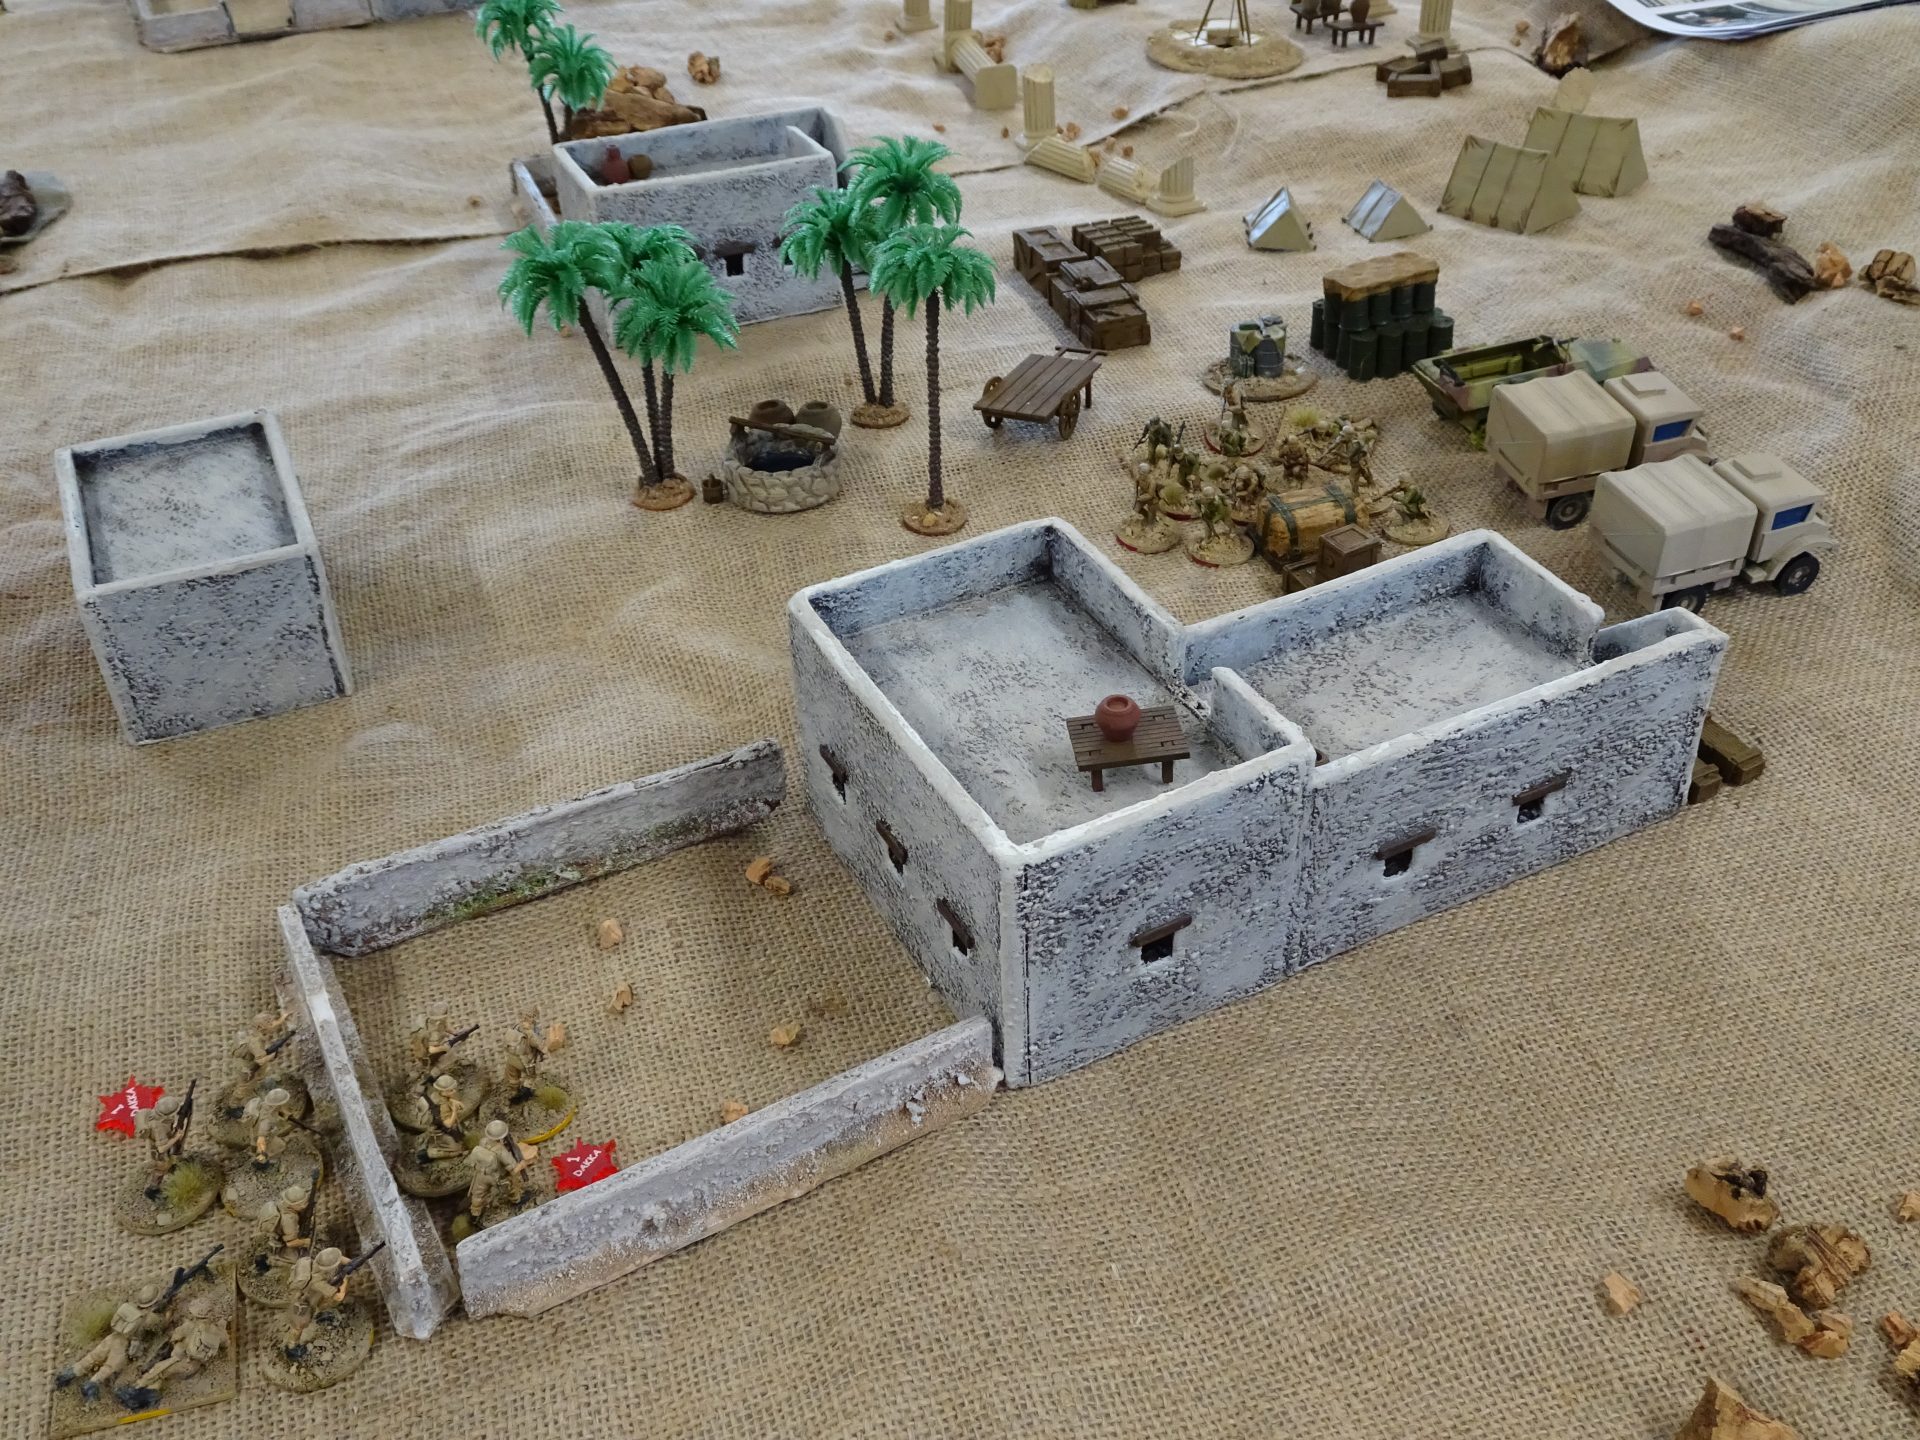
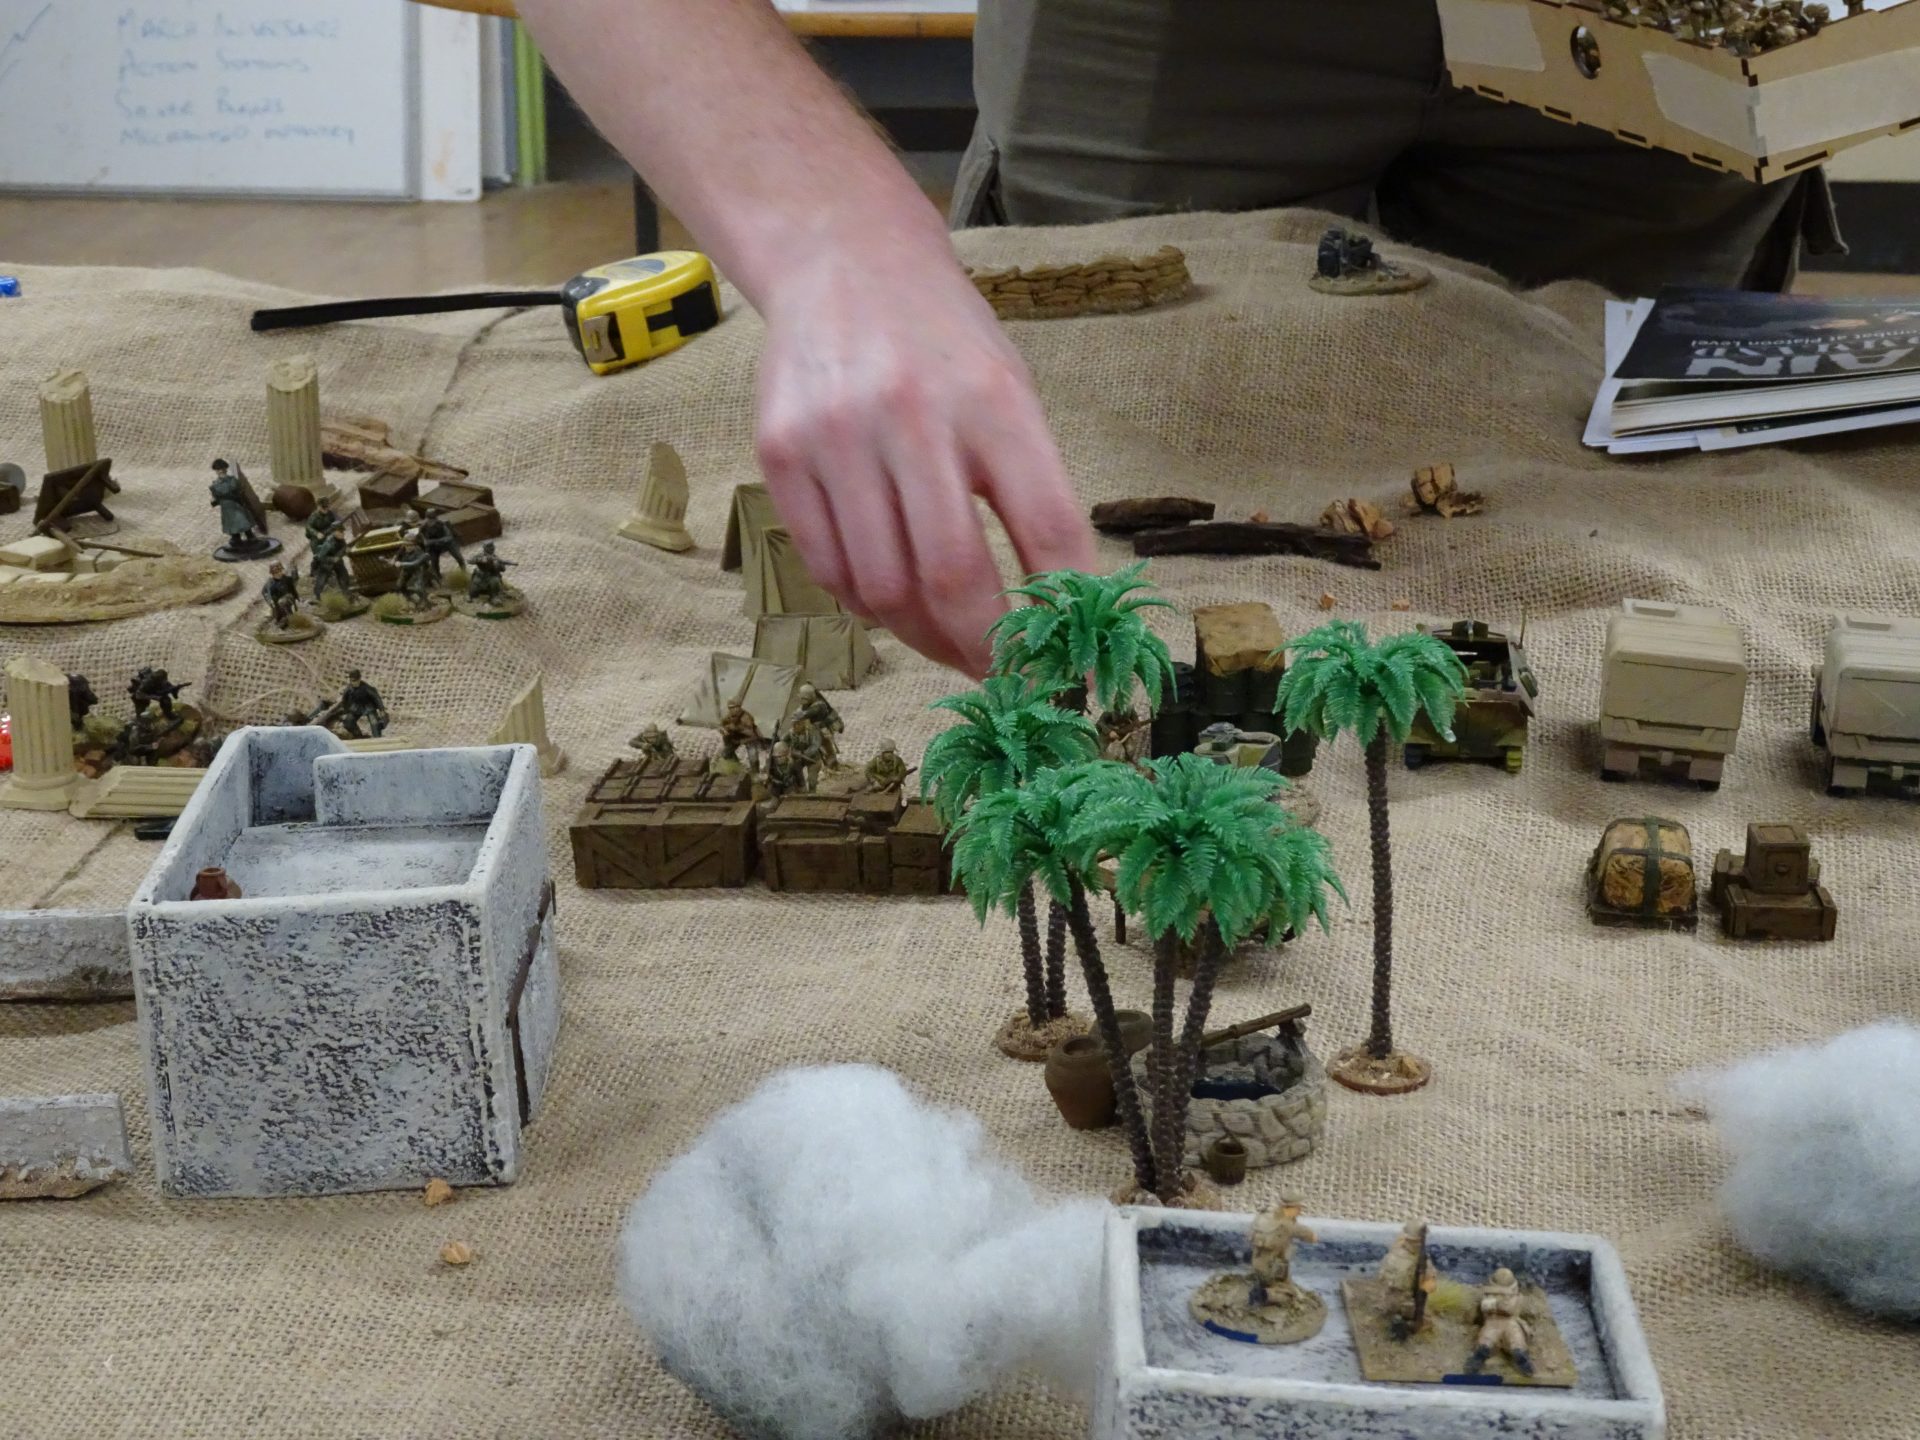
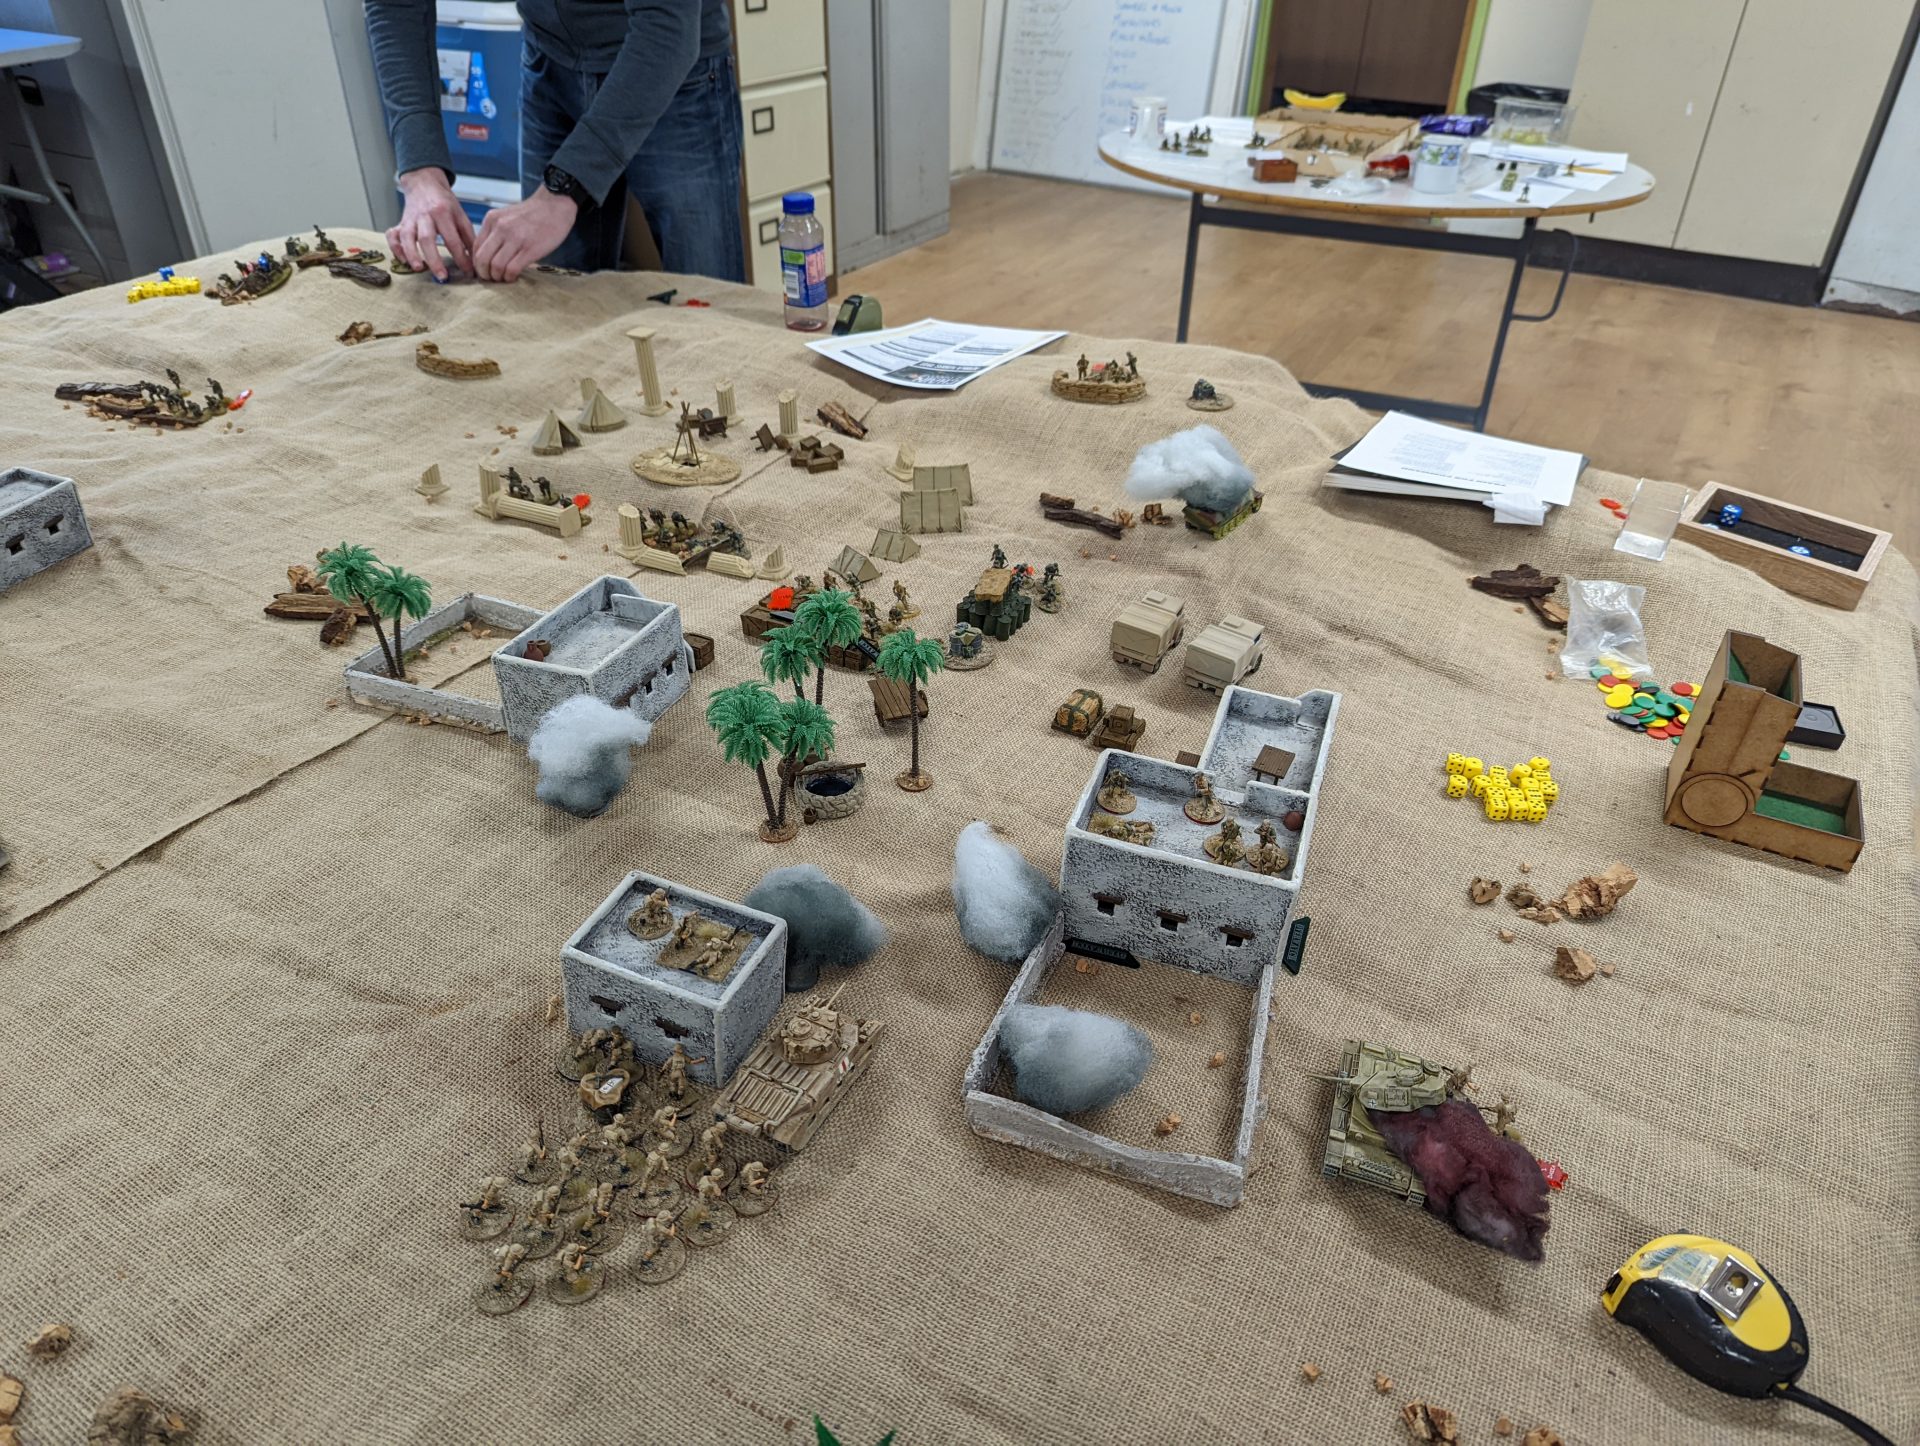
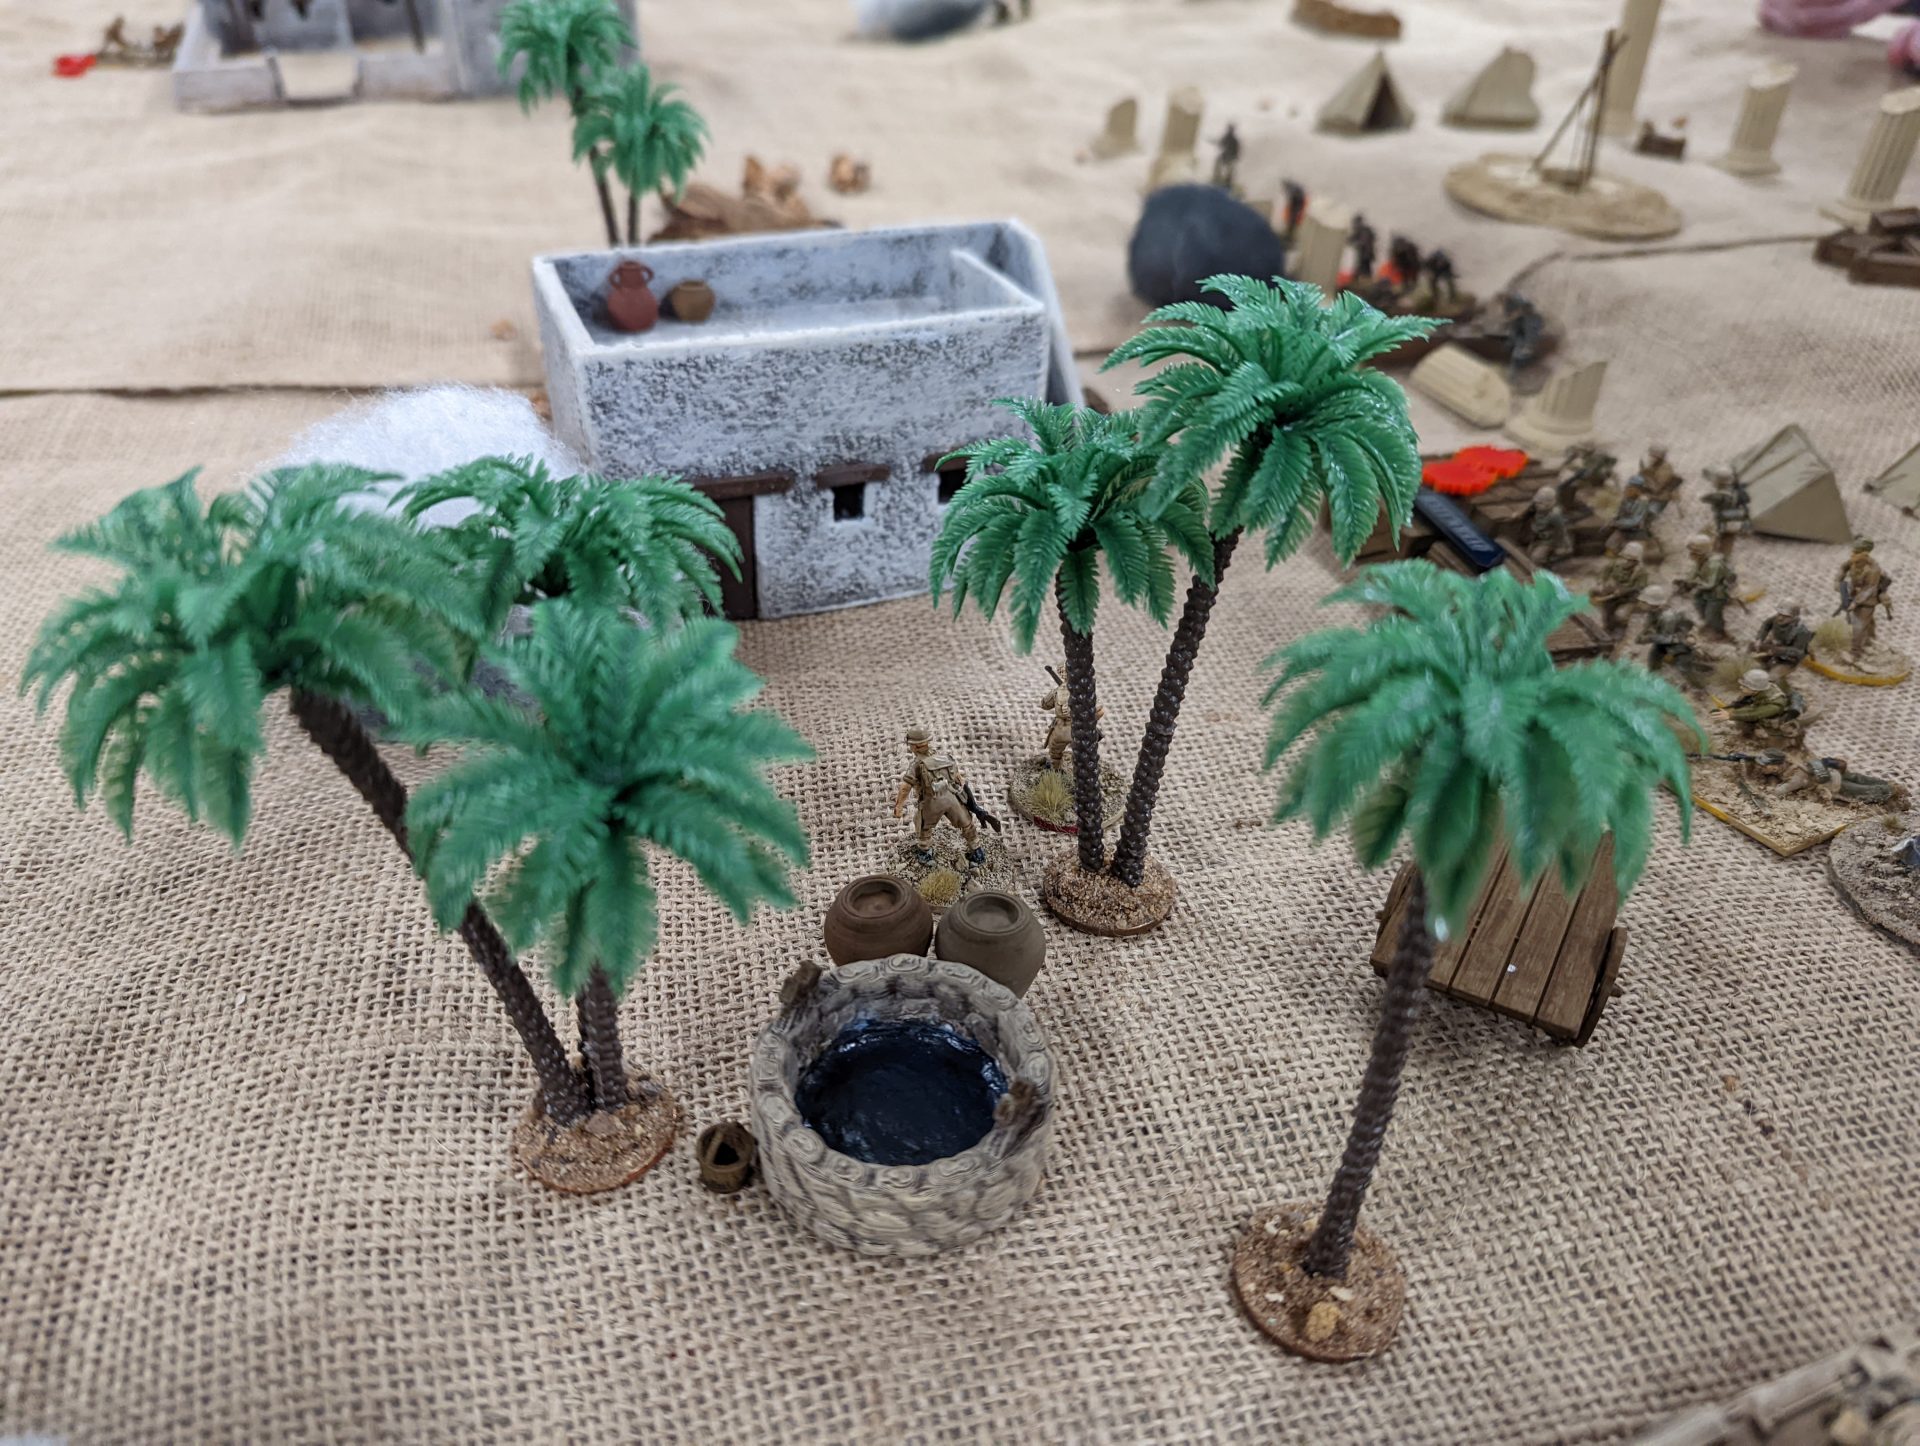
The Dastardly Regular Opponent decided that we would be taking a trip to North Africa, thanks to his collection of adobe buildings and hessian sack matting. By pooling forces with the Creative Regular Opponent, they managed to assemble three platoons for each side, ideal for the number of players we managed to wrangle (until one unfortunately had to drop out due to illness).

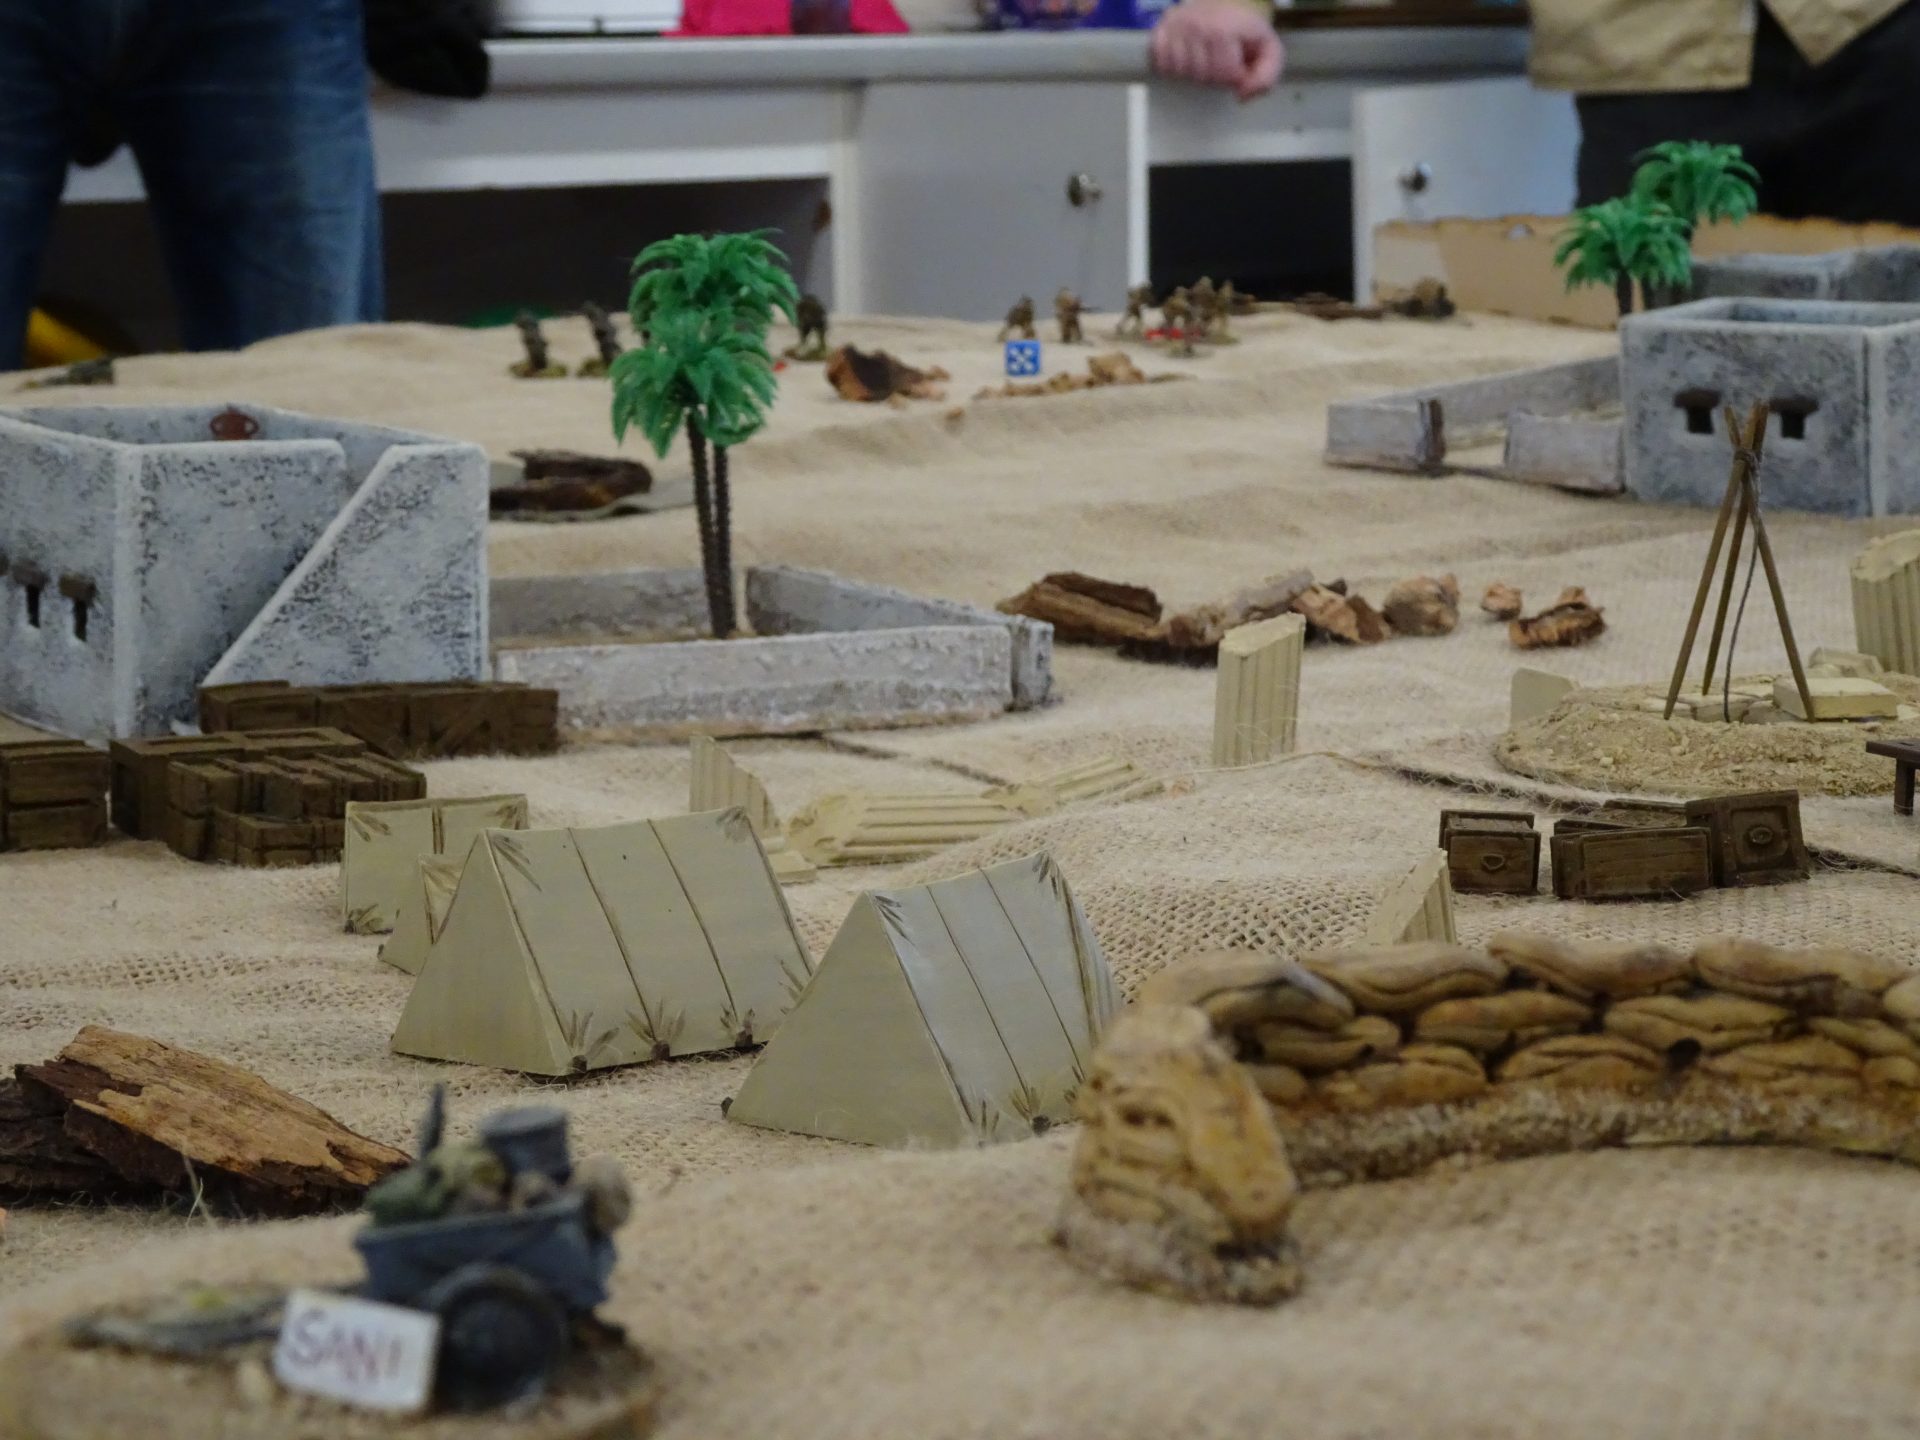
It’s November 1941 and Operation Crusader is underway. As part of the offensive, New Zealand forces and British Guards are to capture a ridgeline outside of Tobruk to help break the siege and rescue the Aussies trapped inside the perimeter. Against them, the Afrika Korps and an advanced element of the newly arrived Fallschirmjäger have dug in, including several anti-tank guns that managed to push back the previous day’s armoured assault.
More intriguing is the arrival of two other platoons. For the Germans, a special unit has appeared in very small numbers and seems very interested in an ancient tomb under the sands. For the Allies, a group of scruffy Recce boys have arrived and are joining in the assault although they seems slightly distracted, looking for something in particular.
I was in charge of a British Infantry platoon, part of my fictional Scots/Yorks Regiment that would go on to be involved in Operation Carronade later in the war. My instructions were pretty simple – break through the enemy positions on the right flank, destroying enemy AT guns and minimising armoured casualties. Command had given me access to a 25pdr Stonk… and then I forgot to bring in a Forward Observer. Oops.
In the centre, the Recce Platoon (a modified Motor Infanry Platoon) was given to my former Housemate turned Delaque gang leader. Finishing off the British side, the left flank was the responsibility of the Creative Regular Opponent and his Maori Infantry platoon (and a lethally awful NZ accent).
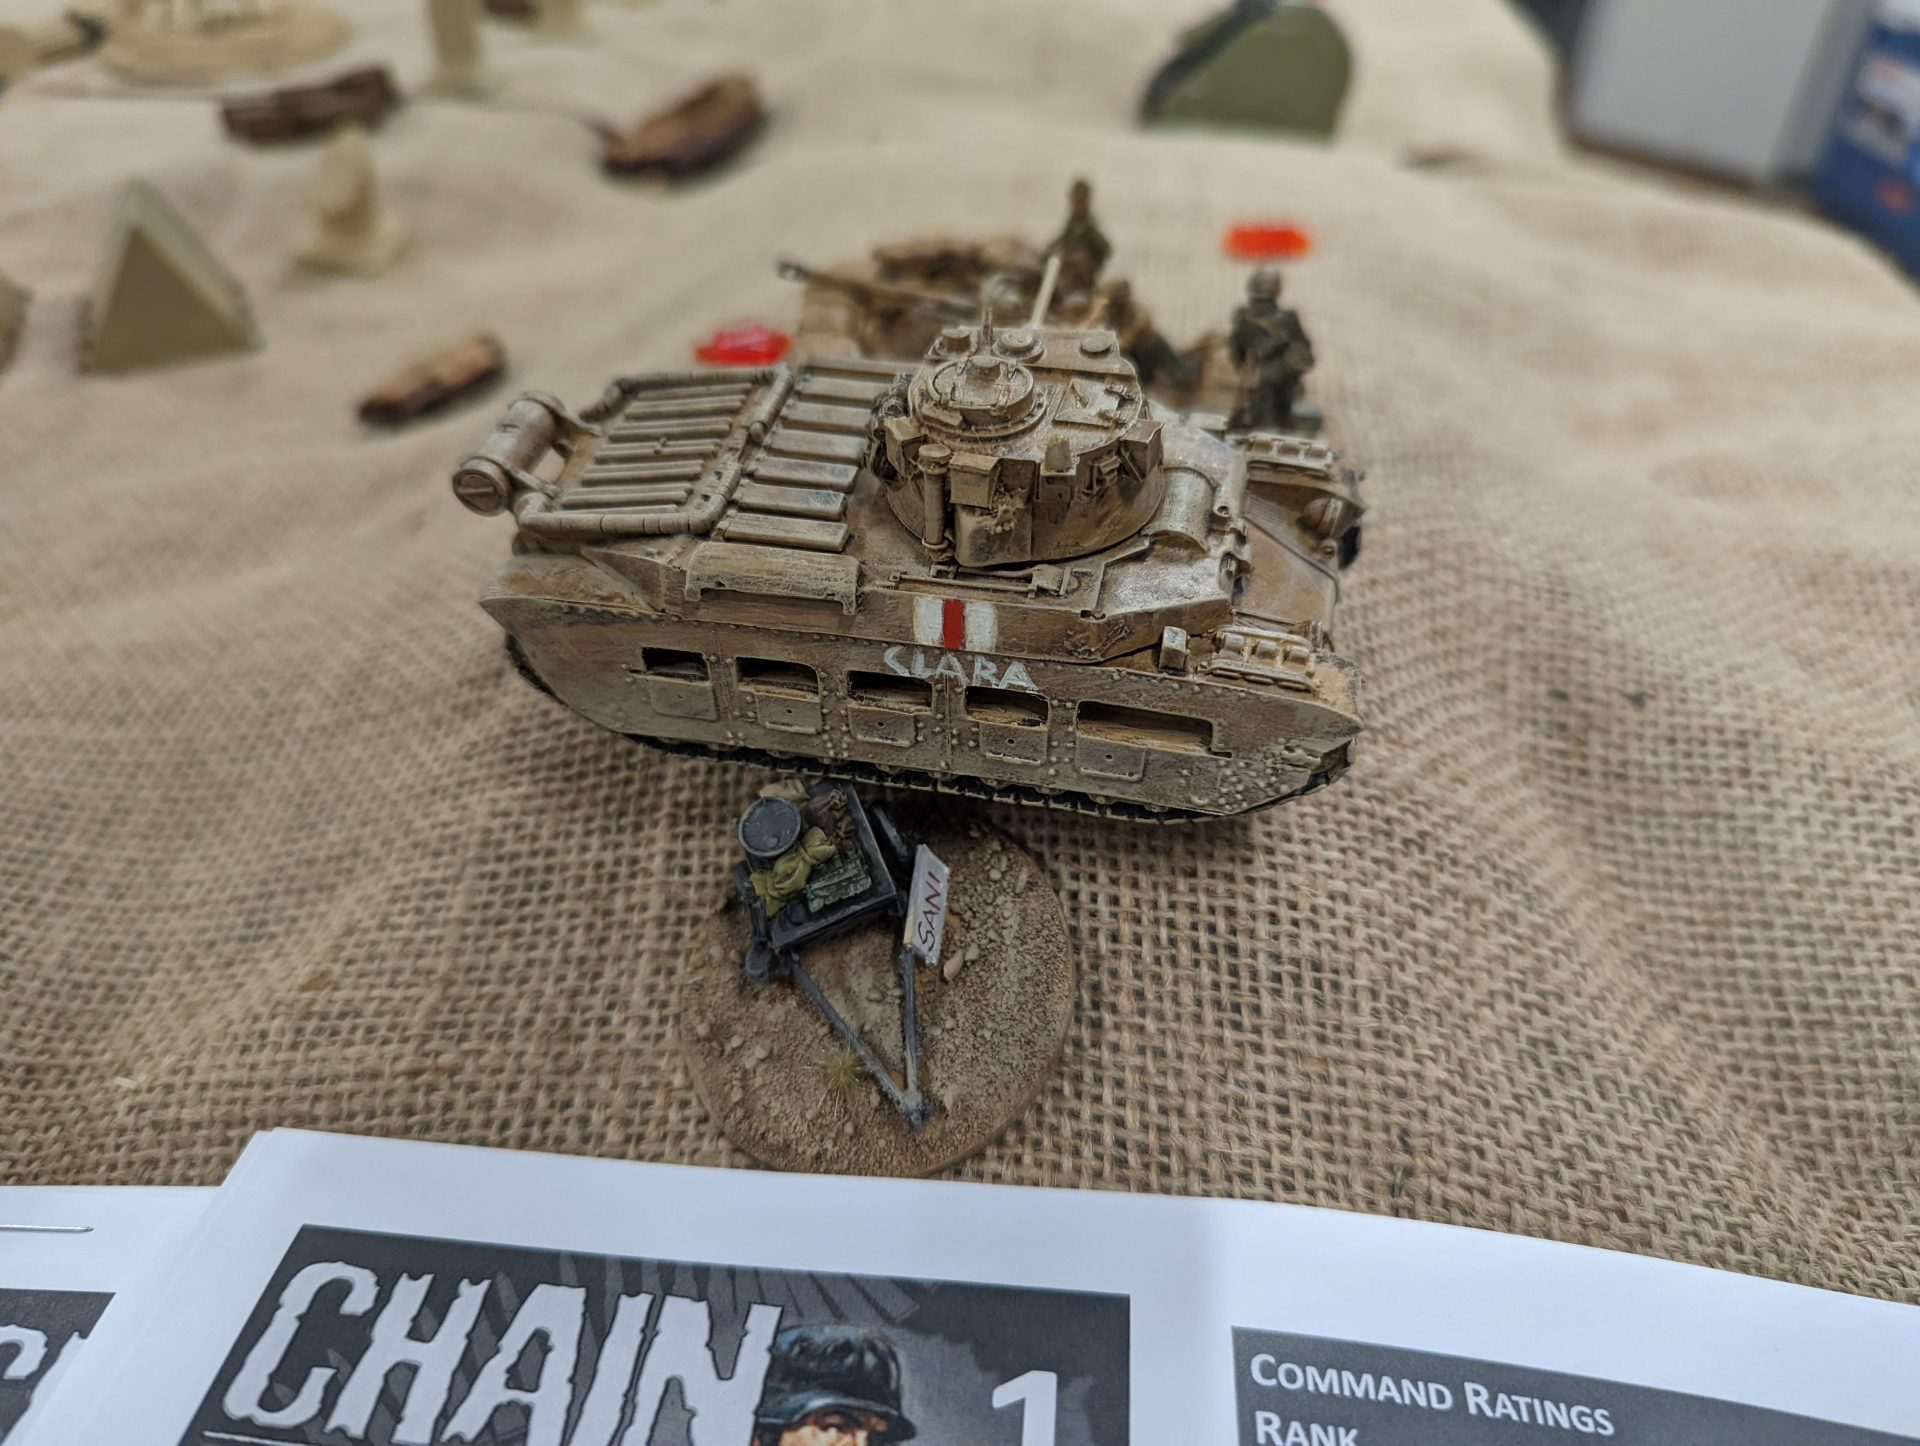
In terms of support, we had a pretty large stockpile to be shared between us. Not quite the torrent that we had for Carronade, but enough that each player was able to pick up a toy or two. During our brief O-Group, tank support was shared among the three platoon, with the Recce calling in a Crusader (appropriate for a motor platoon) while the Infantry platoons took an infantry tank each to assist in the advance – the Queens of the Desert had arrived. Artillery also provided support – the Kiwi’s (obviously because the Creative Regular Opponent remembered the taste of being under a mortar barrage in Operation Carronade) took a FOO team while I decided to shell the rear areas with a pre-game barrage. The Recce platoon decided to expand their high speed assault, bringing up a Recce section in the carriers.
Finally, we decided to throw a curve ball – I’ve become a big fan of the snipers in Chain of Command and, although more designed for the defensive platoon, they might be handy to remove any defensive positions during the advance. We all decided to take a sniper which, in addition to one the Recce boys already had, meant we had a total of 4 of them available to deploy. Obviously too many officers have been spending their break in the deserts outside Cairo hunting game.
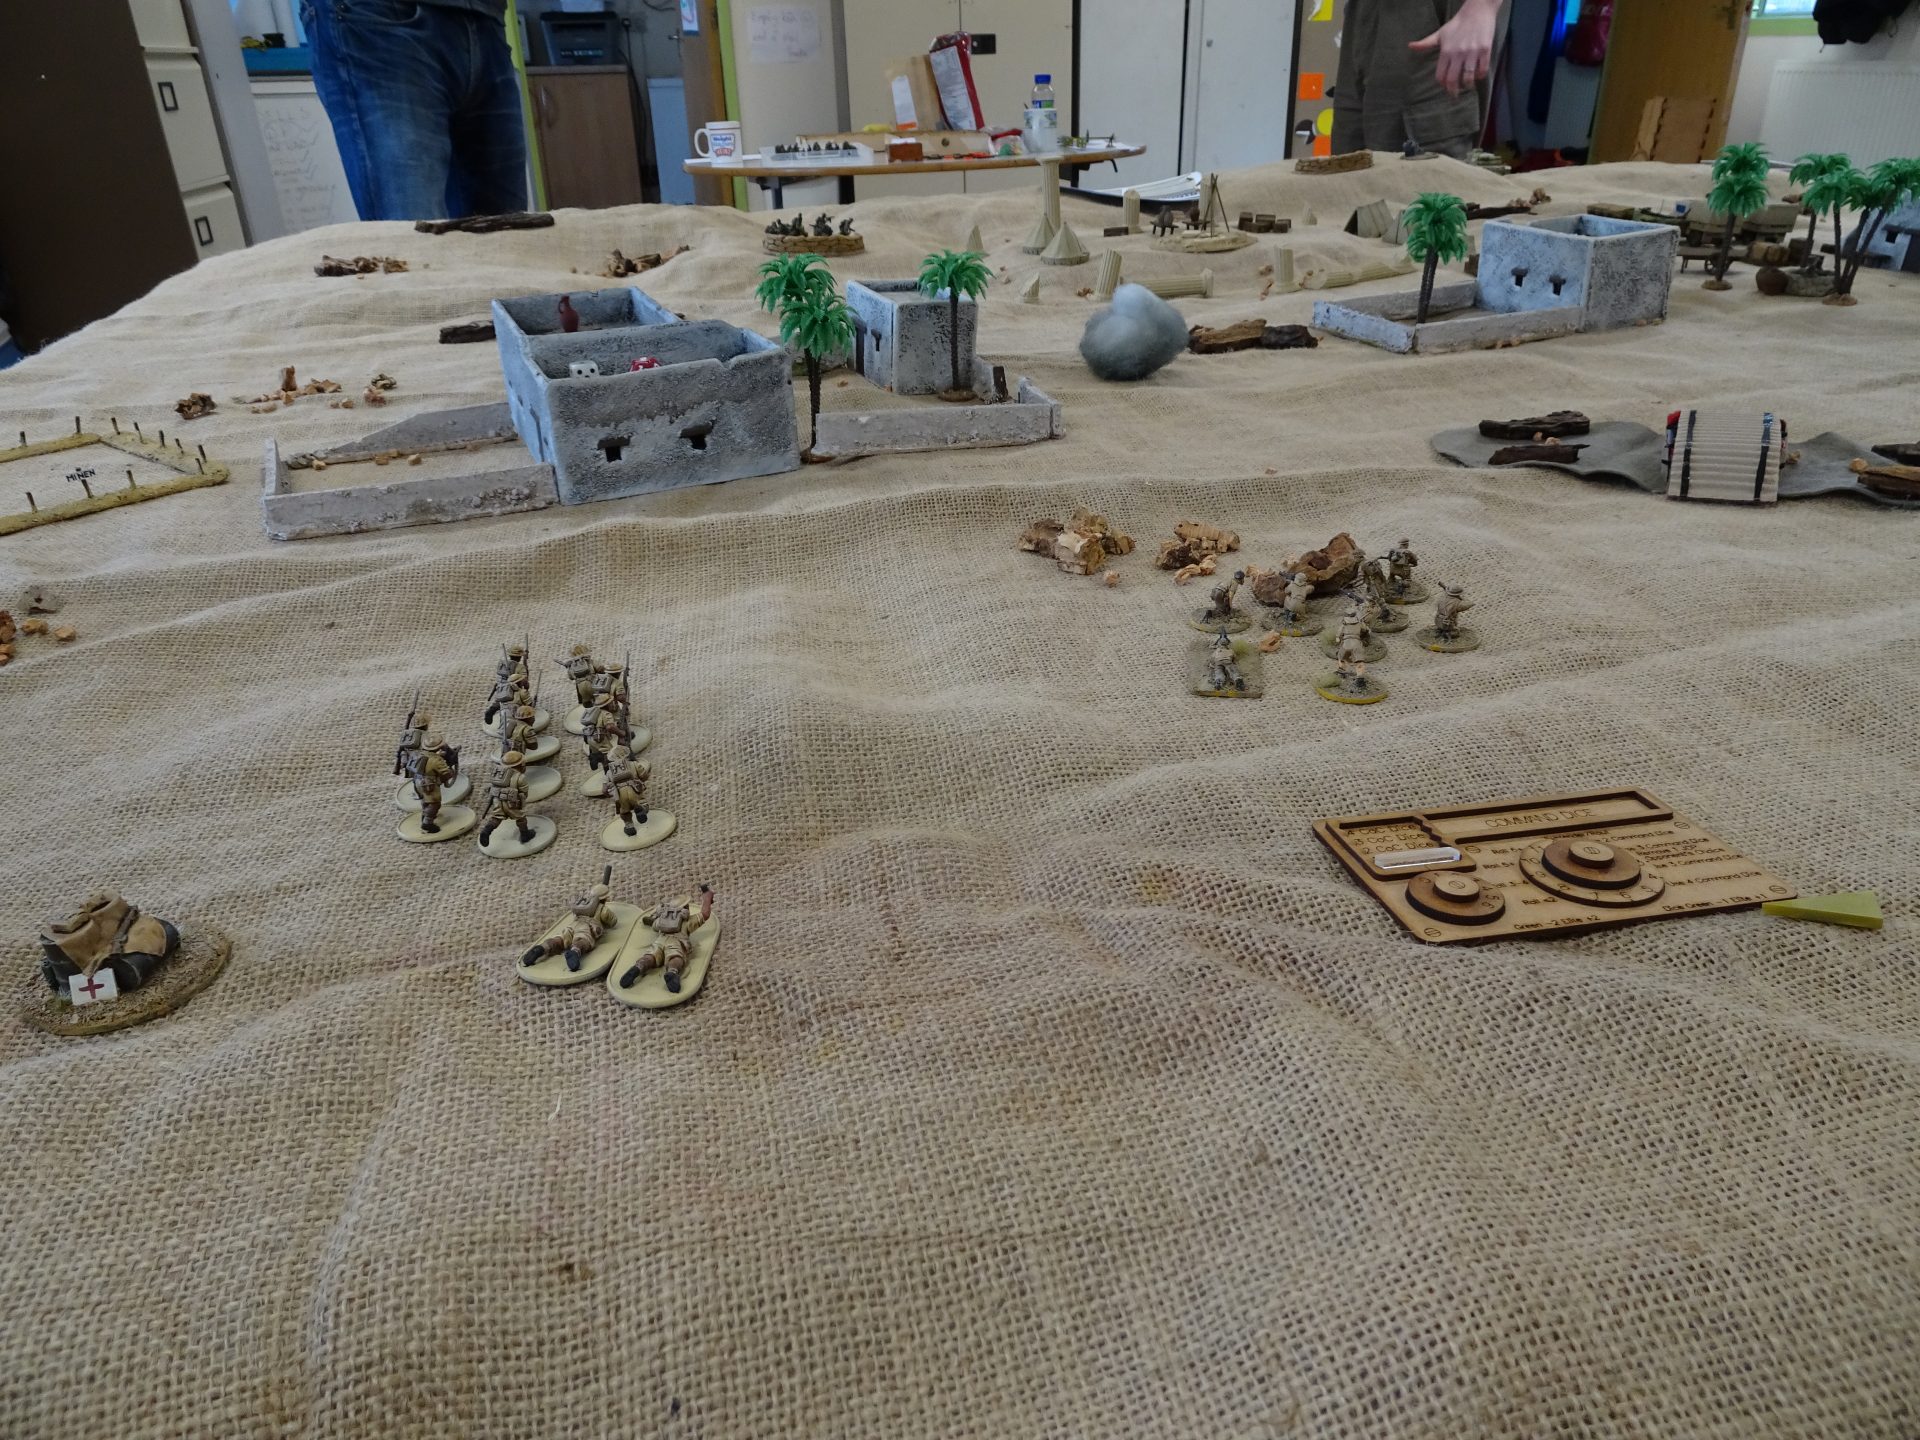
As the game began there was a general advance across the British lines… except for the Scots/Yorks. I wanted to see what the DAK directly across from me were about to do.
The Kiwi advance encountered it’s first issue as a German minefield was detected on the flank of the compound directly in front of their route. Obviously the advance party of FJs had brought their engineers with them, funnelling the allies through a more central killing zone that might actually catch two platoons in their firing arc.
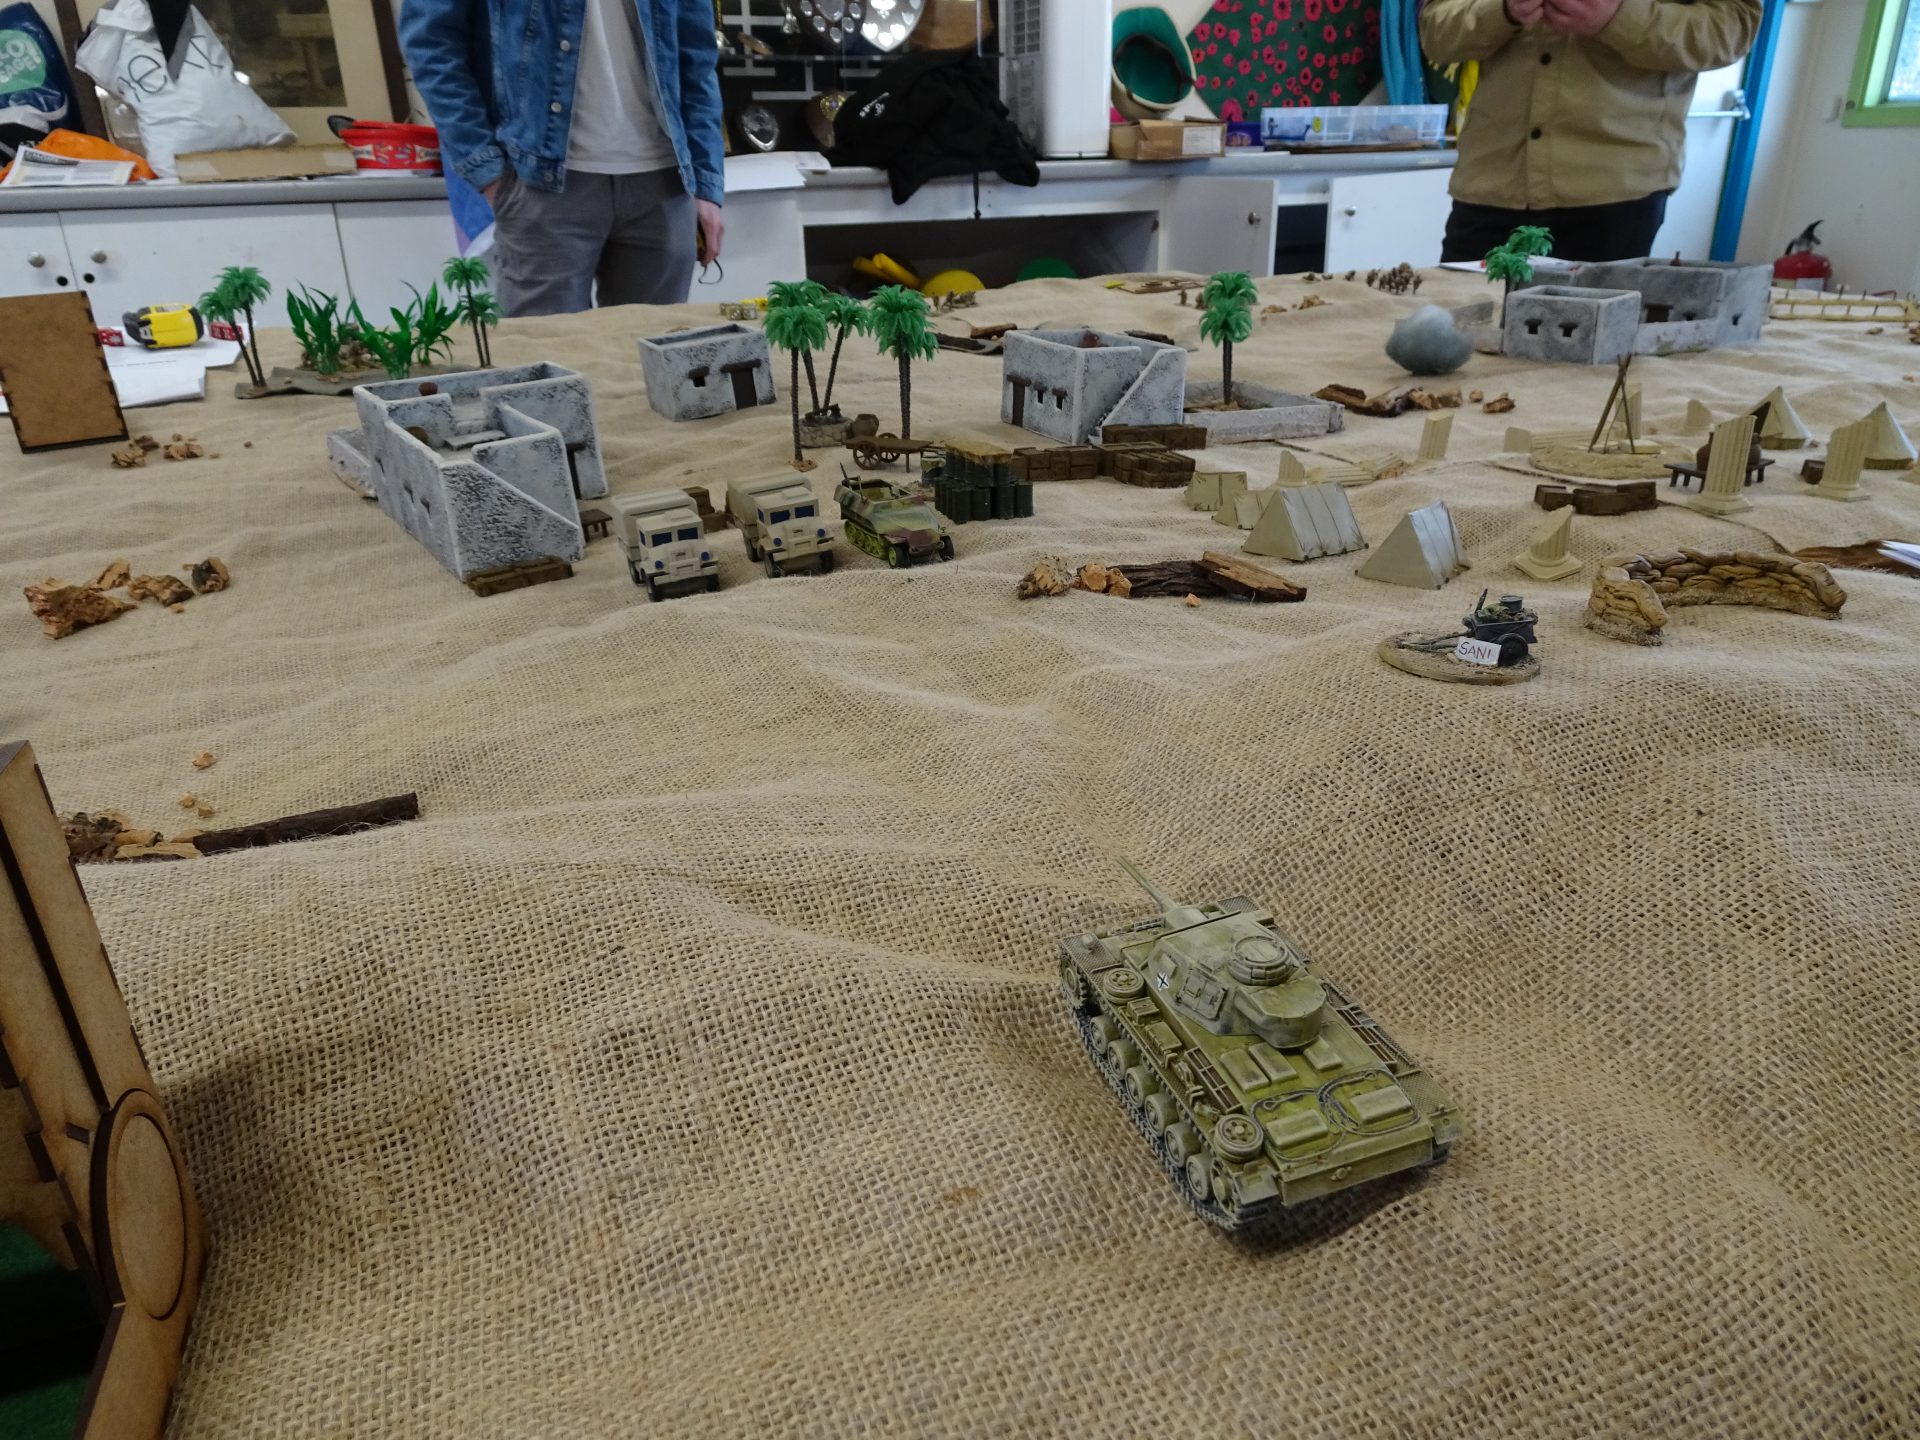
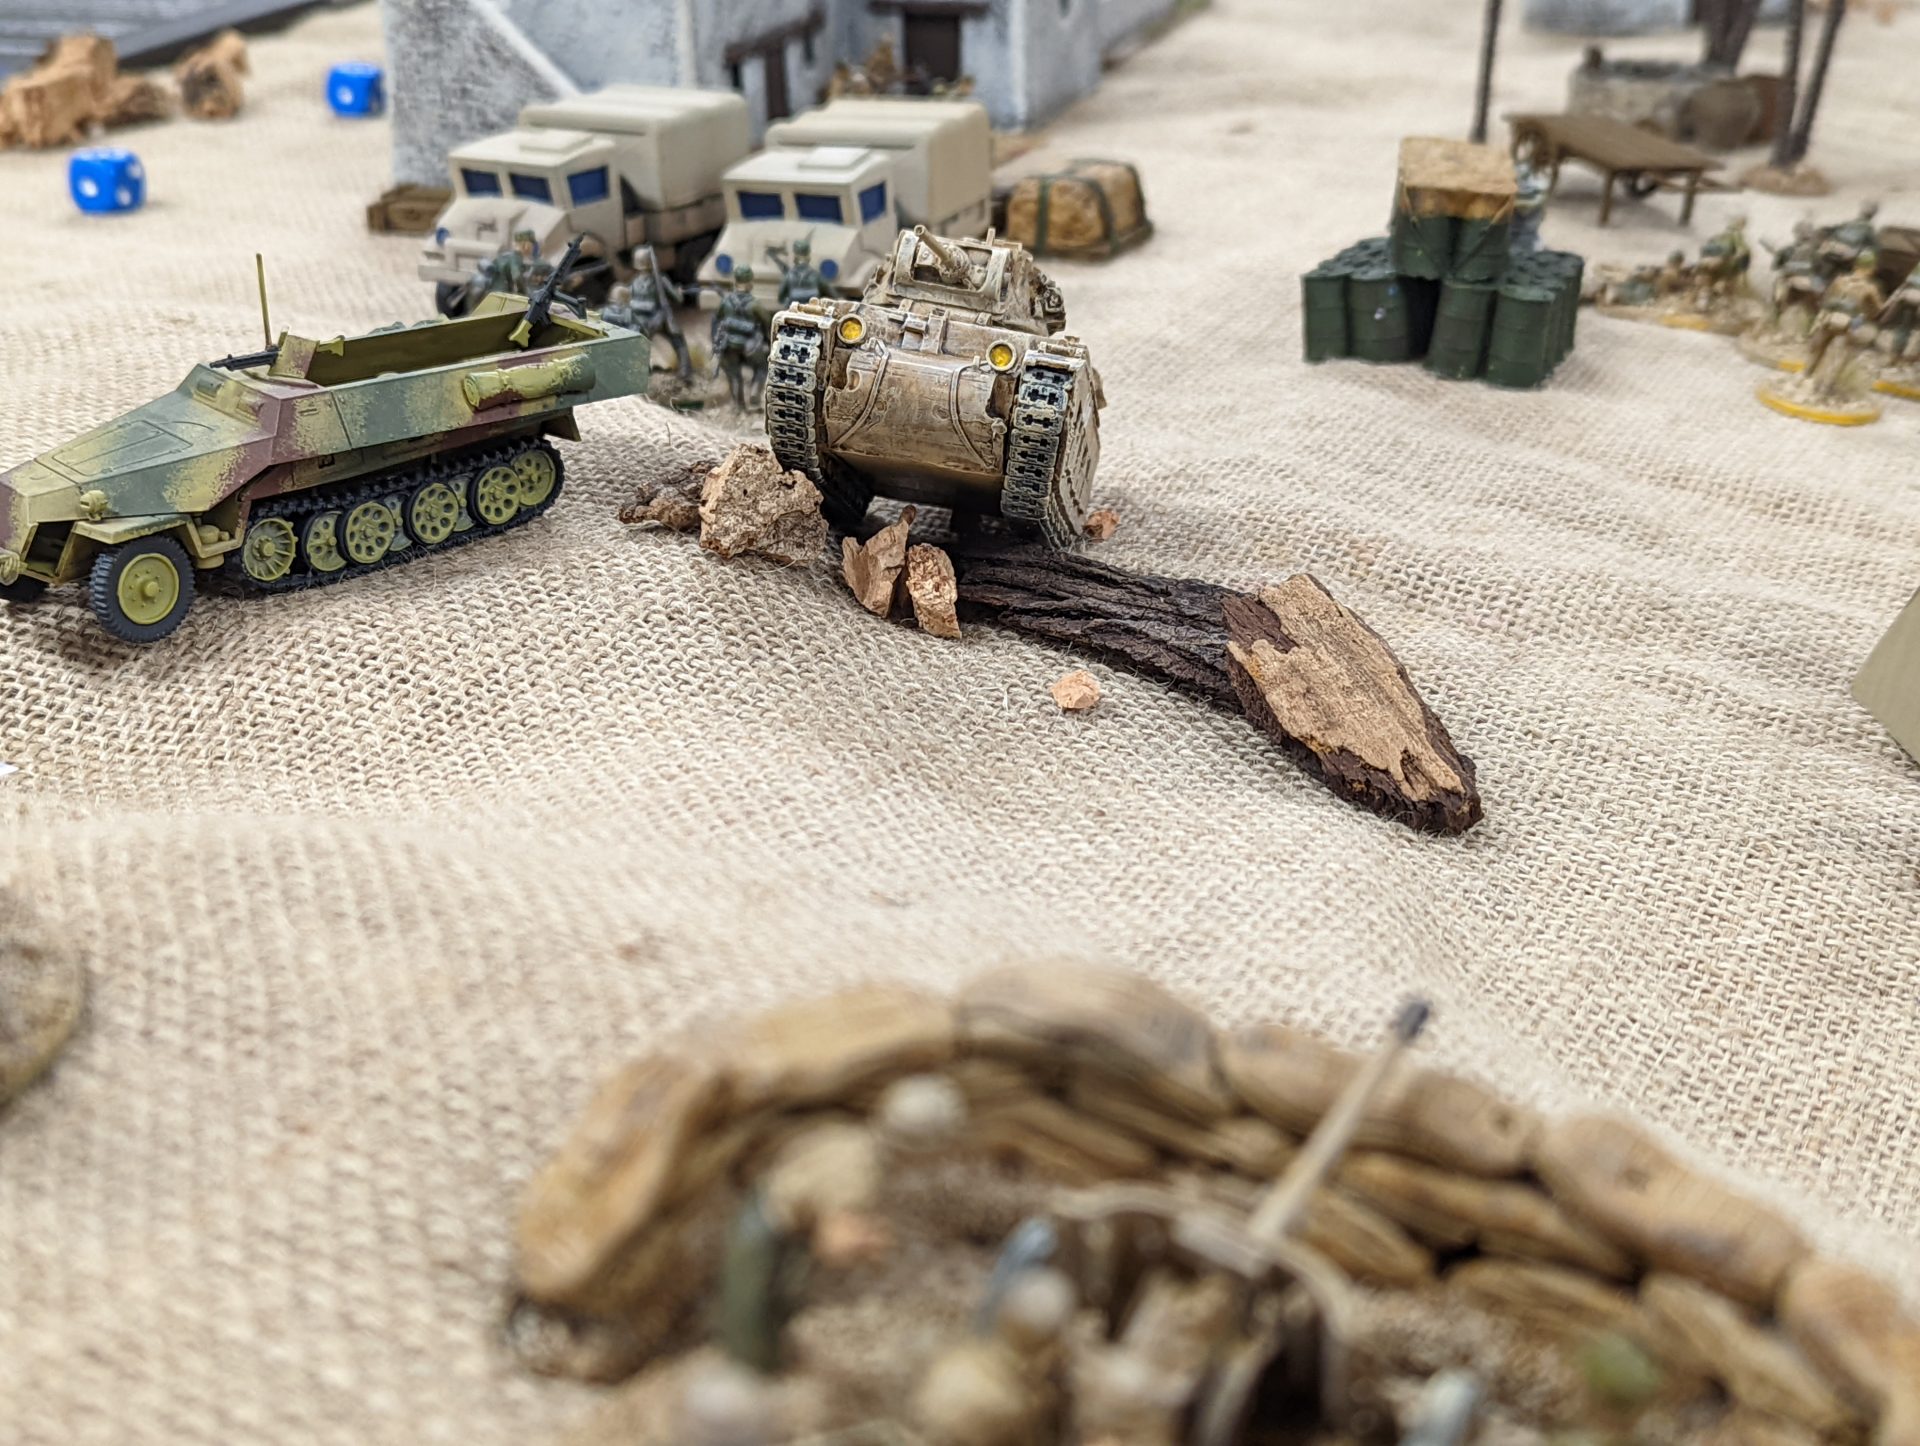
My pause was rewarded as the DAK lines echoed to the sound of a 12 cylinder Maybach engine. A Panzer 3 rolling up was a concern but nothing too terrible for the moment. Hopefully I would lure it closer where the Matilda and the Boys could take it out (or at least remove it as a threat).
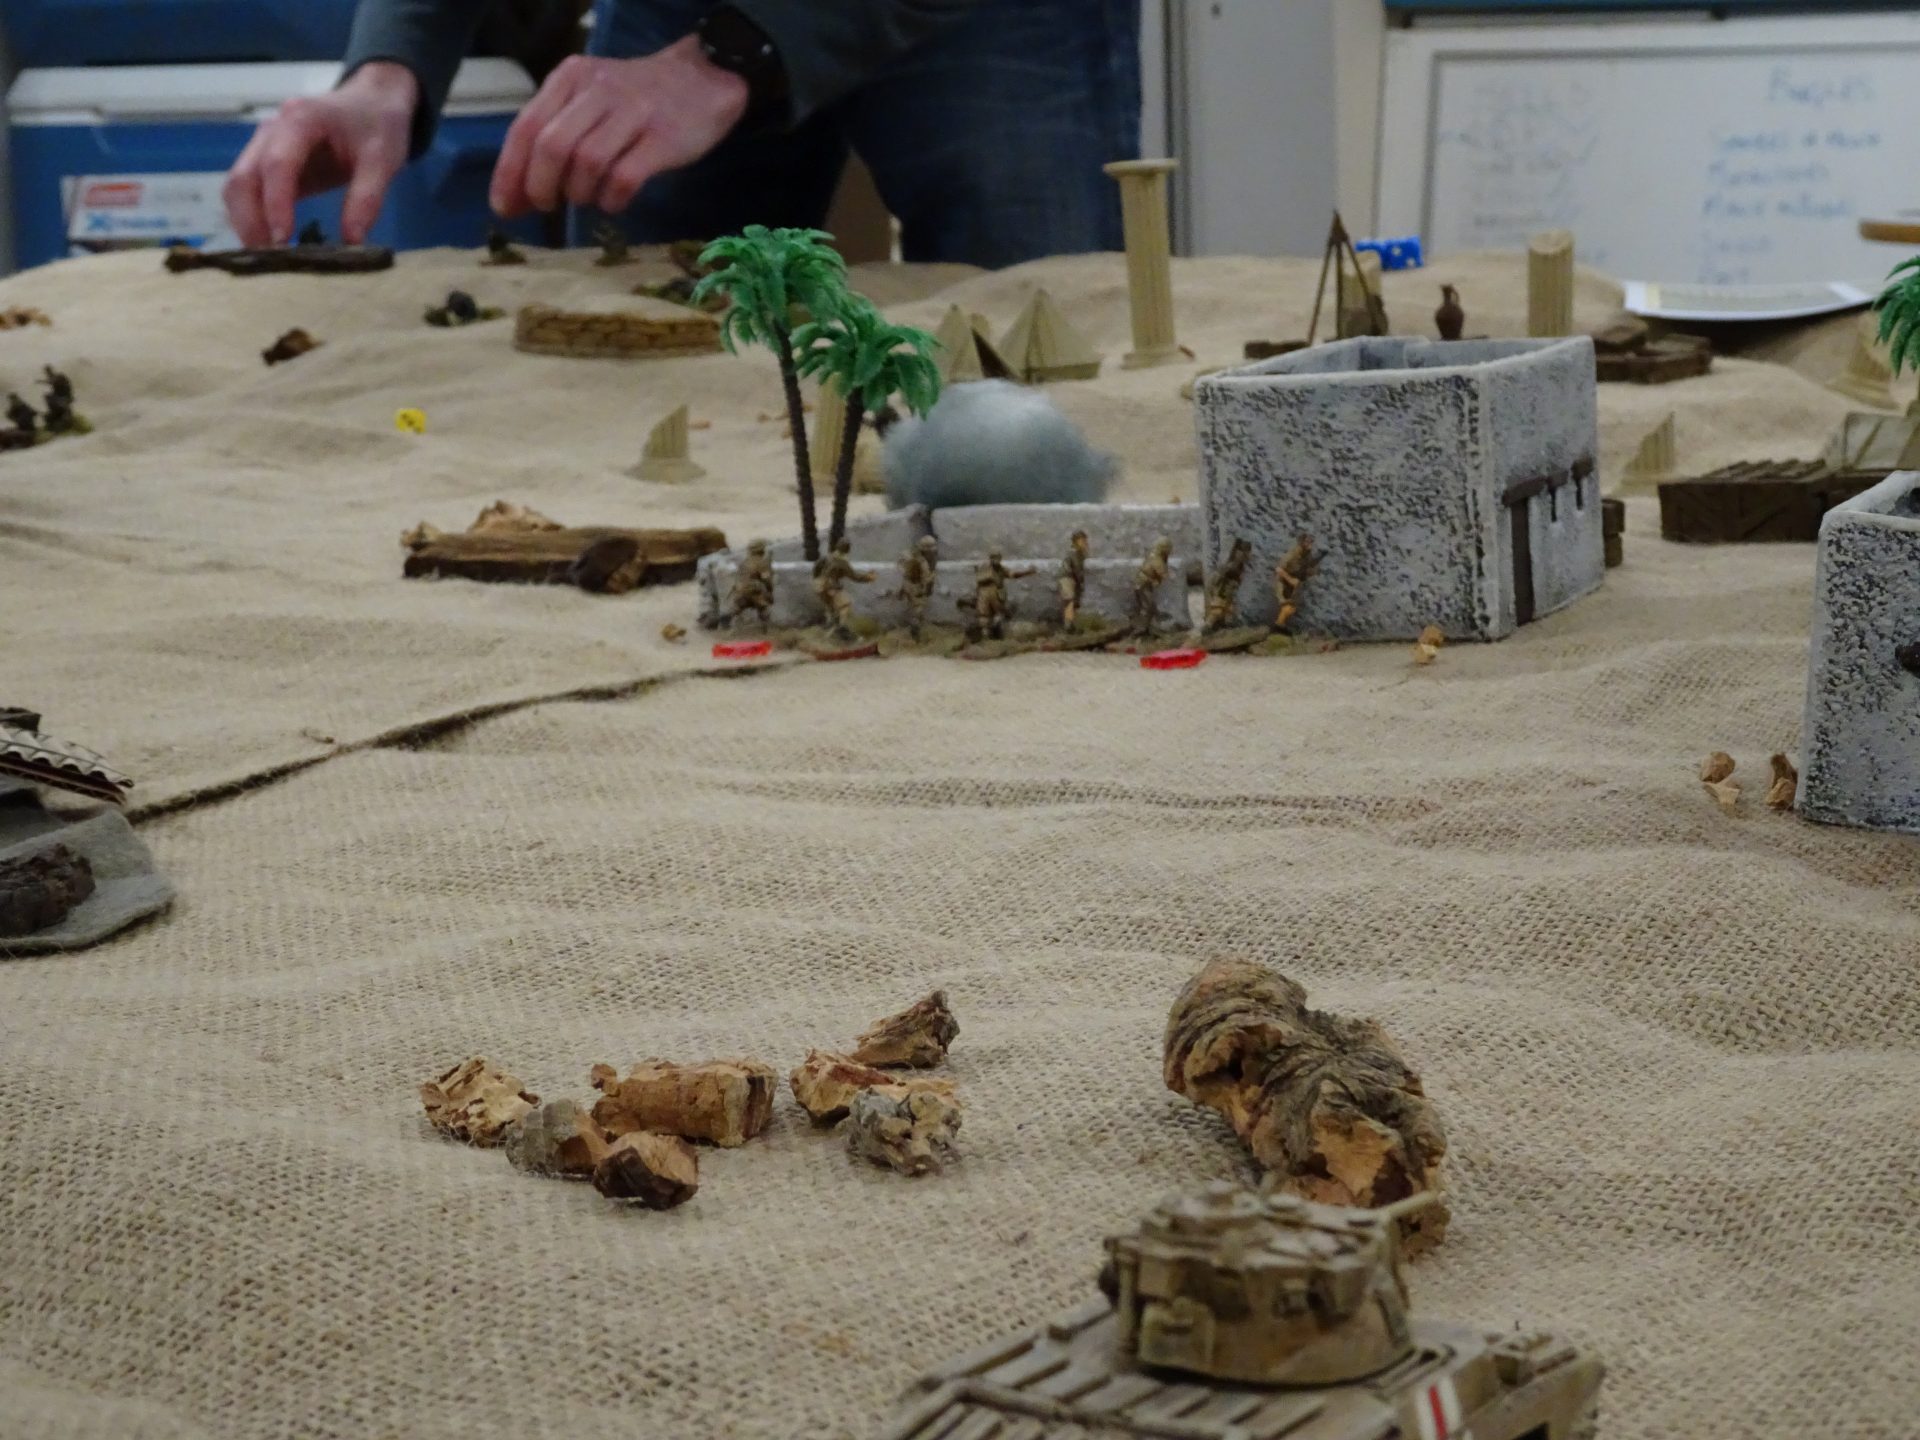
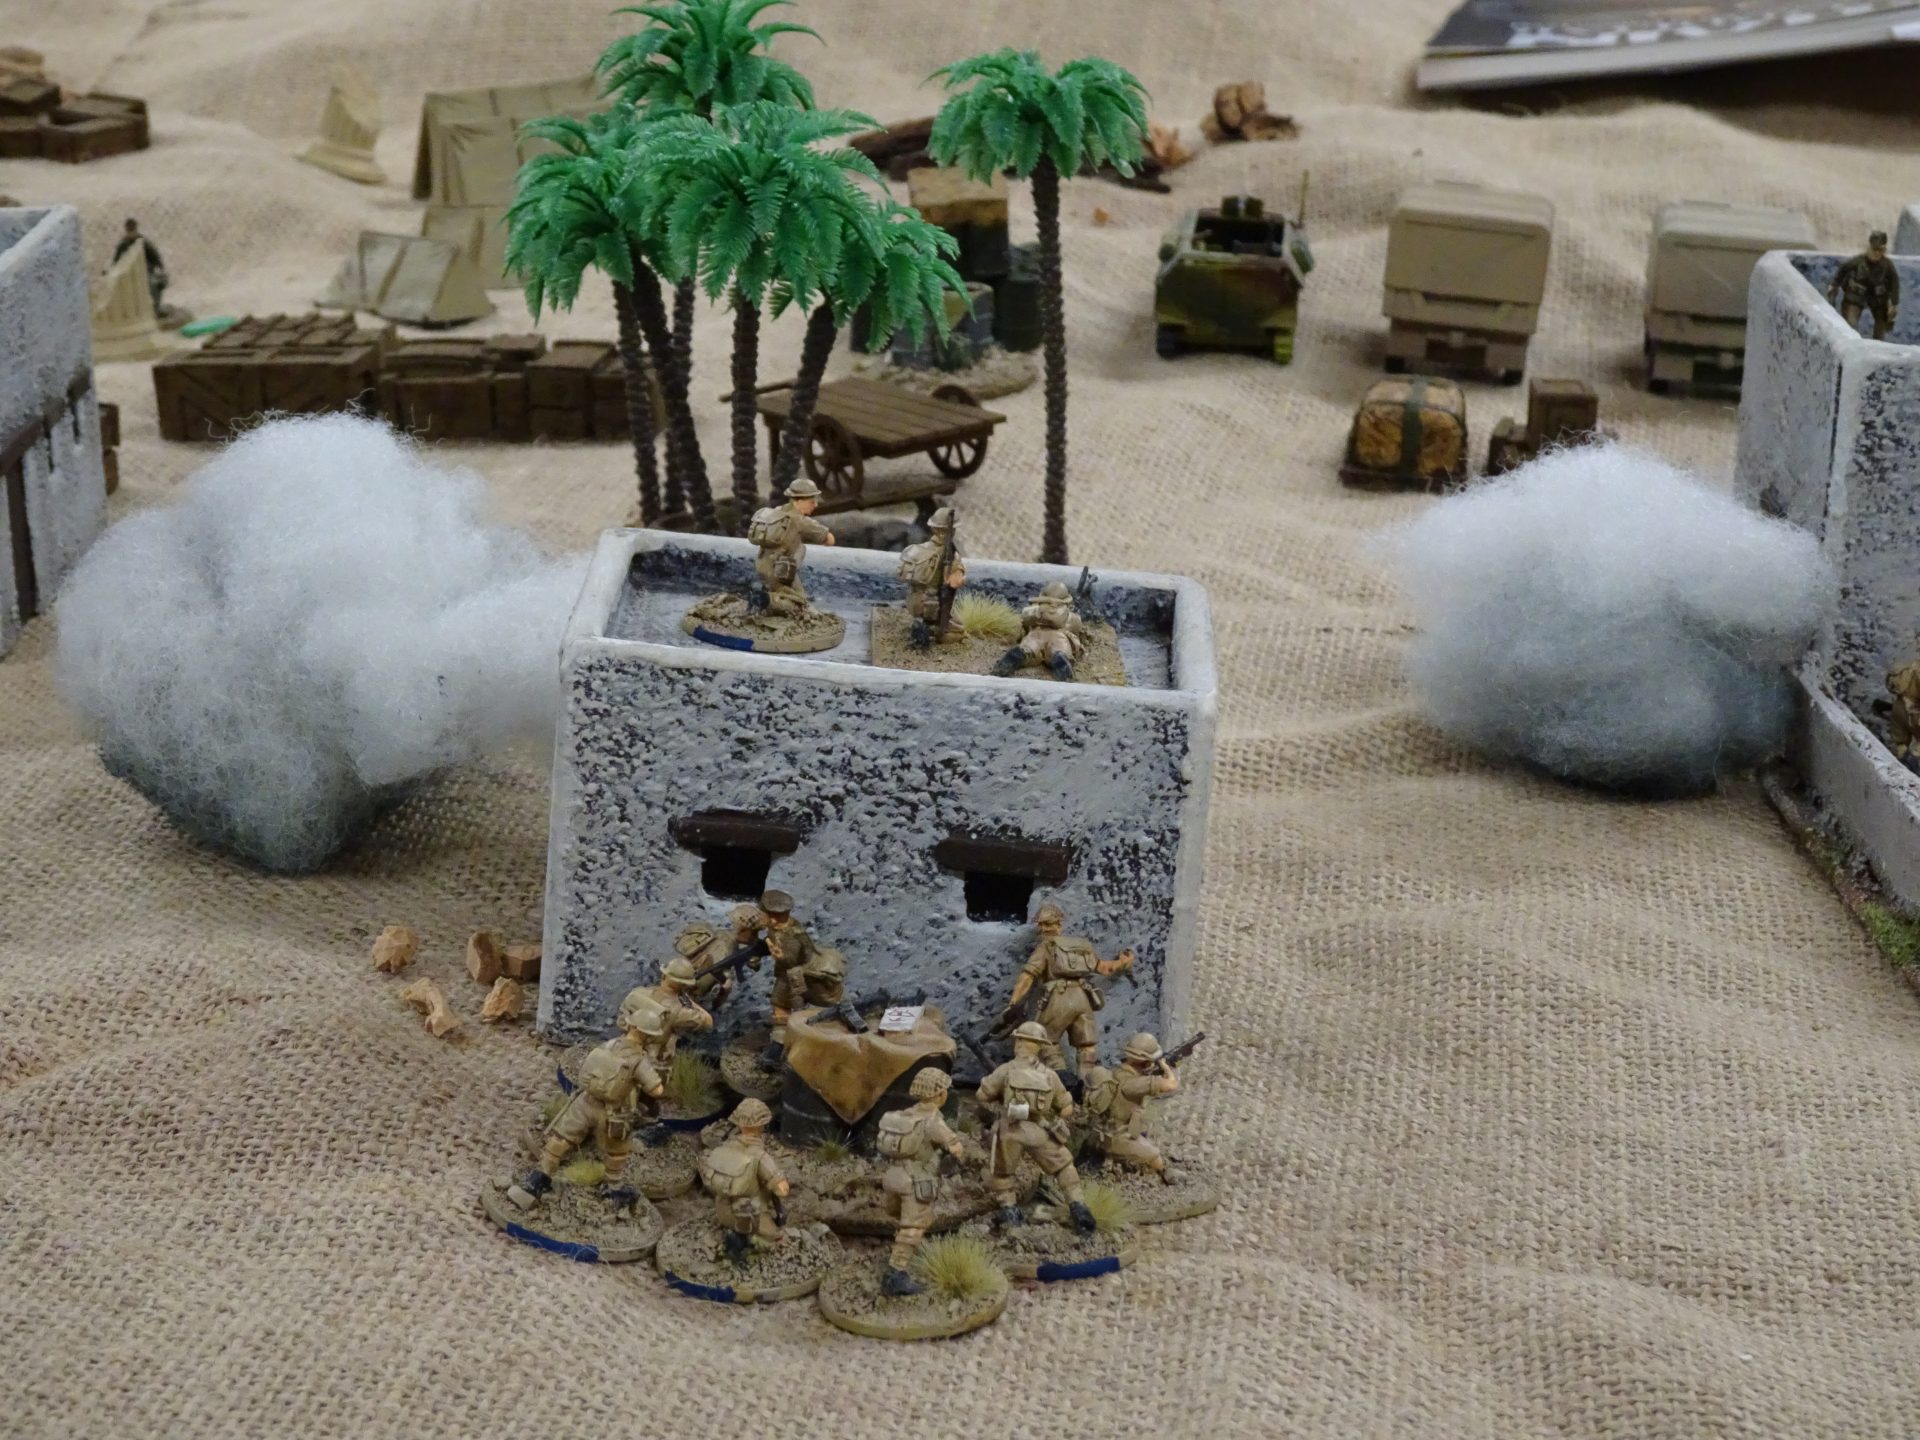
As the Kiwis and Recce boys advanced, they started taking fire from emplaced FJs. Thanks to the two more unconventional forces (in comparison to the stiff upper lip on my side of the board) getting along rather well, the call for smoke went out and was answered.
Due to the terrain, the Kiwis and Recce boys were both heading to the centre of the map, forced through a small gap between the compounds. It’s very easy to imagine the two groups pushing each other on with some shouted jibes. Or that might just be the two players.
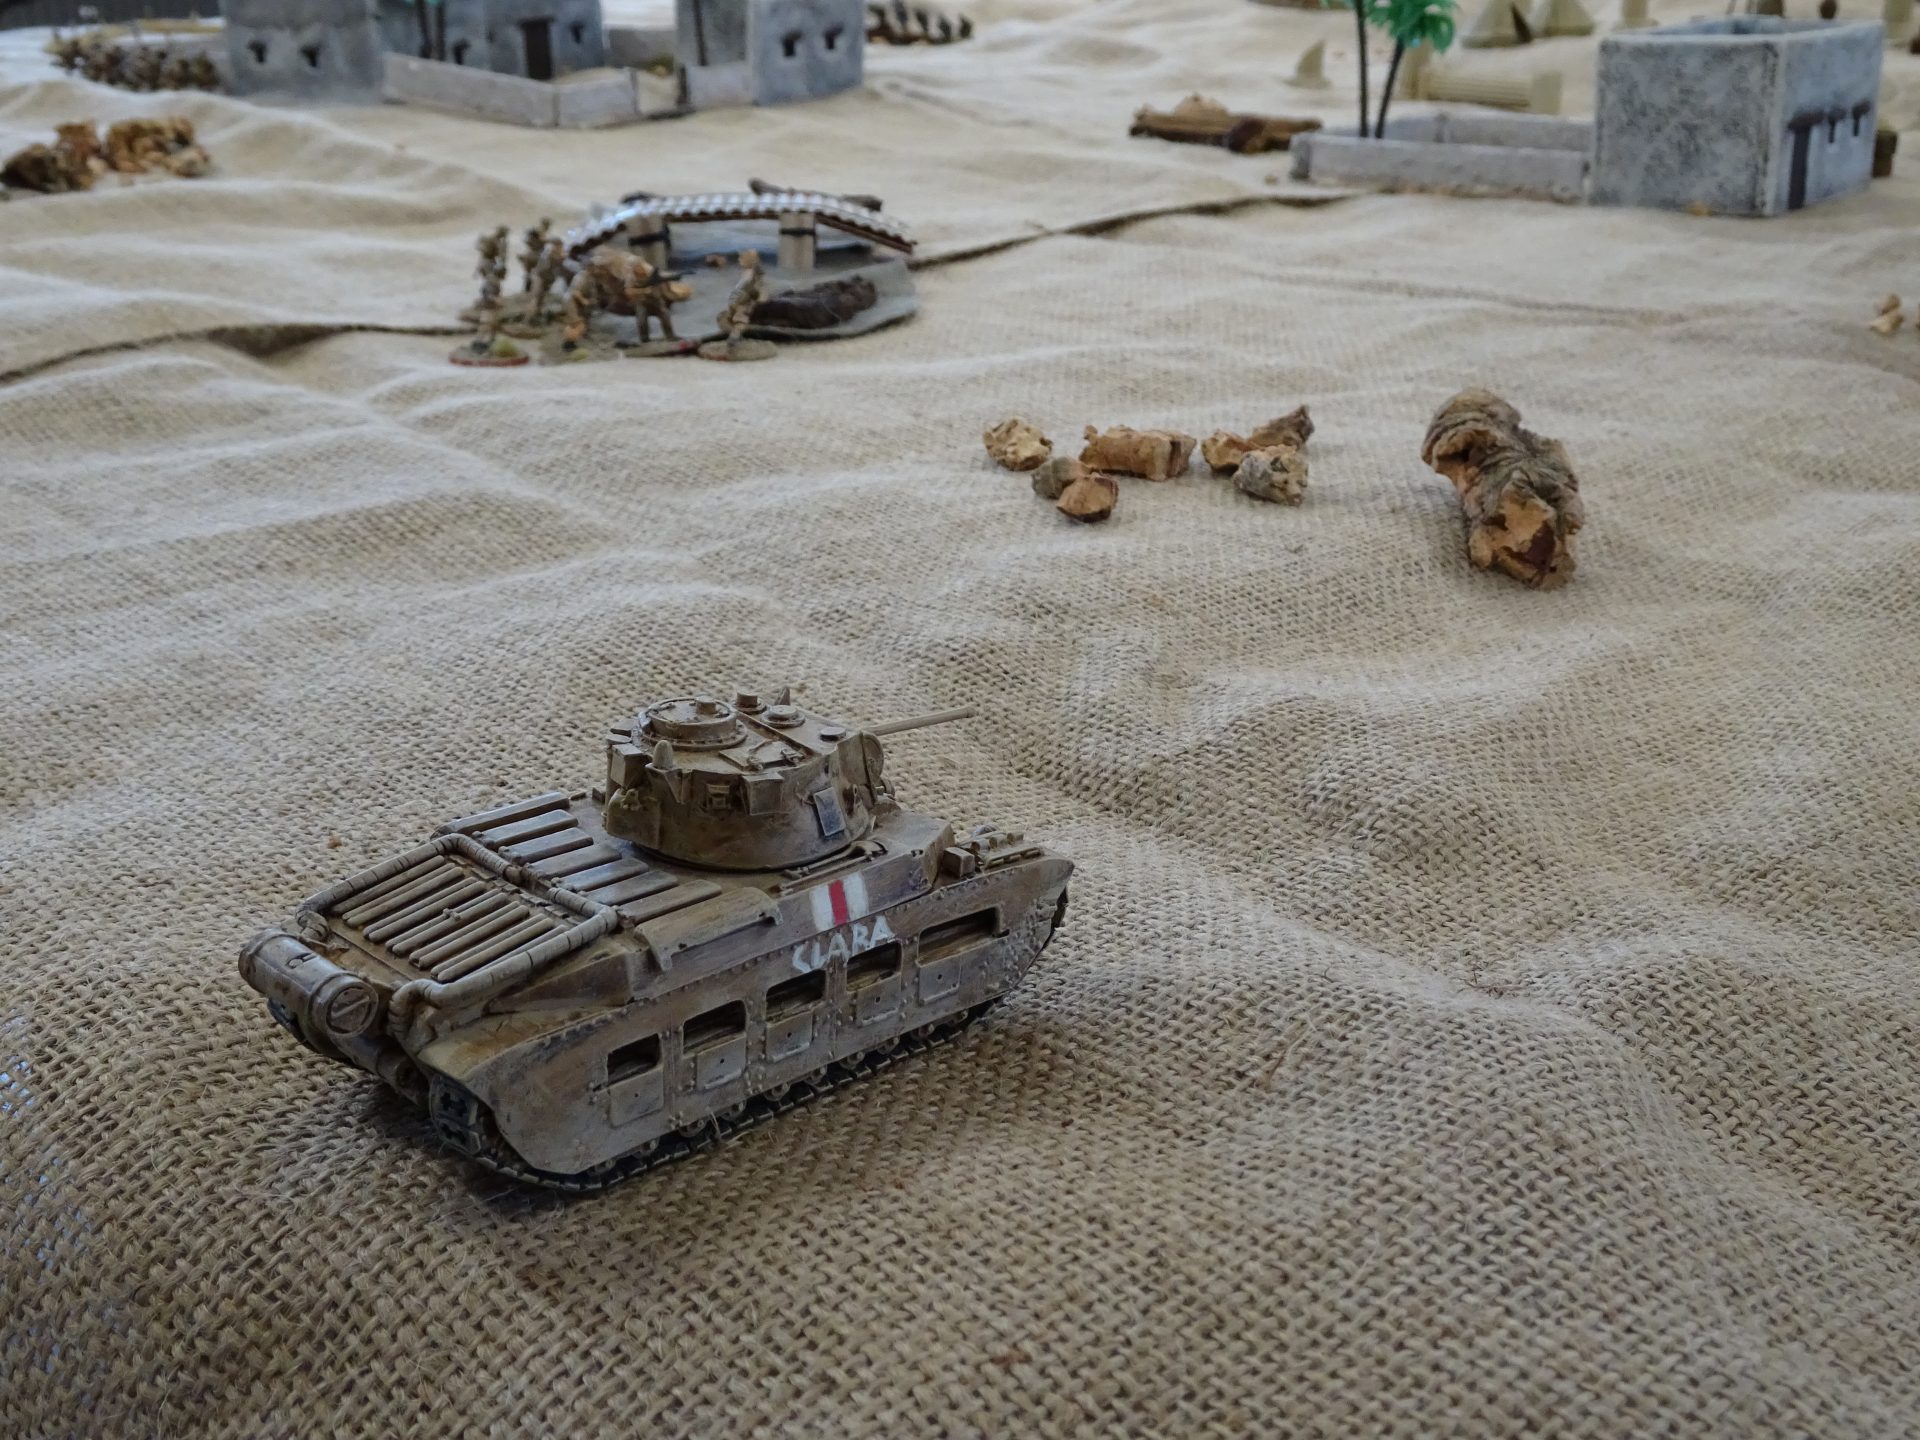
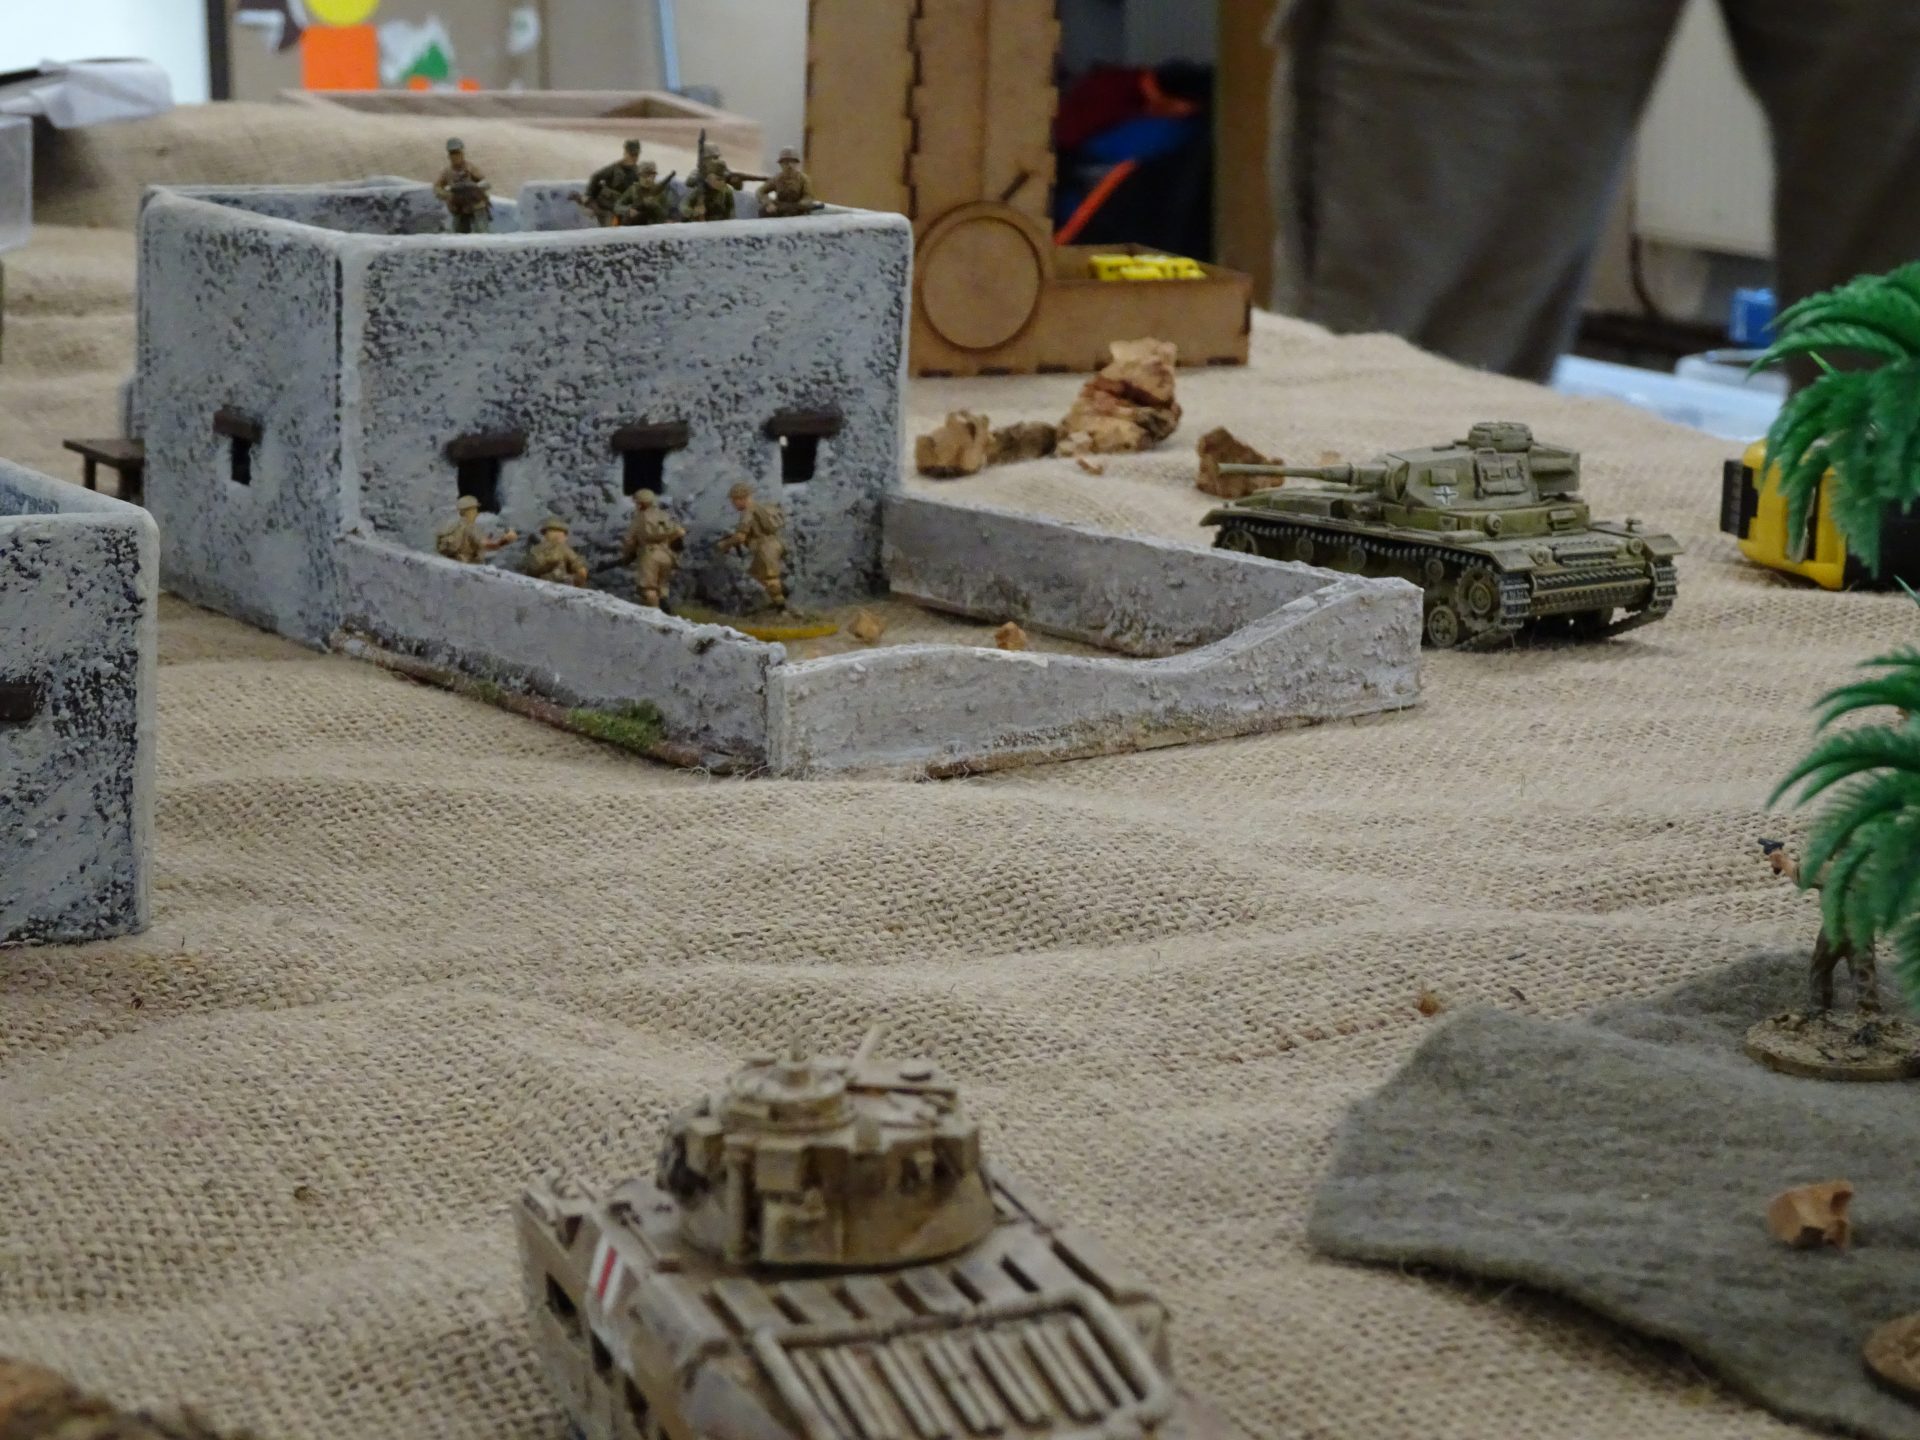
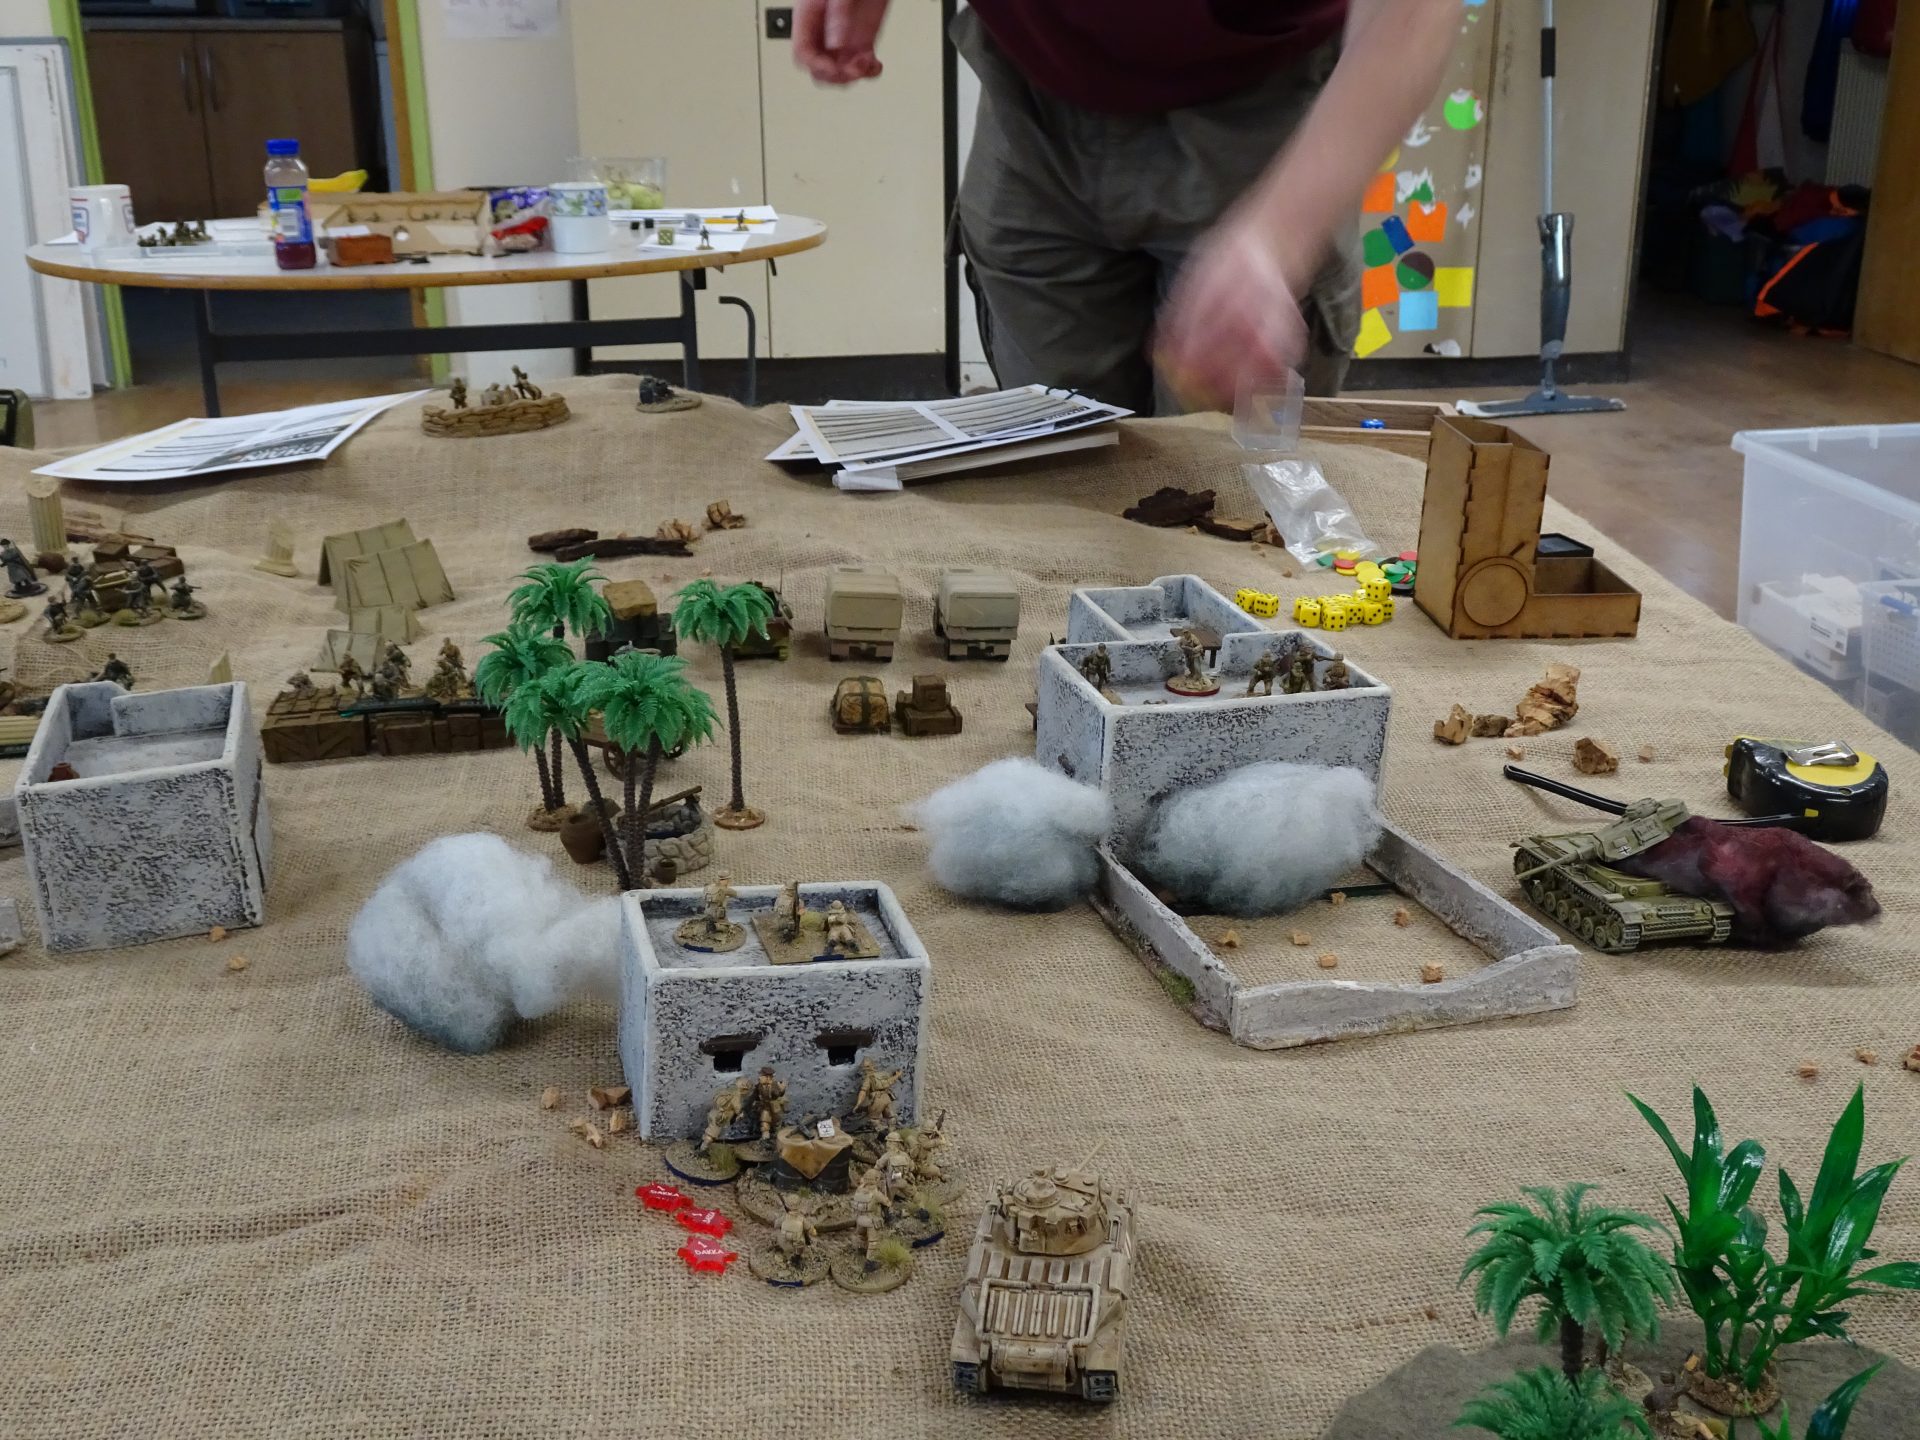
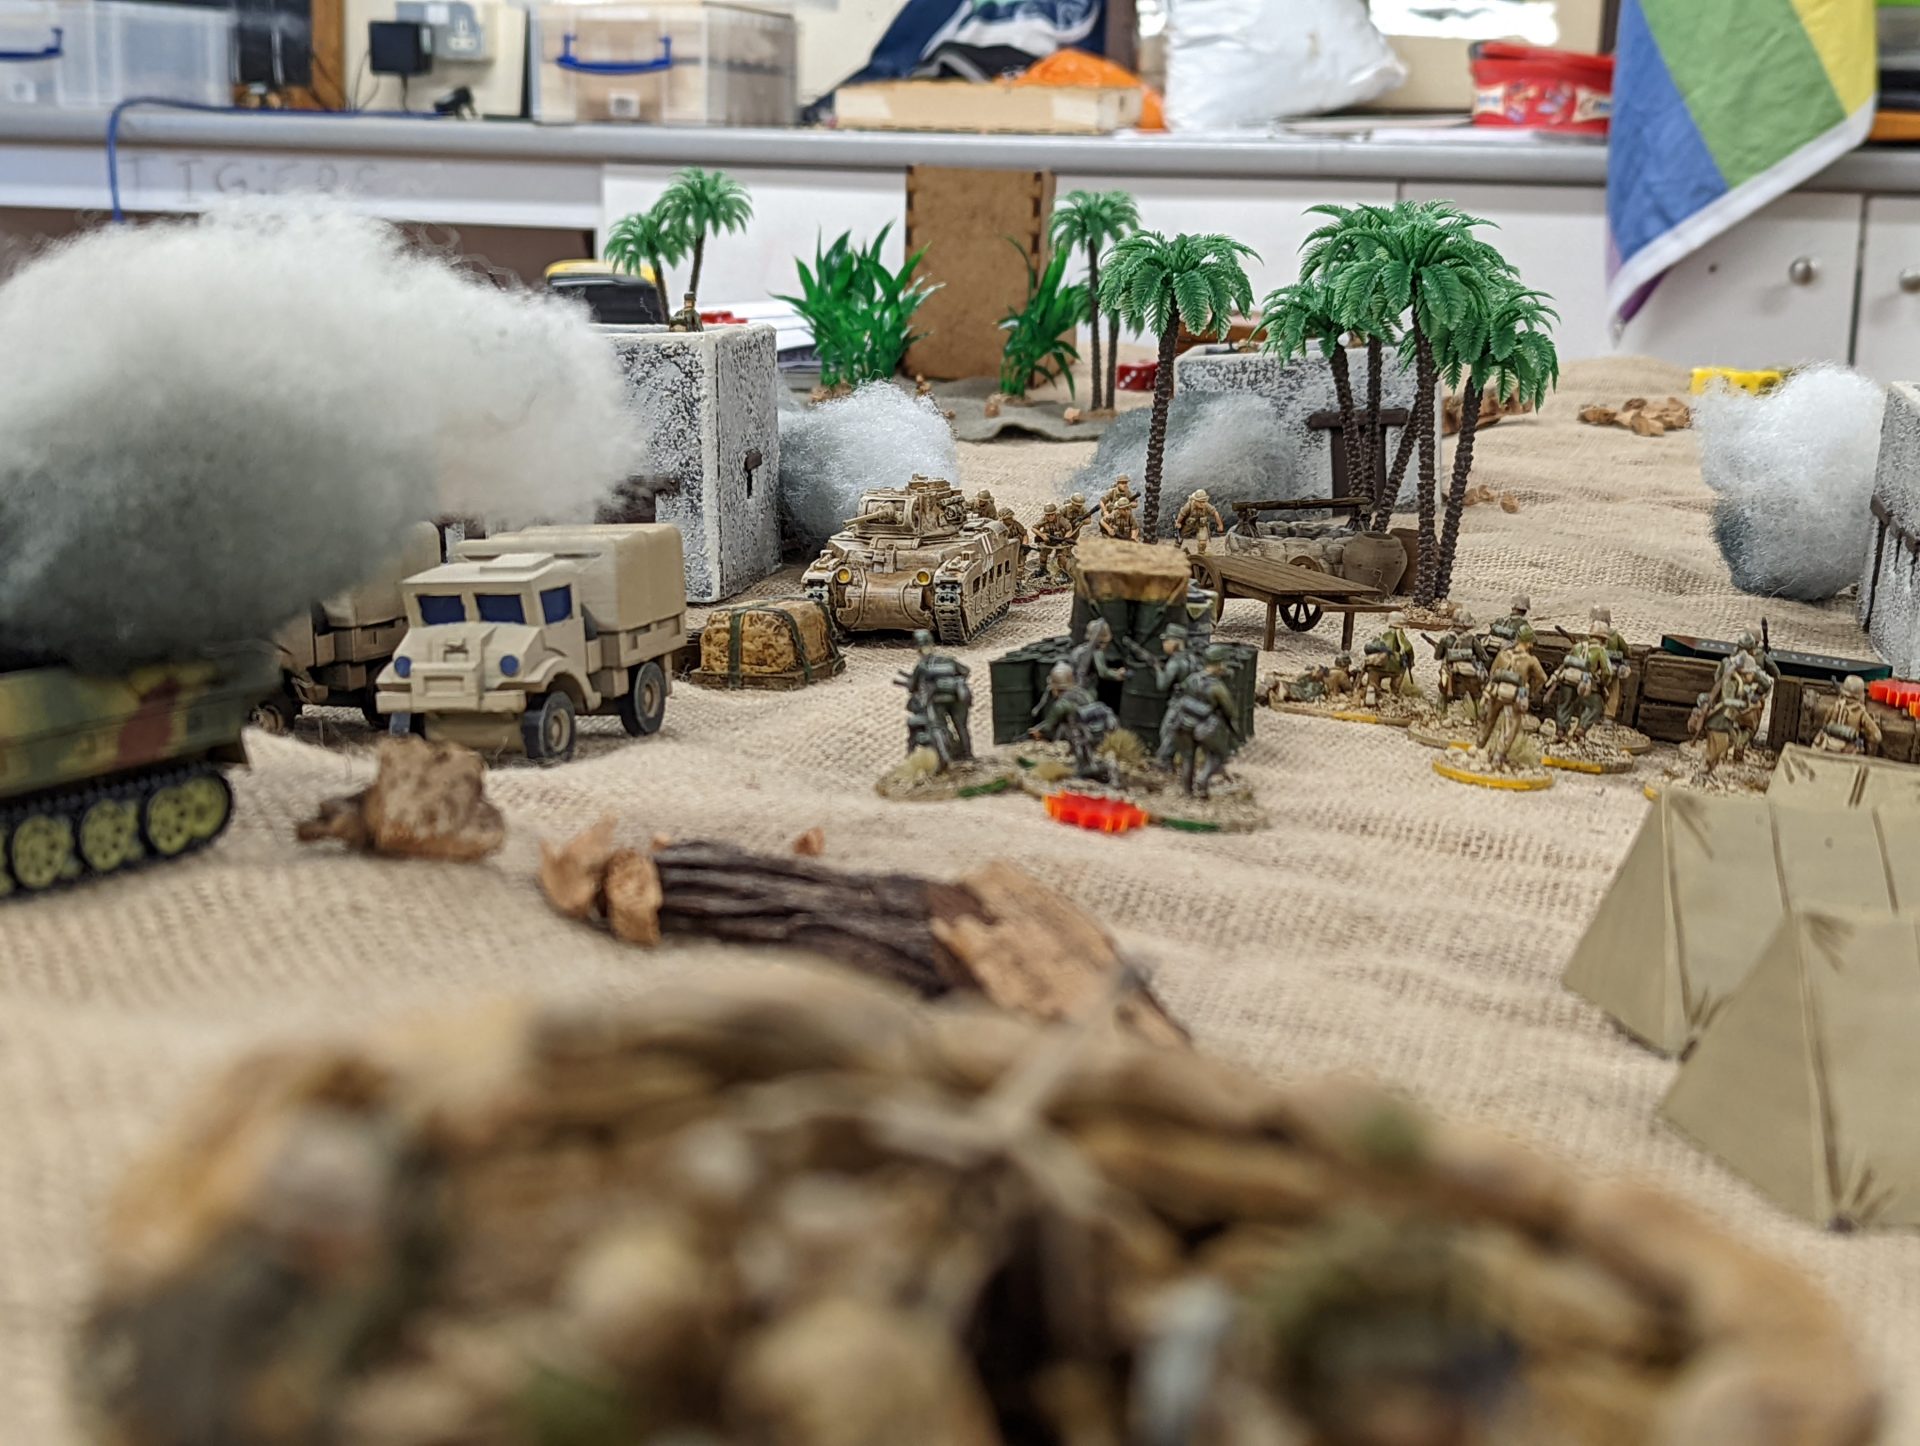
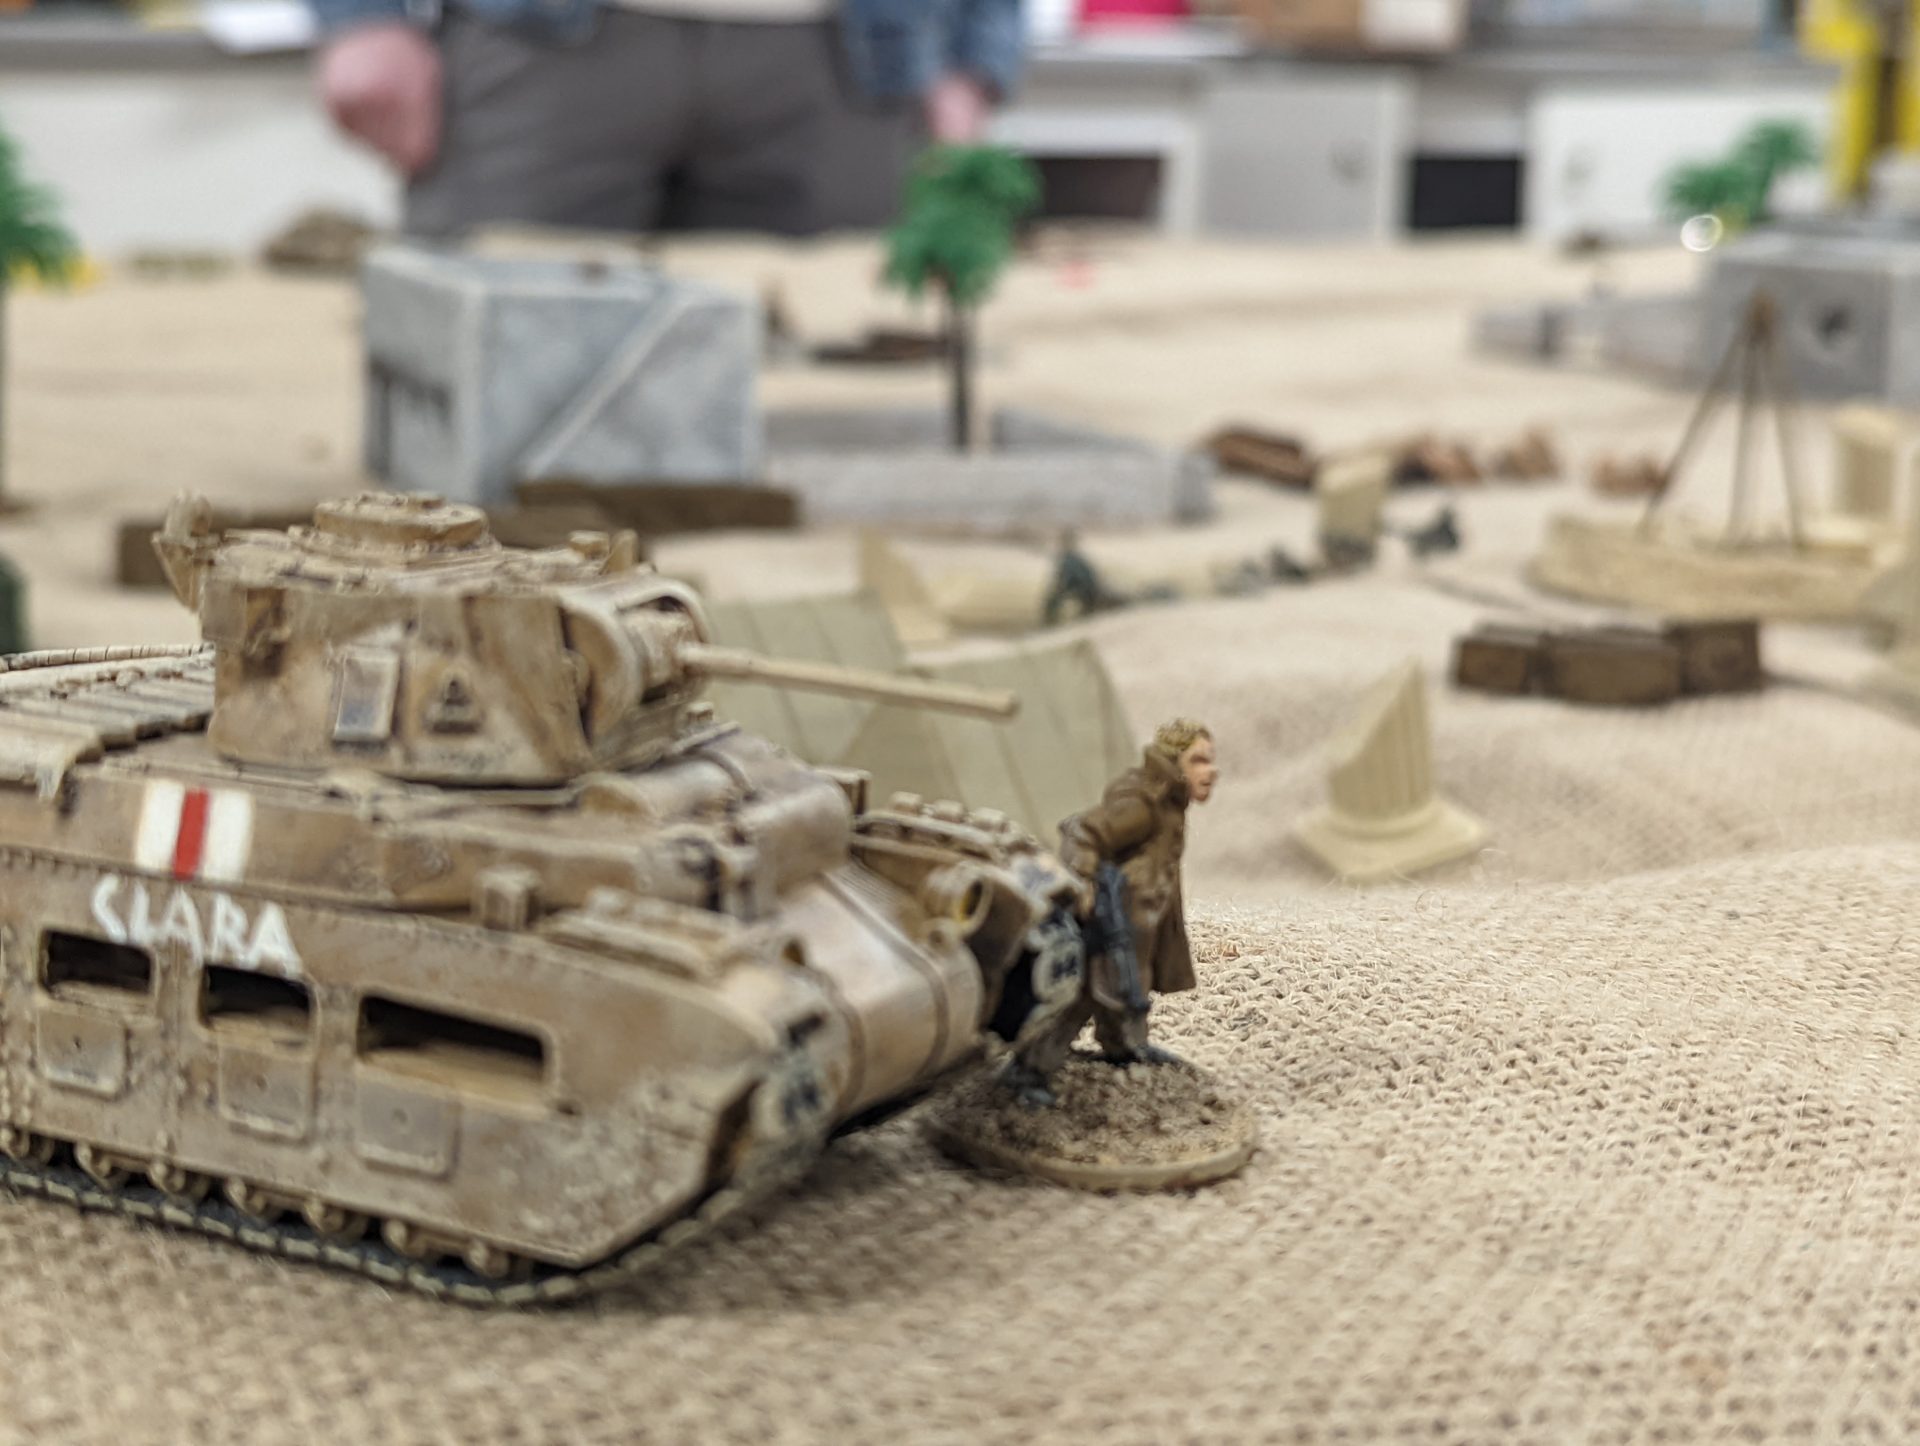
On the other hand, “Clara” supporting the Scots and Yorks rumbled into the operational area, setting the stage for some possible tank on tank operations.
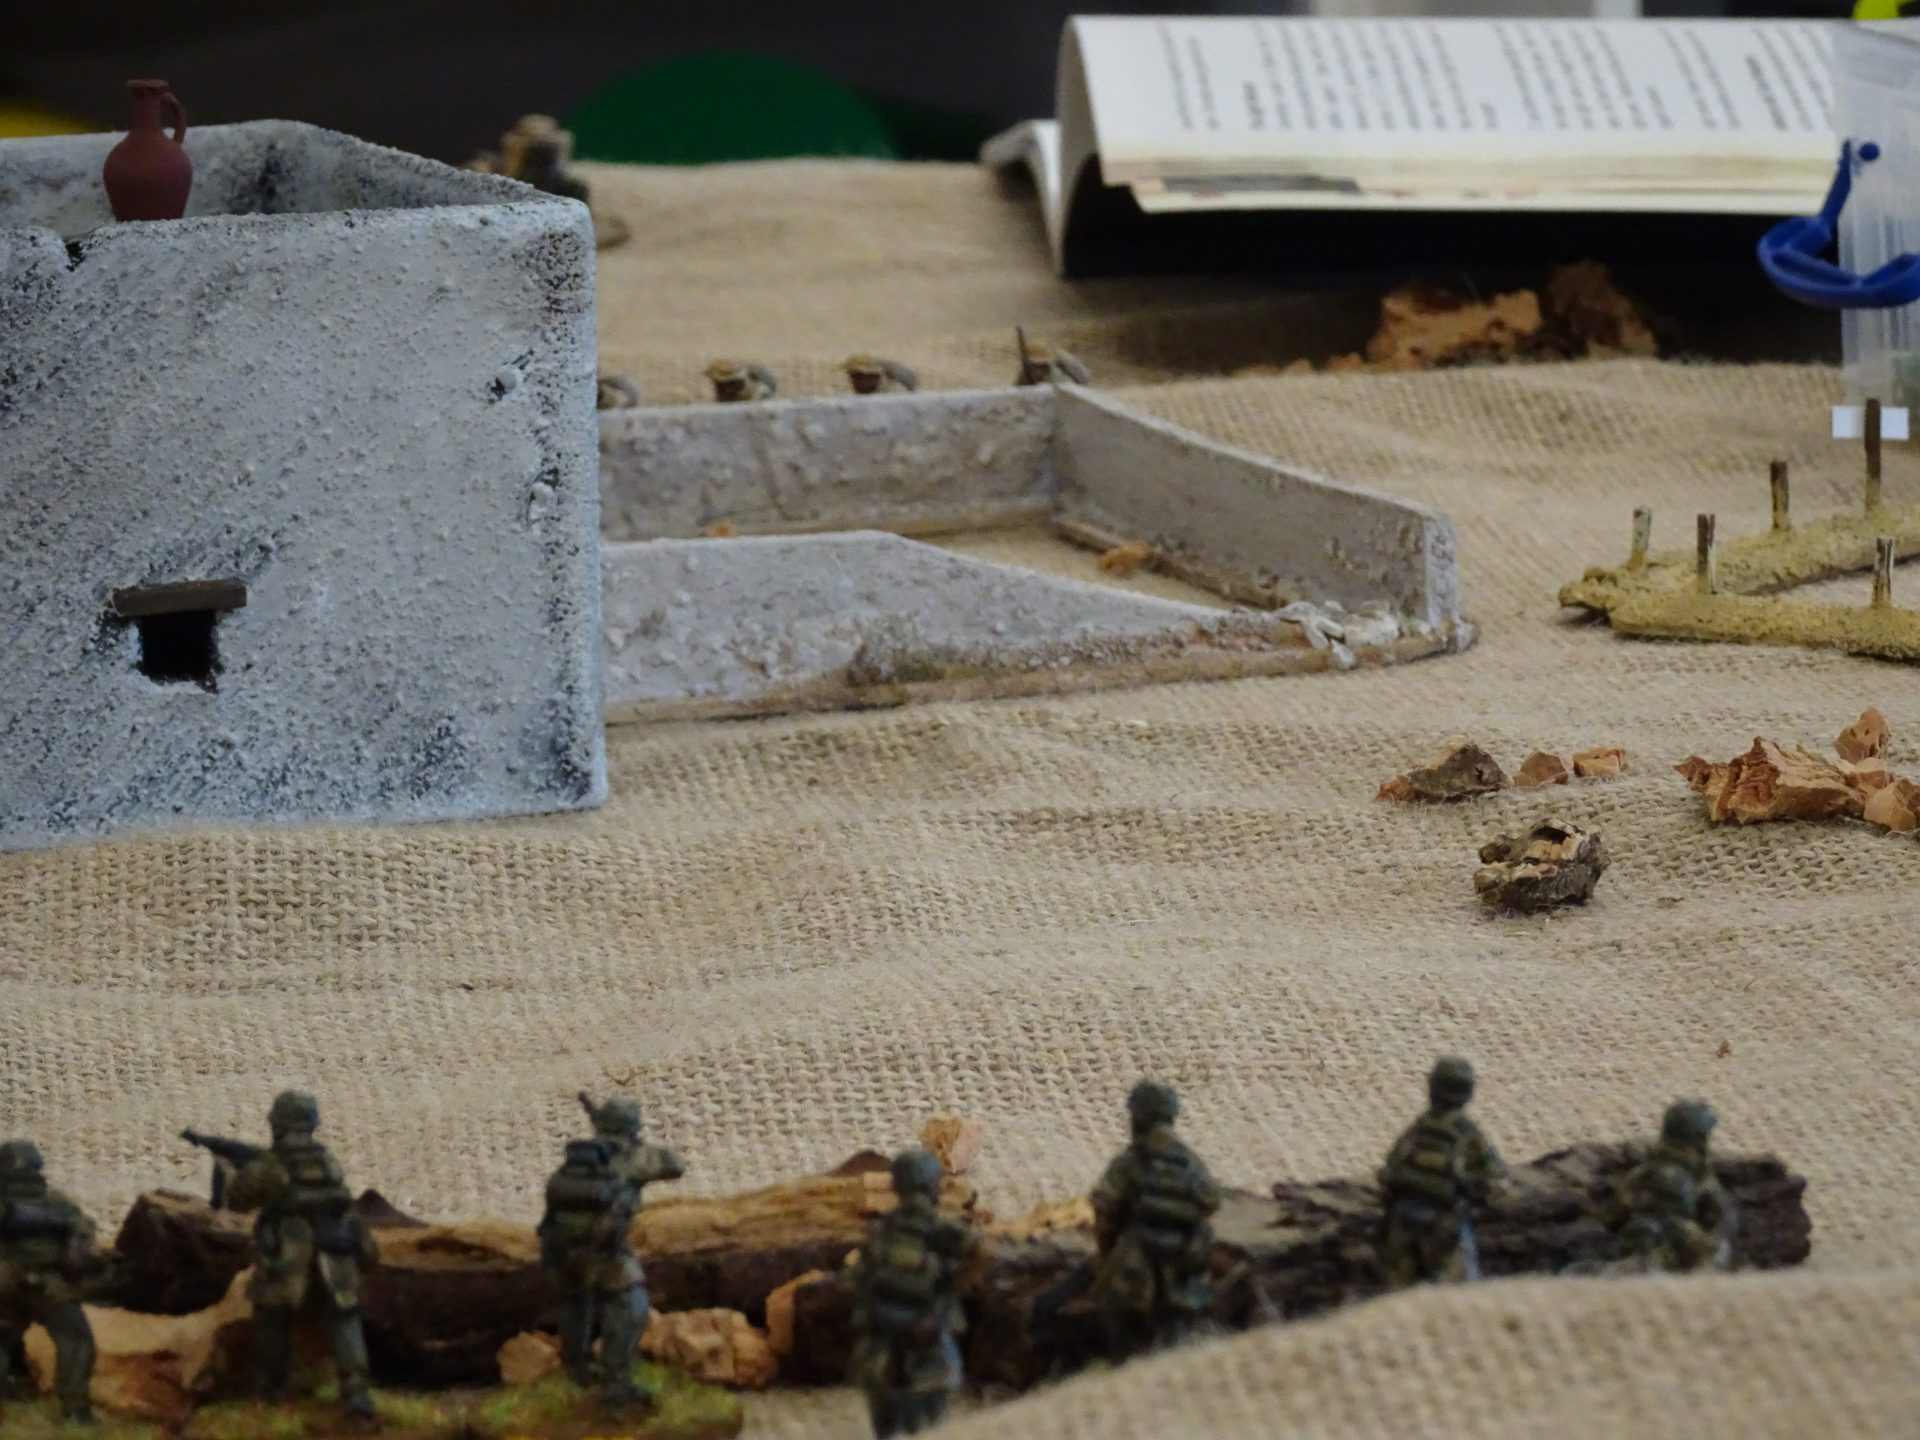
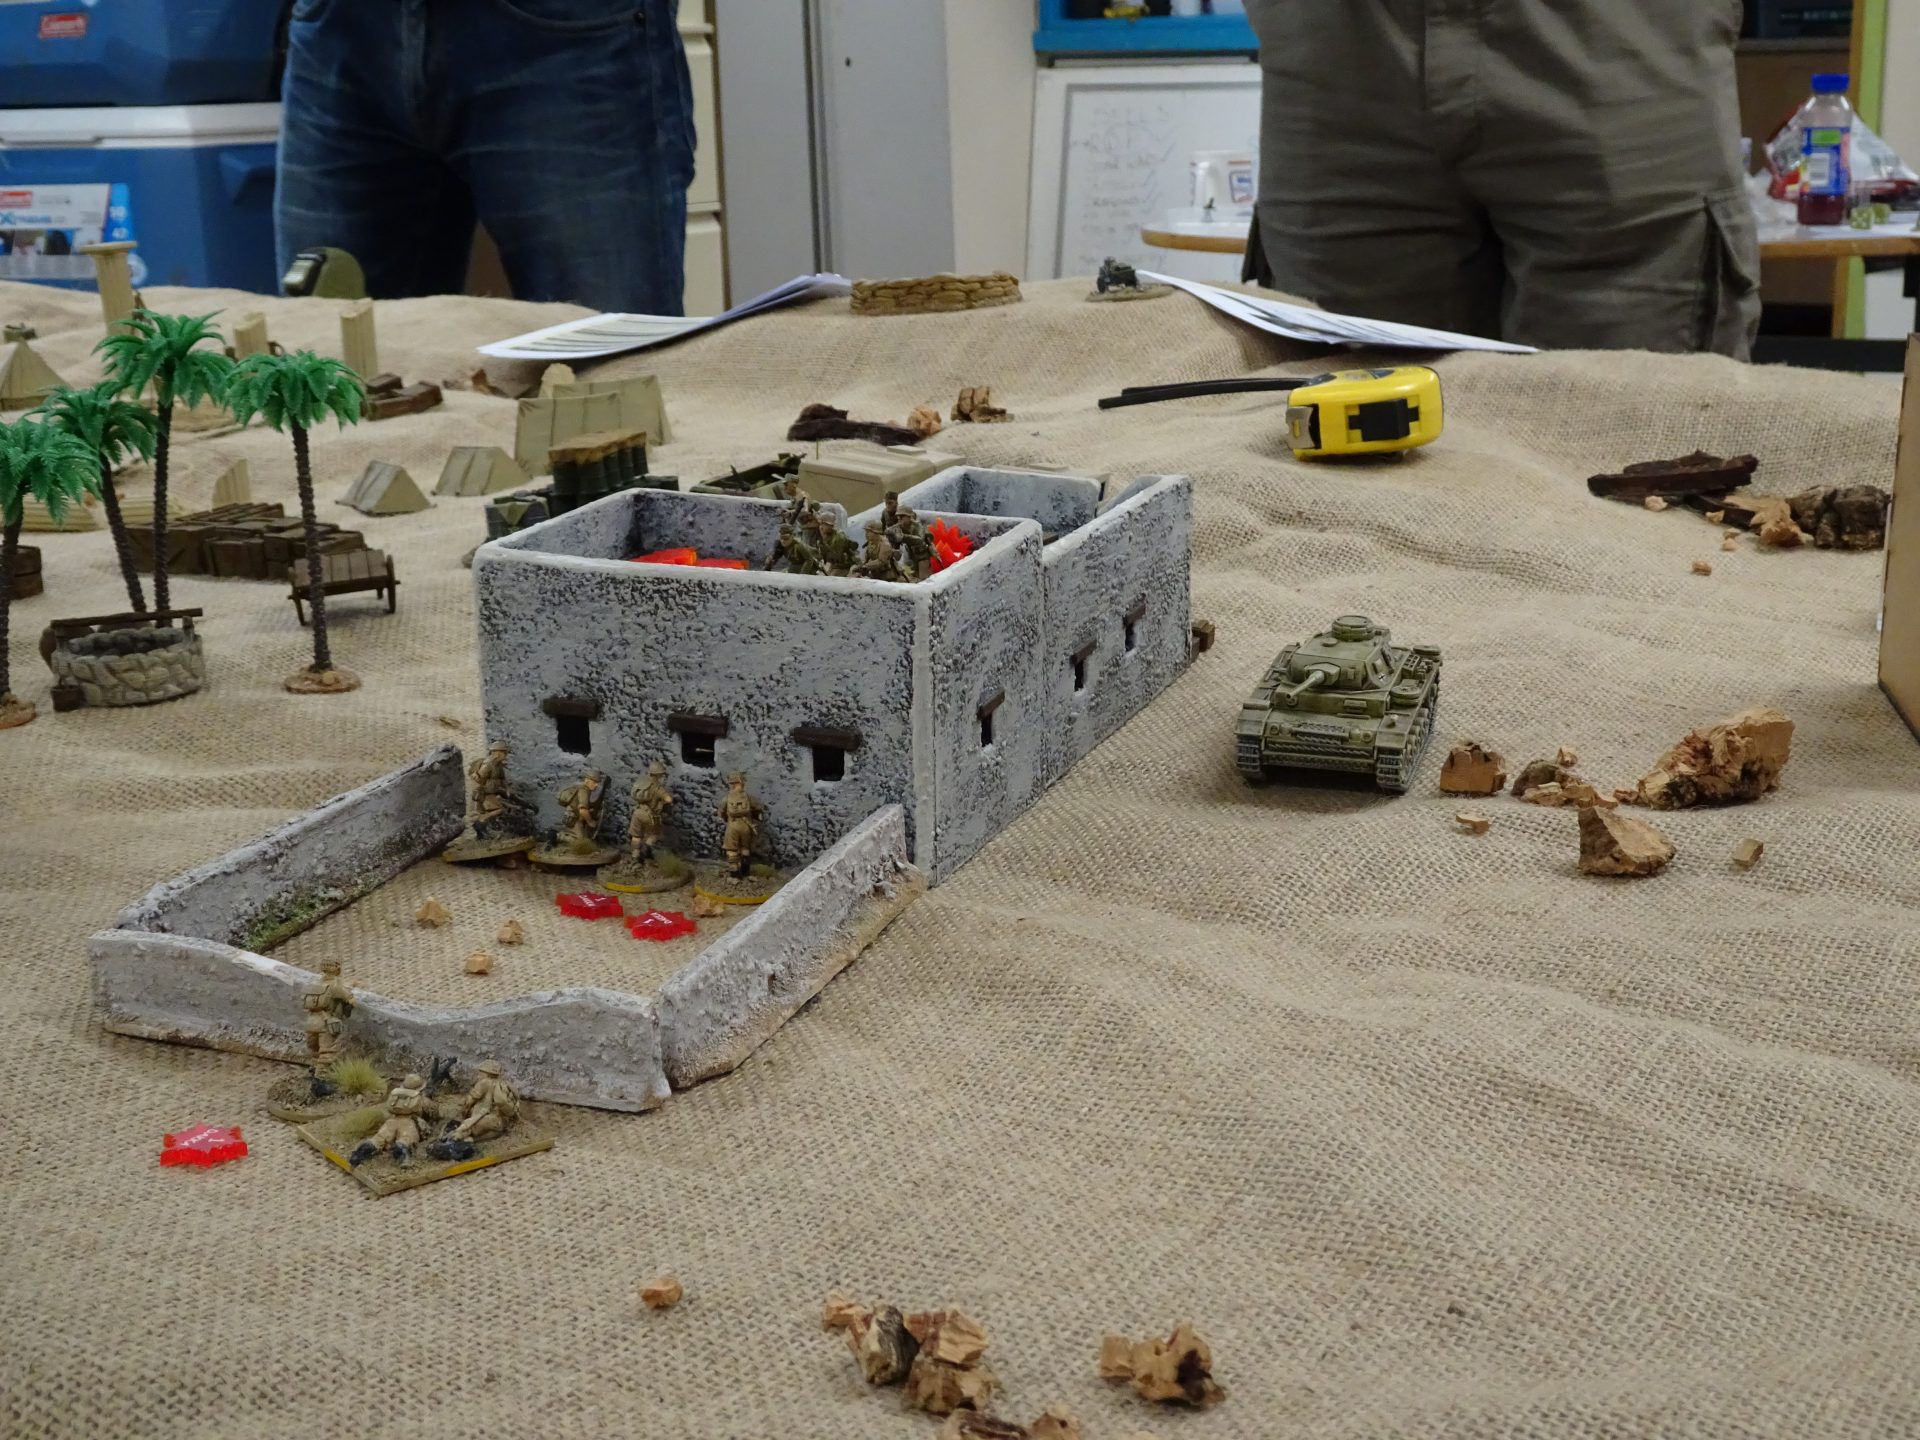
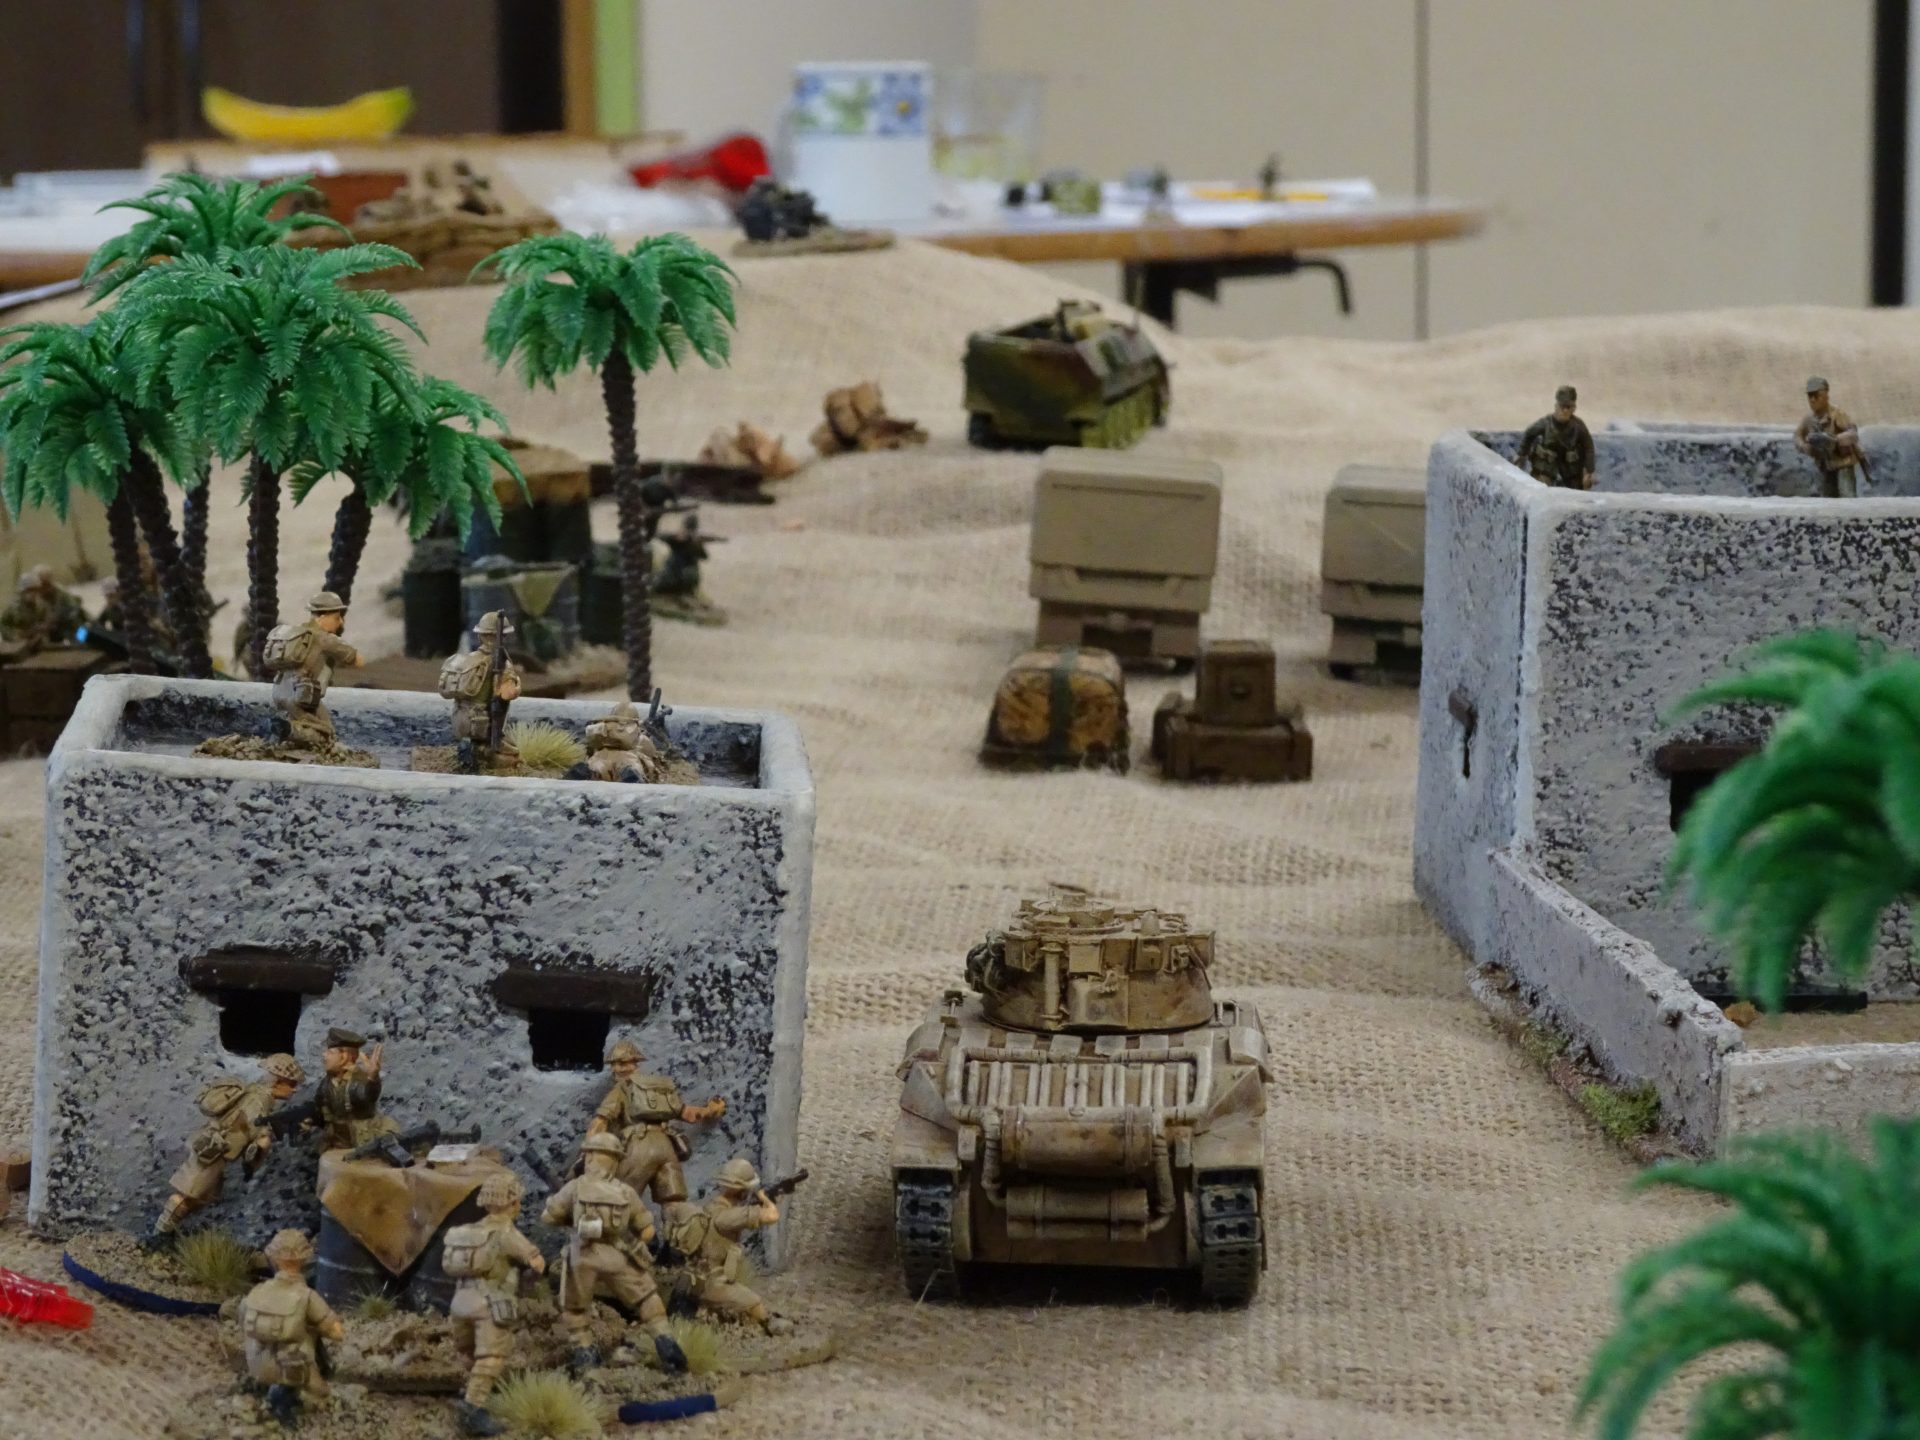
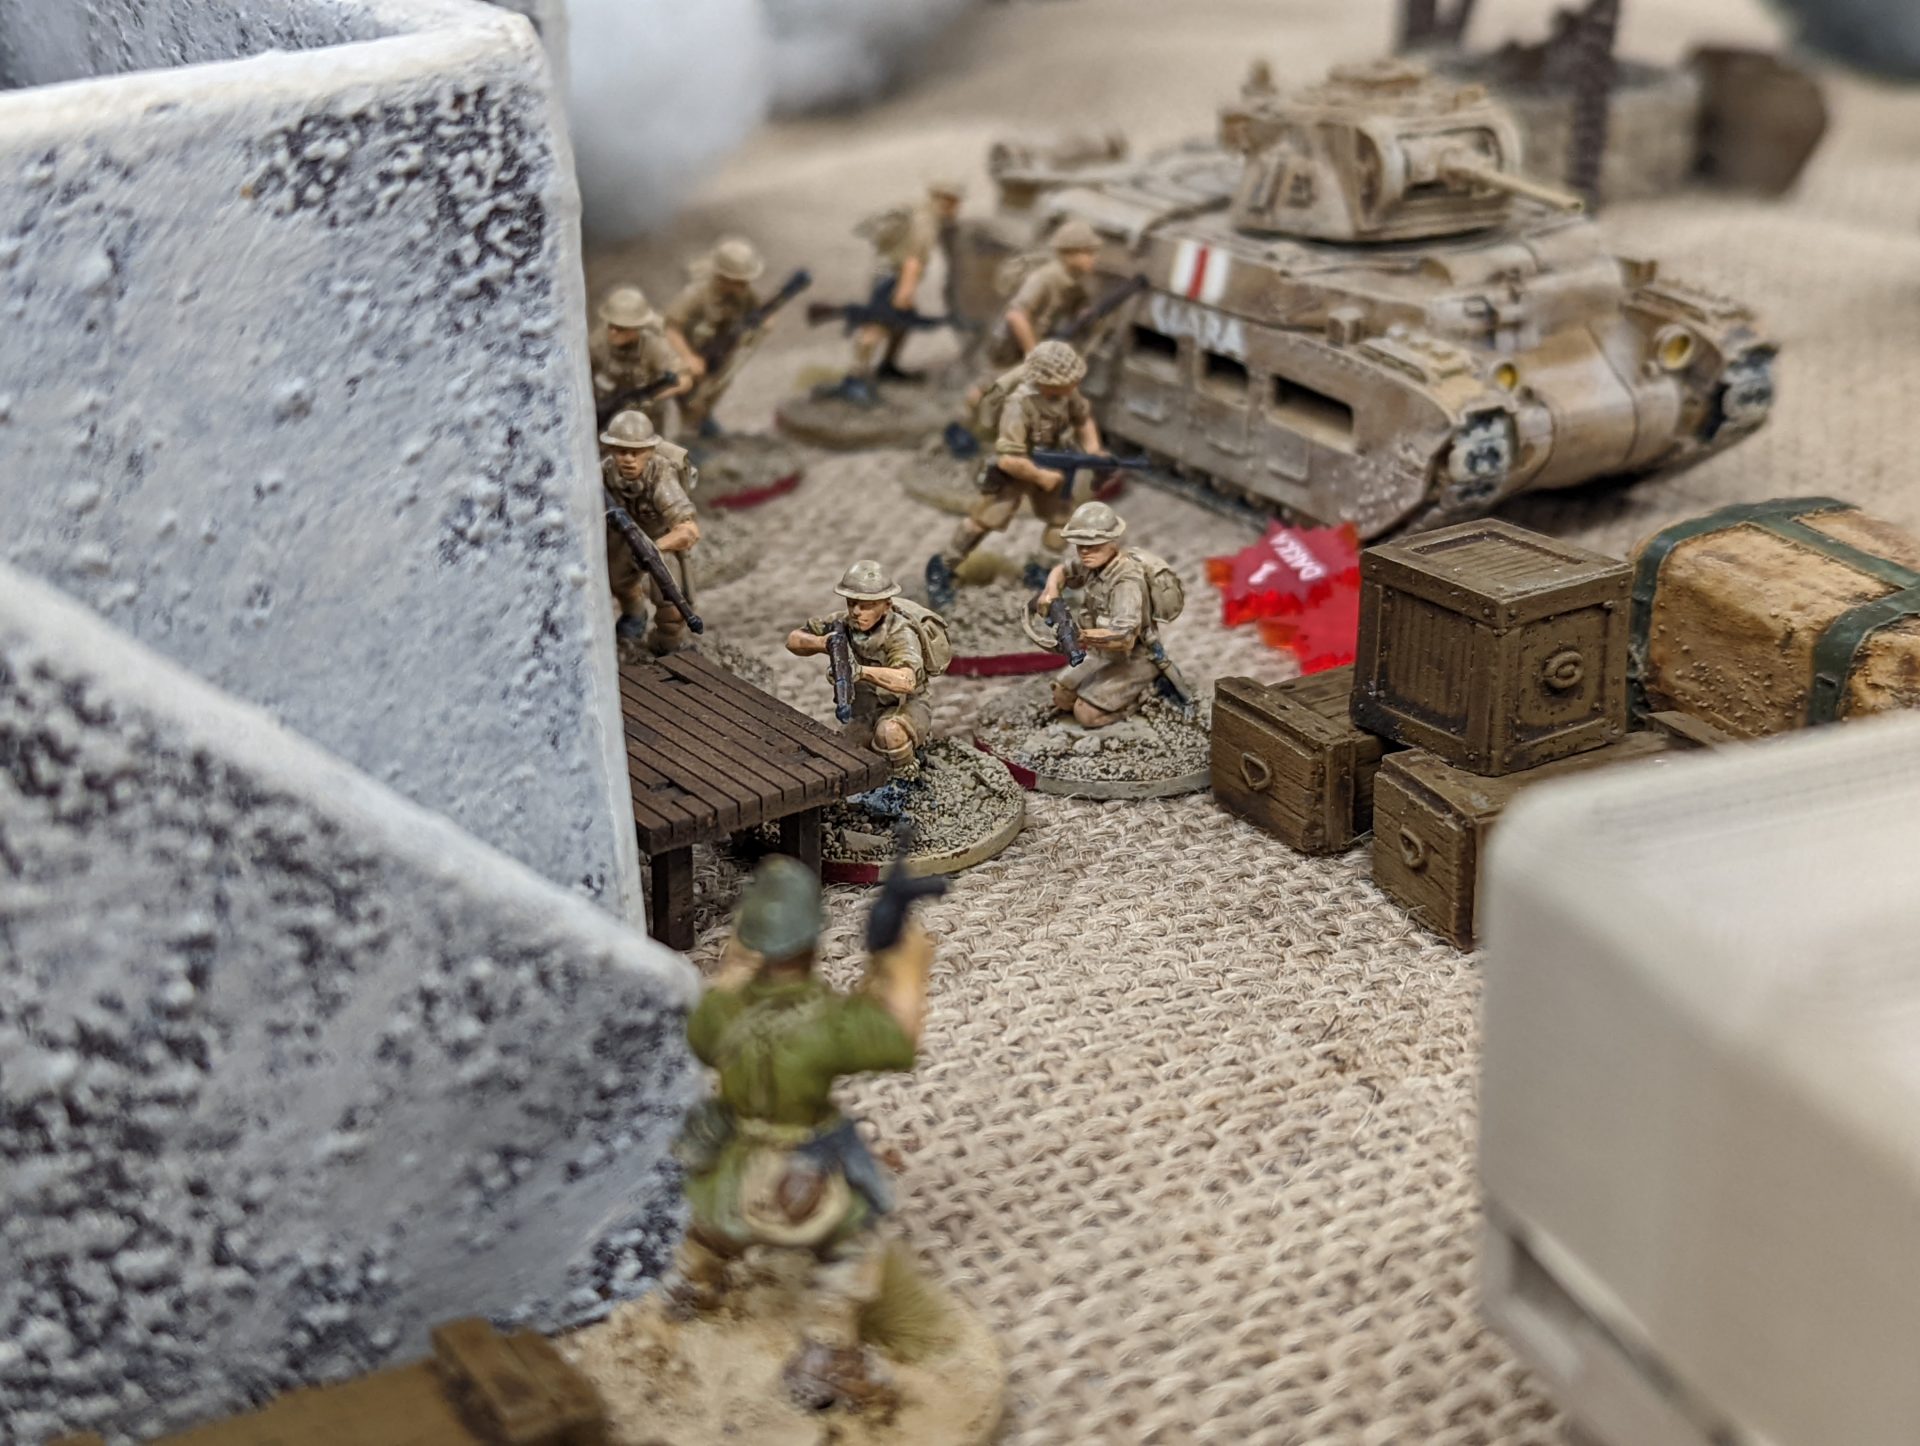
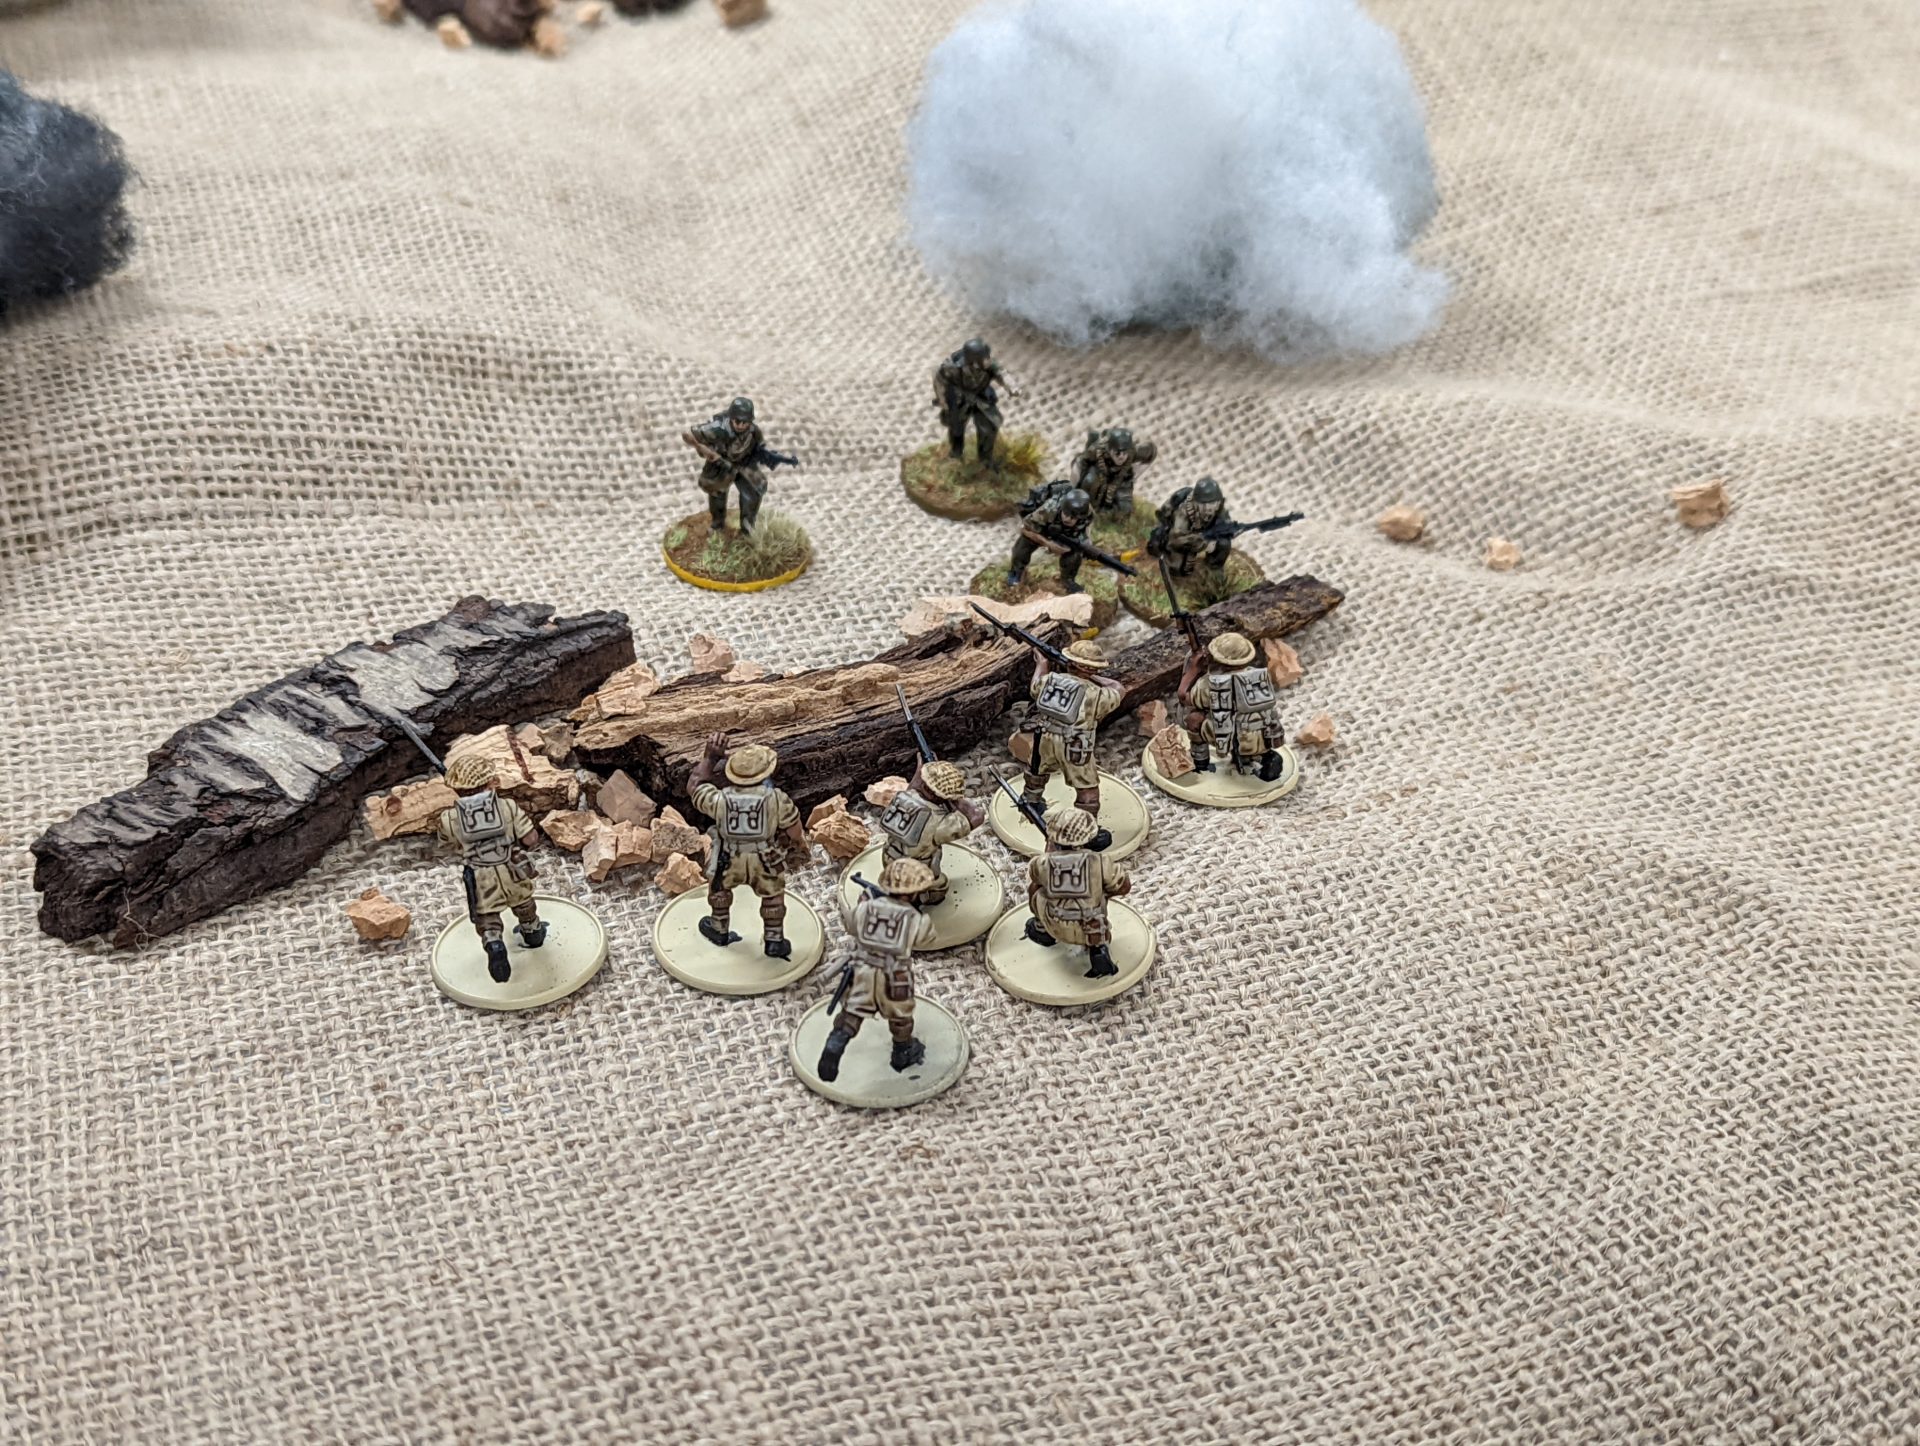
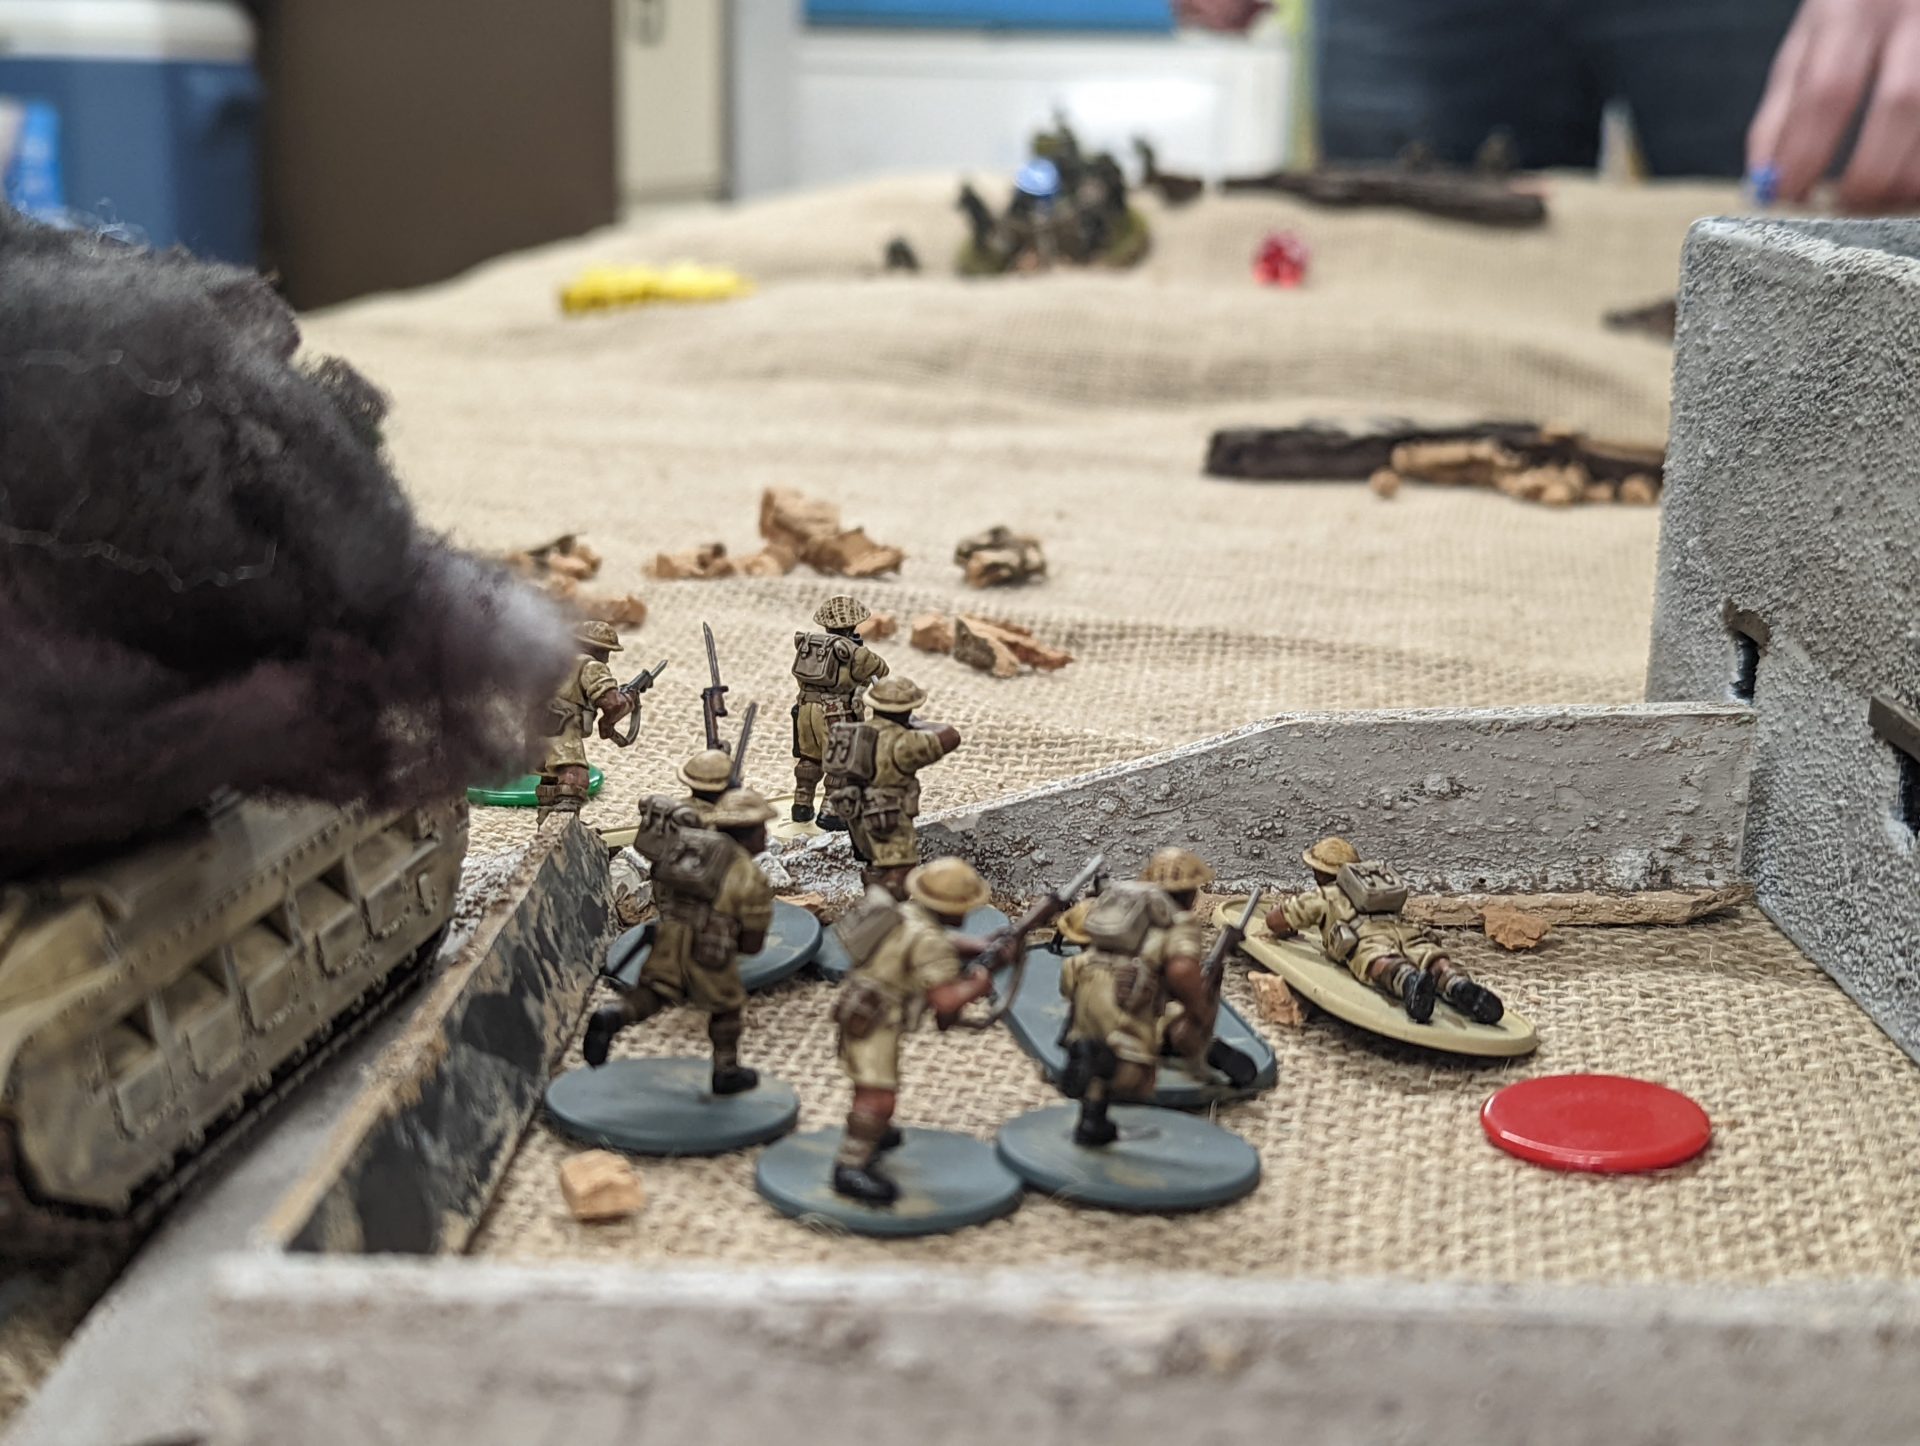
And it arrived just in time as the first section of the Scots/Yorks reached the lead compound on my flank after a brisk run. My intent was to use this first section to force the enemy to deploy some more forces so I could see what I was up against.
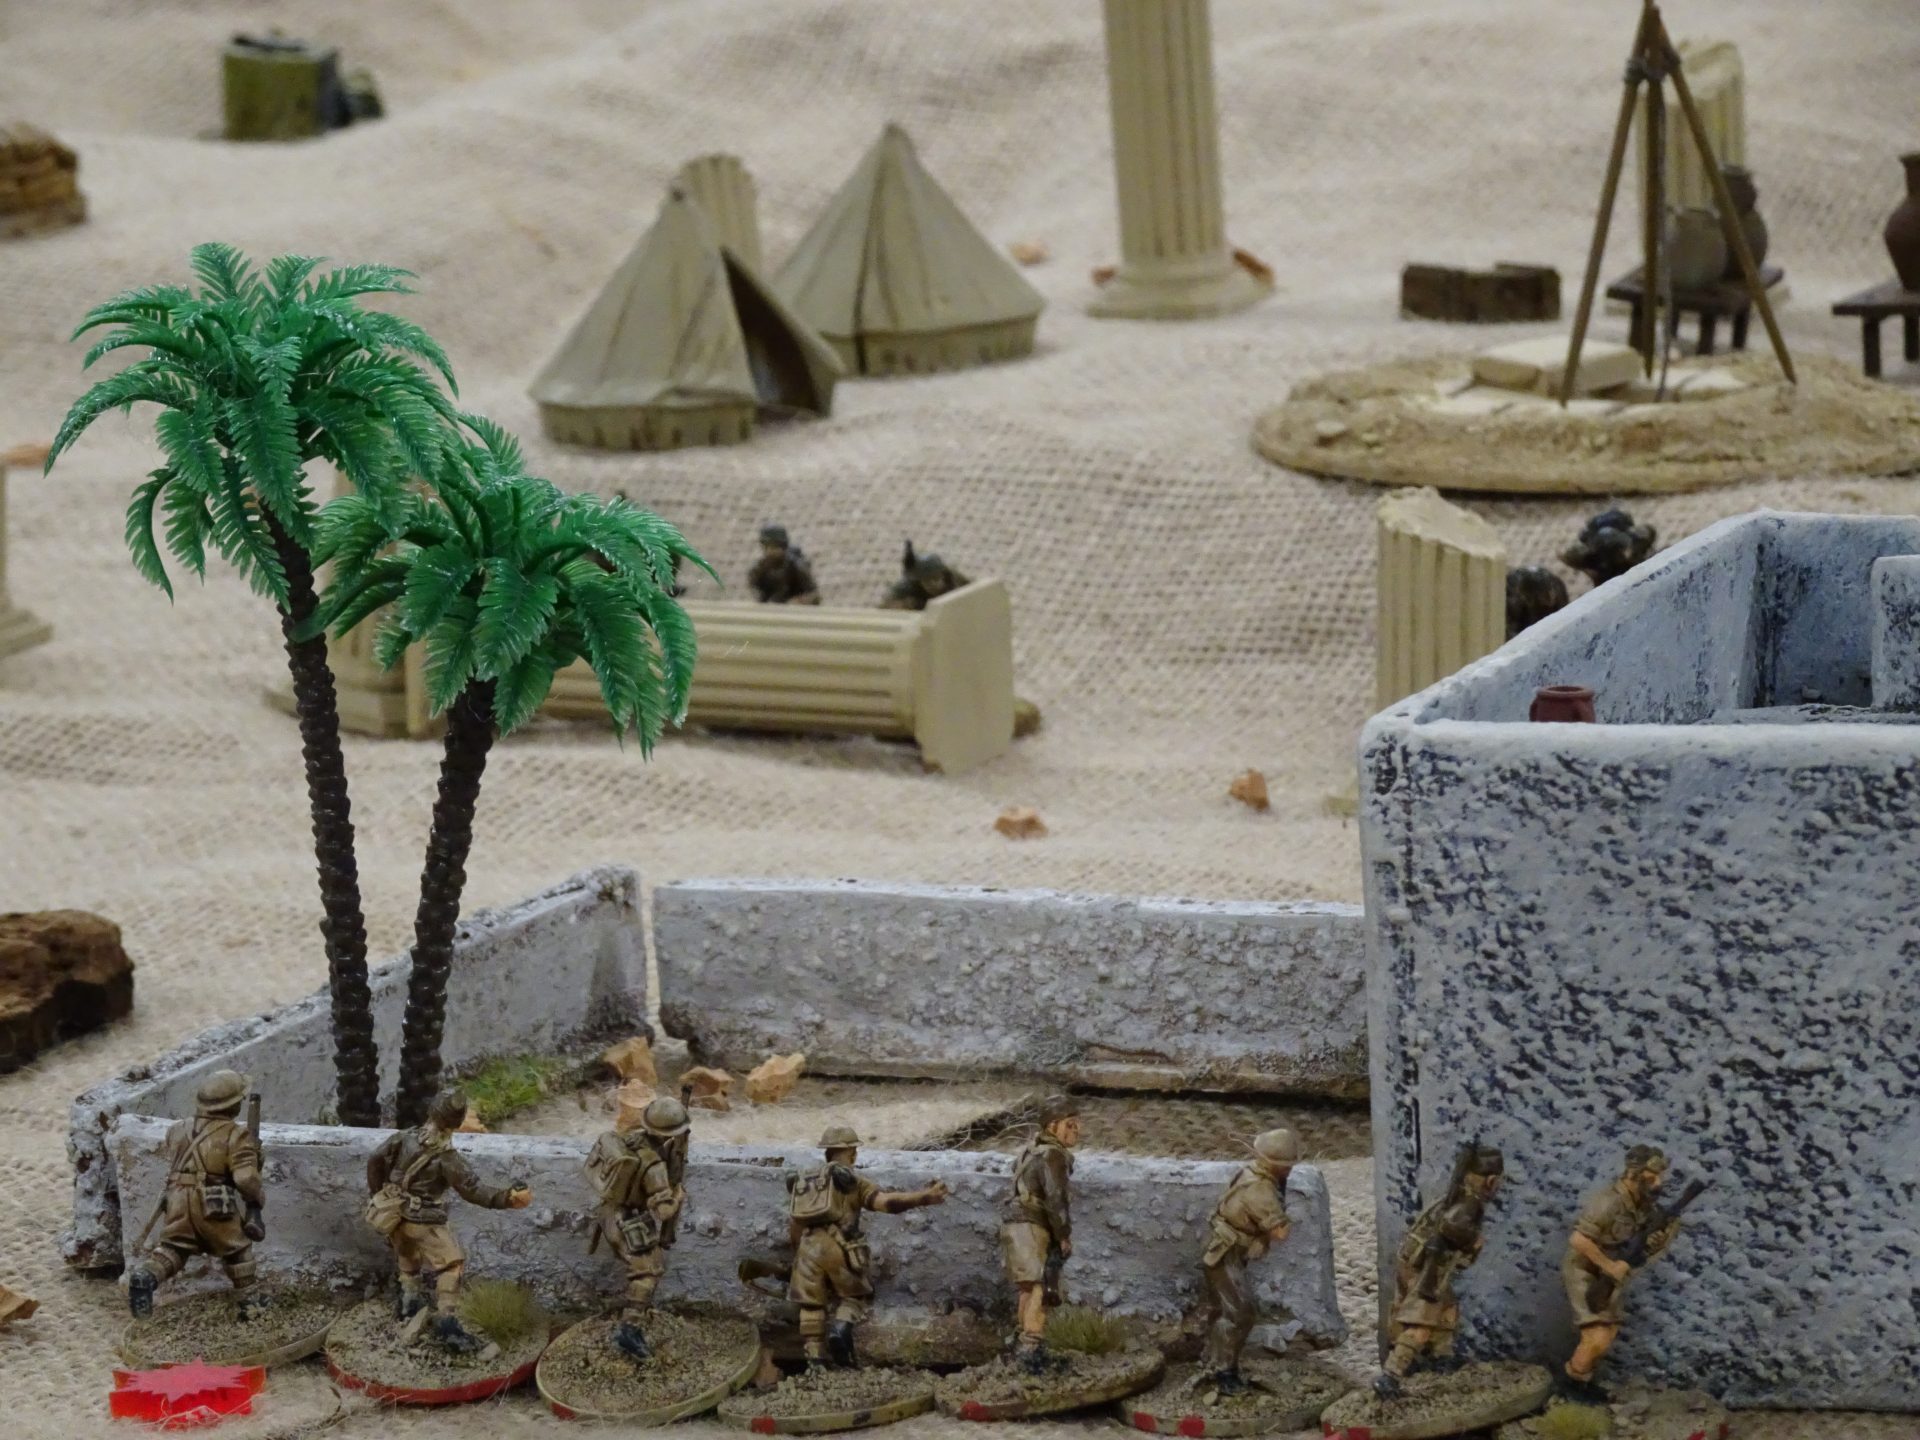
On the other flank, the FJs continued their long range firefight with the Maori, forcing them to hug cover and slow their advance.
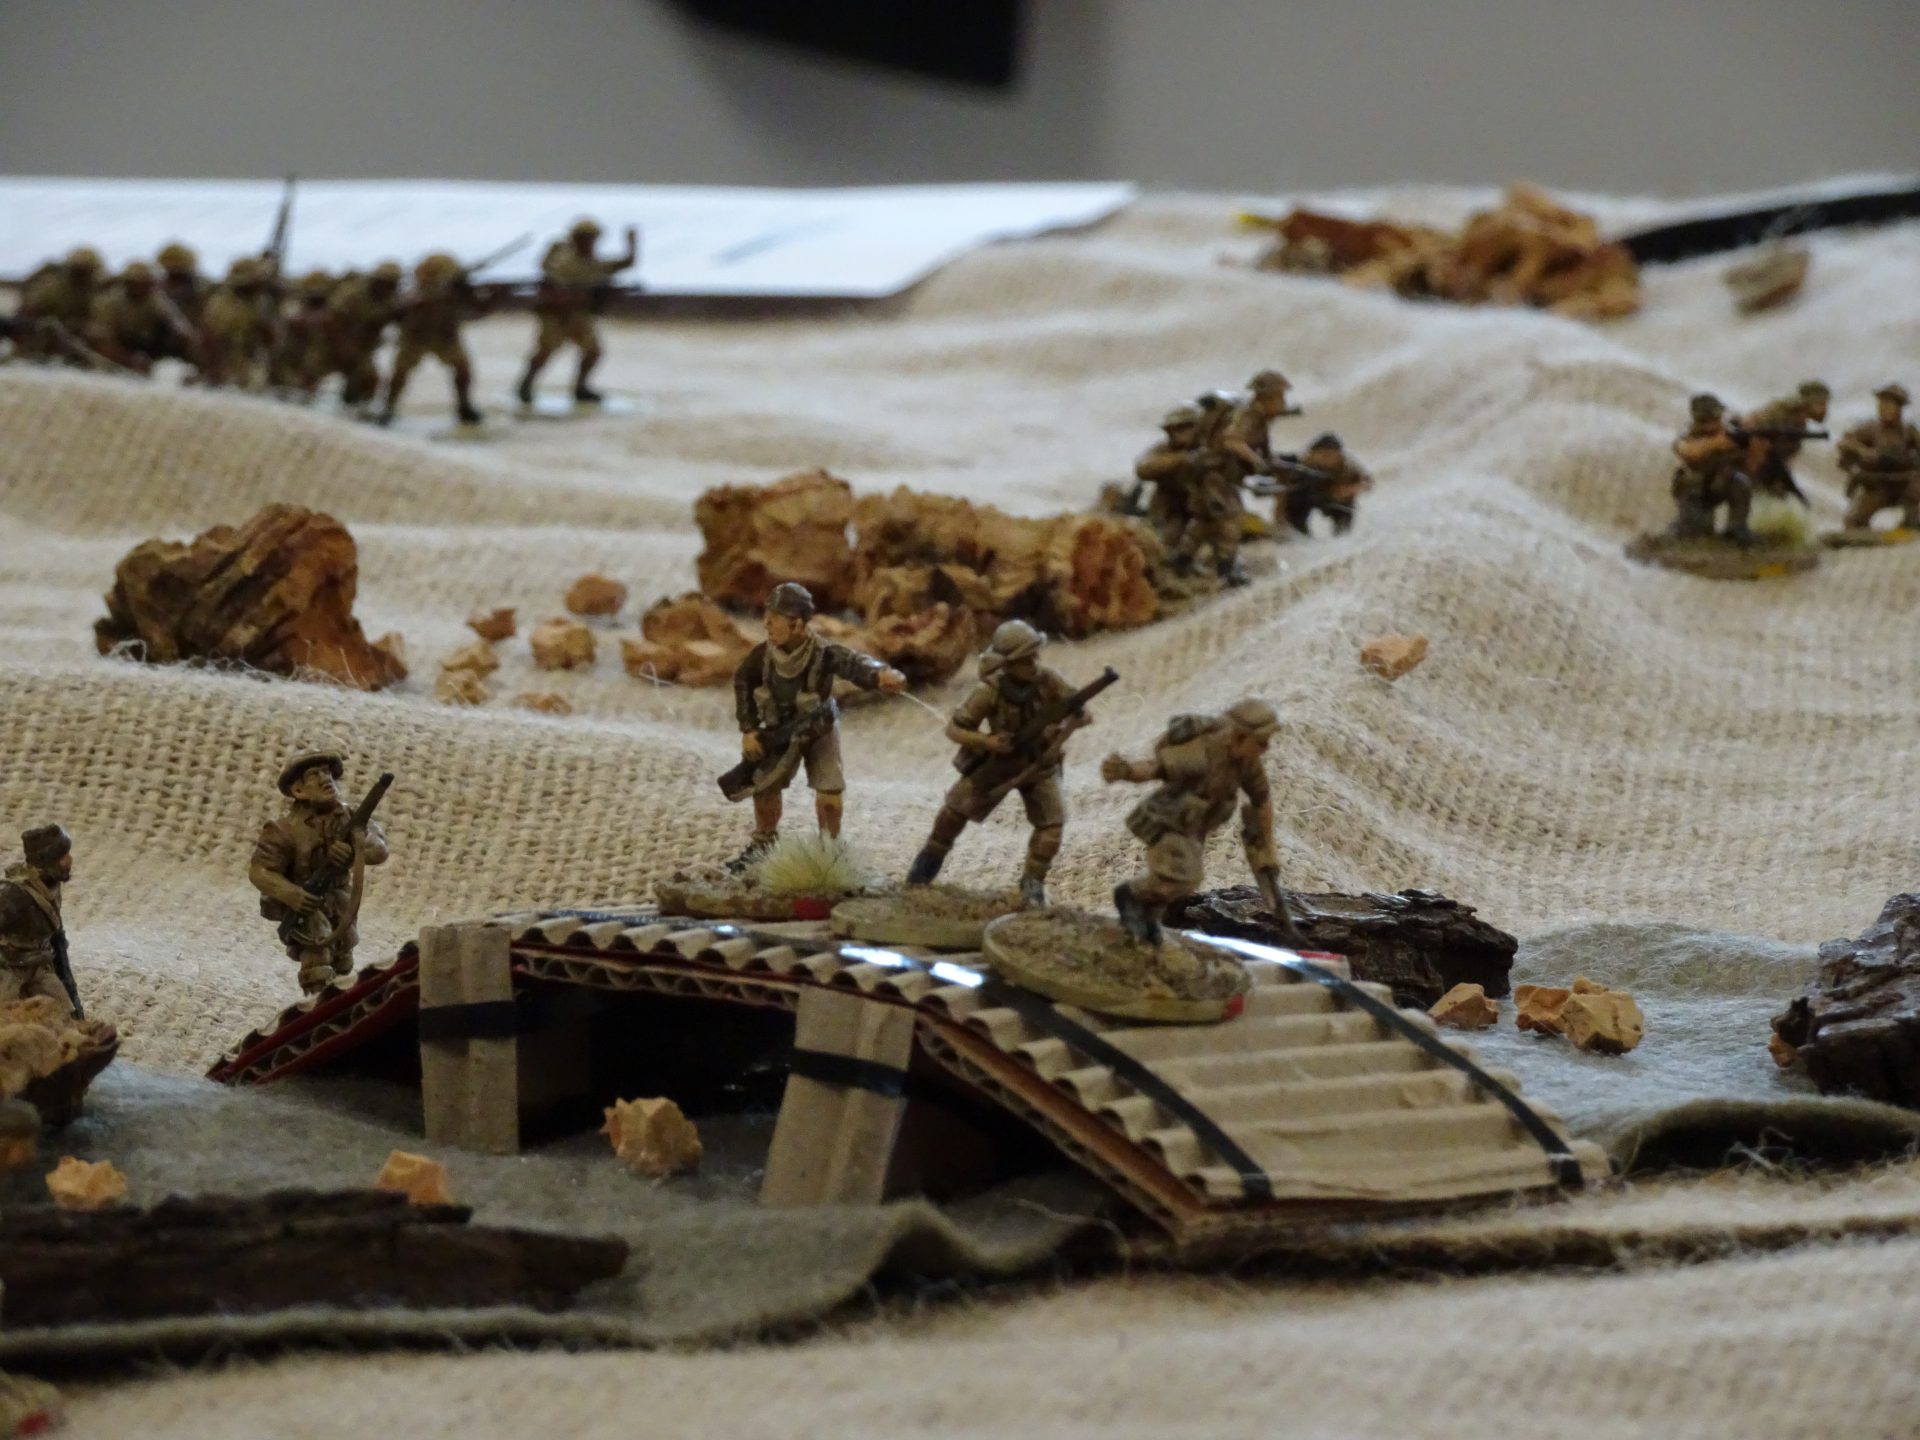
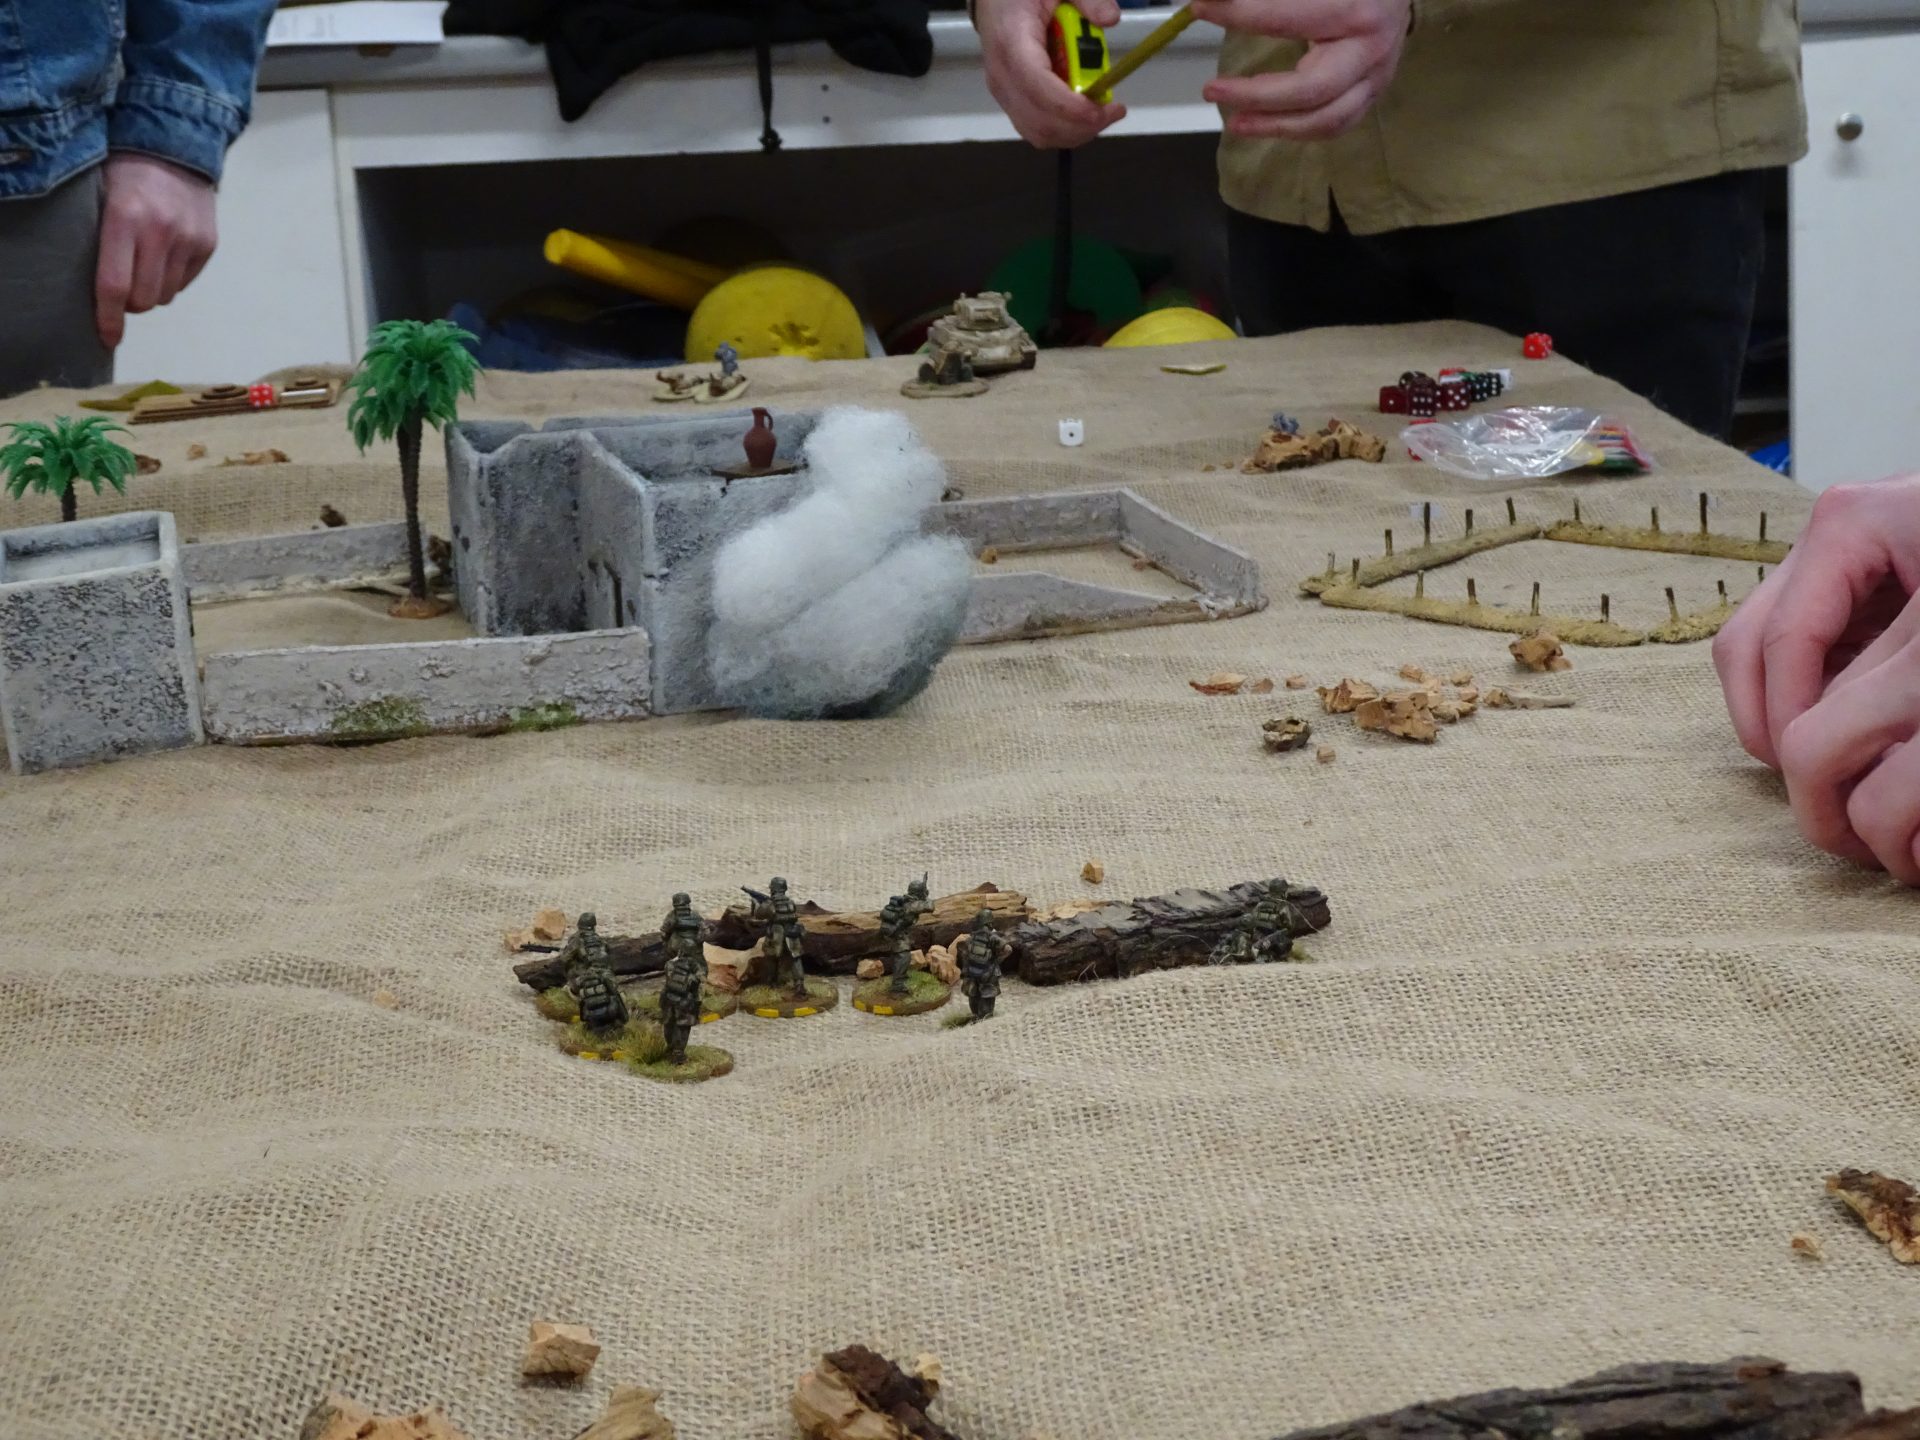
The groups of riflemen in the centre continued their advance, crossing some of the depressions while their team mates put the fire down.
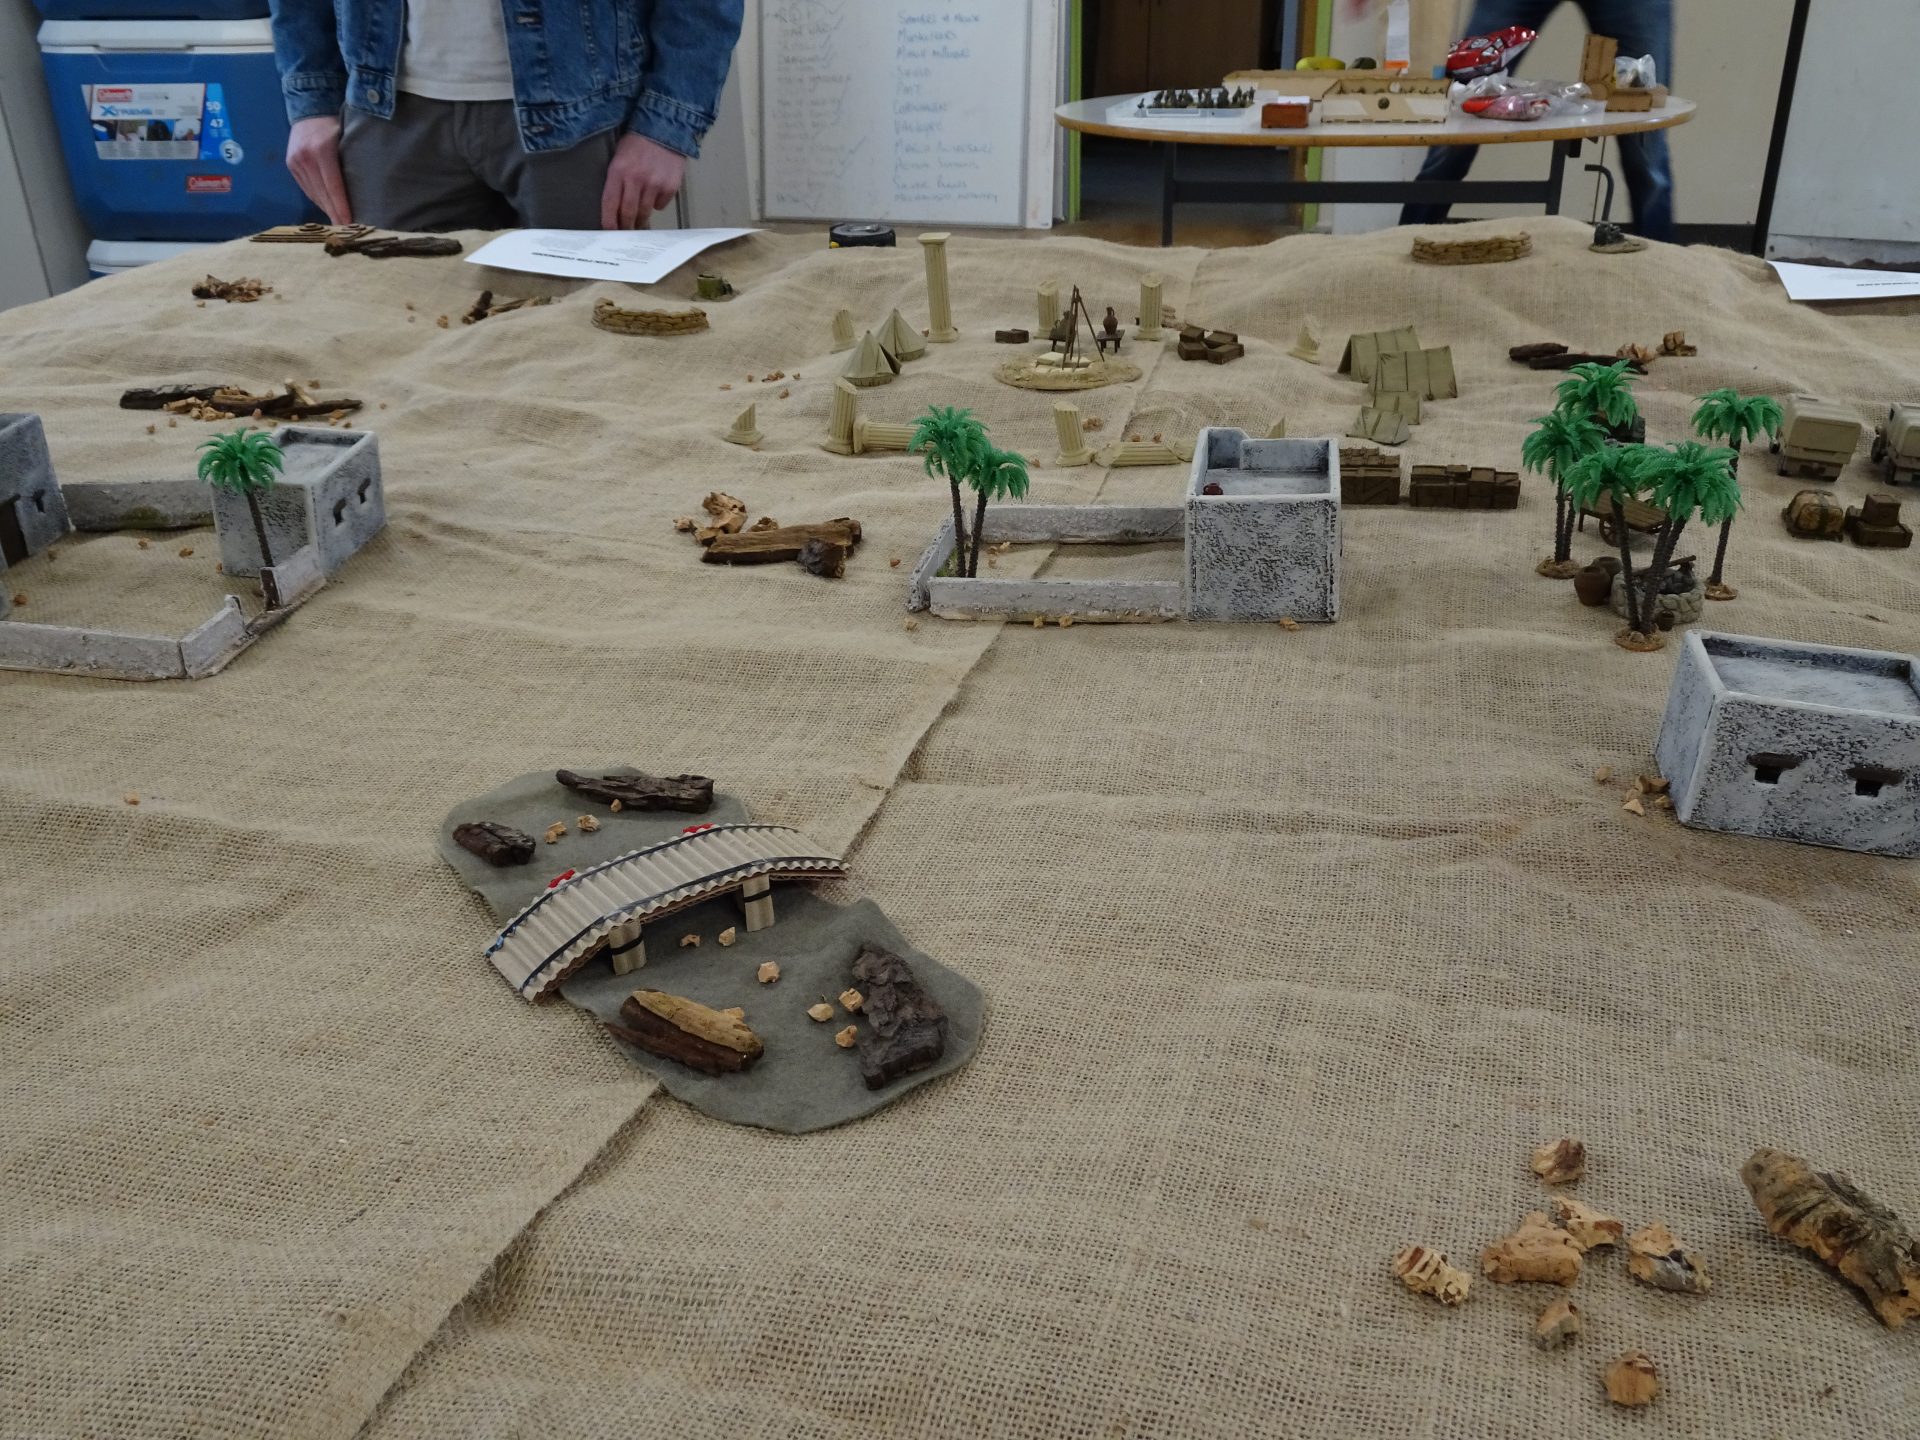
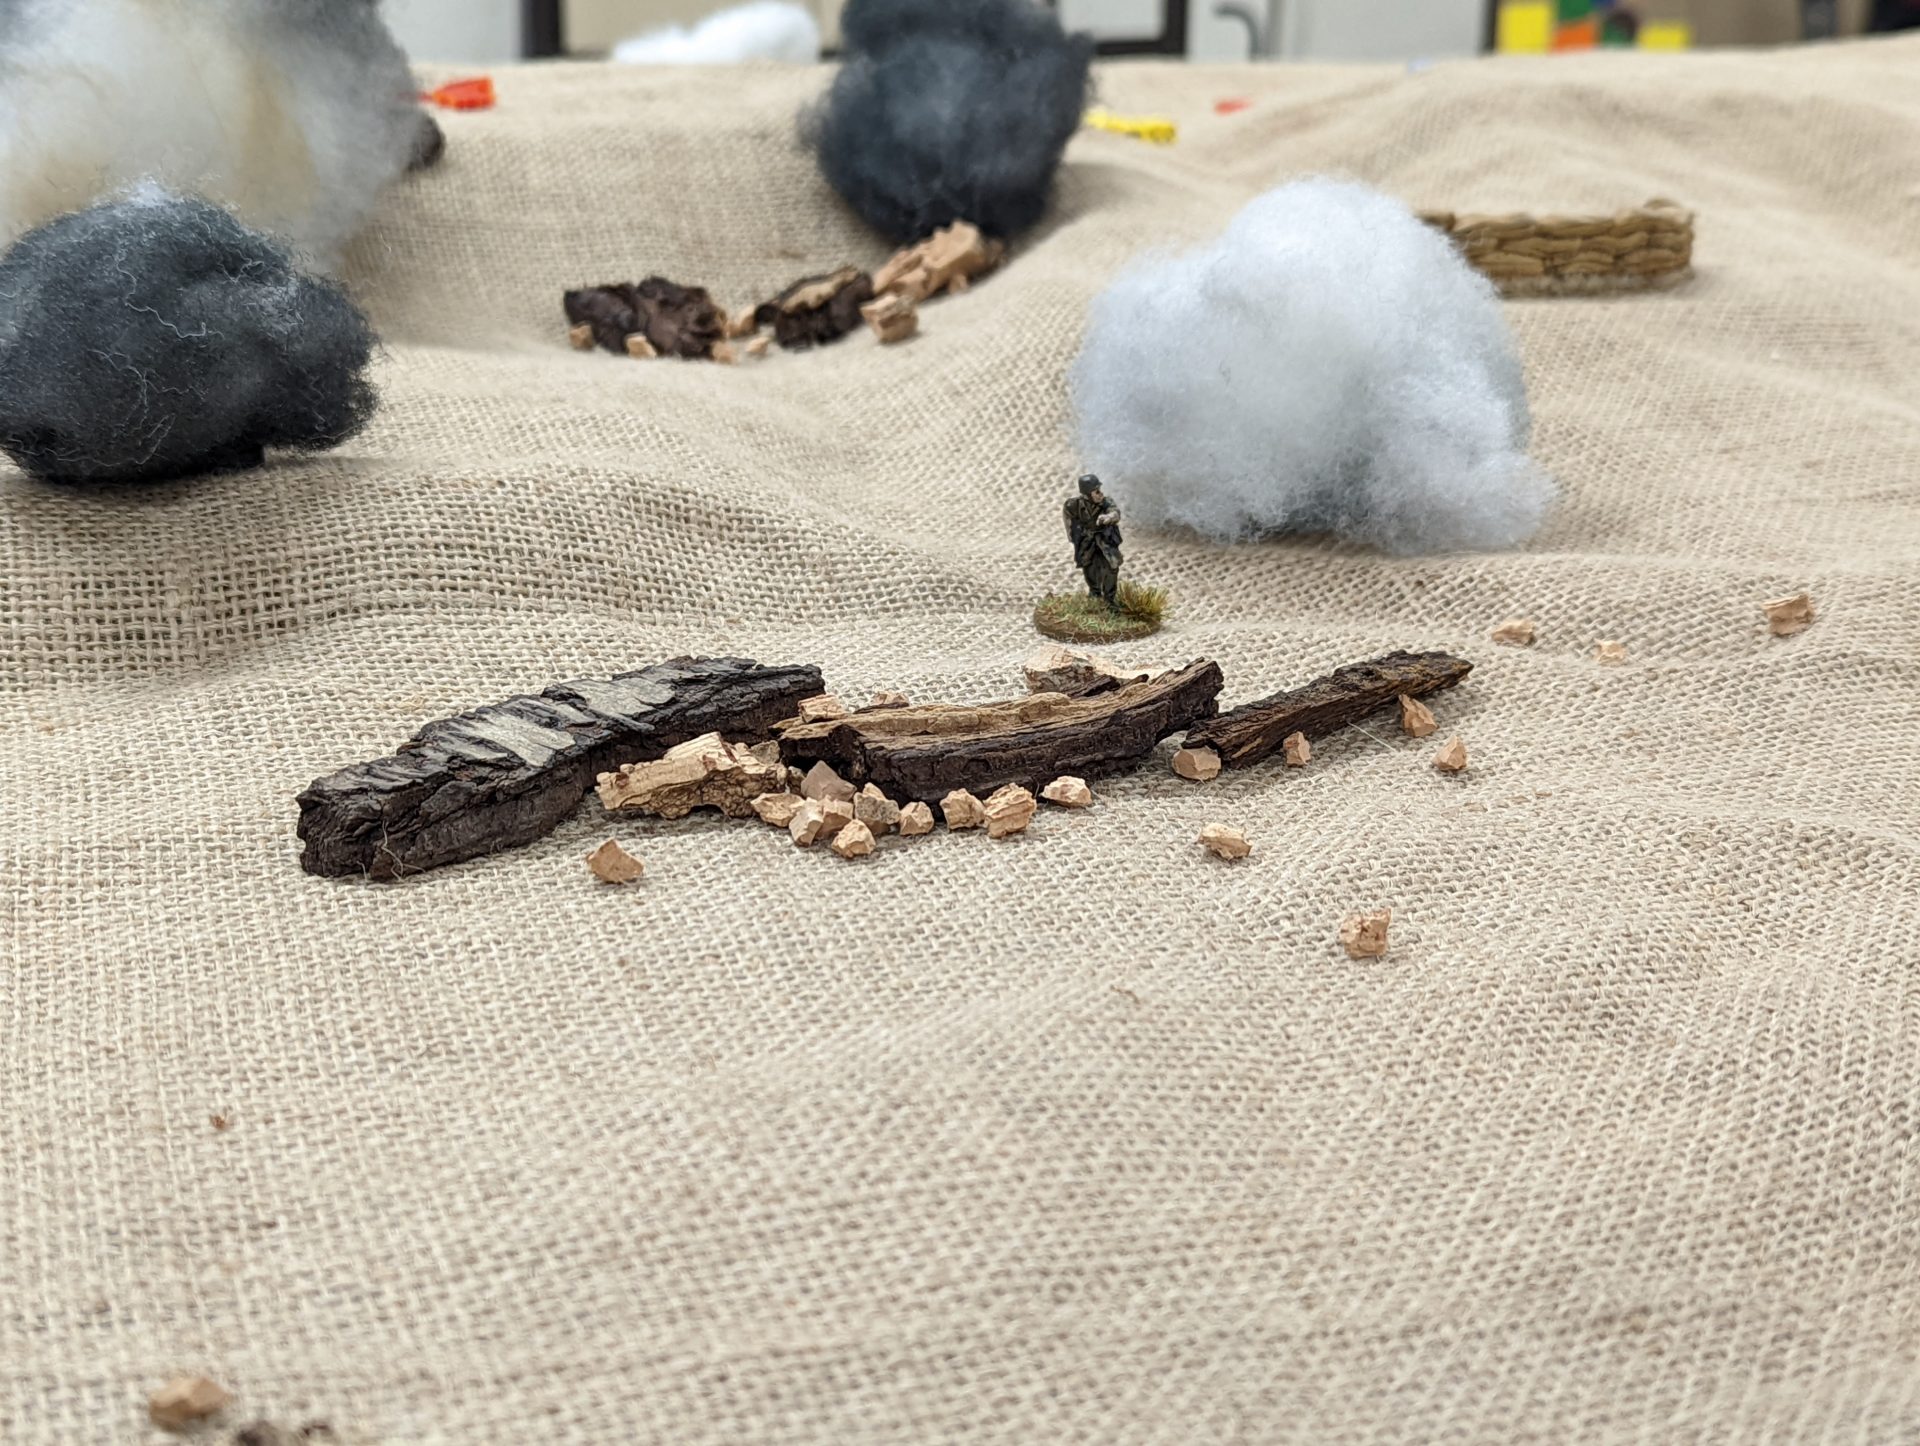
That bridge seems… oddly familiar
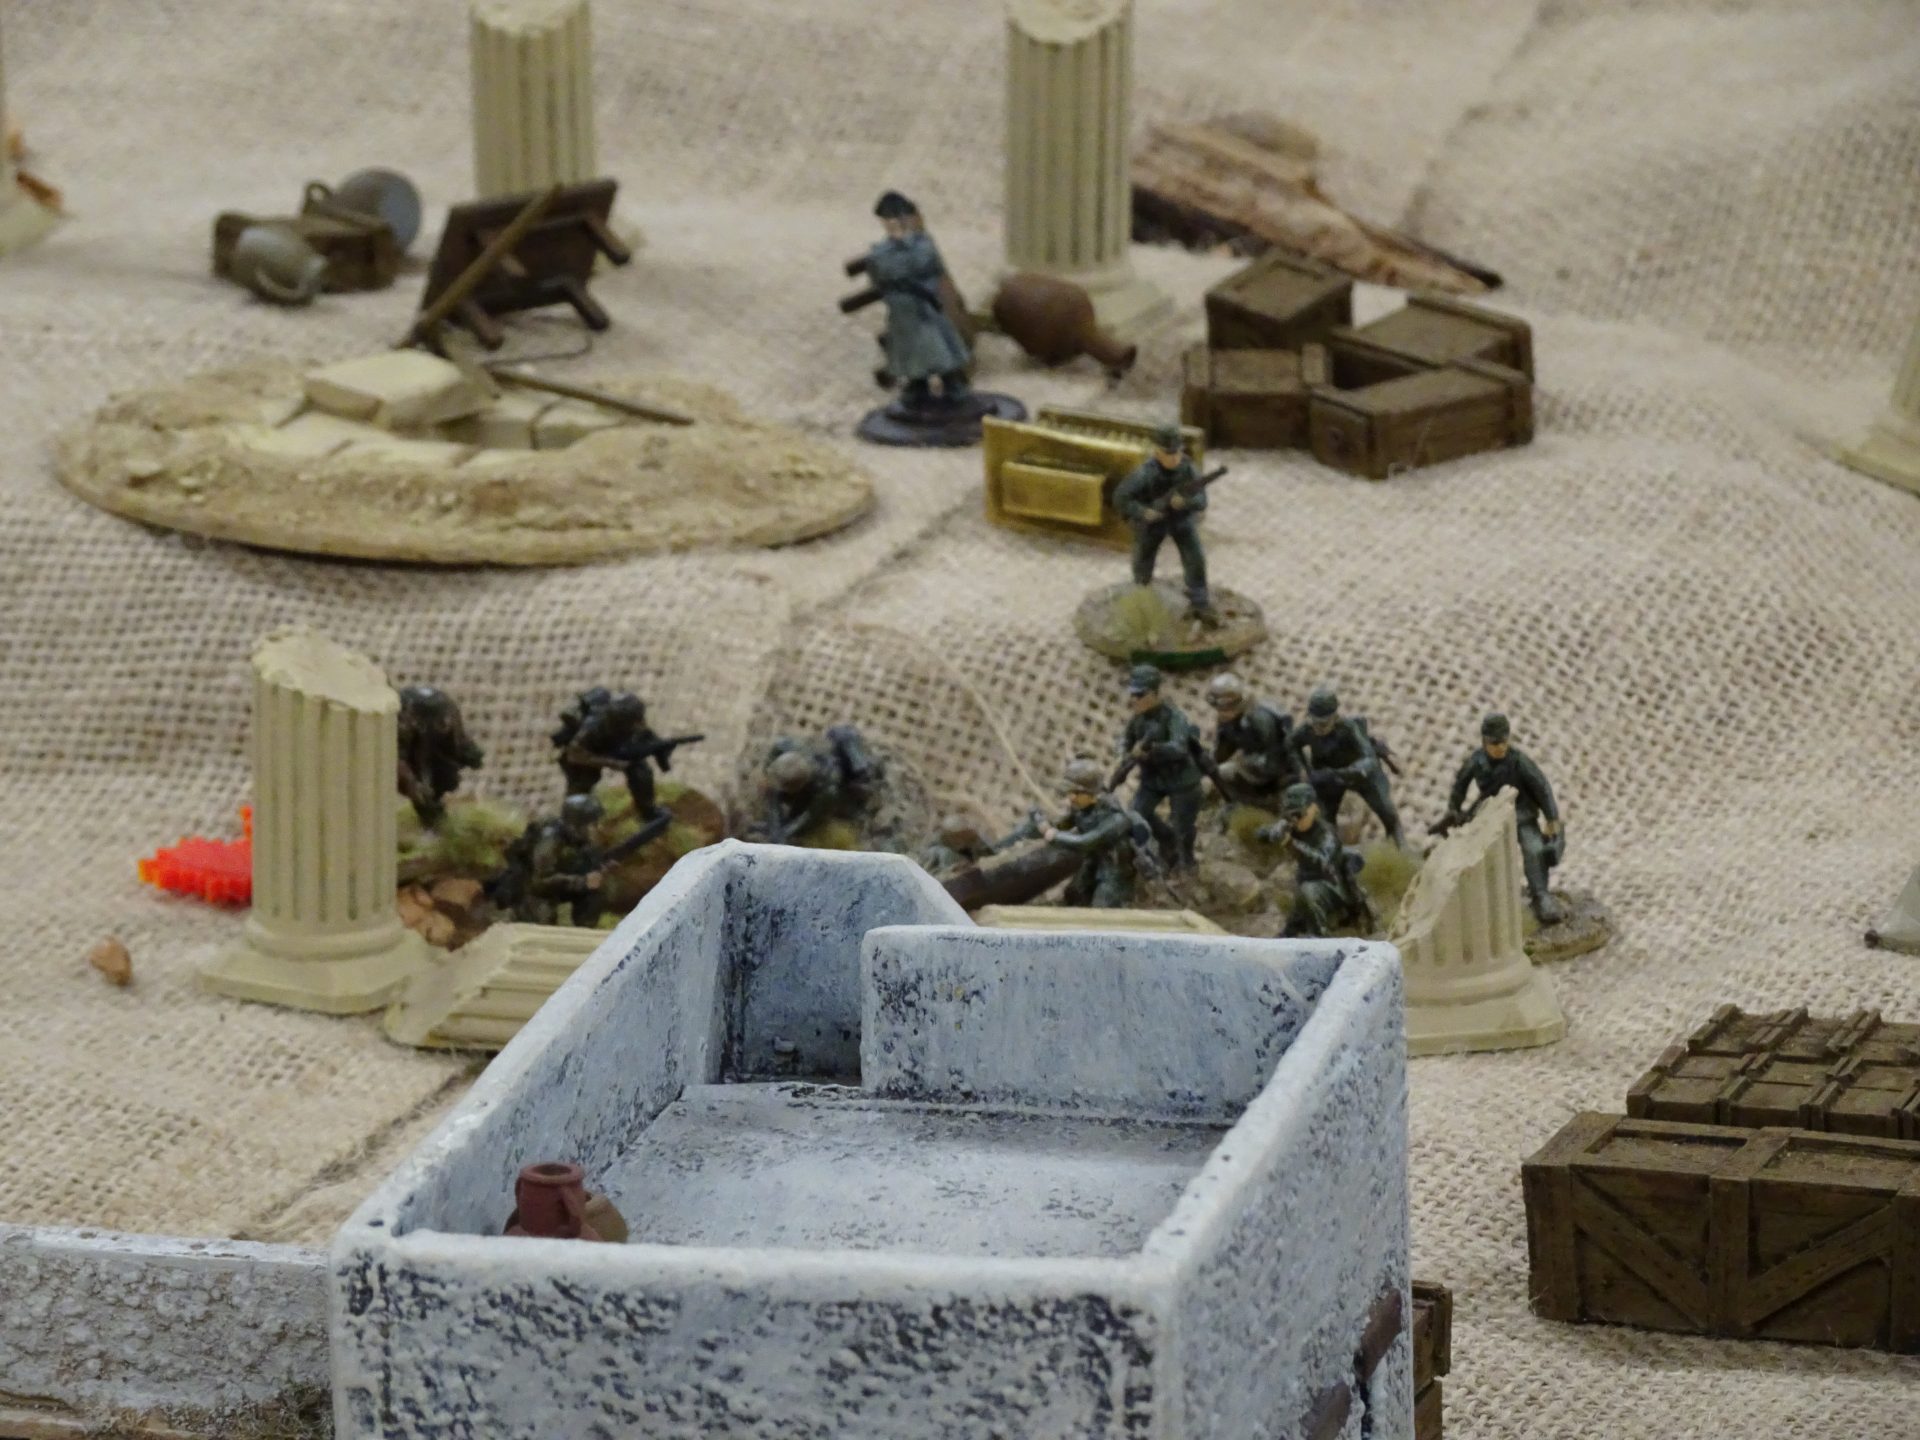
At this stage, the Germans grabbed a double phase. Thanks to the swing in momentum, the DAK were able to emerge from their positions in the centre of the town…
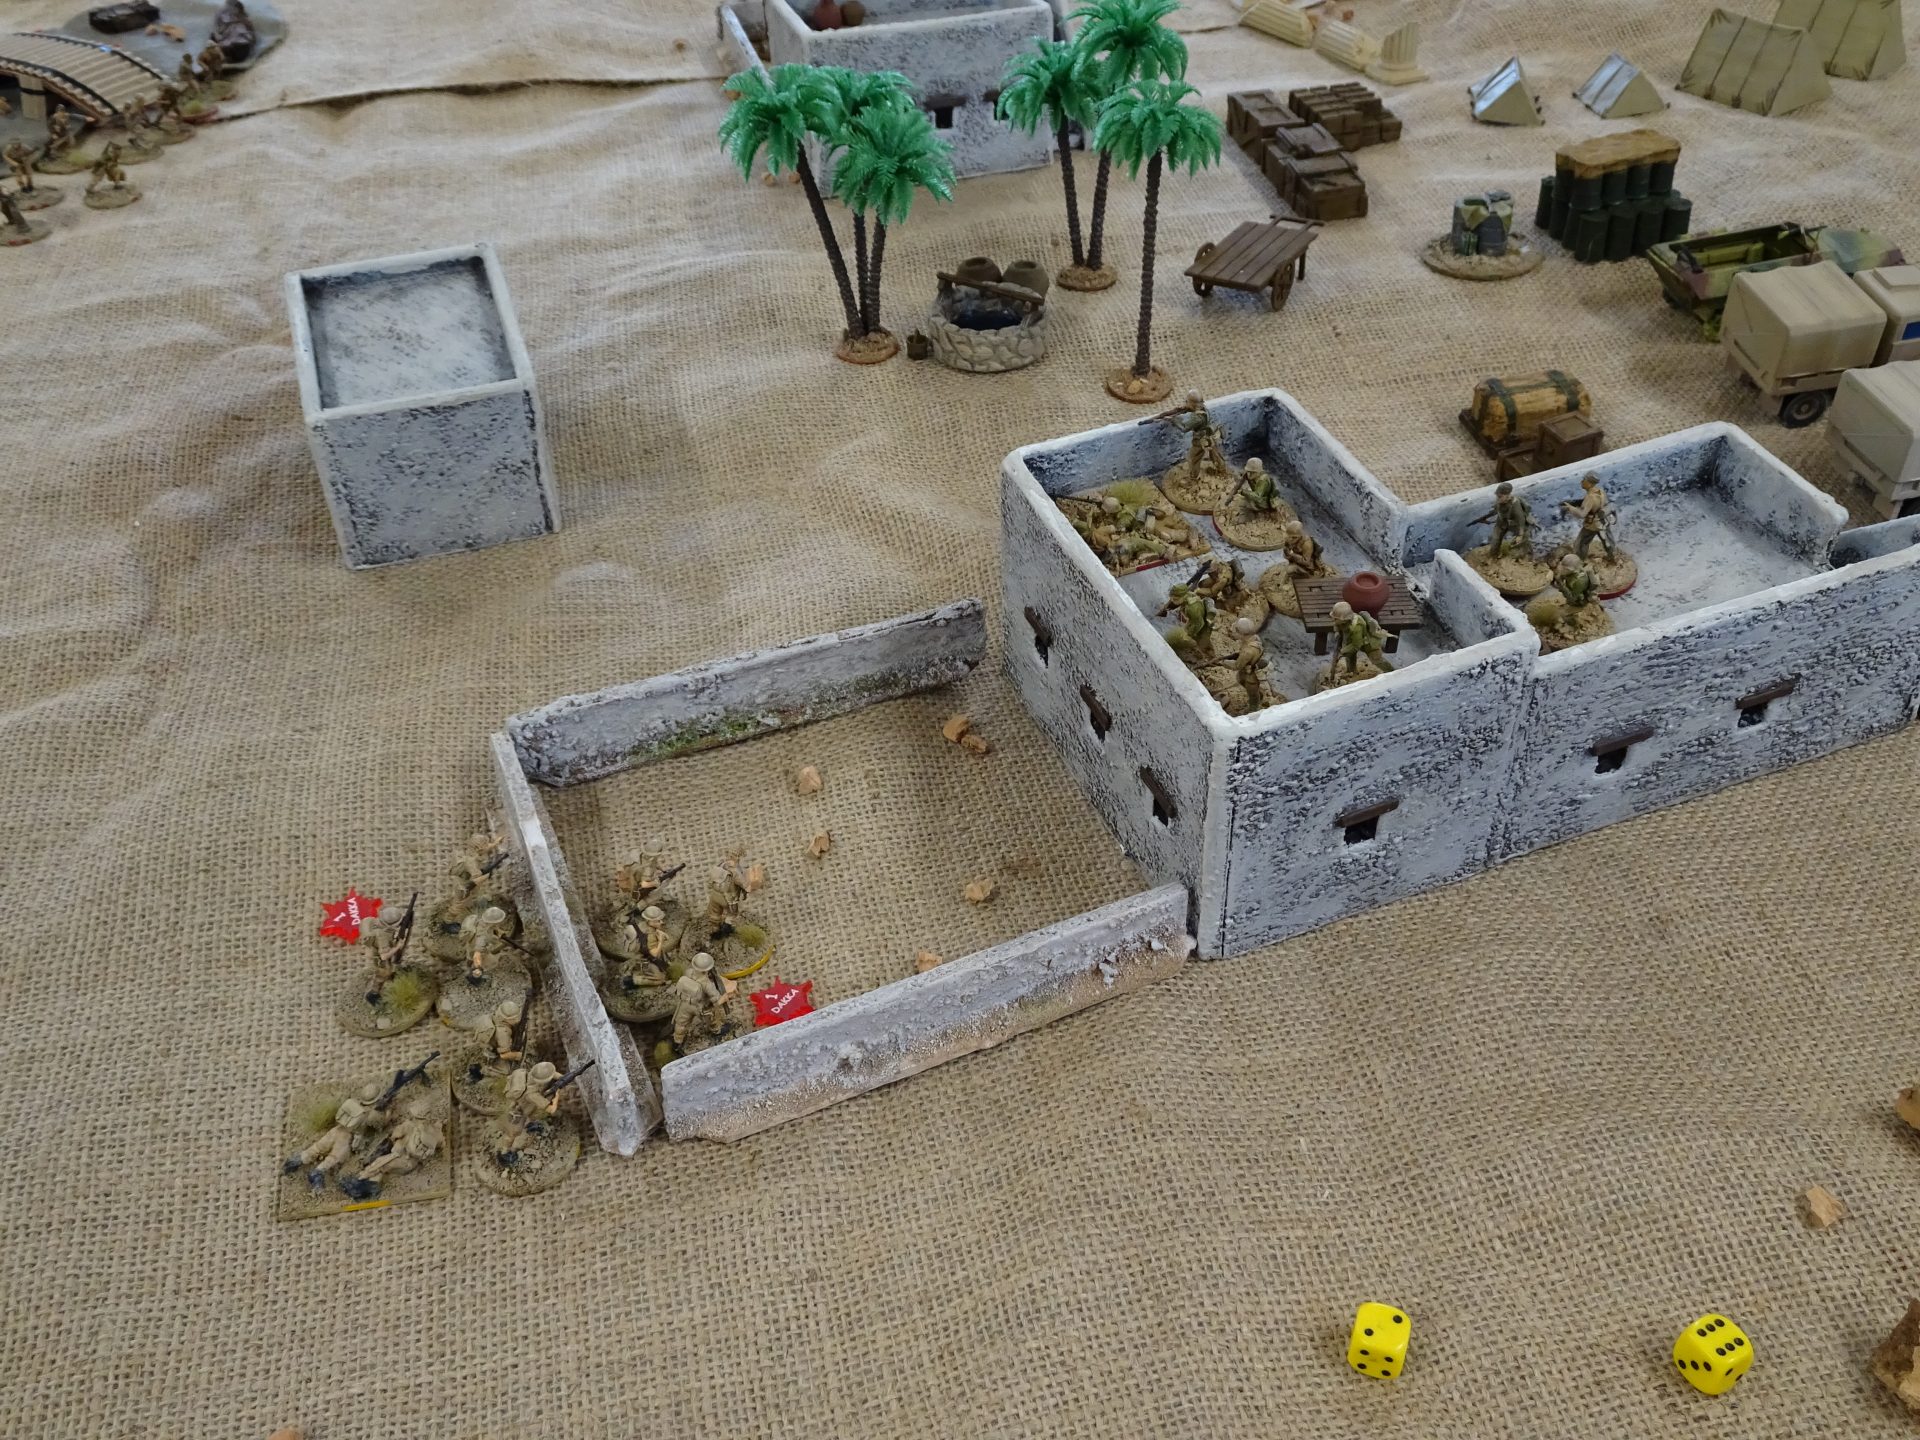
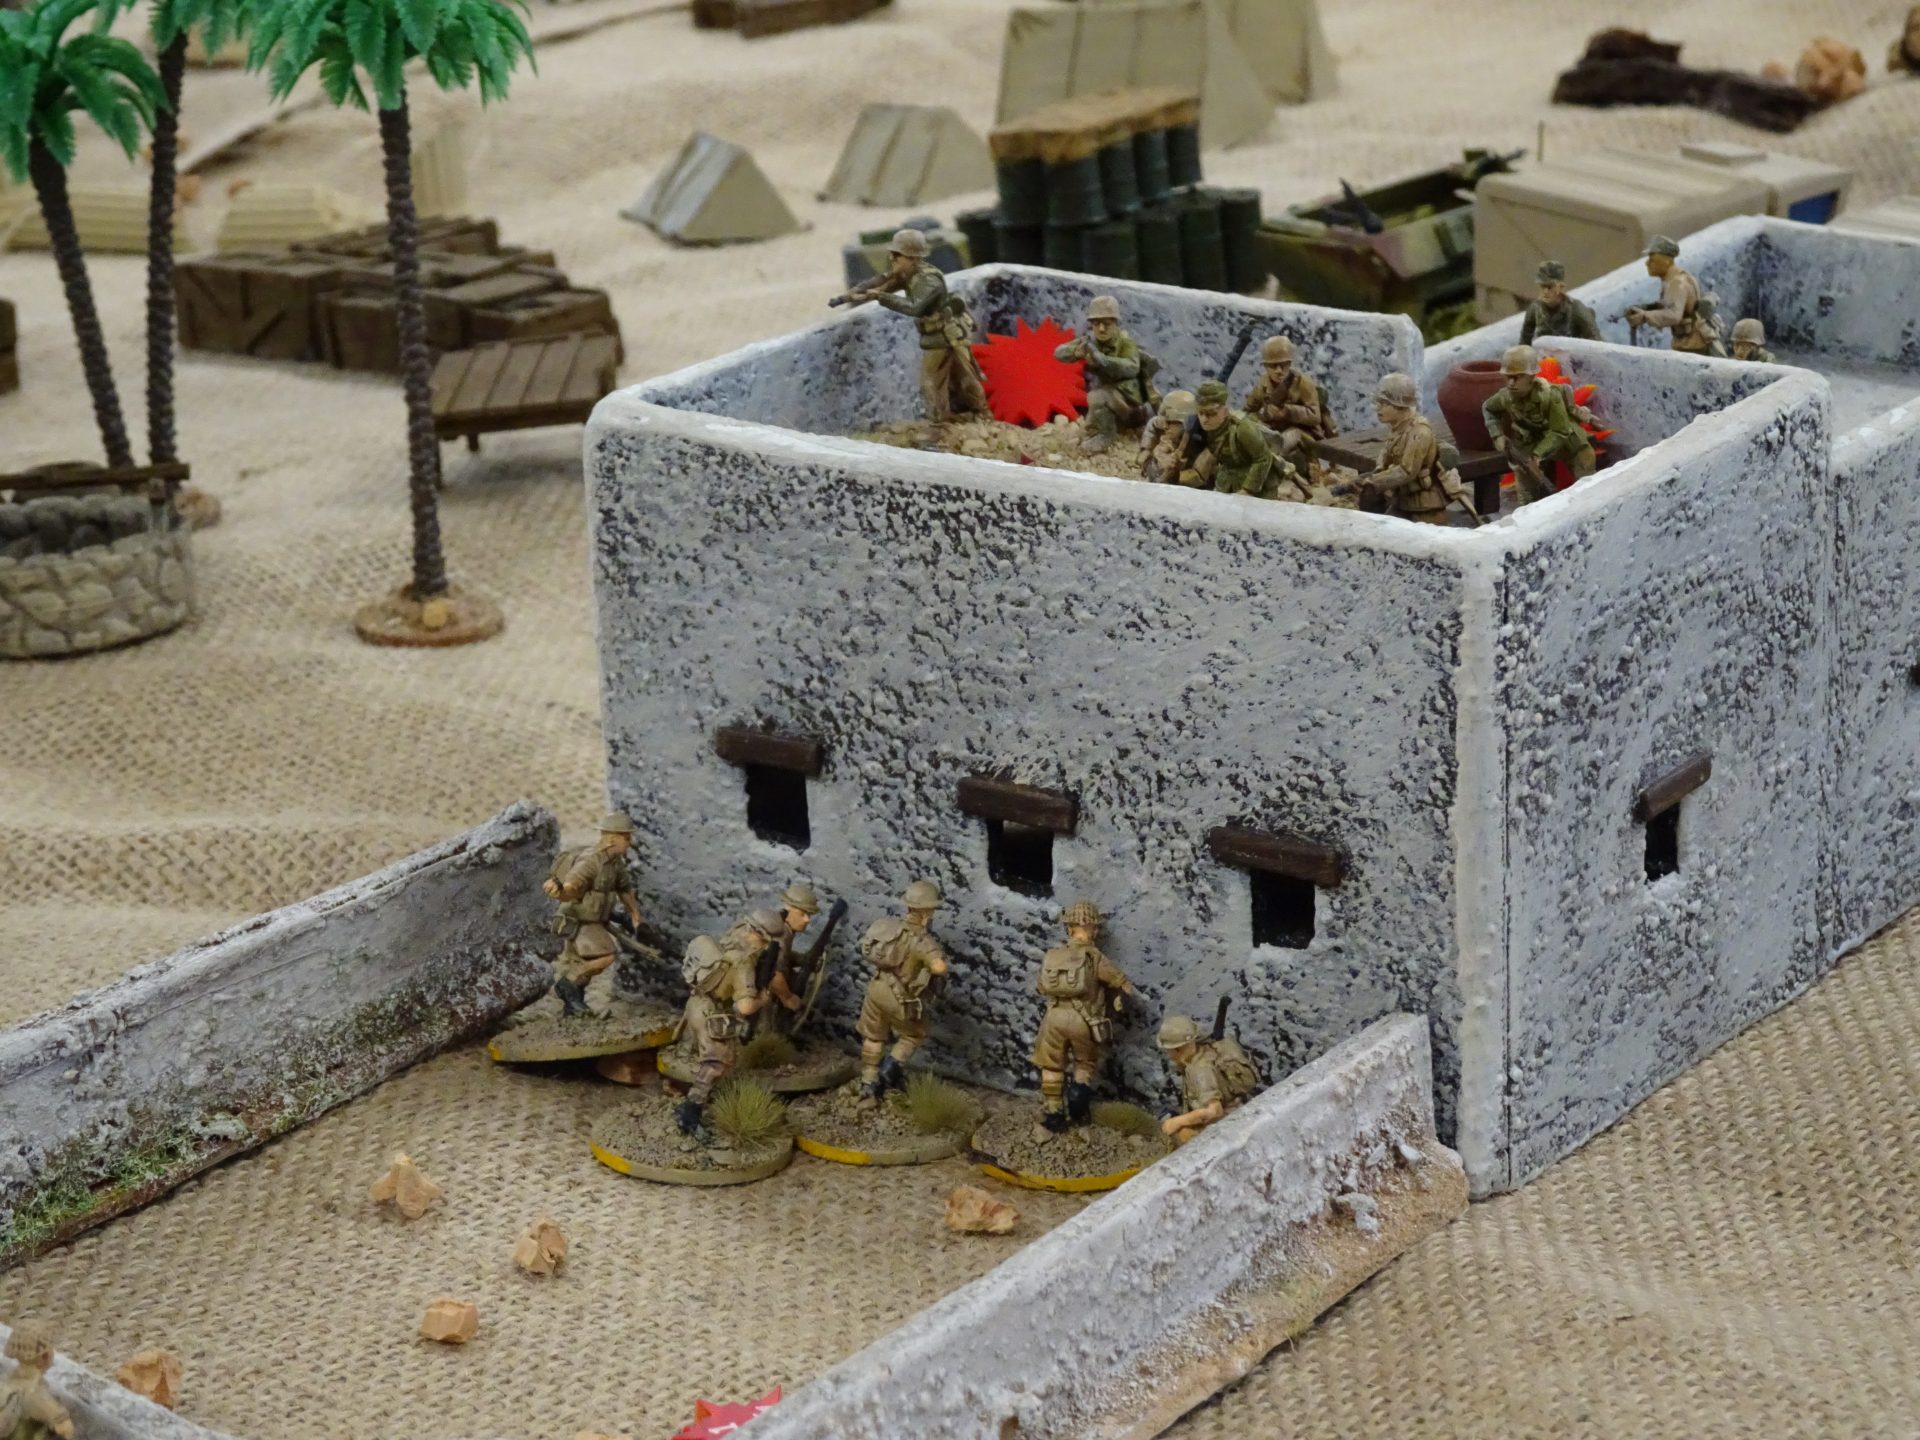
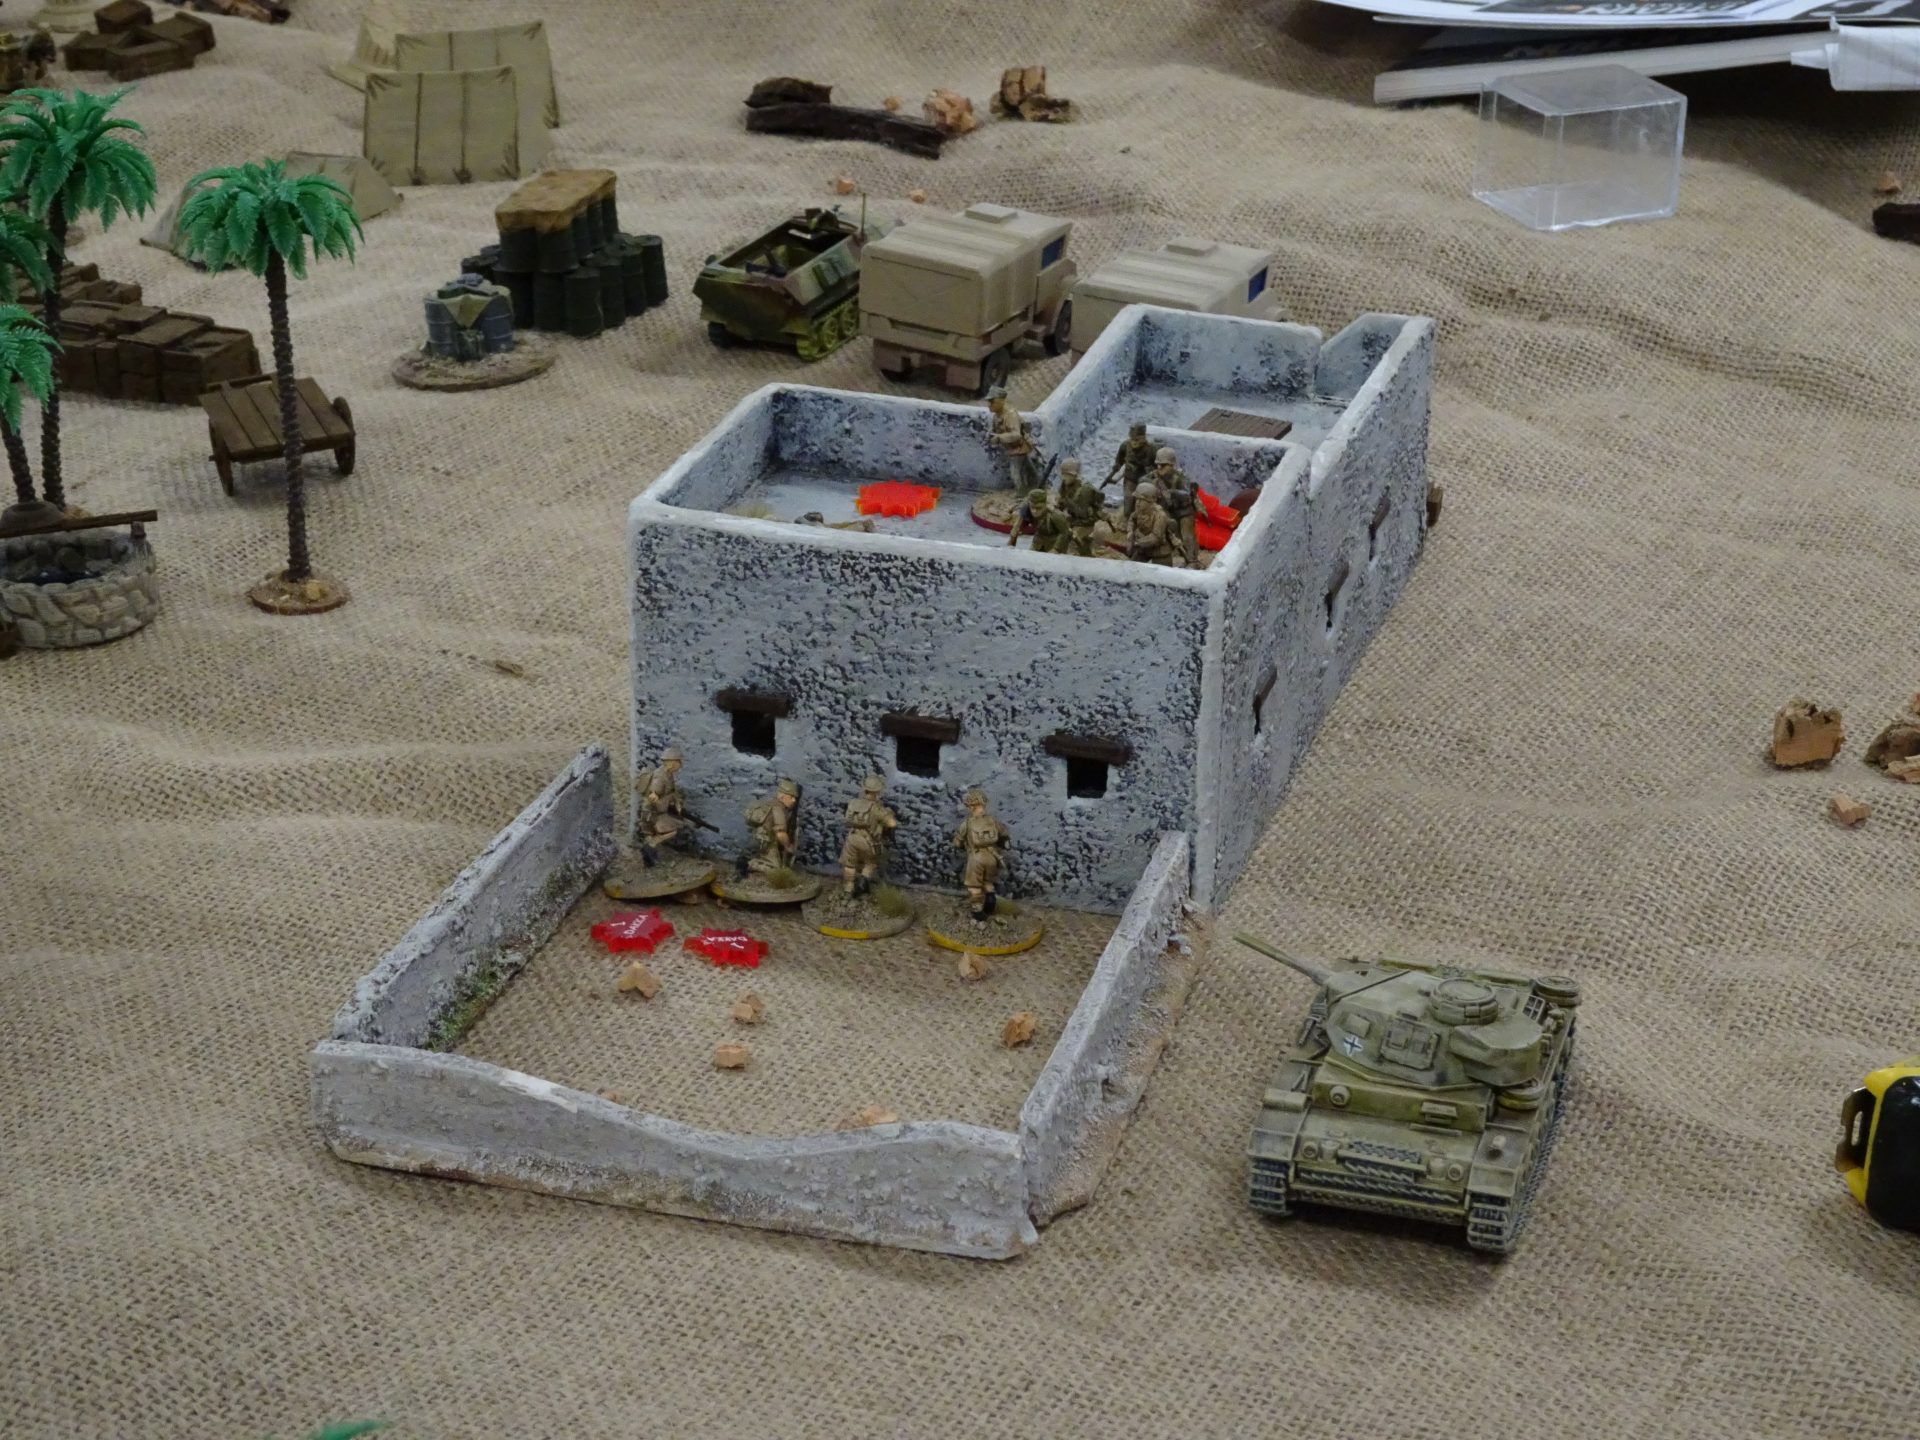
Before sweeping their way into the building. The building DIRECTLY in front of my advancing section. Time to prepare for an MG onslaught.
Note: Although the DAK are on the roof, we were treating them as being inside the building.
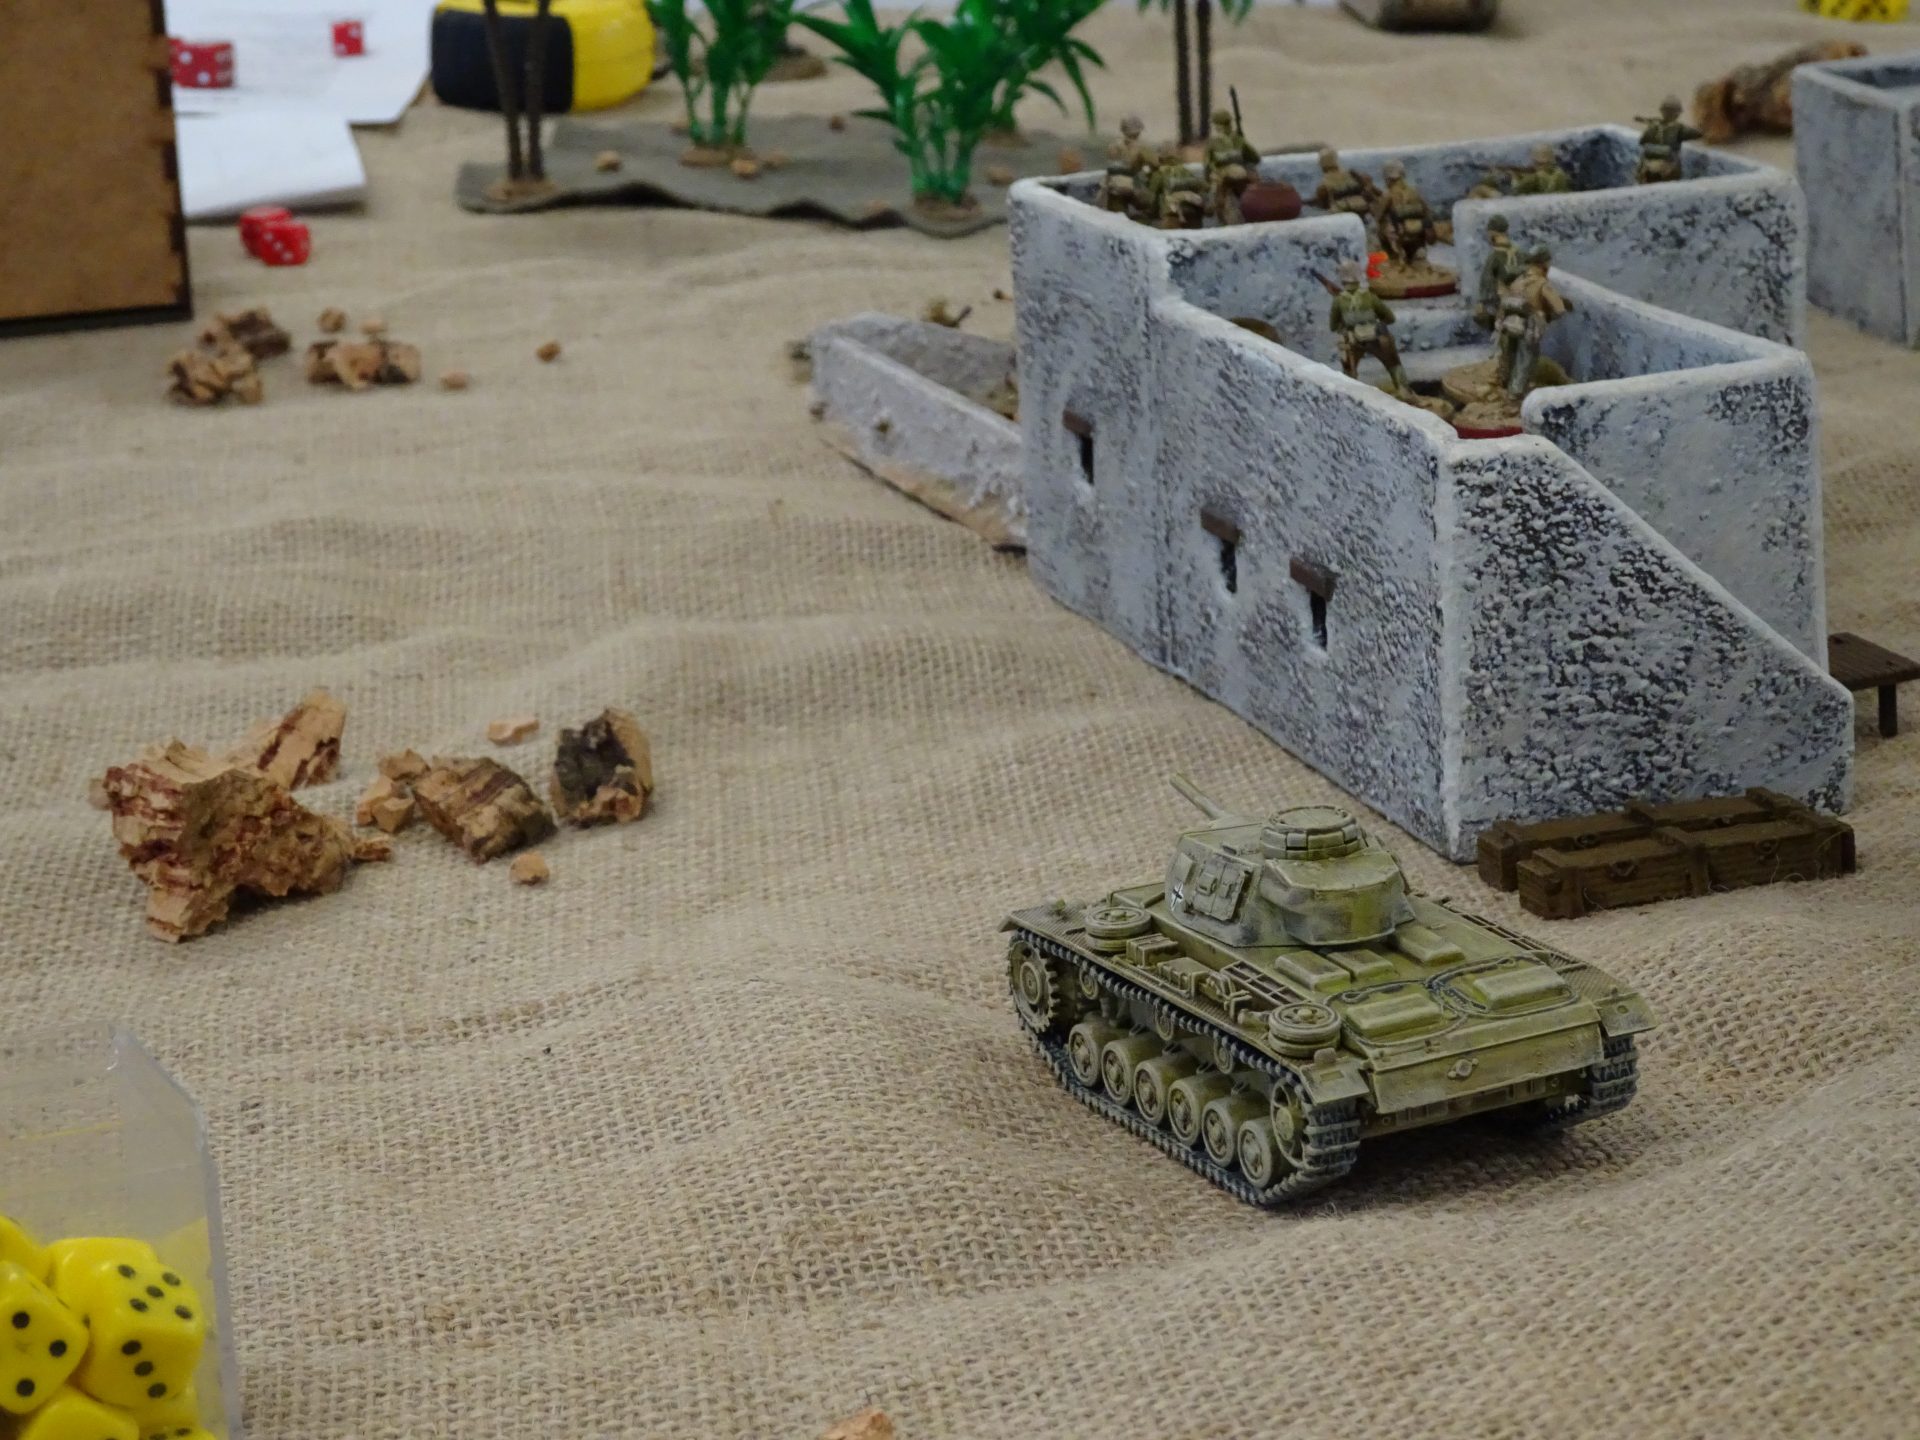
To add insult to injury, the Panzer 3 also began rolling forward slowly getting into a position where it could put fire down on the advancing British, as well as preparing for a tank on tank duel with the arriving Mathilda.
Luckily, fortune flowed back to the British and I gained a double phase. And with it, I hatched a cunning plan.
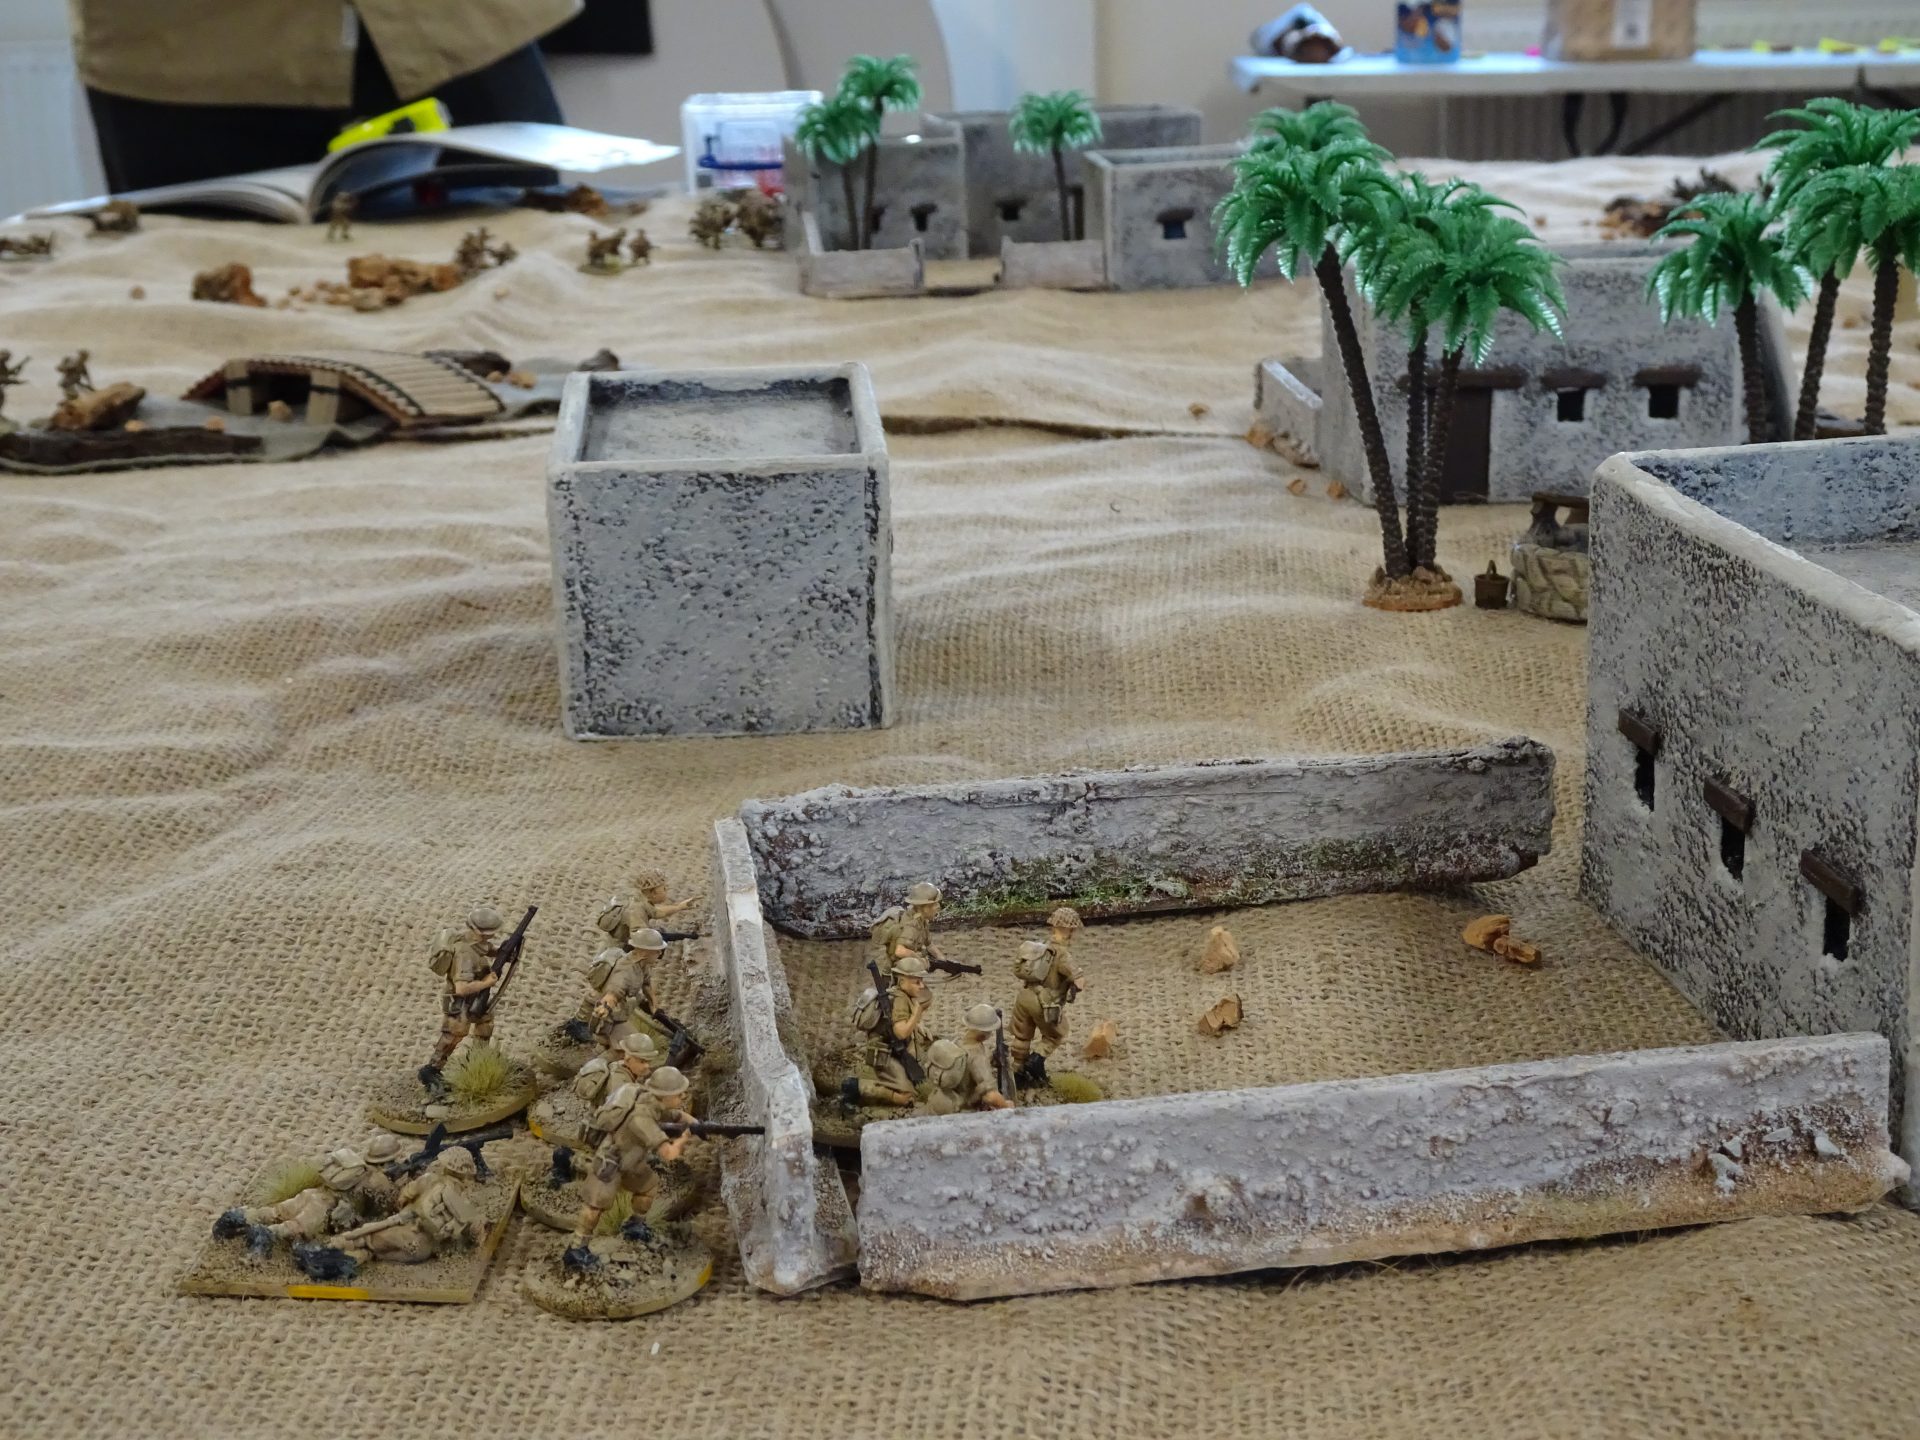
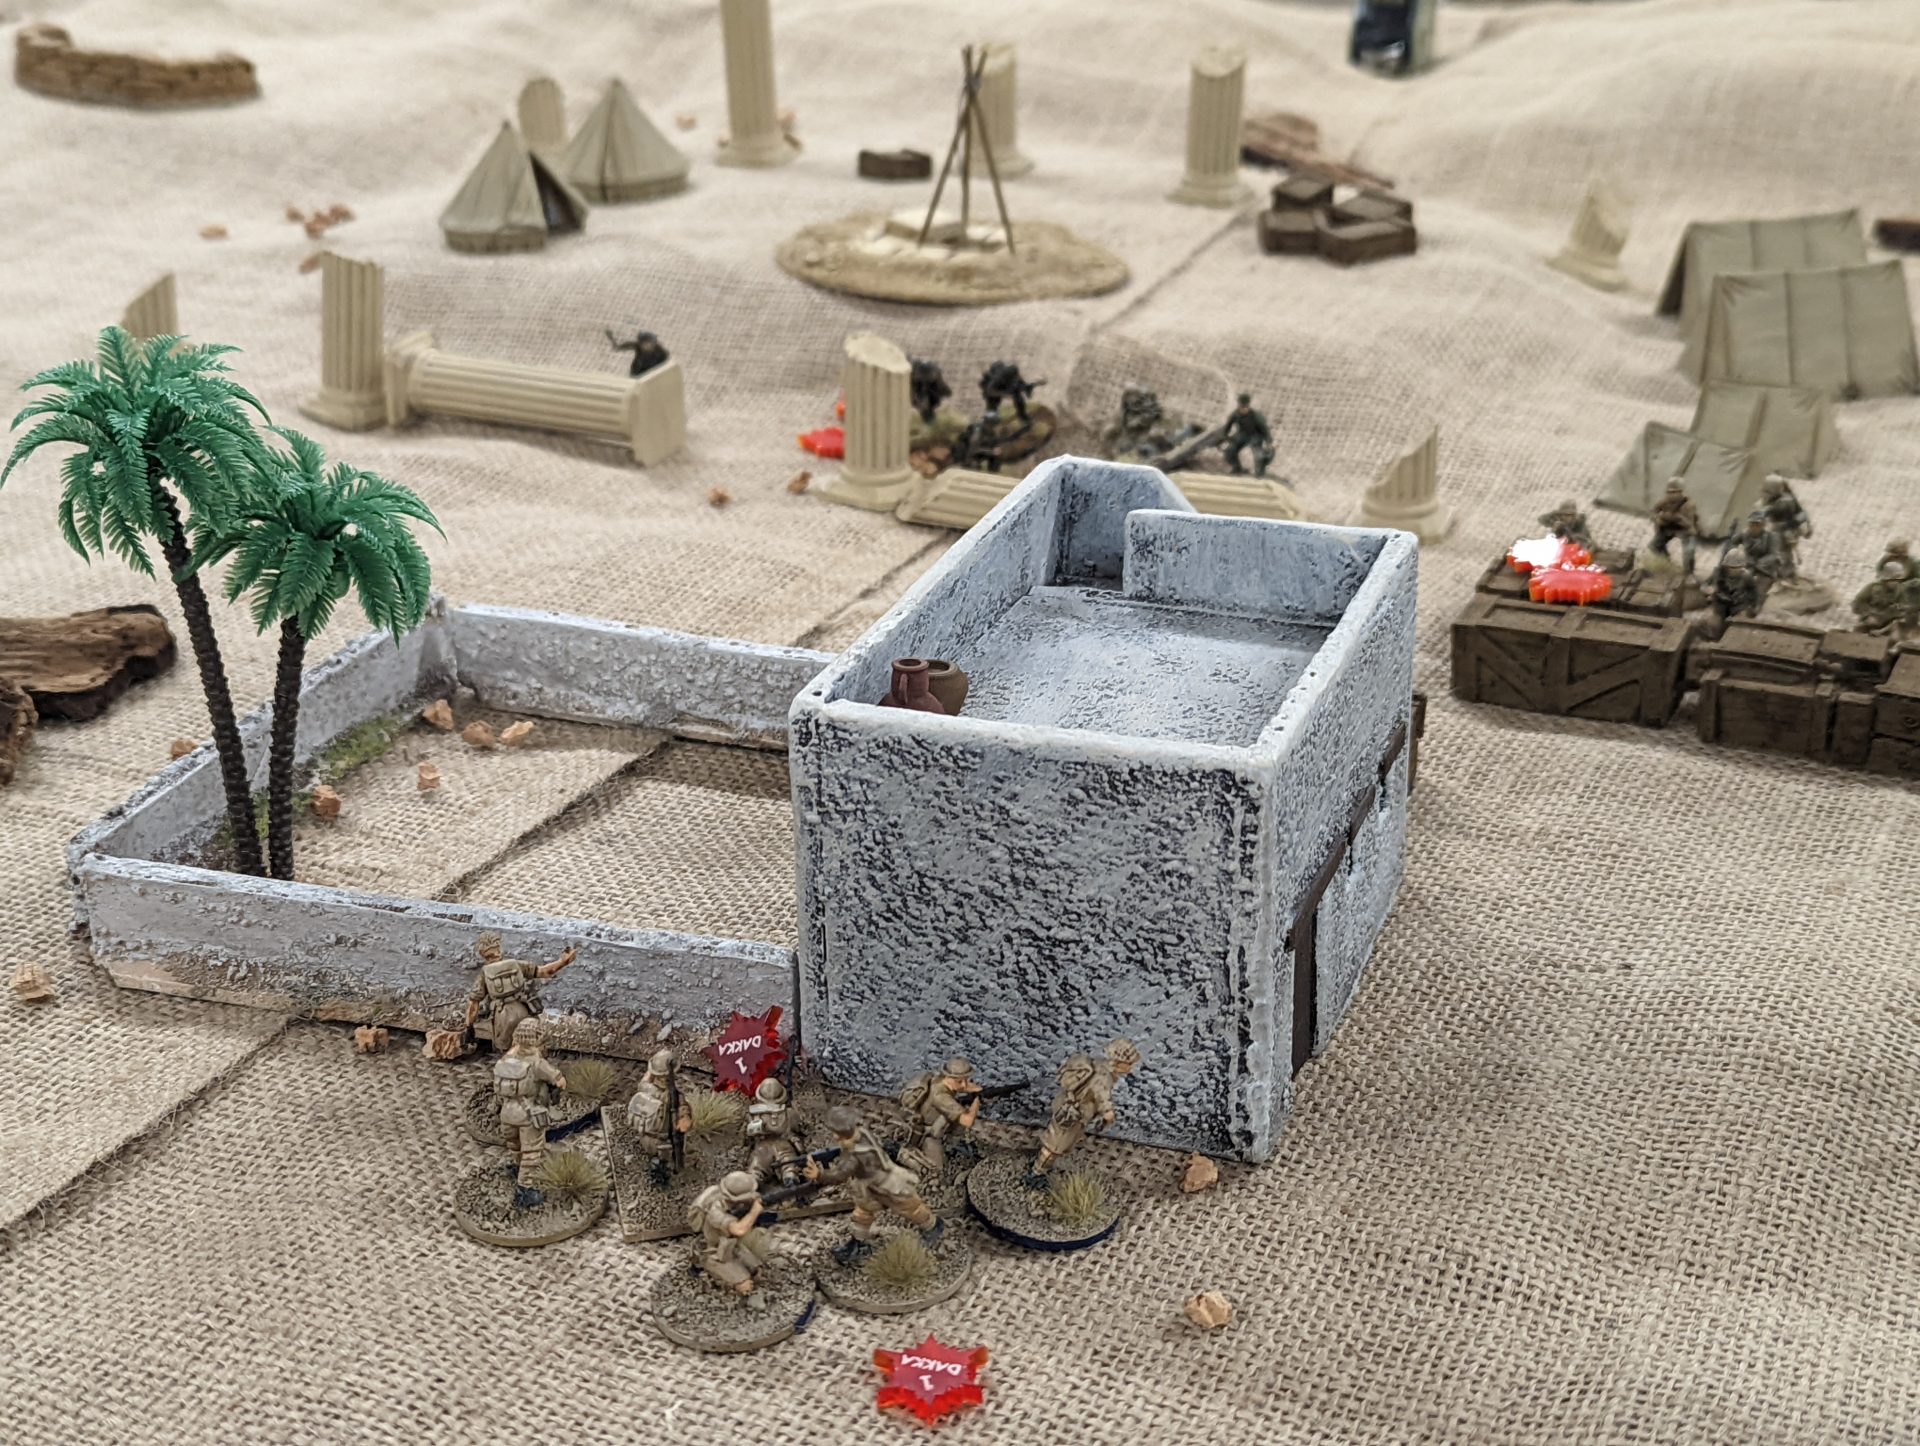
Okay, not so cunning. Using a Team dice, I advanced the rifle team and attached Junior Leader up to the windows. Then, with the Junior Leader’s two Command Initiatives… I handed out the frag grenades.
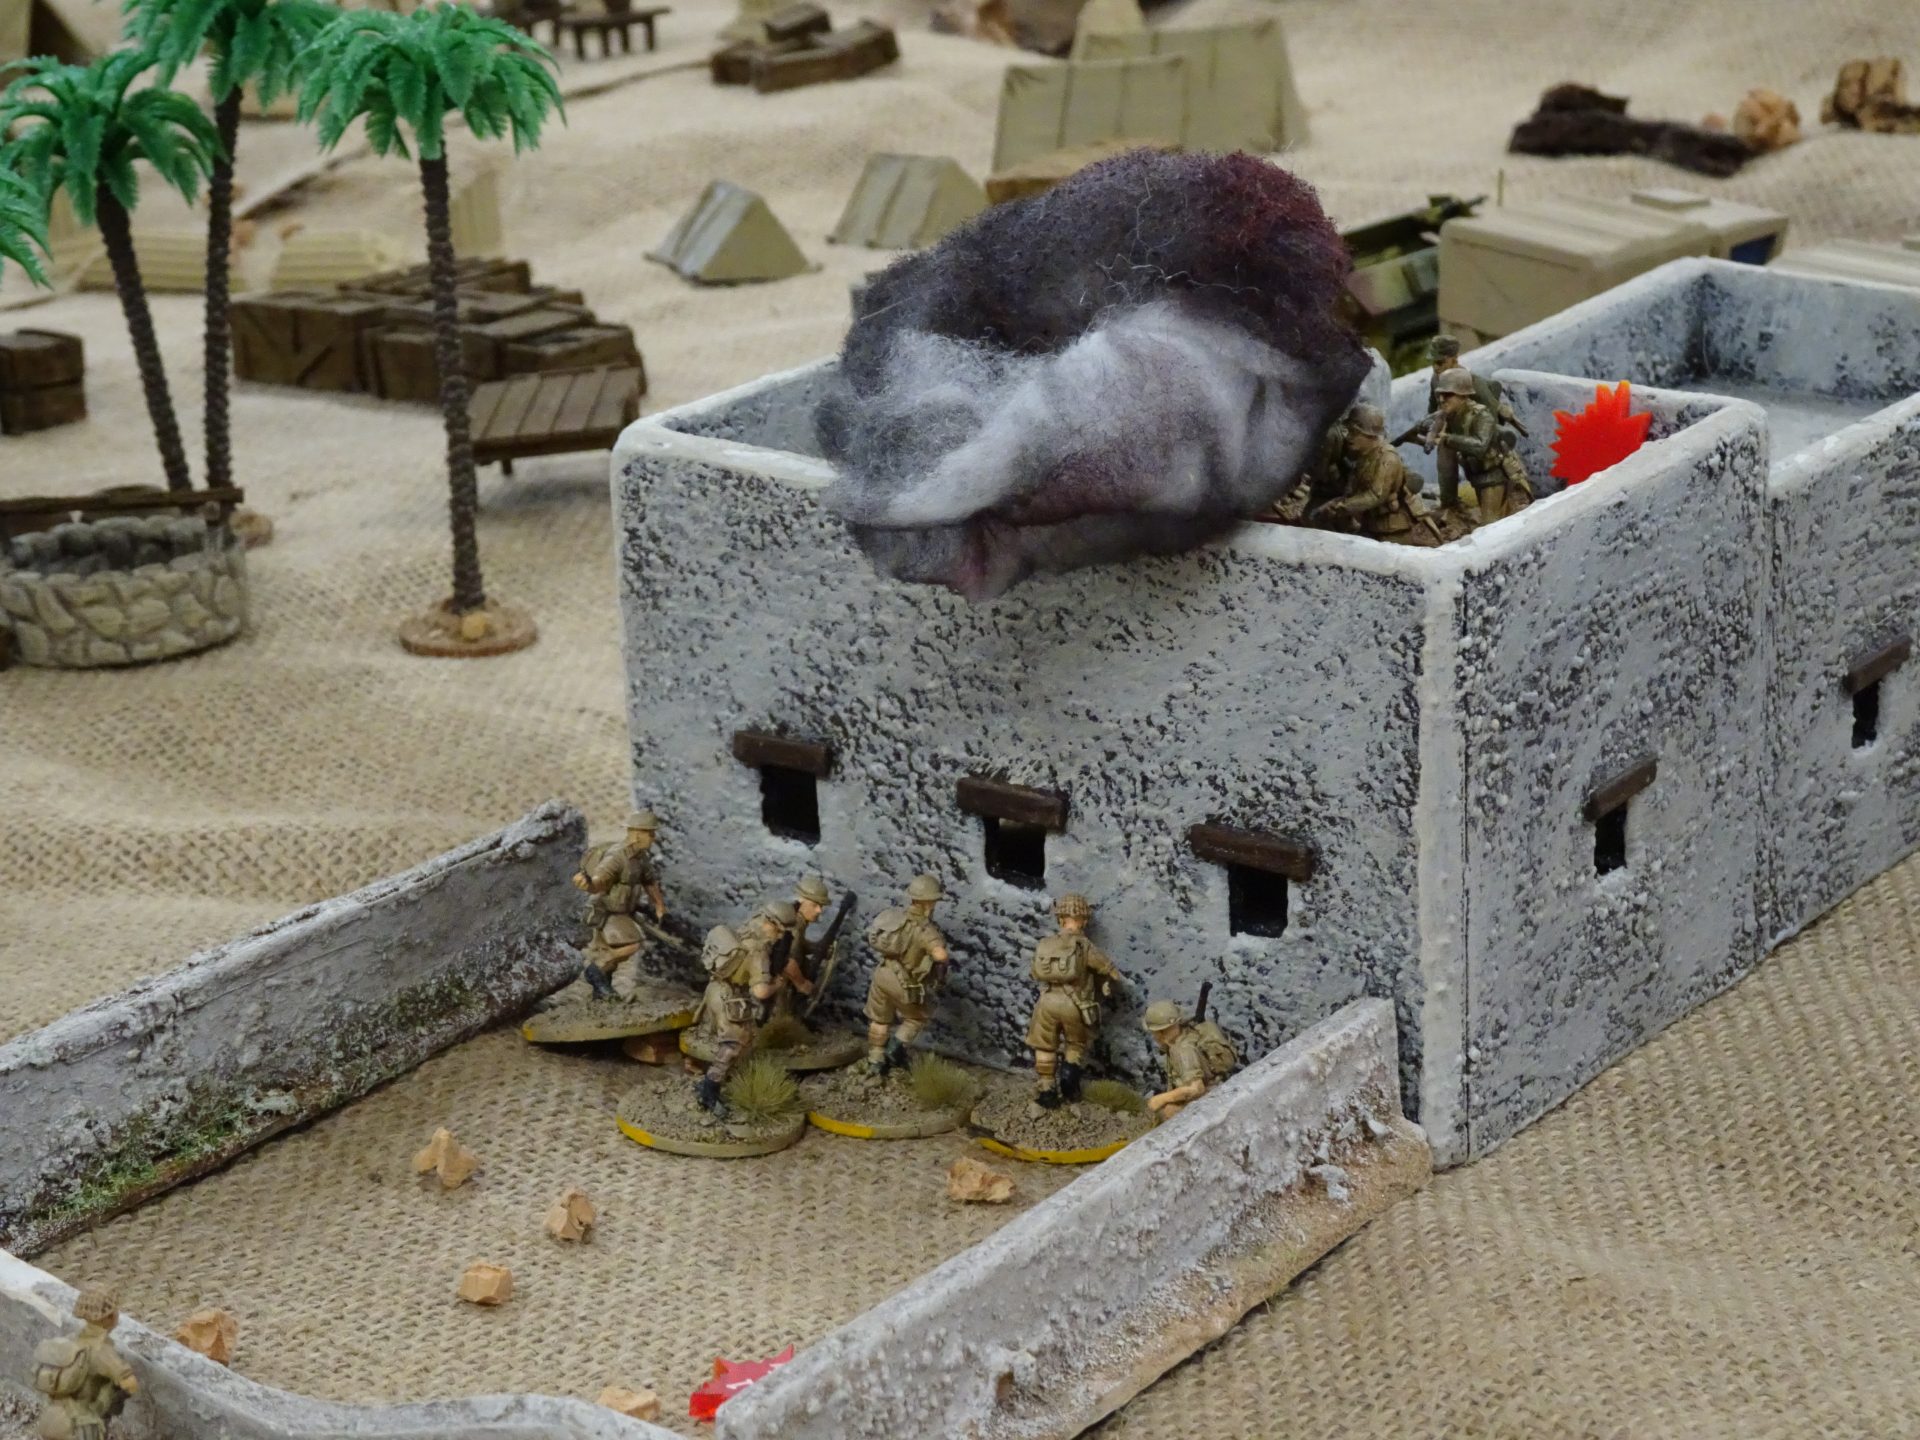
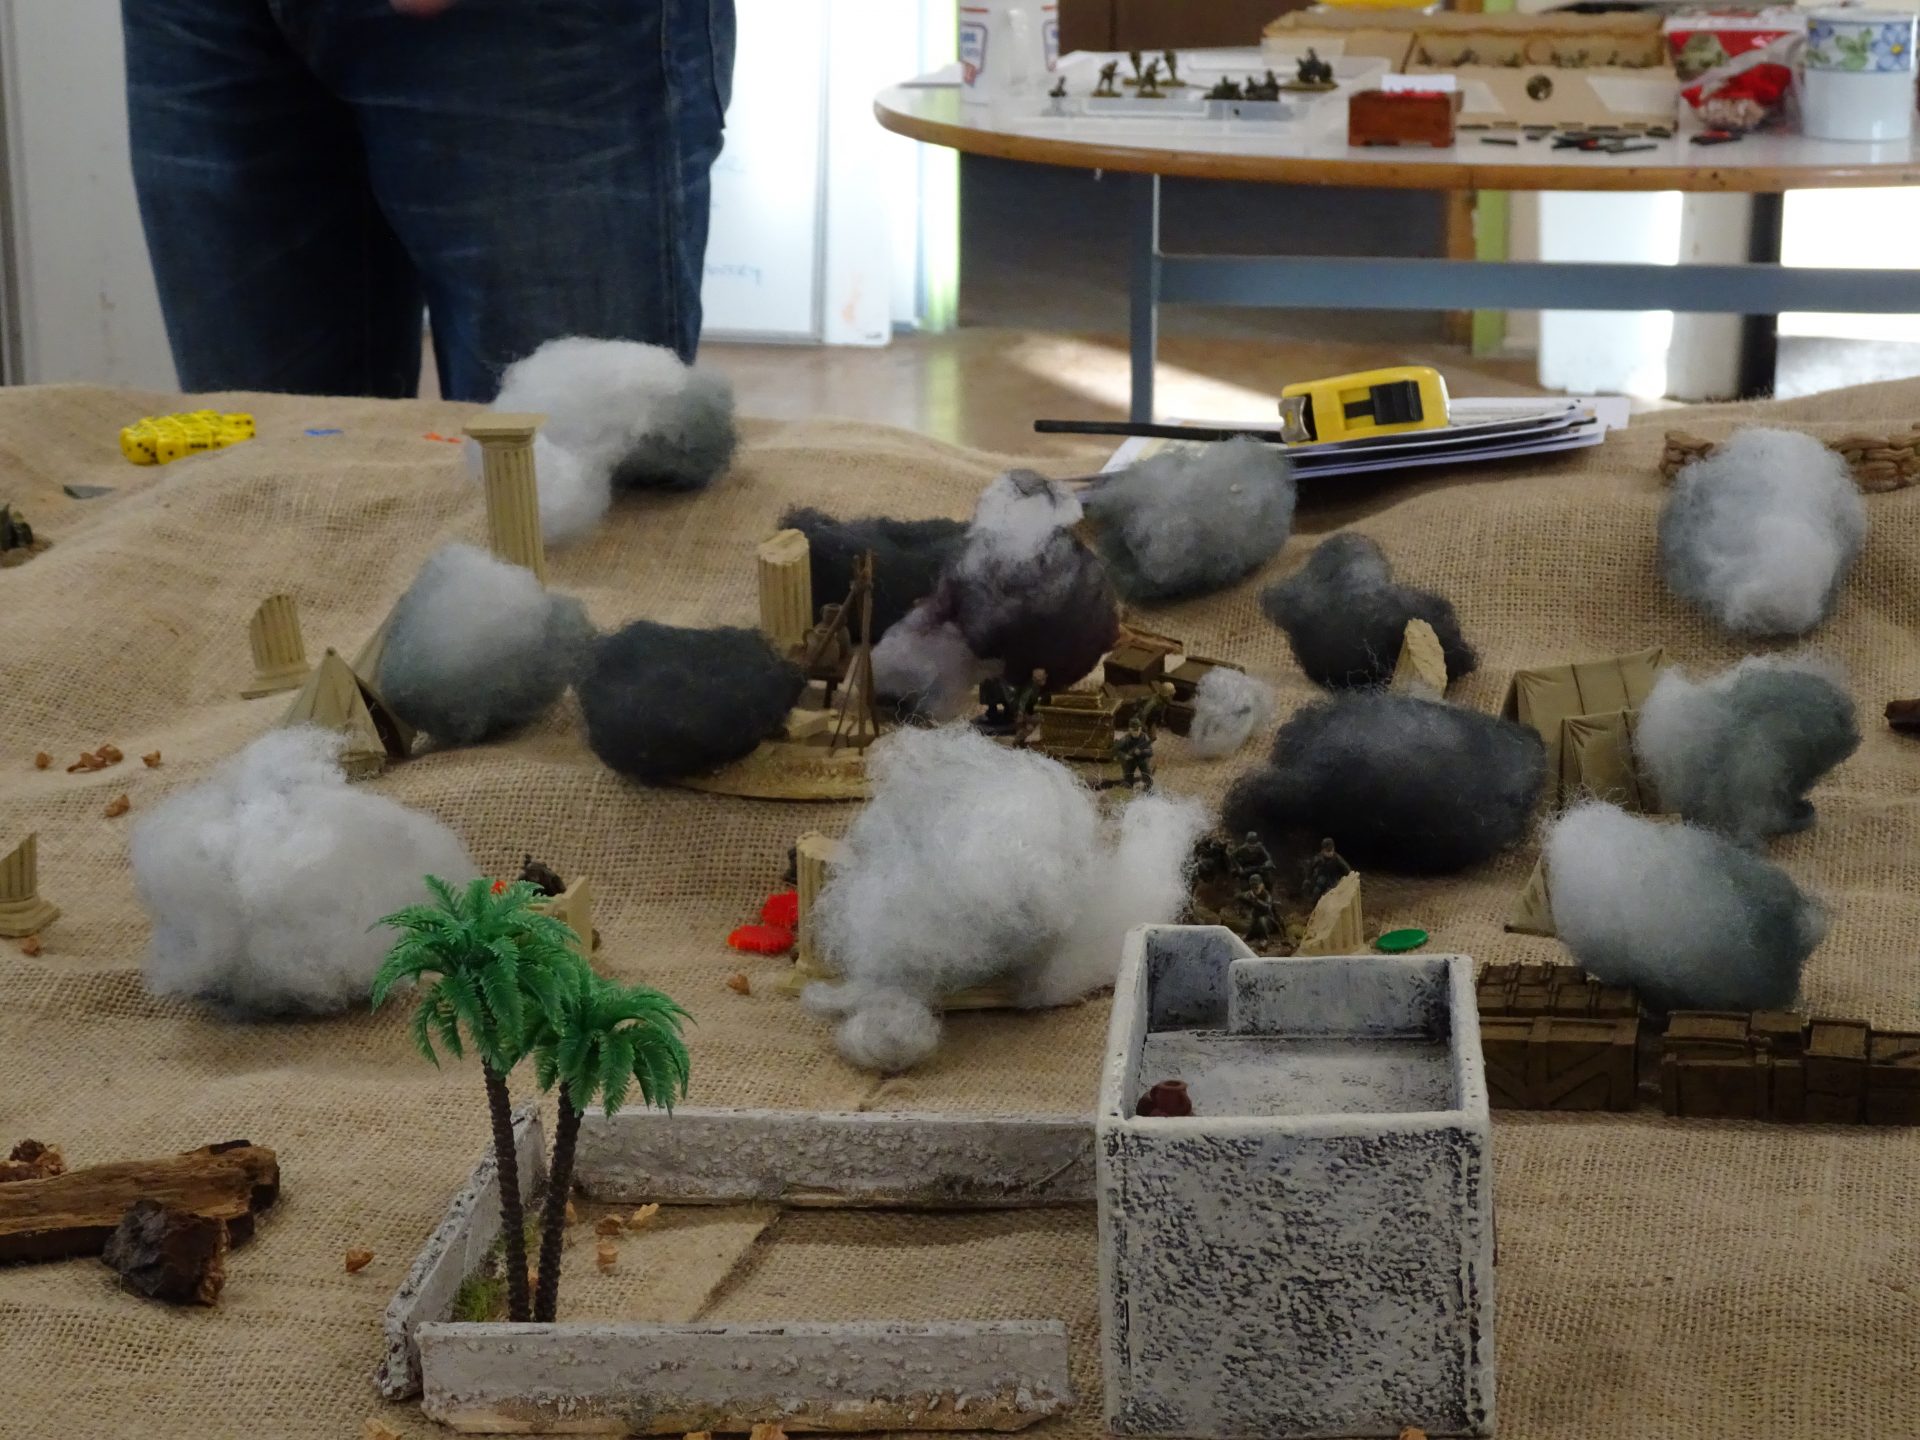
Posting the grenades through the openings, the explosions rumbled around the inside. But we weren’t done yet. In the next phase? The last of the frag grenades went through the window, accompanied by a collection of booms.
By the time the smoke cleared, the germans inside had had their ears well and truly rung. With one team almost eliminated and plenty of shock on both the grenades had been handy. But using them two phases in a row and they were now out… And the germans inside still had plenty.
The return grenades did some deadly work (although thankfully less HE dice to play around with due to the open air). Two riflemen out for the count and an additional point shock definitely slowed down the assault. The advancing Panzer was also a concern, although I doubt the riflemen could hear it after the ear ringing from the collection of stick grenades.
Now what’s going on in the centre…
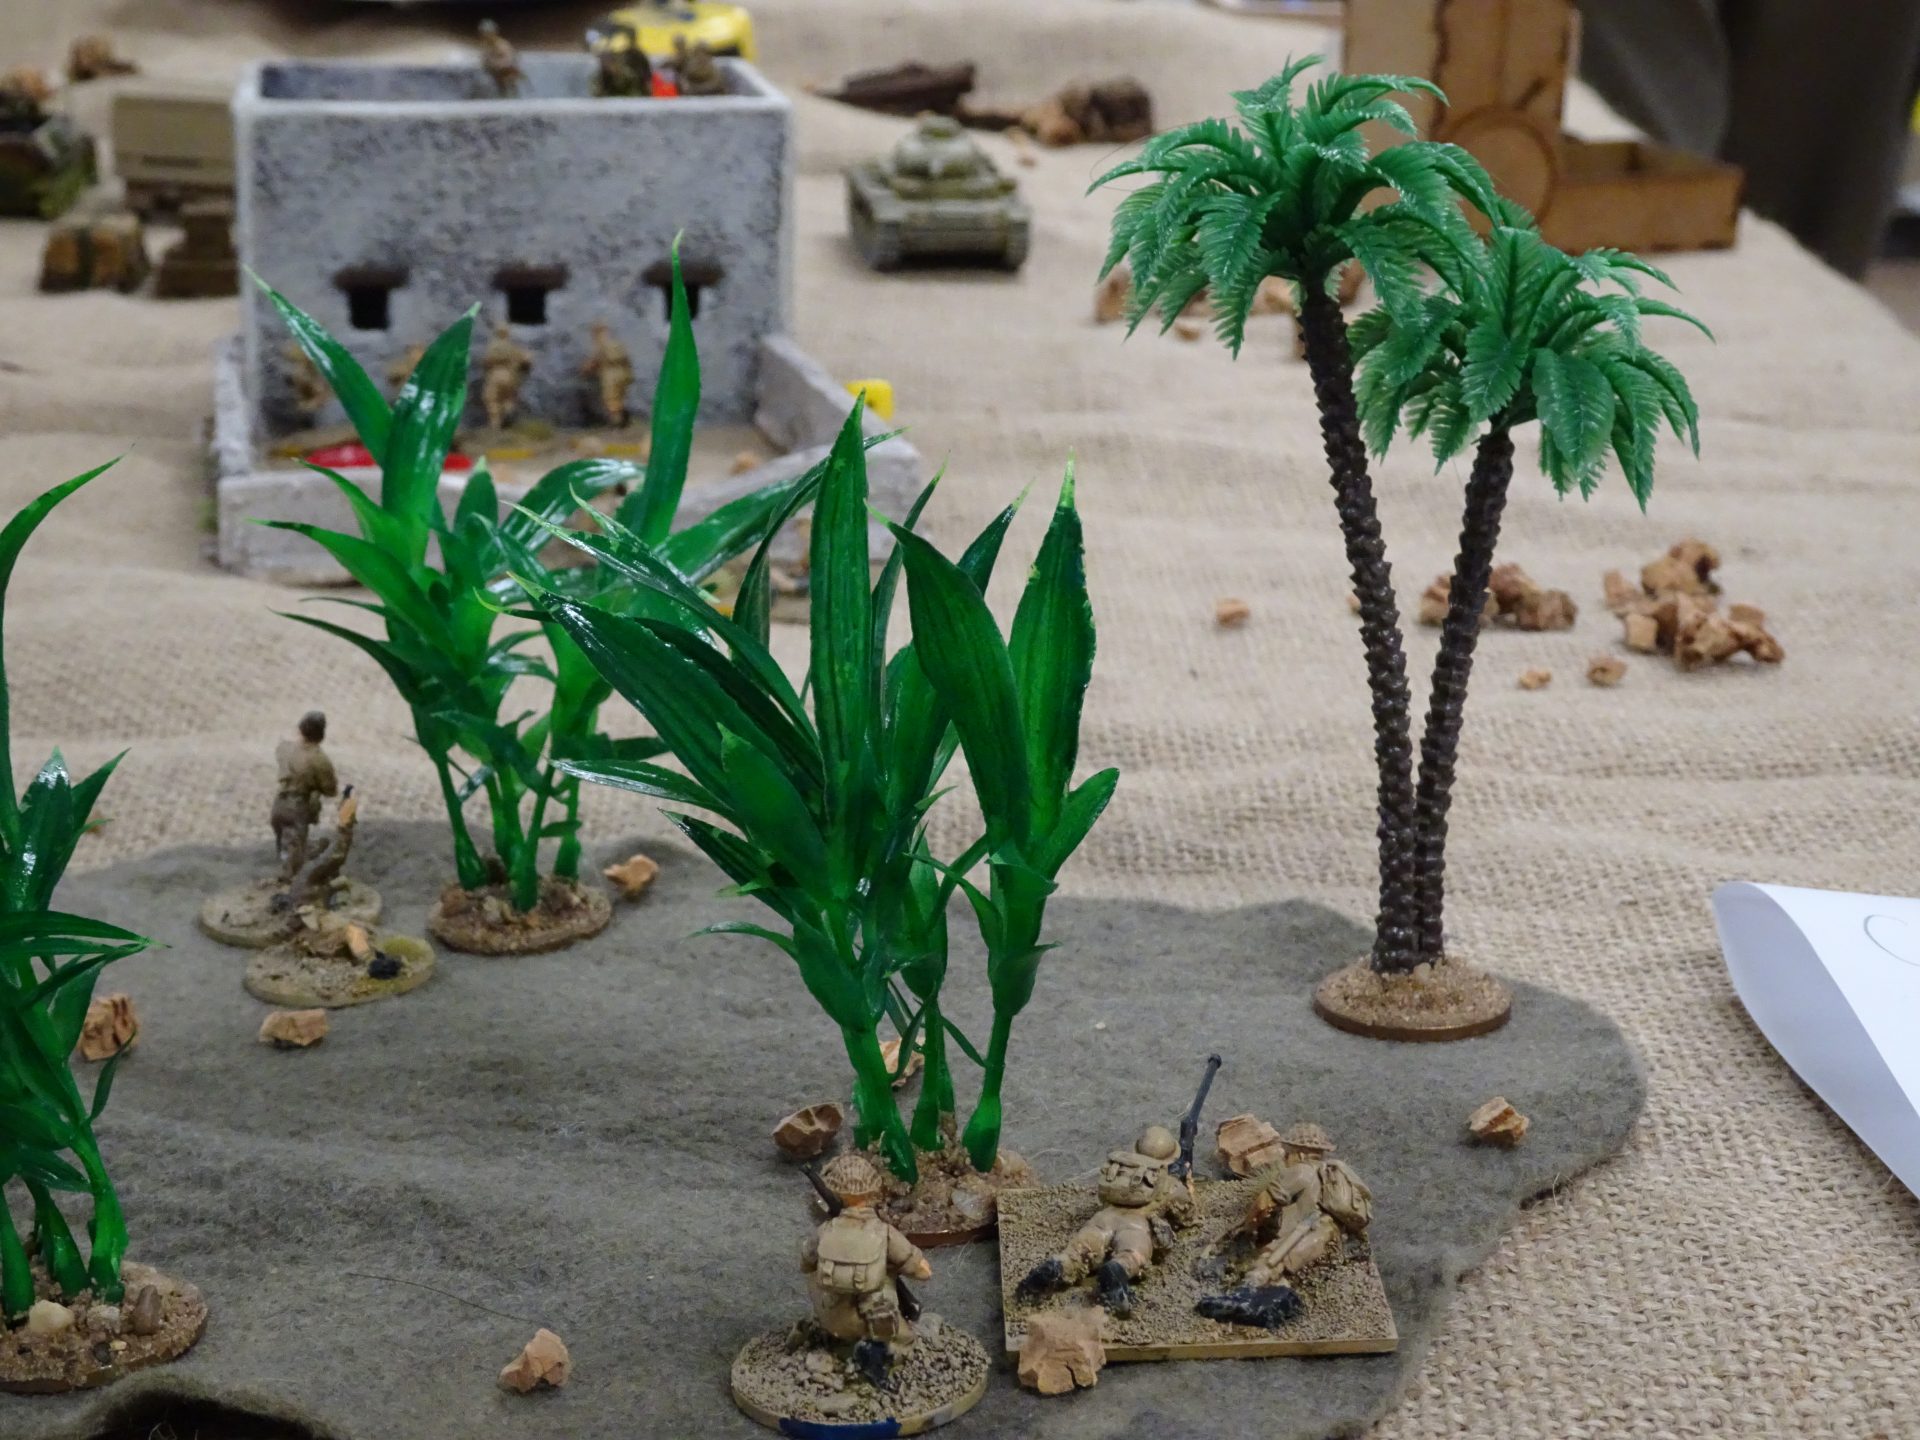
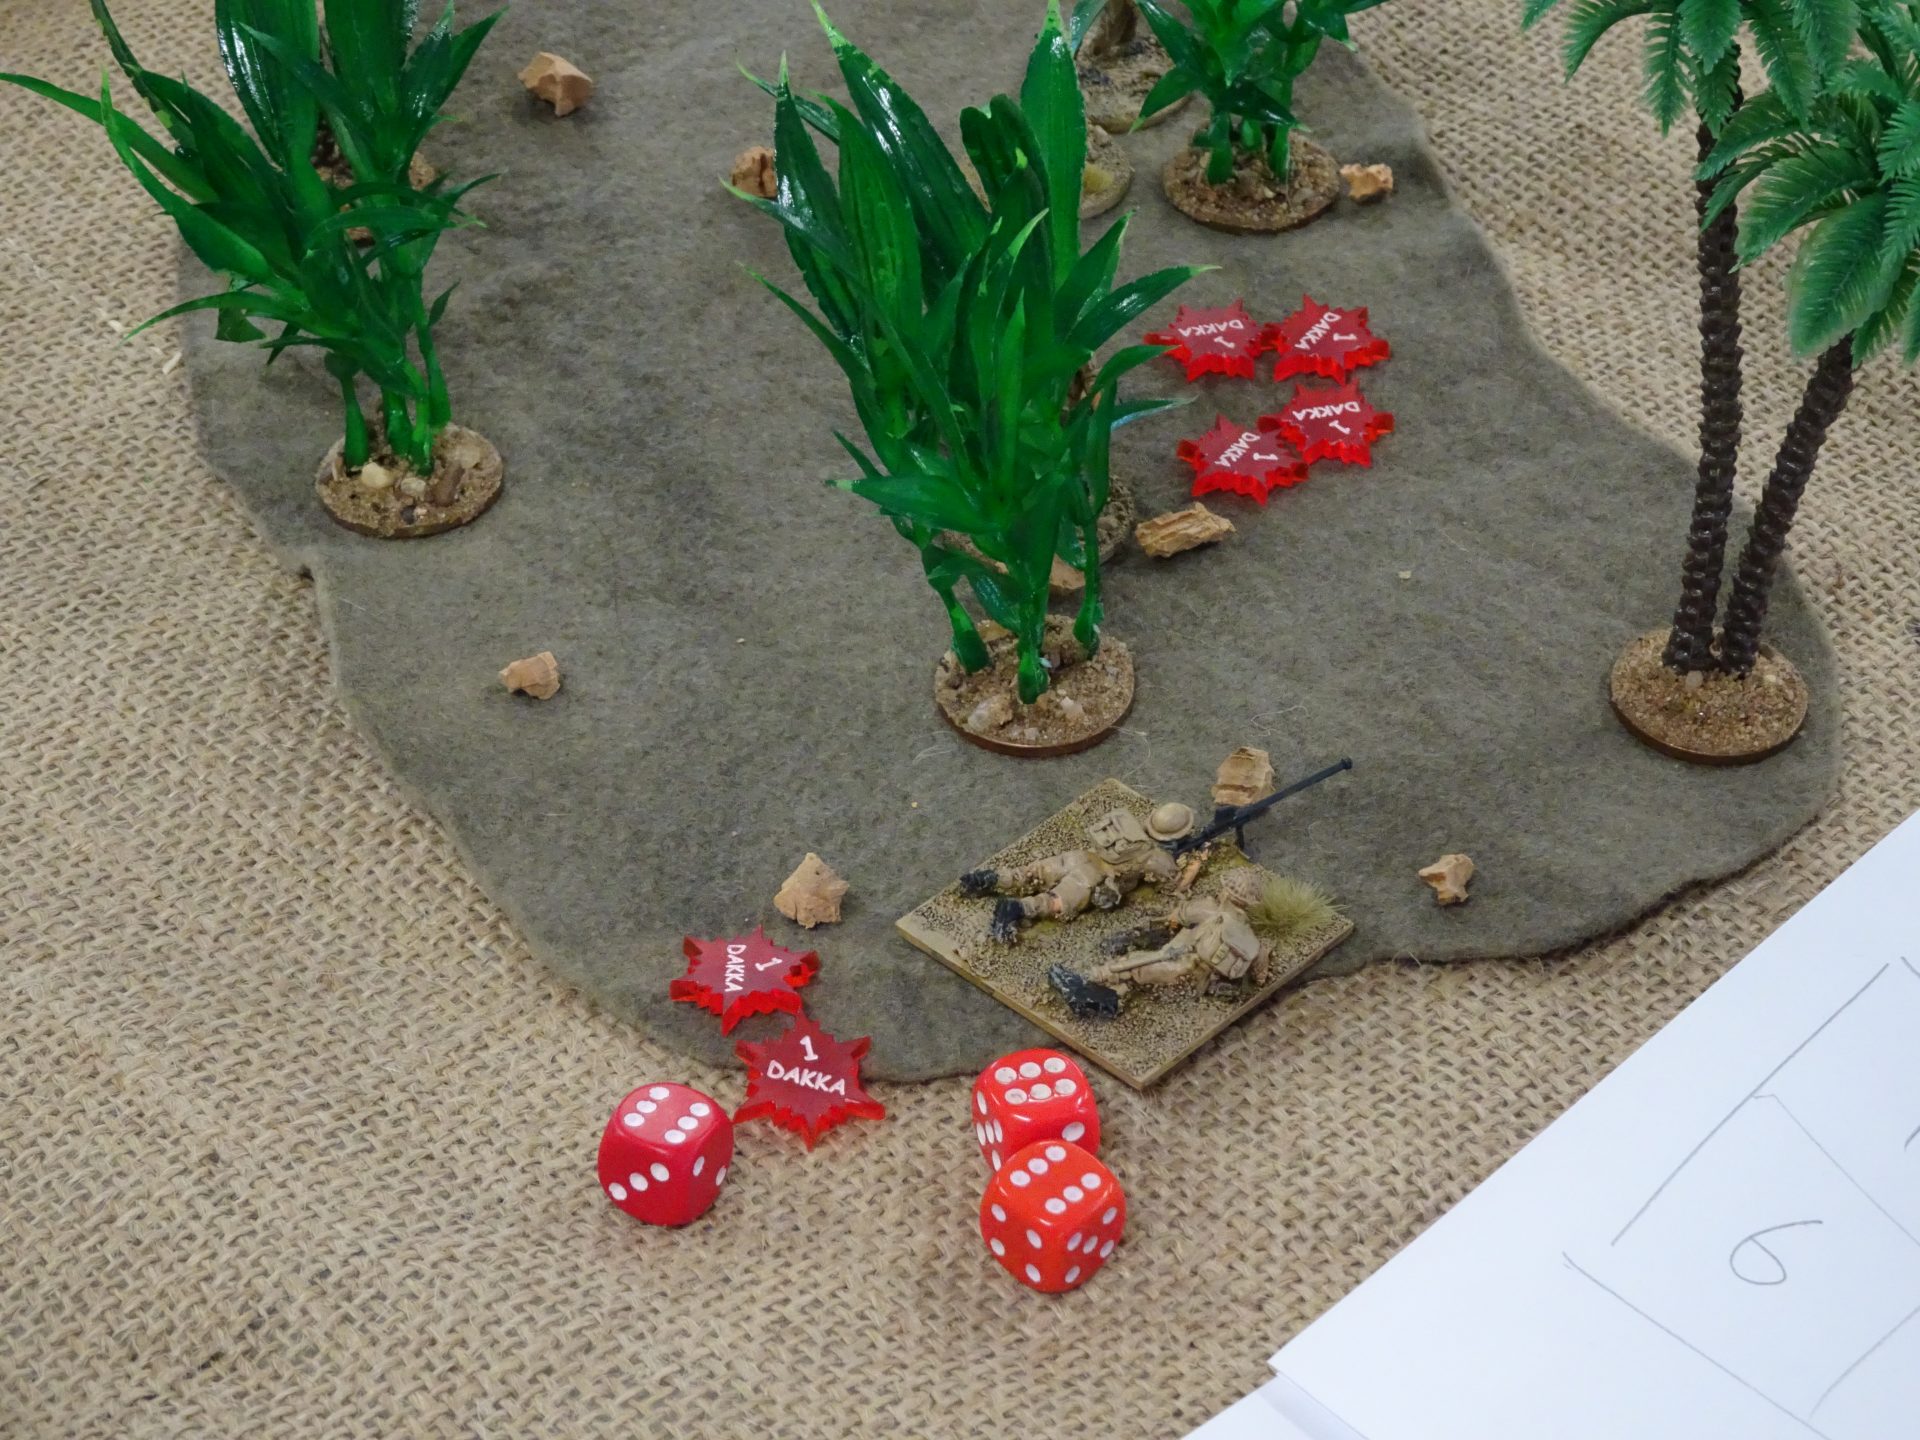
Ah. A change of turn removes the smoke, putting the Recce chaps into a fire fight again against the enemy around the dig site. The terrain is causing a problem, with both the Kiwis and the Recce boys managing to get to the cover in the centre before getting pinned down in a hail of MG34 fire from the dug in DAK and FJs.
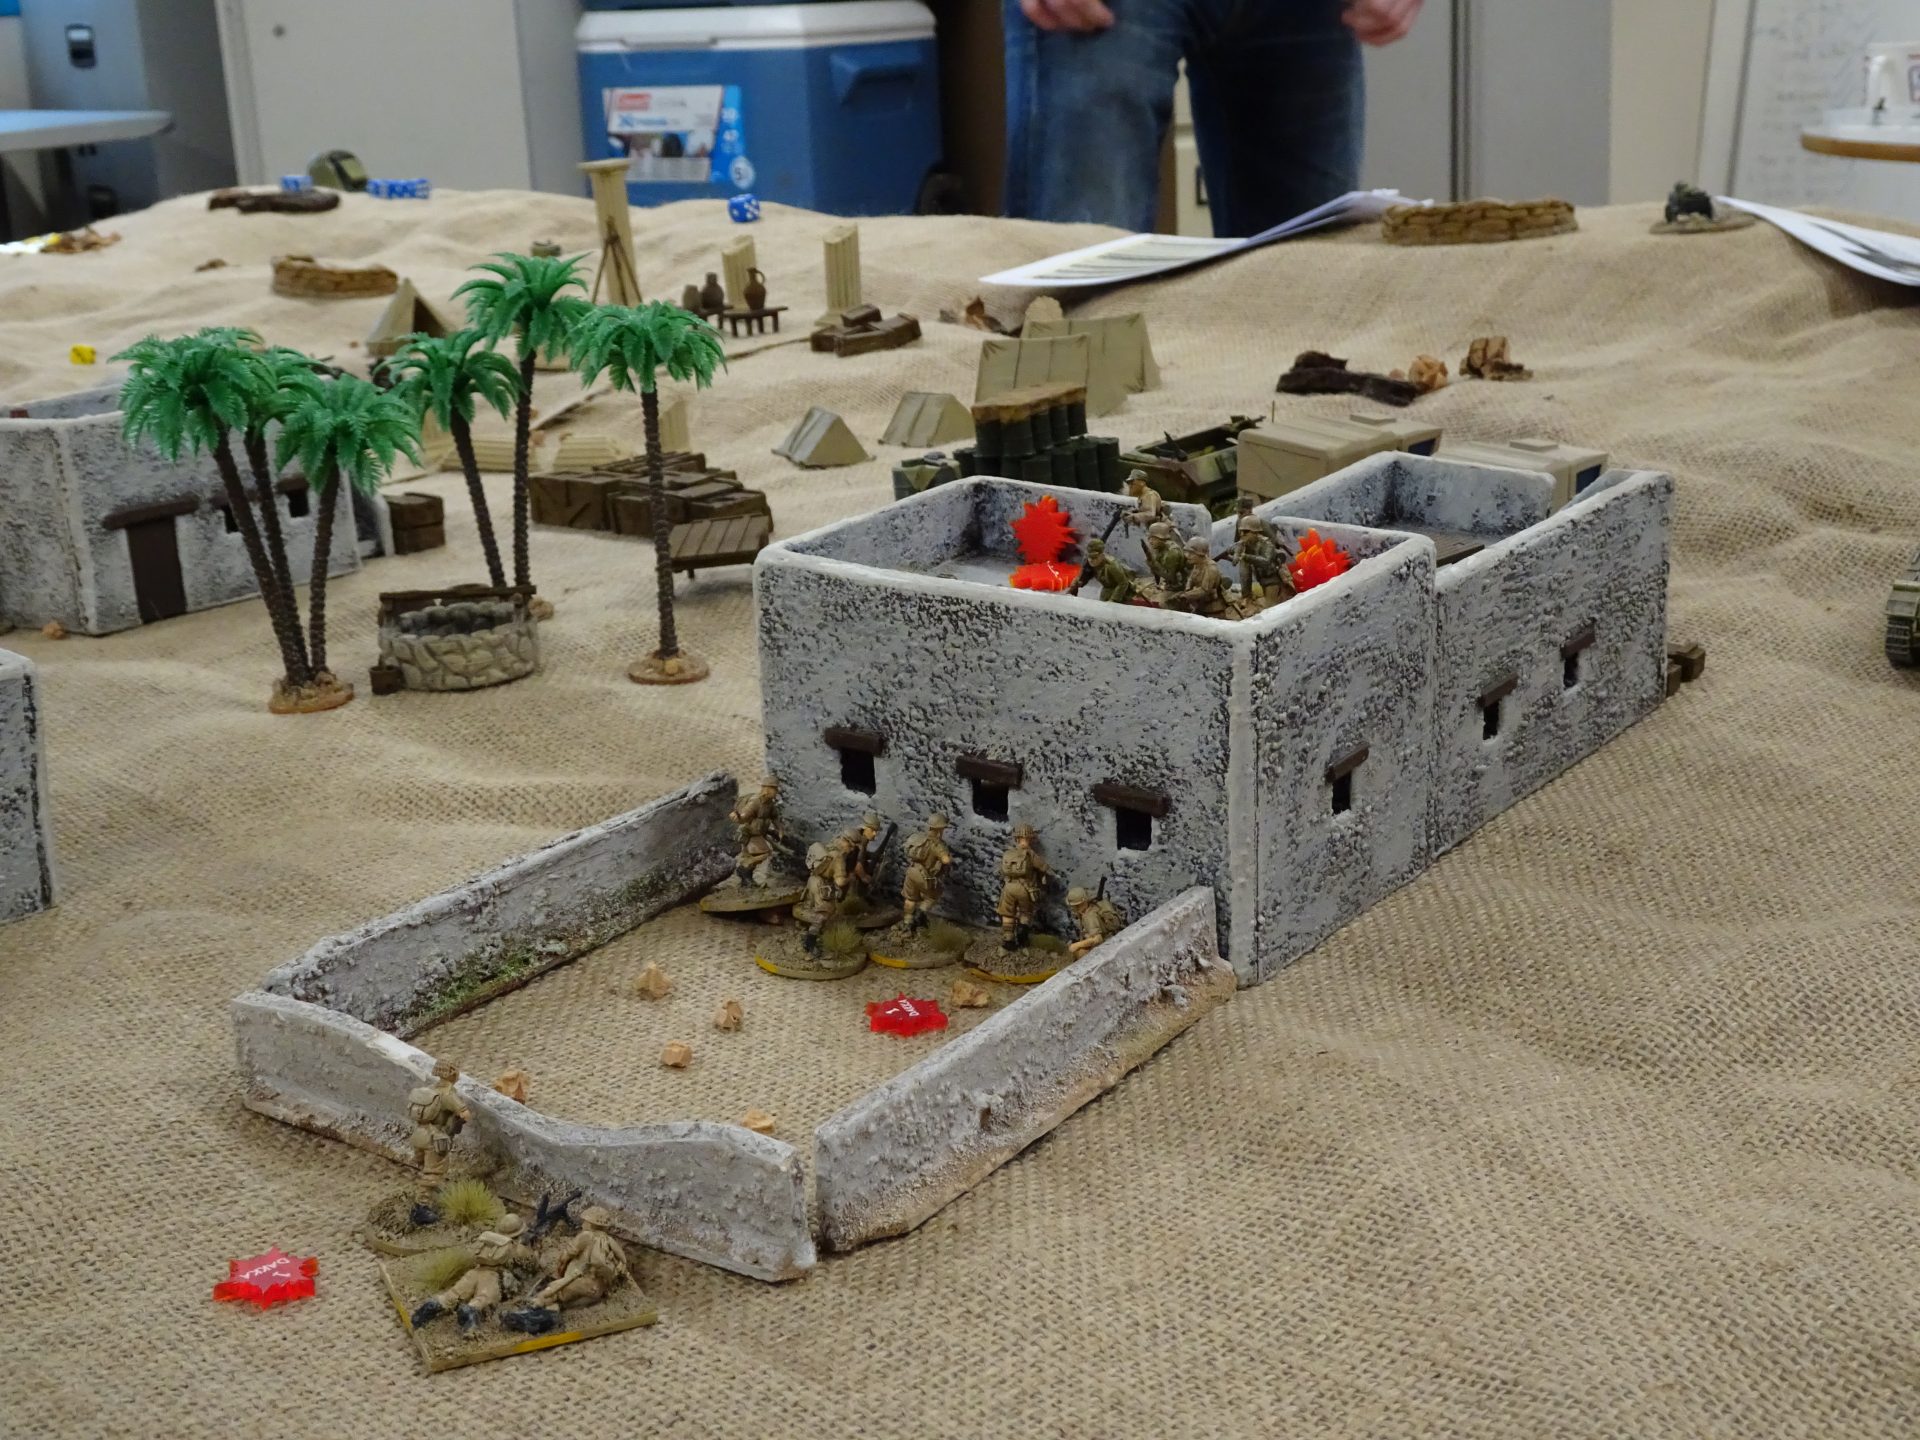
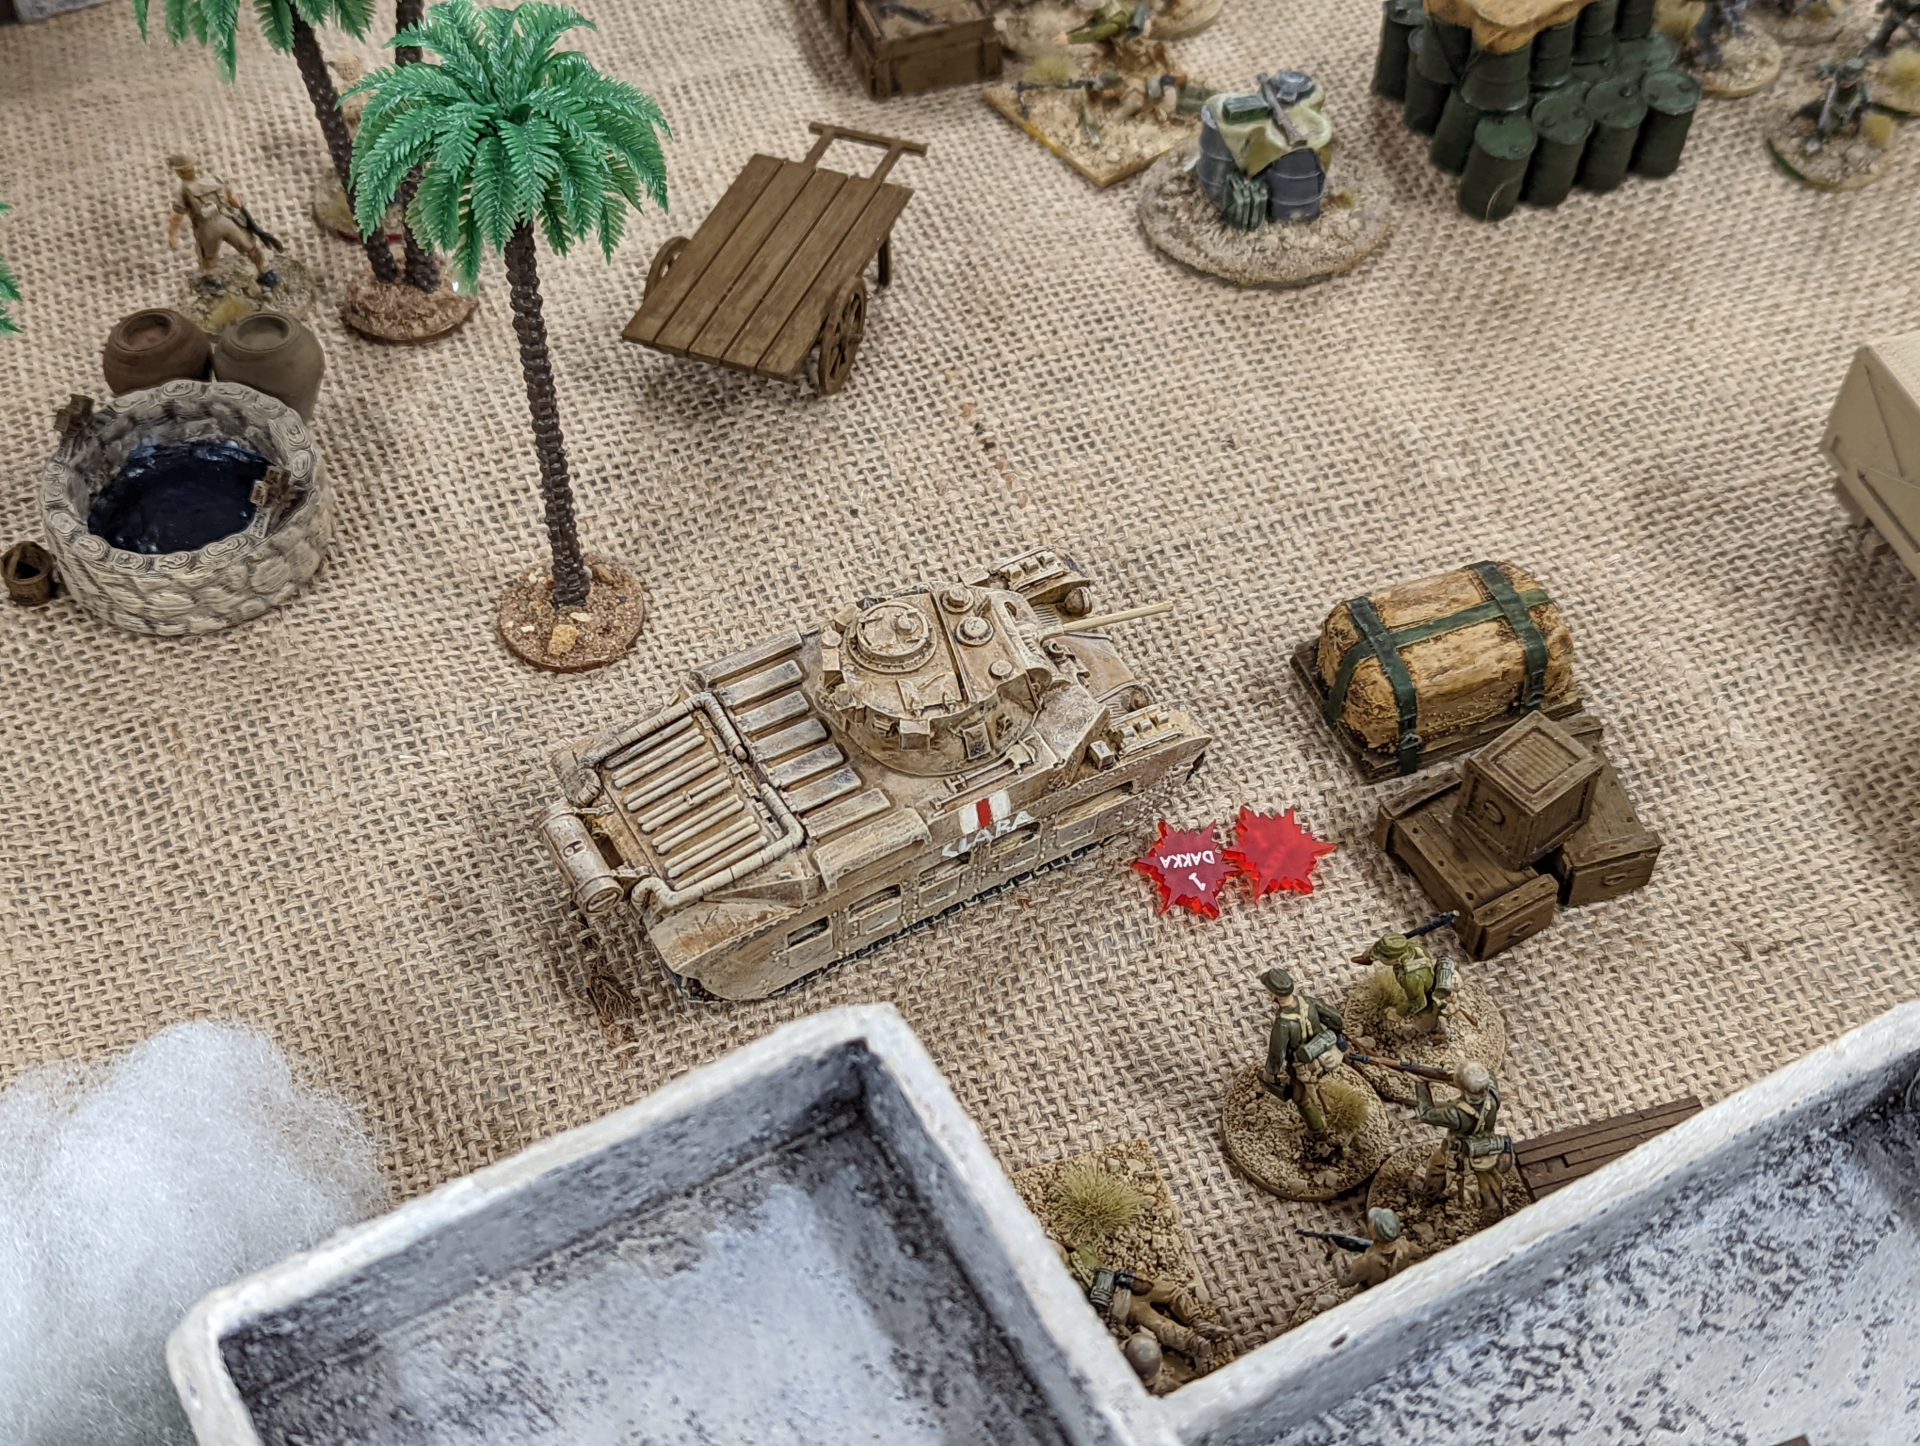
Seeing the Panzer 3 advance, the Platoon NCO and Boys AT team deployed to take a shot at it. The first round pinged off the armour, causing some concern but little else. Oh dear.
With the Germans taking the phase, they decided to put the force on. The Panzer 3 rolled forward, only able to rotate the turret to point menacingly at the British cowering by the wall.
At the same time, the squad inside the building were able to fire over the heads of the enemy outside, hitting the Bren team hard enough that it forced them to break and fall back.
The other team managed to shoot at the recently arrived Boys AT and oh man the DAK player rolled incredibly well. The team was immediately removed, leaving the Senior Leader in the wadi with some very suppressed Bren Gunners.
Overall, it was looking pretty grim for the Scots/Yorks. But that wasn’t the biggest news this turn.
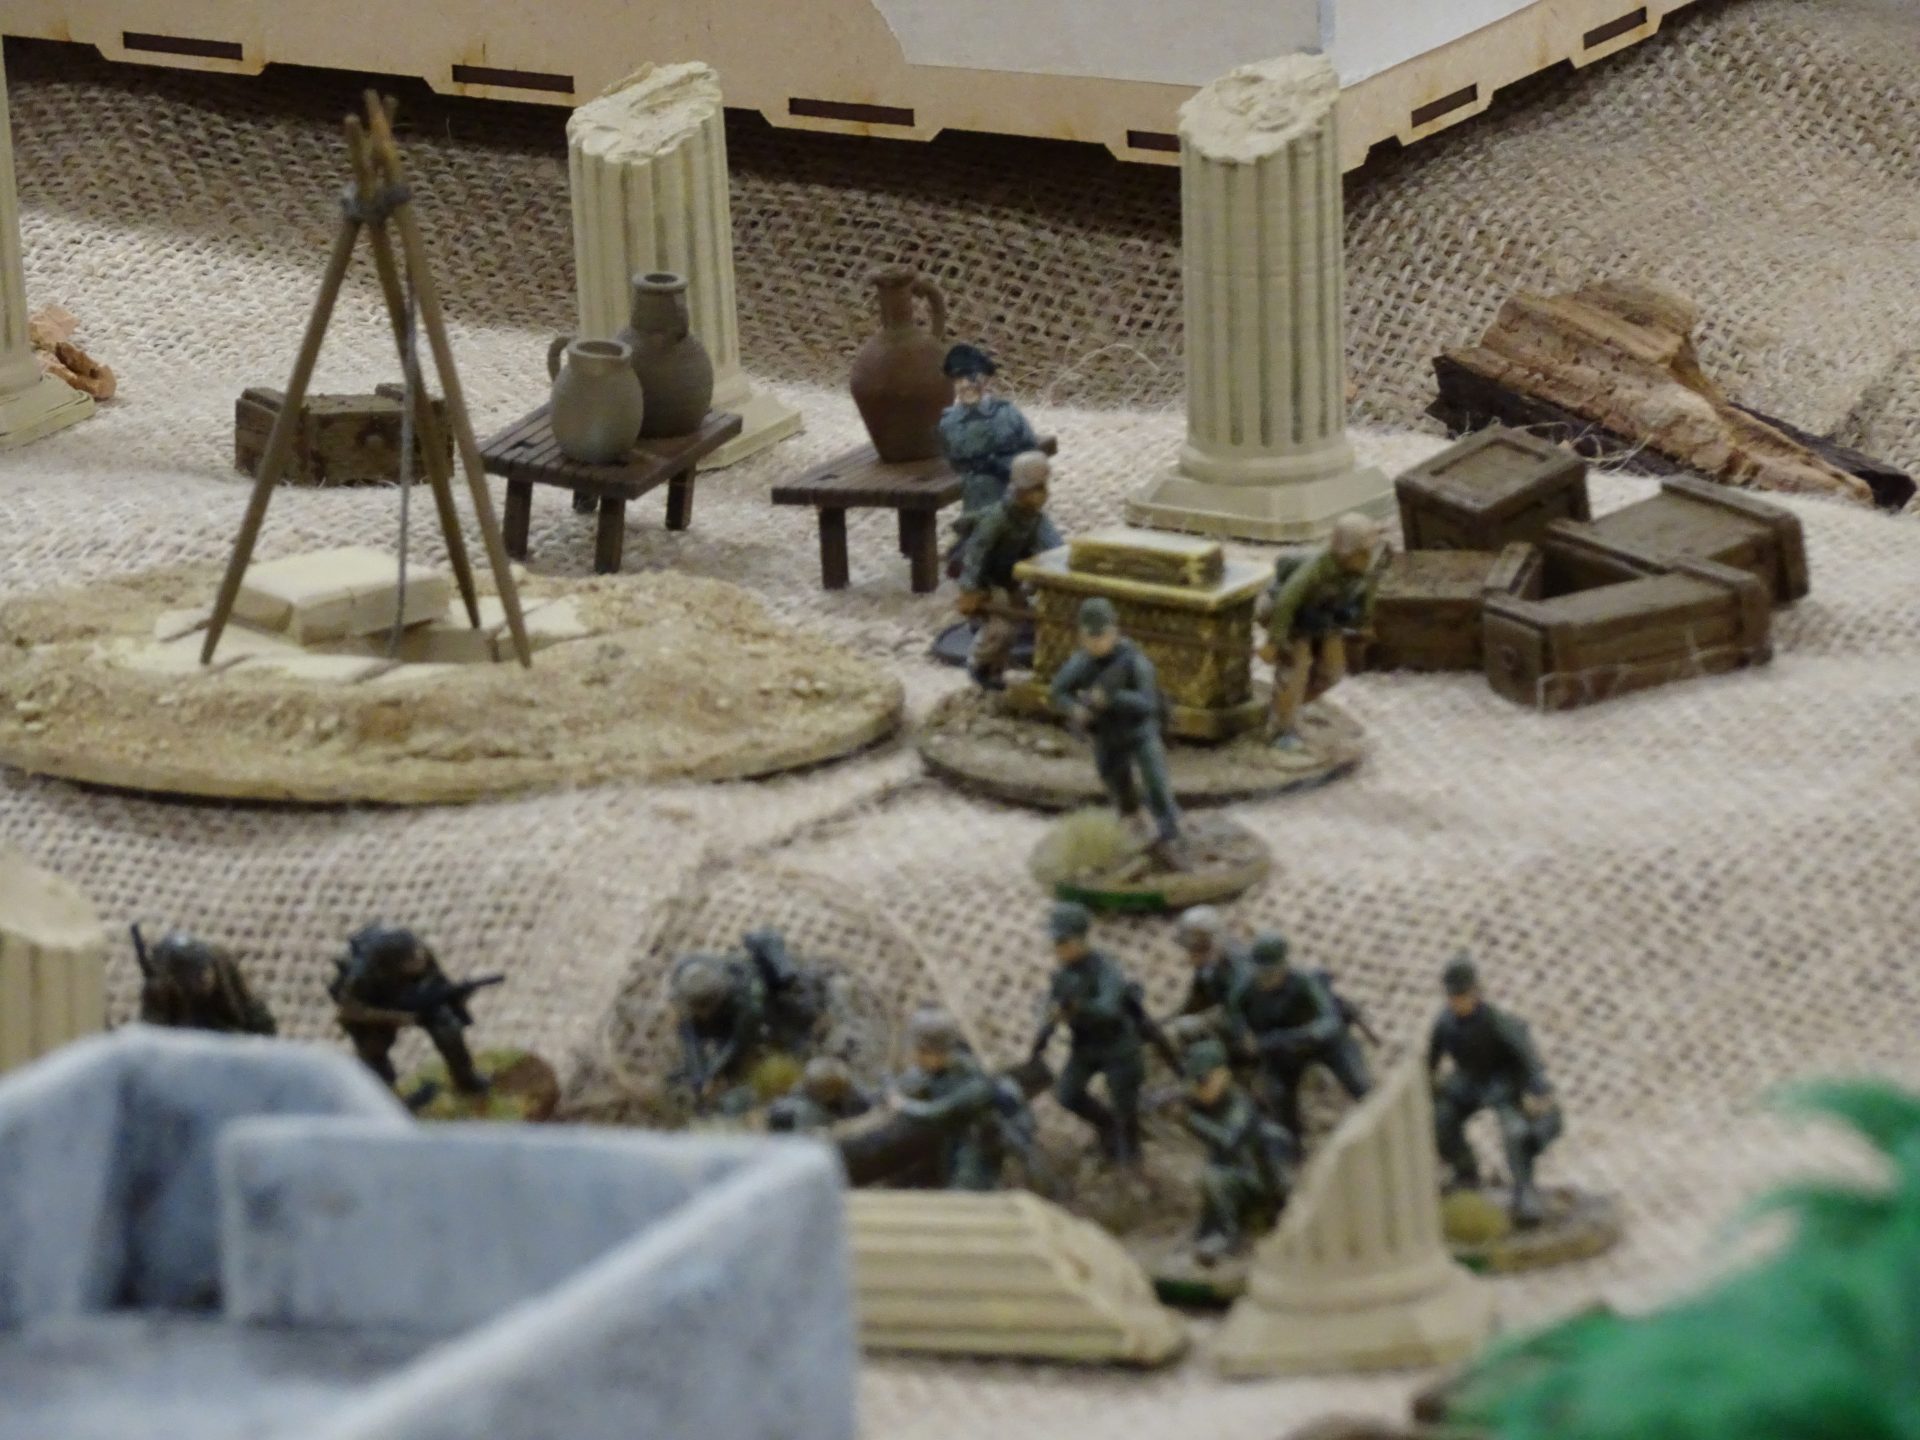
It turns out our assault was merely a side show, a ruse. The Recce boys were here with a secret mission to stop the Germans from evacuating… a mysterious gold box!
After we all stopped laughing at the surprise reveal, I asked the Dastardly regular opponent how he’d made it. The Ark was converted from a Perry Miniatures stretcher party and carefully assembled so he can swap between then for less supernatural missions.
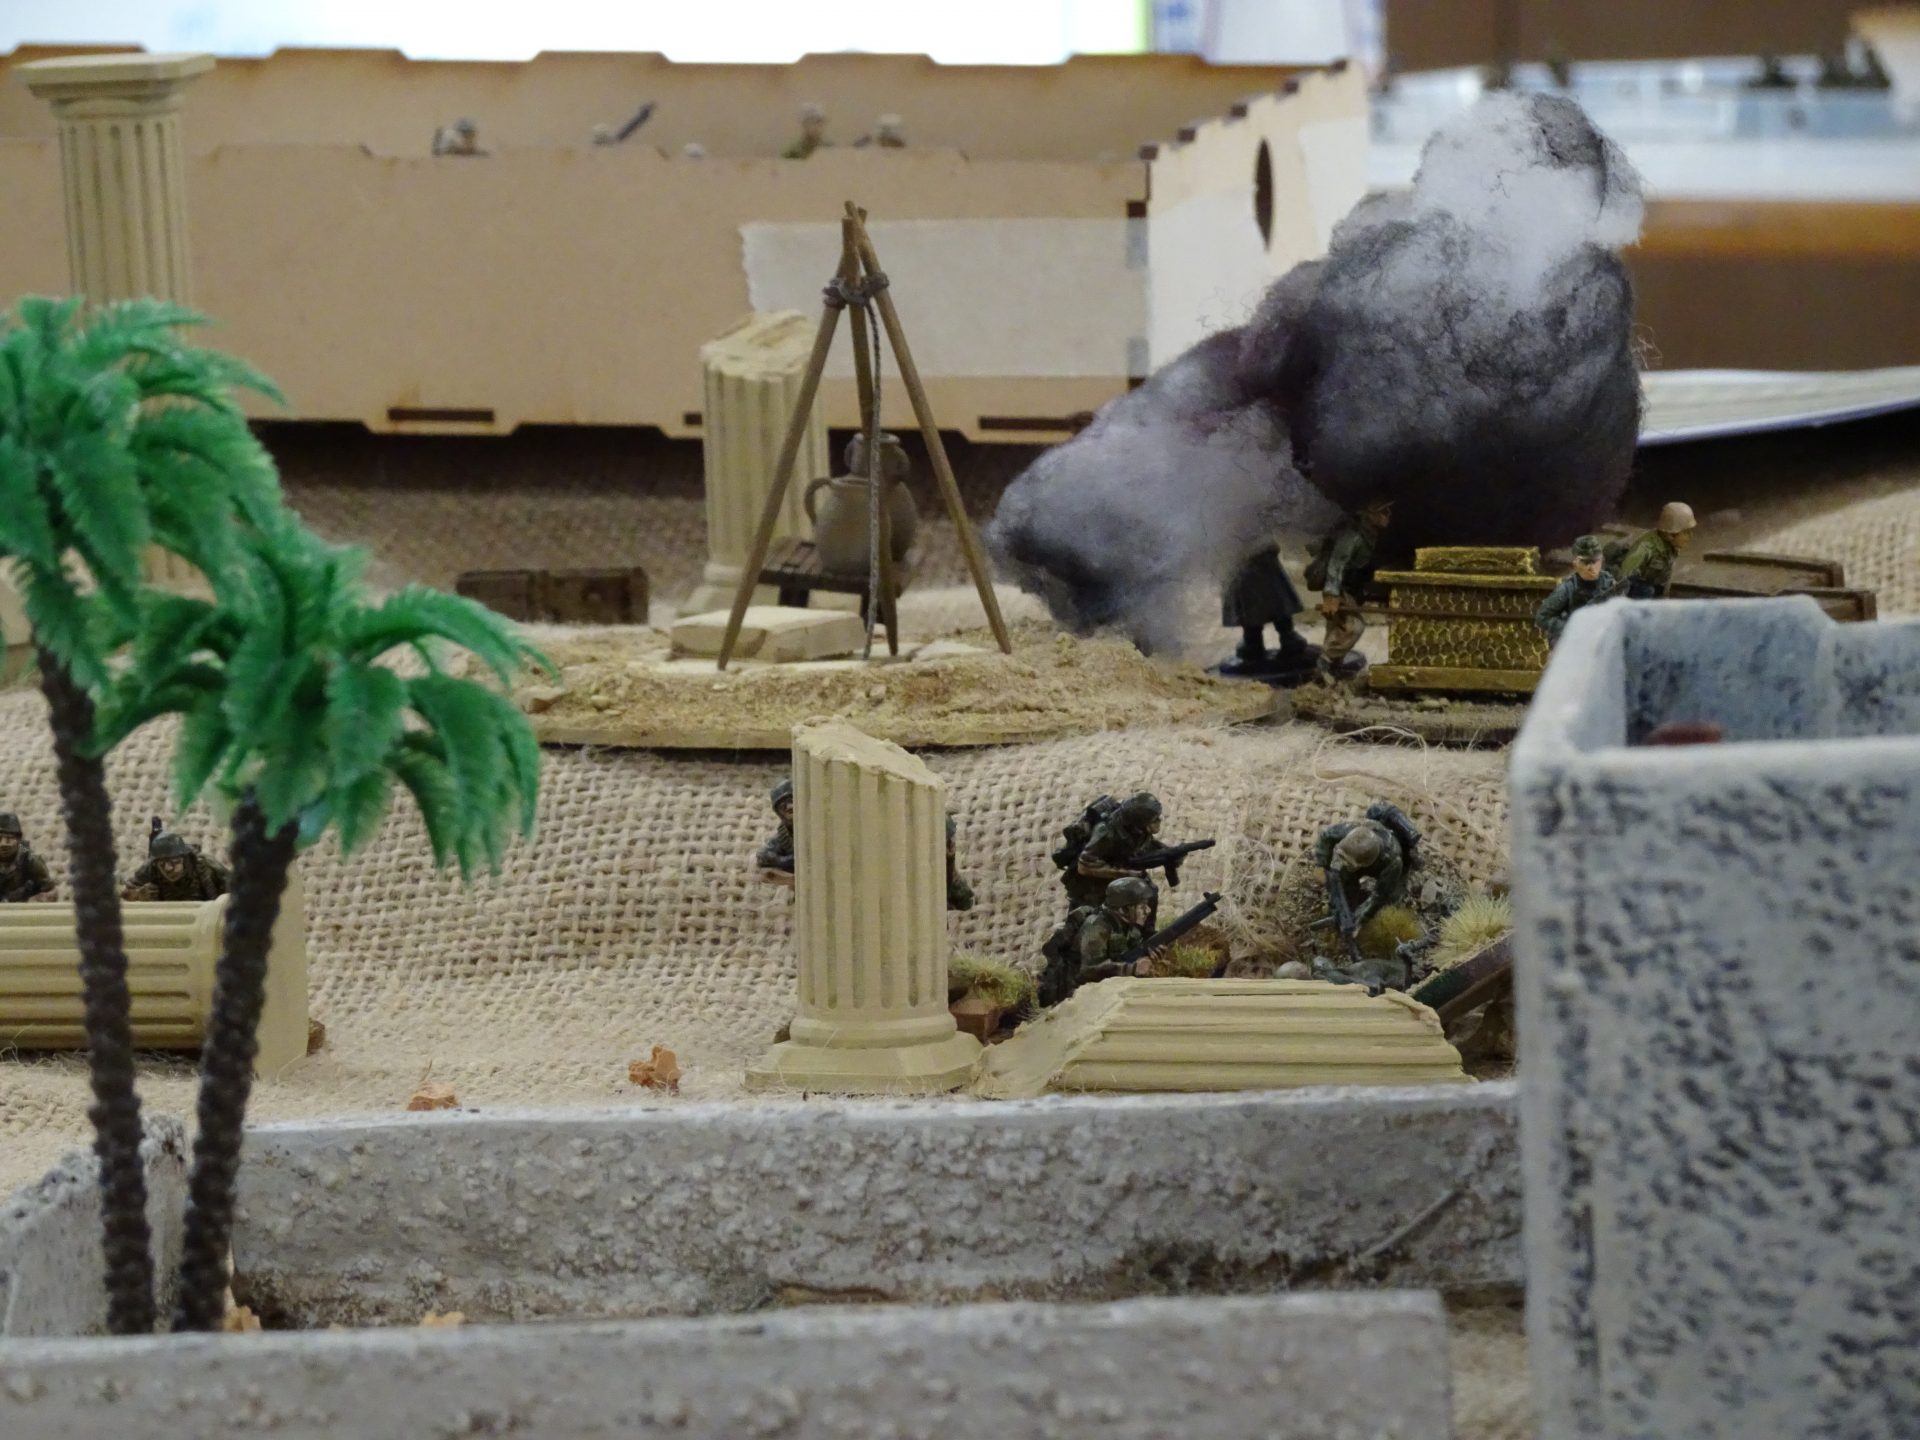
Of course, upon seeing the scrum of activity around the dig site and disregarding the possible clerical implications of their actions, the Kiwi player decided to use his FOO and bring the 3″ rounds on target. With the ranging shot landing basically on target, he called in the full battery.

Which proceeded to cover the entire area in a hail of explosive shells, including one that annihilated the team carrying the Ark, forcing them to drop it. Everyone else underneath the barrage were pinned in place.
As you might expect, the German Archaeological Boys were quick to use their Chain of Command dice to end the turn and clear off the barrage. The Sinister Colonel was also rather sharpish in pulling troops from the defenders to pick up the prize and get it away to the waiting half-track!
Speaking of the Germans, the FJs were a touch surprised to see the 2″ mortar land directly in front of them. Only slightly off target, but still enough to block the ongoing two way shooting range.
Meanwhile back on the Scots/Yorks side of the board, it was time for what we’ve all been waiting for… a tank battle!
Relying on the enemy being distracted, the gunner lined up the 2pdr on the Panzer 3 and…

The cameraman failed to line up the turret correctly
But also the gunner sent a 1.2kg lump of metal directly through the turret ring, blowing the Panzer 3 to pieces. Good job!
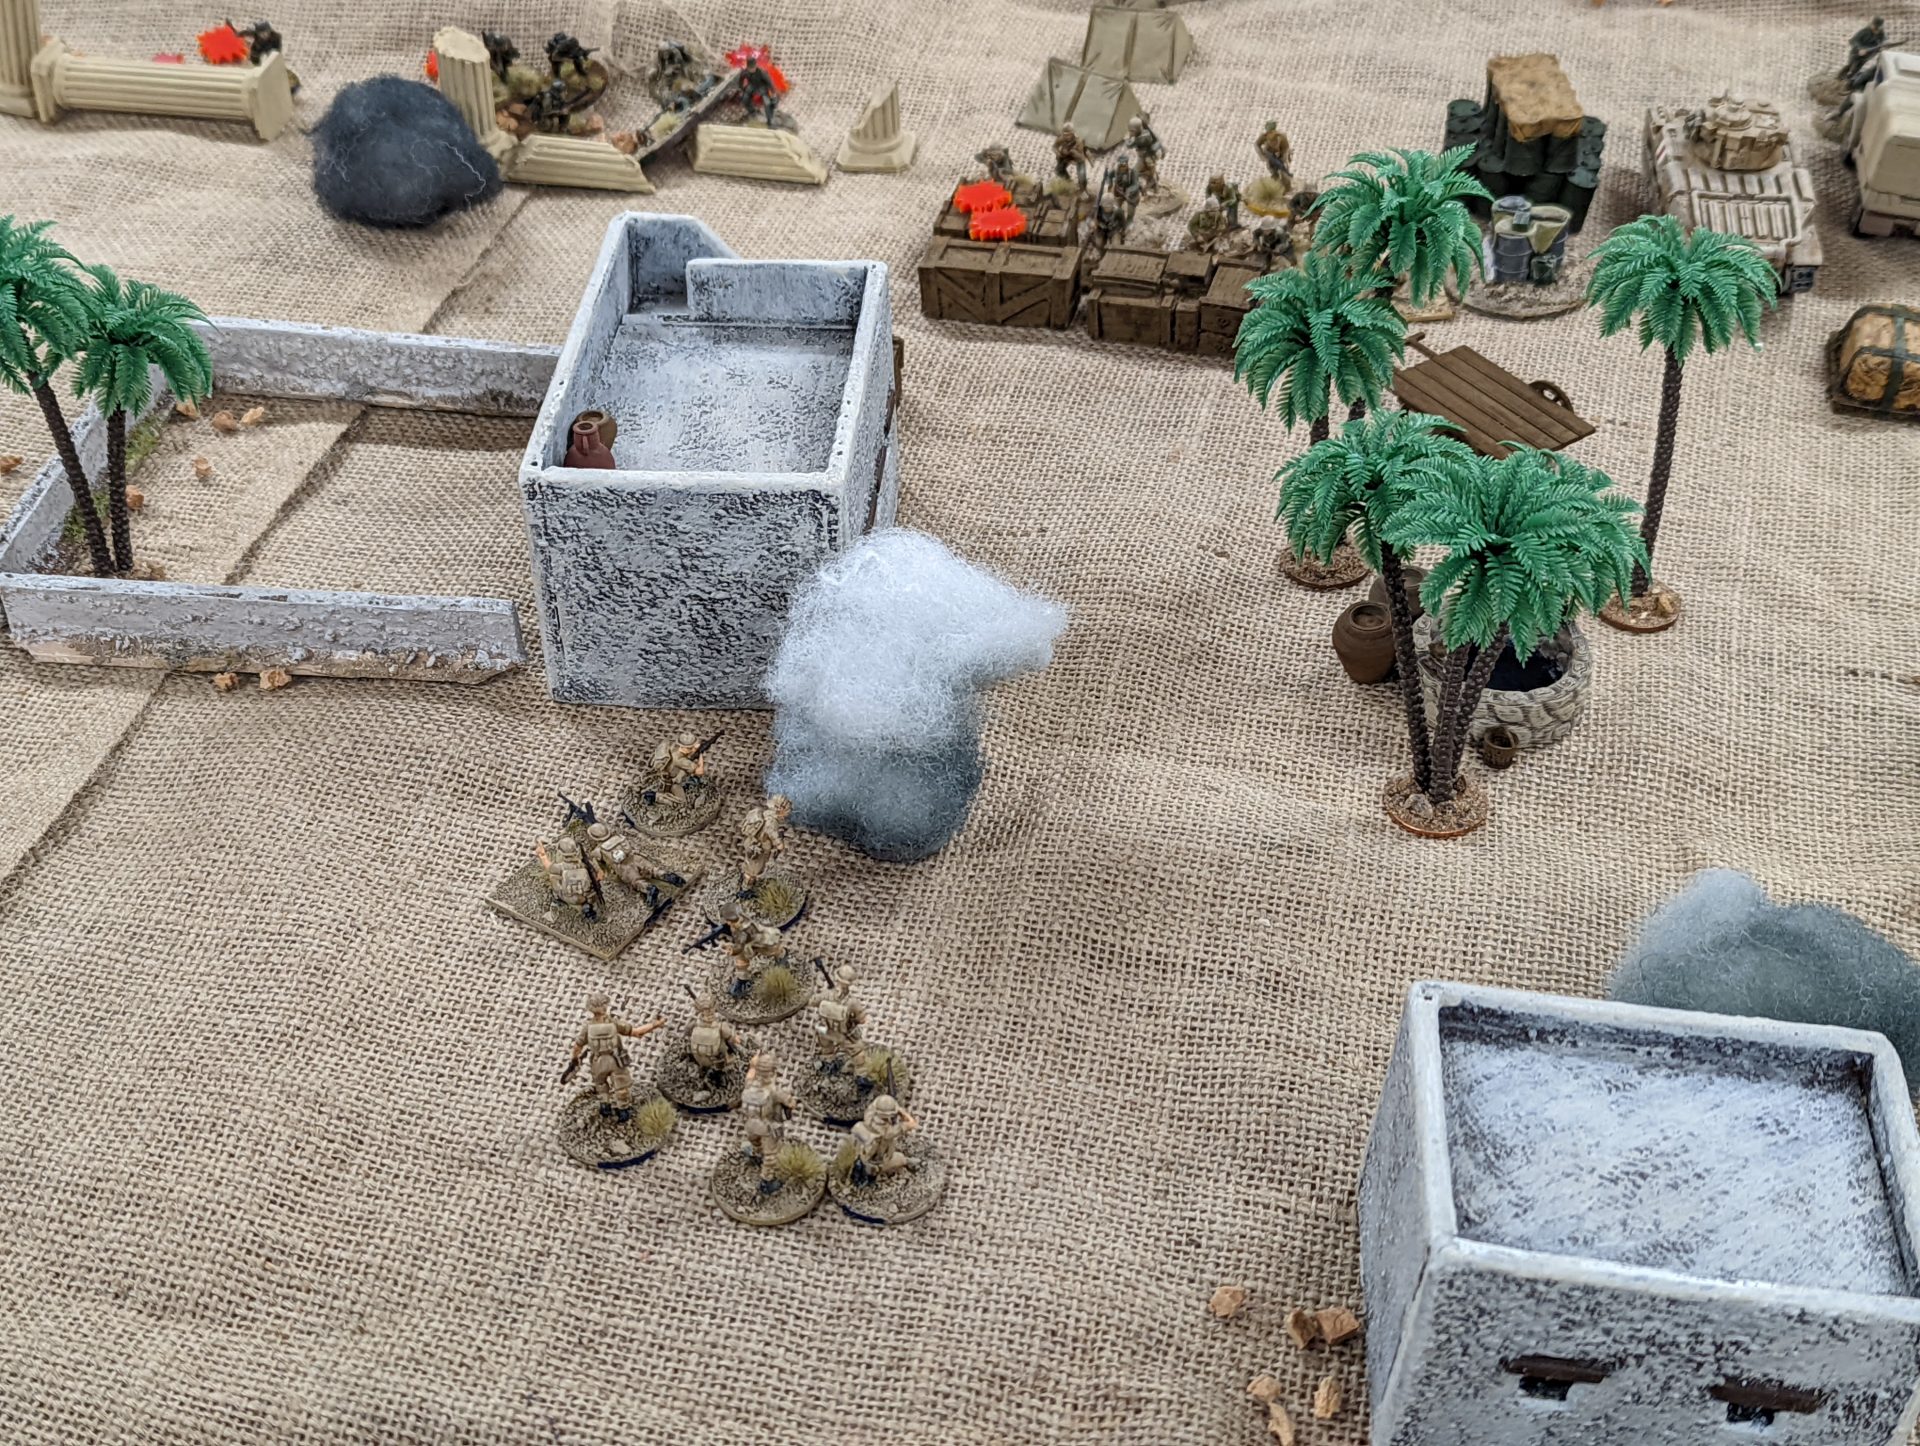
Buoyed up by the success of the Matilda, I decided it was time to really start my push on the enemy. First step? Deploy my second section and Senior Leader.
Second Step? Pop smoke directly in front of my position.
At which point the DAK player decided to not mess around with a possible advance and deployed HIS next section and set them up on overwatch covering my arc.
I also used this opportunity to break up the stalemate on the right hand side. While their Bren team may have been wiped out, the junior leader and part of his rifle team were still in the fight. With the JL activation, I popped smoke to mask the building before using the team activation to fall back behind the wrecked Panzer 3.

Looking across the board, the German FJs deployed their AT gun and then very soon after found themselves under an emergency mortar barrage (not bothering to wait for the ranging shot and luckily doing rather well! The FJs would find themselves under this barrage for a while, giving the Kiwi troops time to advance.
Perhaps more concerning for us was that the Germans had managed to move their prize into a nearby halftrack. With the Recce boys unable to intercede, it would fall to the armour to save the day (even if they didn’t know quite what was going on). Sighting in the speeding halftrack, the gunner aimed, fired and…

Boom, vehicle destroyed! And with that, the fate of the world as we know it has been saved, the Recce Commander had fulfilled the objectives without actually engaging it and some poor REME is about to be very surprised when he finds an untouched golden box in the burnt out shell of a half-track after the battle was over.
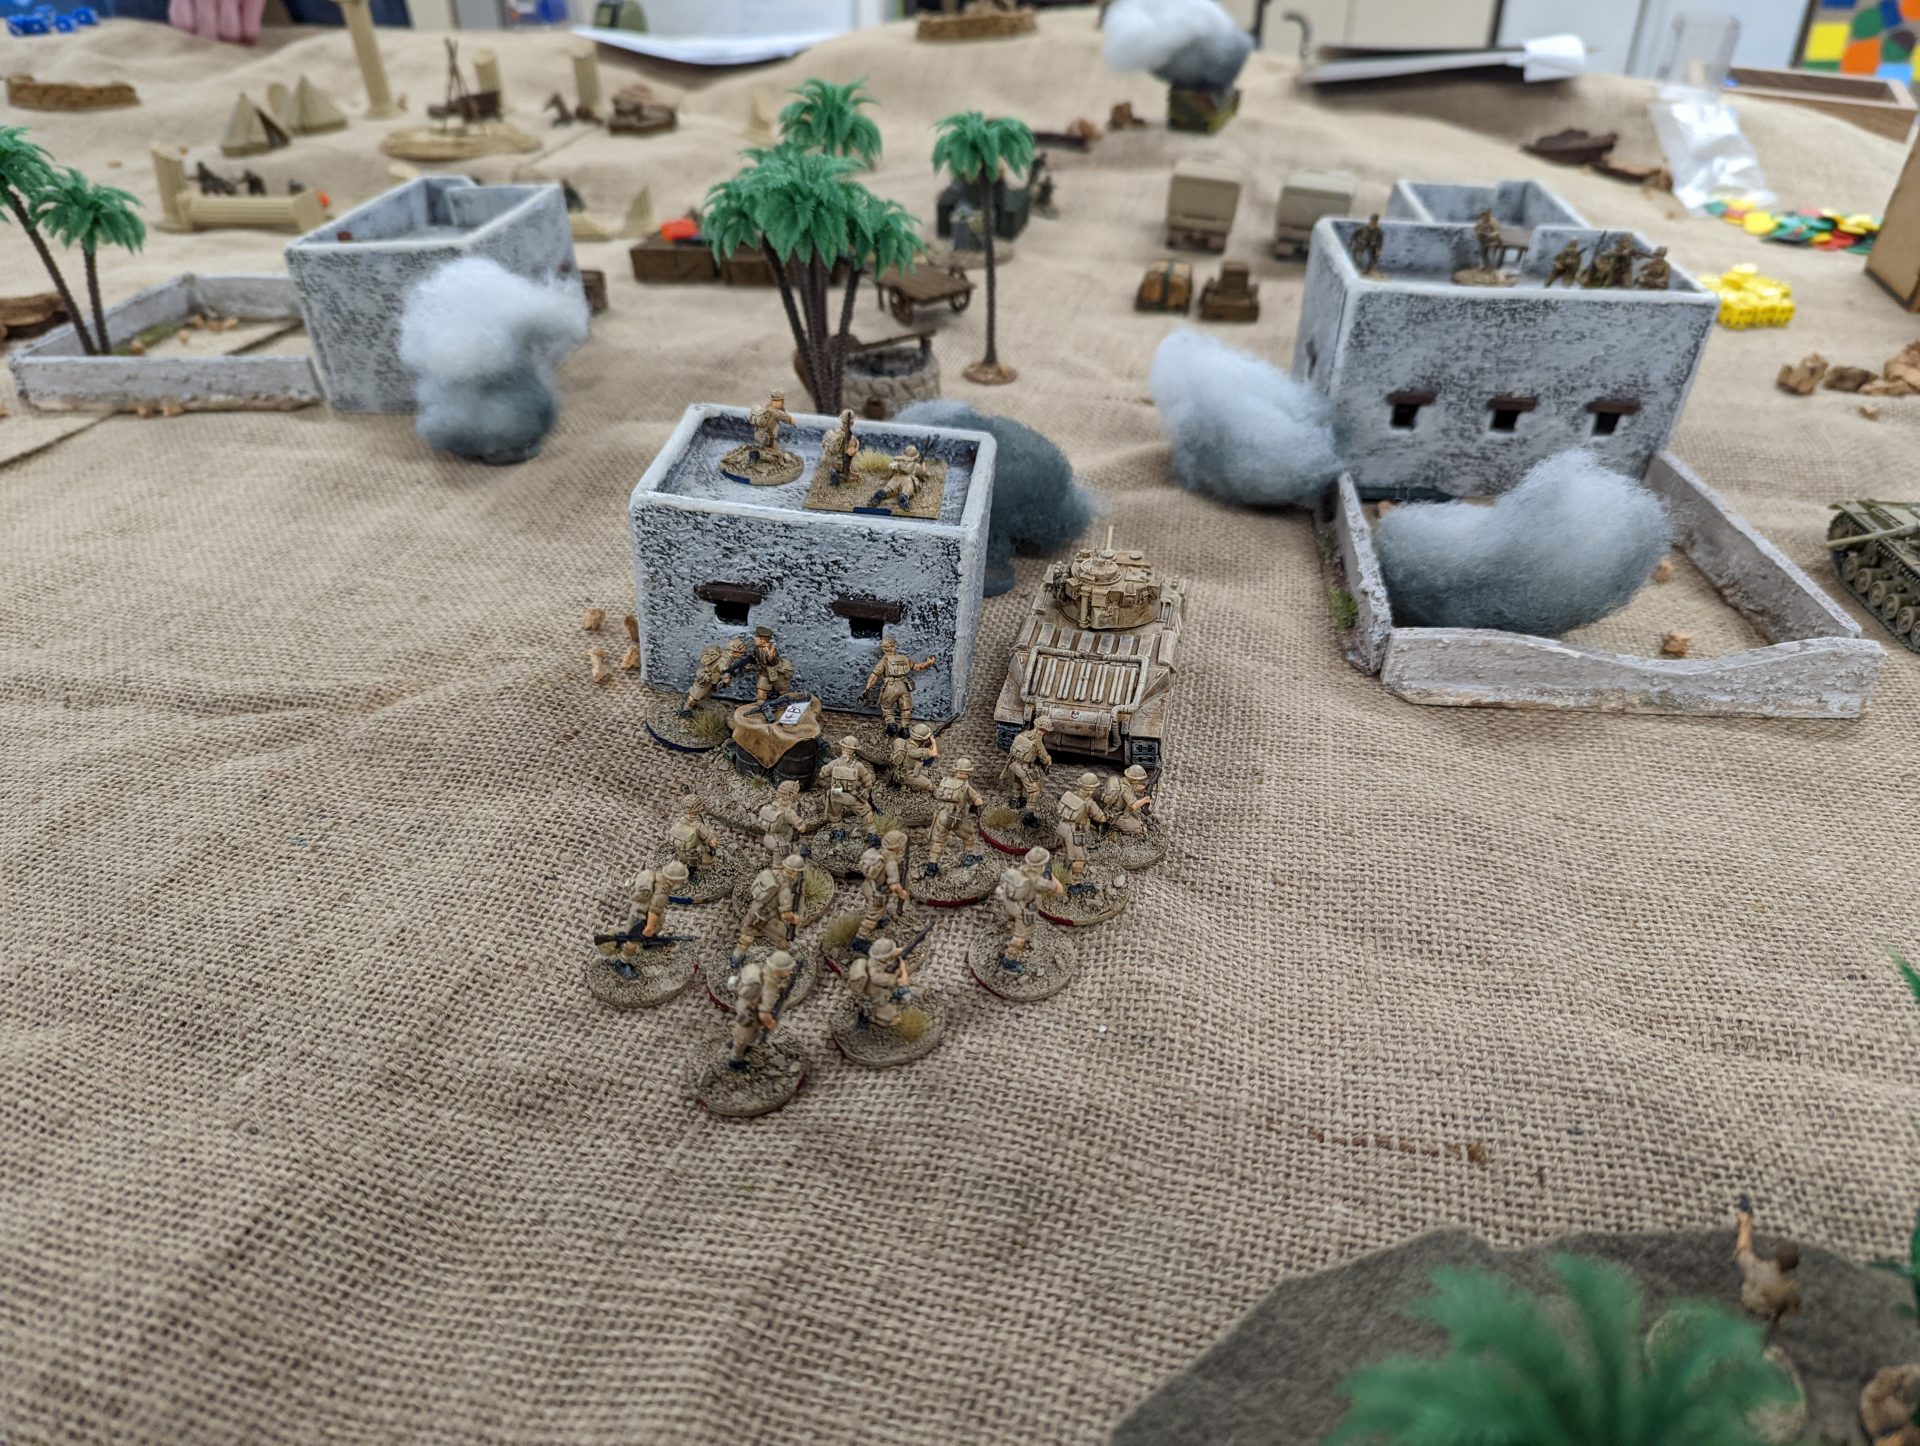
Of course, just because we’d taken out the shiny thing didn’t mean we’d won the whole thing – the two AT guns were still on the ridgeline stopping the general advance so it was time for an assault. With that, I deployed my second Senior Leader and my final infantry section.
Between my position and the enemy ridgeline, there were multiple enemy squads, each bristling with MG42s and in pretty reasonable cover. The smoke pots would provide some cover but to do this properly I’d need some good dice rolls and (fingers crossed) a double phase.
Luckily, the dice gods were on my side and gave me exactly what I needed.
Through the smoke clouds came thundering form of a Matilda II, closely followed by supporting infantry. I only managed to push one of the two sections forward, but it was enough to get the ball rolling on the assault. I’m sure nothing would stop them, right?
Turns out all it took was one German Senior Leader with a machine pistol in cover. The DAK at this stage were starting to look a bit wobbly and so, distracted by this chance to really kick their morale down, I initiated close combat with the separated DAK platoon leader. Alas, I only had enough movement get four of that squad into close quarters distance.
Between the command initiatives, the cover and the machine pistol, the German Senior Leader managed to gun down all of his attackers (including the junior leader) before being taken out. I’d done the job, but at what cost?
Turns out the cost was a lot. As the phase switched back to the Germans, the forward British infantry found themselves charged in the rear by the Infantry squad emerging from the building. Even without their handgrenades, they still managed to make short work of the Tommies, forcing them to flee across the courtyard….
And directly into an ambush from a MG34 team appearing in the building on the far side leaving no survivors. Well, the combined Infantry-Tank push was cool while it lasted.
In a similarly brutal bit of combat, the Maori infantry followed the barrage and engaged the Germany FJs hiding behind the rocky outcrop. Through the dust they rushed into melee.
Once it cleared, all that was left was one very angry German Paratrooper commander shouting for the Kiwis to come and have another go.
And then one of the Recce snipers popped up and took him out with a single shot. Another bad things happen roll!
Back on my side of the board, I decided that I should really focus back on doing my job and take the damn ridge line. Pushing the infantry through the enemy lines was a bad idea so I went to assist the Recce in the centre.
And then I had a terrible, terrible idea.
The Matilda crew would not have realised that their escort had been cleaned off. And between them and the ridgeline there was only one (so far ineffective) AT gun. It was possible some of the infantry might have an AT grenade but that was a risk I was willing to take.
Time for a death or glory ride!
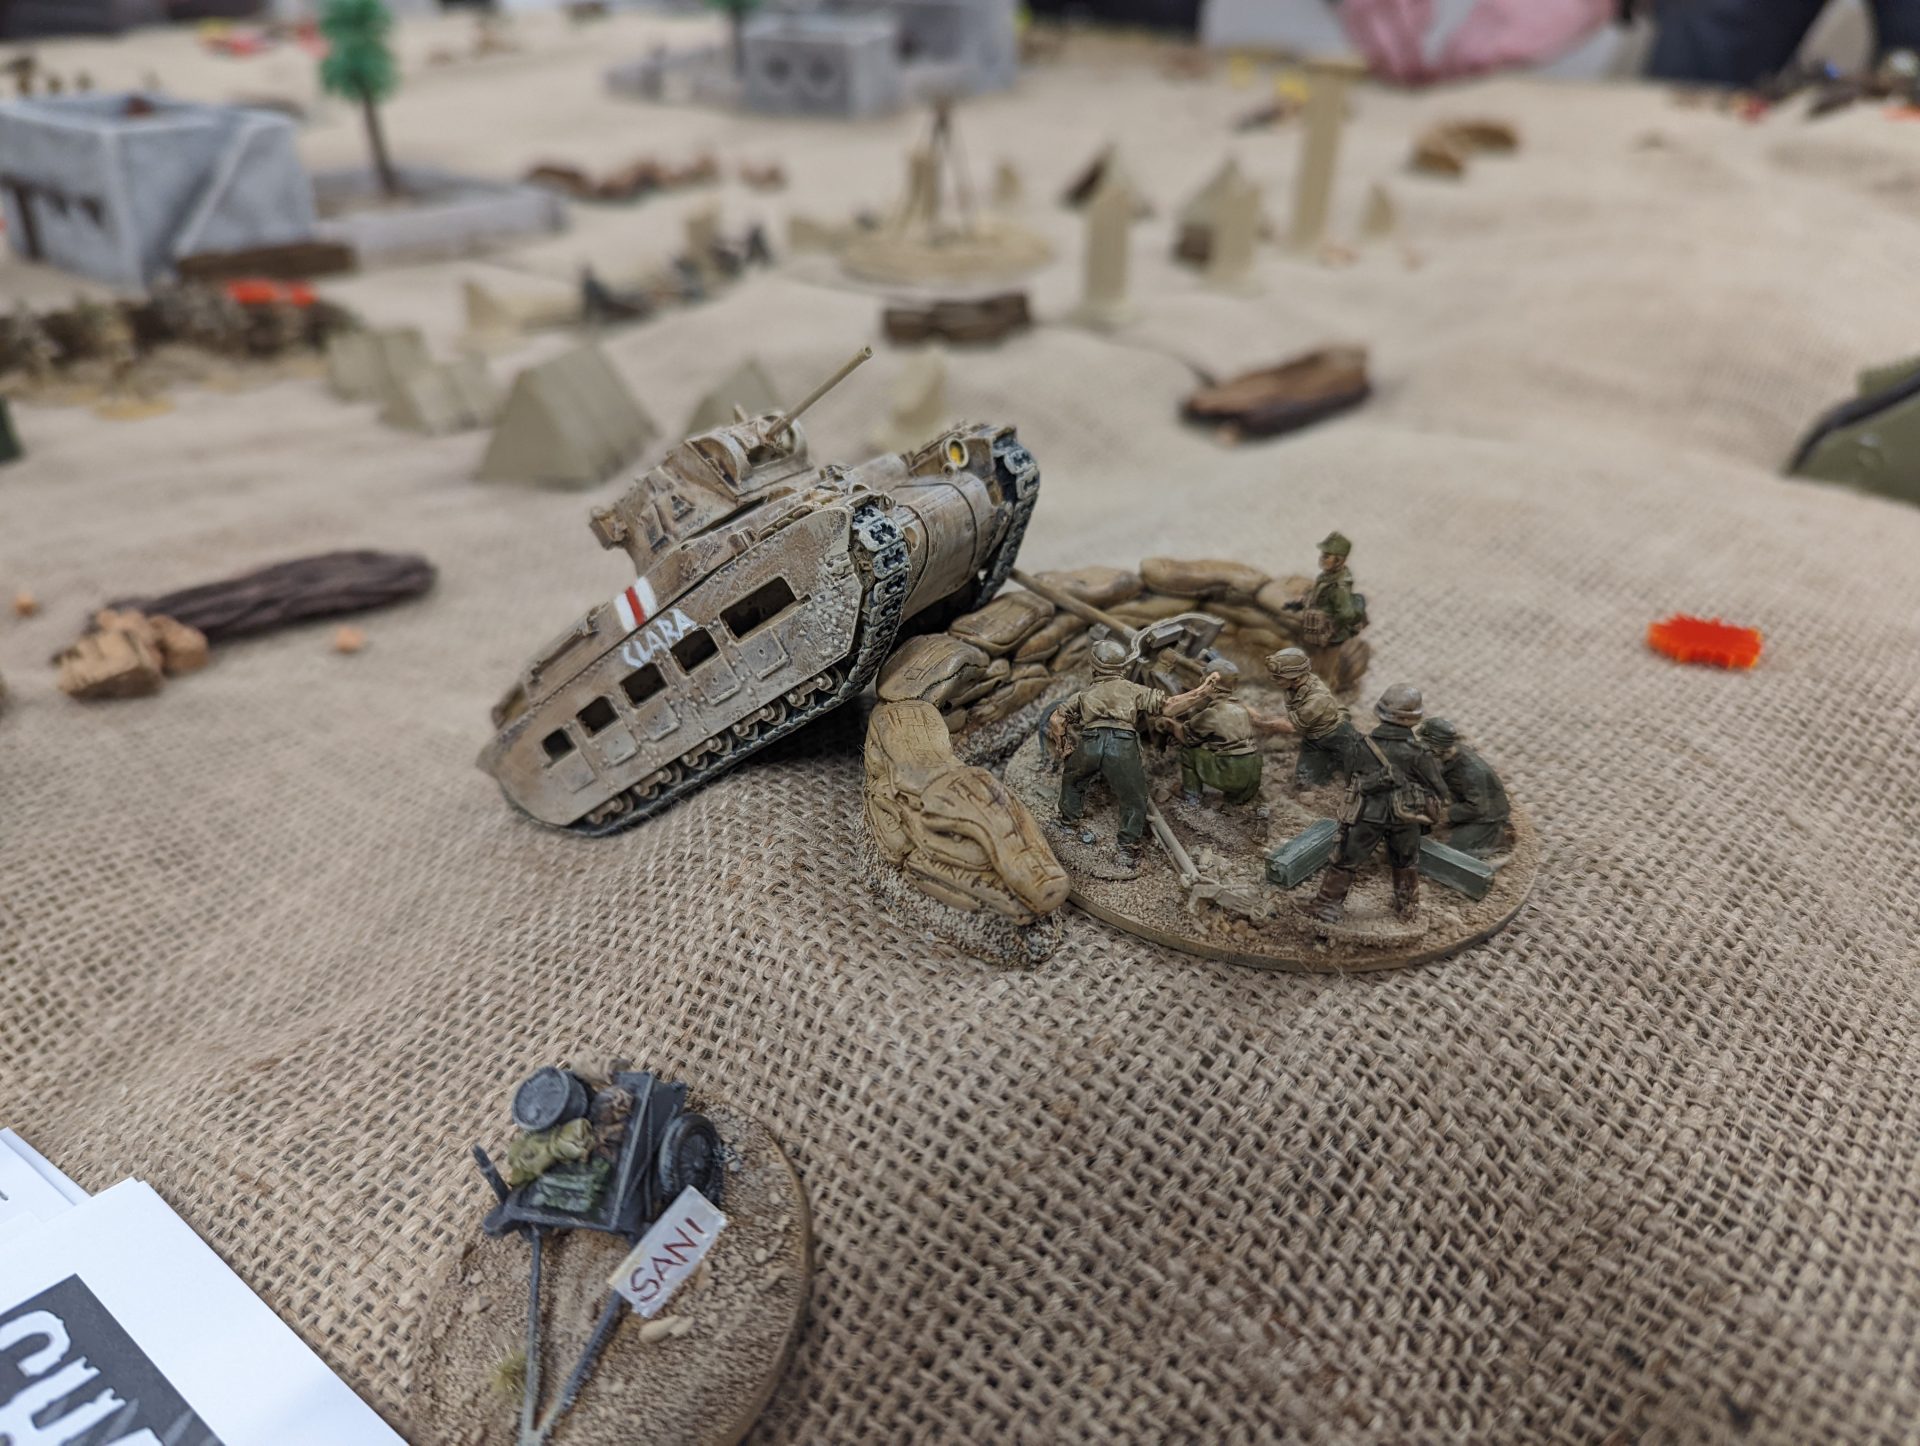
With the assistance of a Chain of Command Dice to interrupt the German phase, my Matilda surged through the DAK lines. Scattering the enemy infantry before it (and with the Commander probably quoting Tennyson), the tank climbed the hill until…
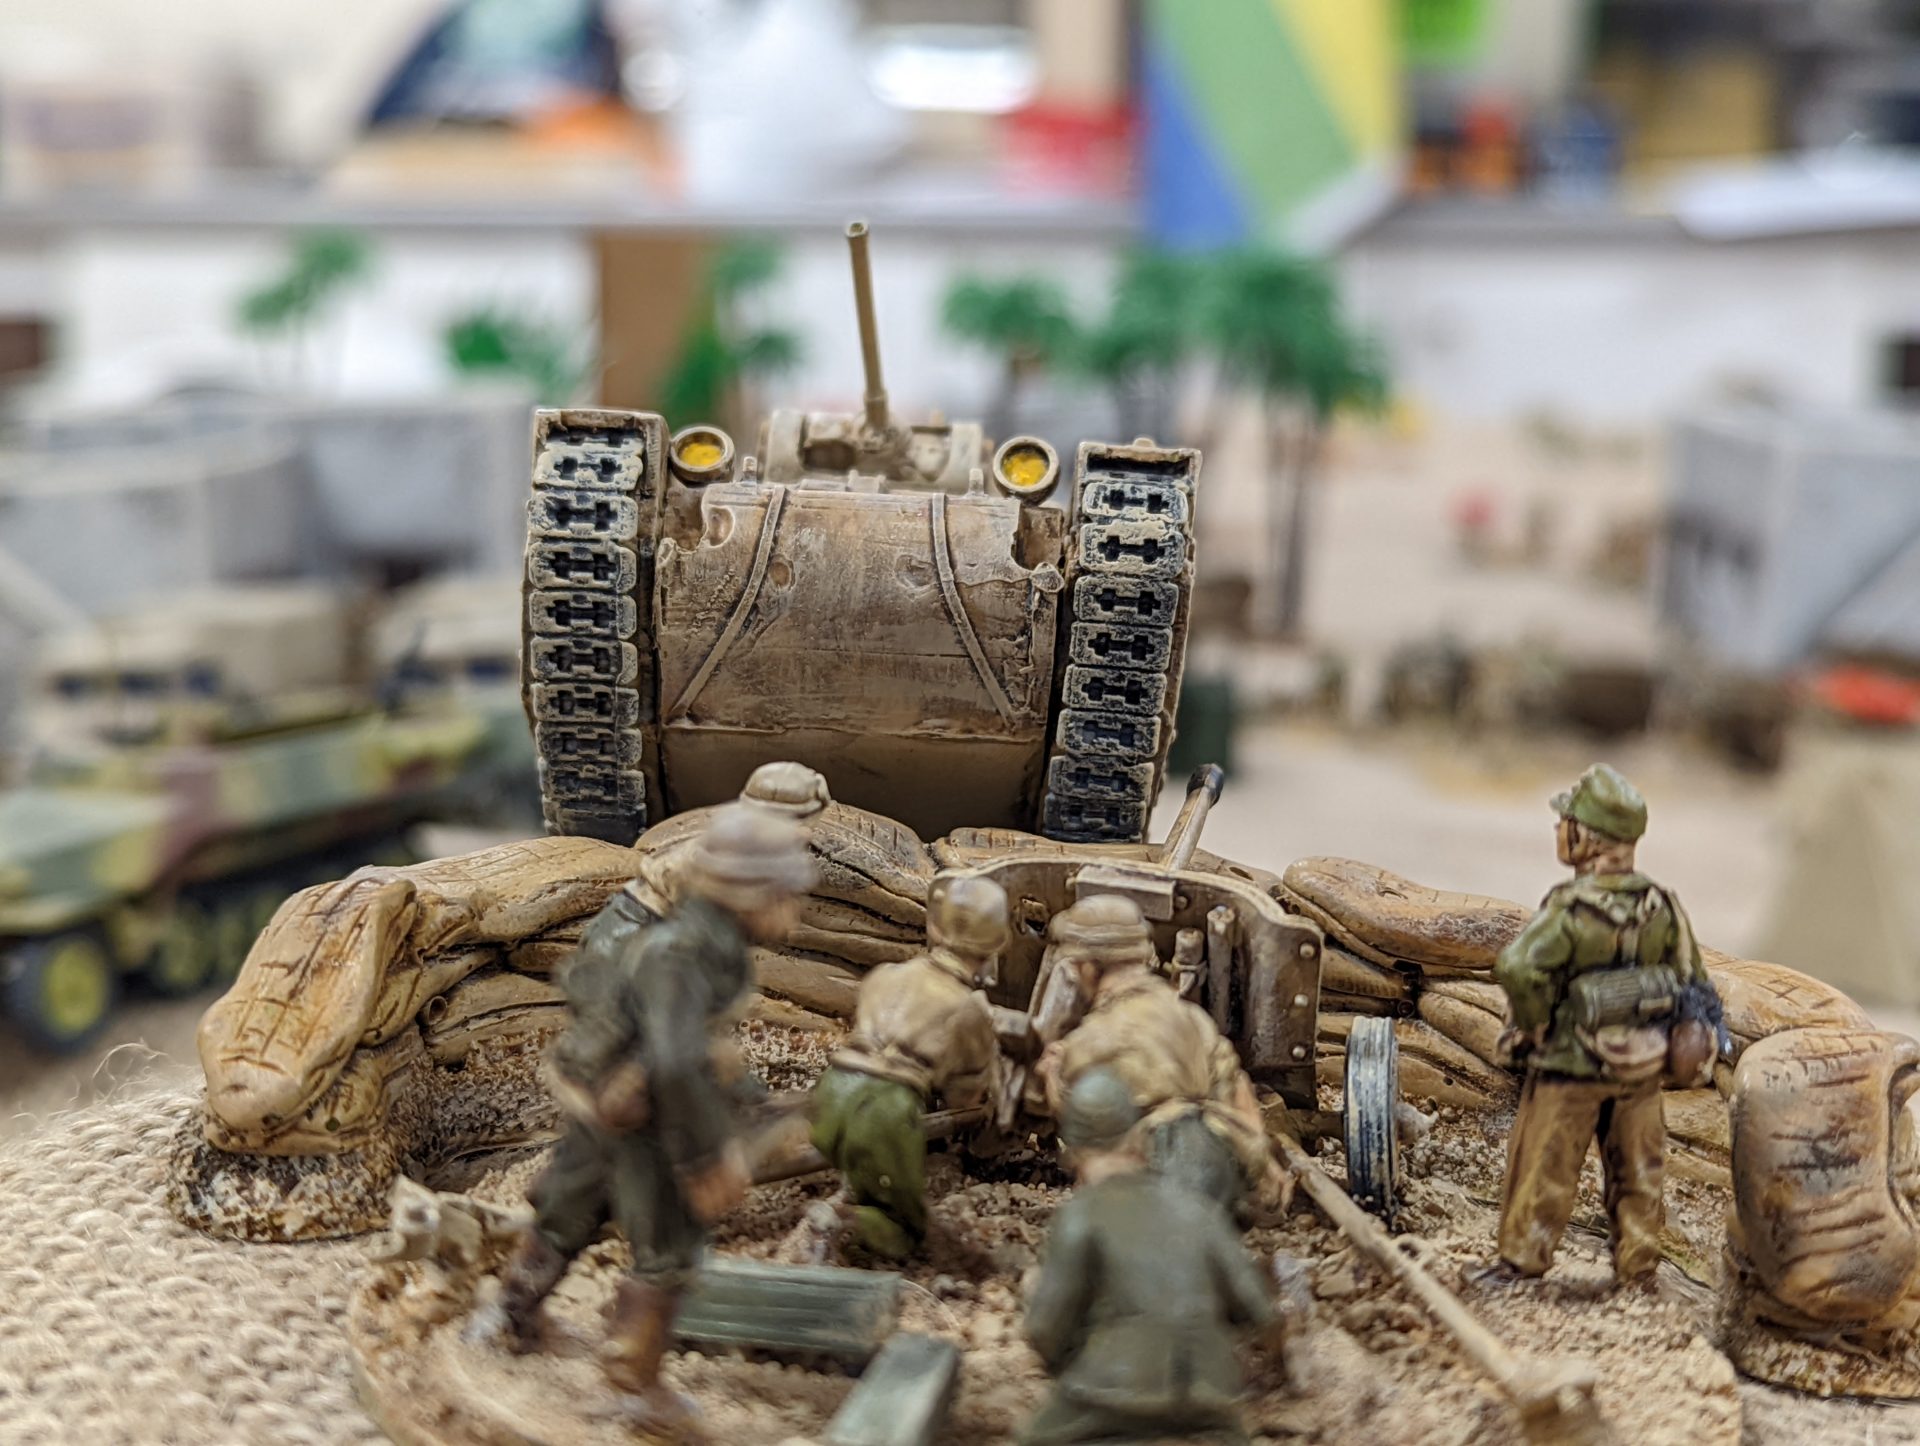
Ramped over the the sandbags and onto the German AT gun. Seemingly the crewman on the right was only slight perturbed at sight of 25 tons of British Steel attempting to smash his position.

I will admit, at this point the rules were a little squiffy – we agreed the sandbag pile wasn’t really a fortification and so the team should have fled rather than have the tank ram it. We ended up playing it that the AT gun got a chance to make one final shot for the cinematic feeling. Once the dust cleared, all that it had done was stun the driver. Luckily forward movement wasn’t exactly a requirement any more – the British were on the ridgeline and had dislodged the German AT gun.
Having removed that threat, I realised that this could be leveraged into another hammer blow against the DAK force morale. Once my crewman was back in action, I could shift the vehicle to sit on the enemy JOP, shutting it down fully and then, with a waiting CoC dice, end the turn to potentially force the DAK player to retreat.
And honestly, removing one of the German platoons would be very handy right now. The Special Detachment and the DAK had managed to get both myself and the Recce player into a nasty crossfire that had stopped our advance.
Luckily my push went exactly as planned, the Adjutant pushing troops forward obviously much less enthusiastic about this with a British tank on top of him. With the turn ended, the DAK lost their last morale and were forced to rout.
With time marching on, the FJs (who had held out pretty well all things considered, despite being sat under a mortar barrage for most of the game) managed to deliver a final hammer blow. The Kiwis managed to push through the edge of the minefield with a second assault attempt but were halted in place when finally, after a whole game being worried about them, a German AT gun managed to blow the supporting Matilda to pieces.
At the battle end, the Allies had just about managed to achieve an overall victory, hitting two of their three objectives. Overall, it had been a meat grinder of a game, with the German MGs causing havoc only for the British mortars to answer back. It was also incredibly fun – I really like the Big CoC format, it makes you feel like you’re one platoon commander alongside many, with lots of back and forth trying to arrange combined assaults to overwhelm the enemy.
Personally, I’m just really happy I managed to smash through the enemy lines with the lone Matilda at the end. There is no way that would have worked in the late war (too many Panzerfausts hanging around for that) but in the early/mid-war, the Matilda is gloriously chunky. I also think my time on Ultramodern CoC has definitely illuminated just how useful smoke grenades can be – I was definitely using them and the 2″ mortar’s smoke a lot more than I have in the past.
Seeing as everyone who played seemed to enjoy it, I think we’re planning to do a Big Chain of Command game every quarter at least. So look forward to more updates on that!


Leave a Reply