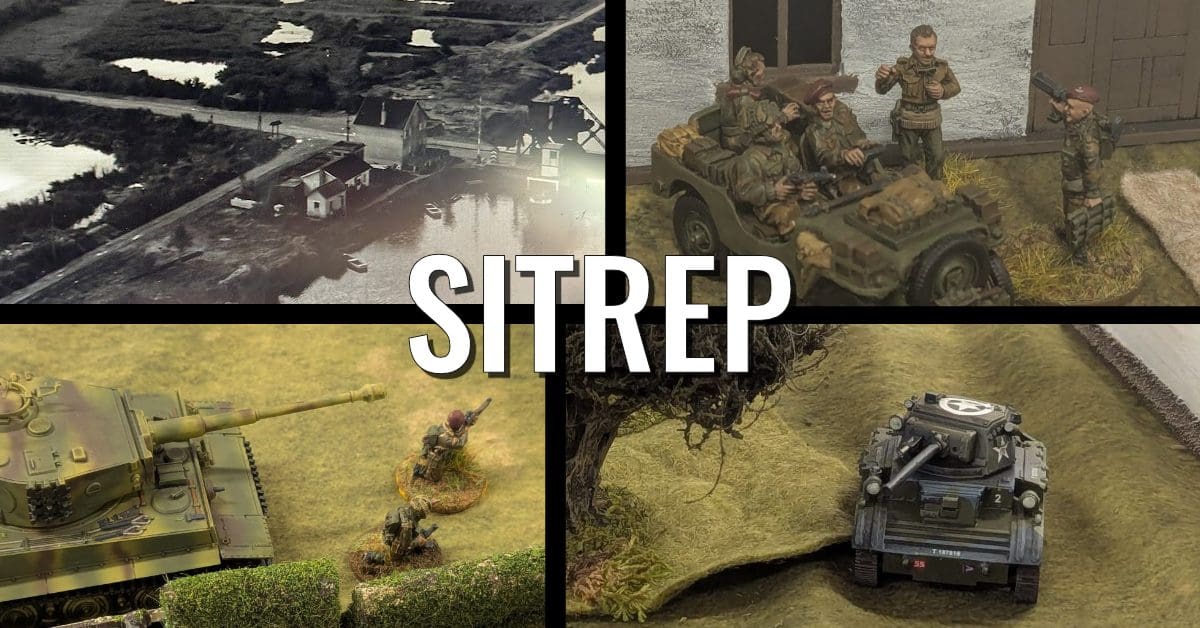
Thanks to the day job, this whole year has been a little disturbed from my usual plans of wargaming madness and hammering through projects. Unfortunately, this included our usual Vapnartak adjacent game (which one year I swear we’ll run it as the secret underground alternative to the main show), the drama around which I detailed in a post back in February.
Well, we managed to rearrange the D-Day-focused game for a much more subject-matter-appropriate date of June 6th. However, what we failed to realise was that the Dastardly Regular Opponent was already busy on that day, requiring YET ANOTHER date change. We eventually settled on Father’s Day – surprisingly, all the Regular Opponents and I were available for that day. We did, however, have to deal with that Sunday being the start of the UK’s latest heatwave, turning the Scout Hut into a little bit of a sweat box even with the doors open in an attempt to get a breeze going.
However, that would not be the end of the shenanigans. The original plan was to have three British platoons (two Airborne Infantry and a Tetrarch squadron) against three German platoons (two infantry and a mixed armoured arrangement of Stugs and Panzer IVs), with one player controlling each platoon. This would be a chance for me to jump with my new Para platoon (with the support weapons and remaining officers painted up), fighting alongside the Dastardly Regular Opponent and the suitably Dashing Corporate Opponent. However, the shifting dates, and we soon found the troop numbers dropping until eventually it was merely the Regular Opponents and I ready to play. Rather than leaving the Creative Regular Opponent stuck trying to run three platoons at once, I changed teams and took control of the German Heer Infantry Platoon.
Now, it’s safe to say that out of the group of regular opponents, I’m the one who actually reads the rules (the others usually end up painting more figures than I do). To help make sure the forces were vaguely balanced, I actually sat down and read through the Big CoC supplement that Too Fat Lardies released at the end of last year for CoC 2. In the first game, Big CoC was a free PDF that expanded on the rules enough to get you by with multiple players per team. This time, however, the Lardies took the opportunity to really turn Big CoC into something even more. I really like the fact that they include both wide and deep battle types (especially cool if you have a table big enough to have phase lines to advance along), and the HQ element system allows for a deeper level of strategic play. For this game, however, the main rules we were using were missions and rules tweaks for a multiplayer setup – I especially like how the set handles unequal forces, with the 3:2 advantage of the Germans resulting in more support points and some defensive fun. This really helped to sell the idea that this was a defensive battle while still giving everyone plenty of toys to have fun with.
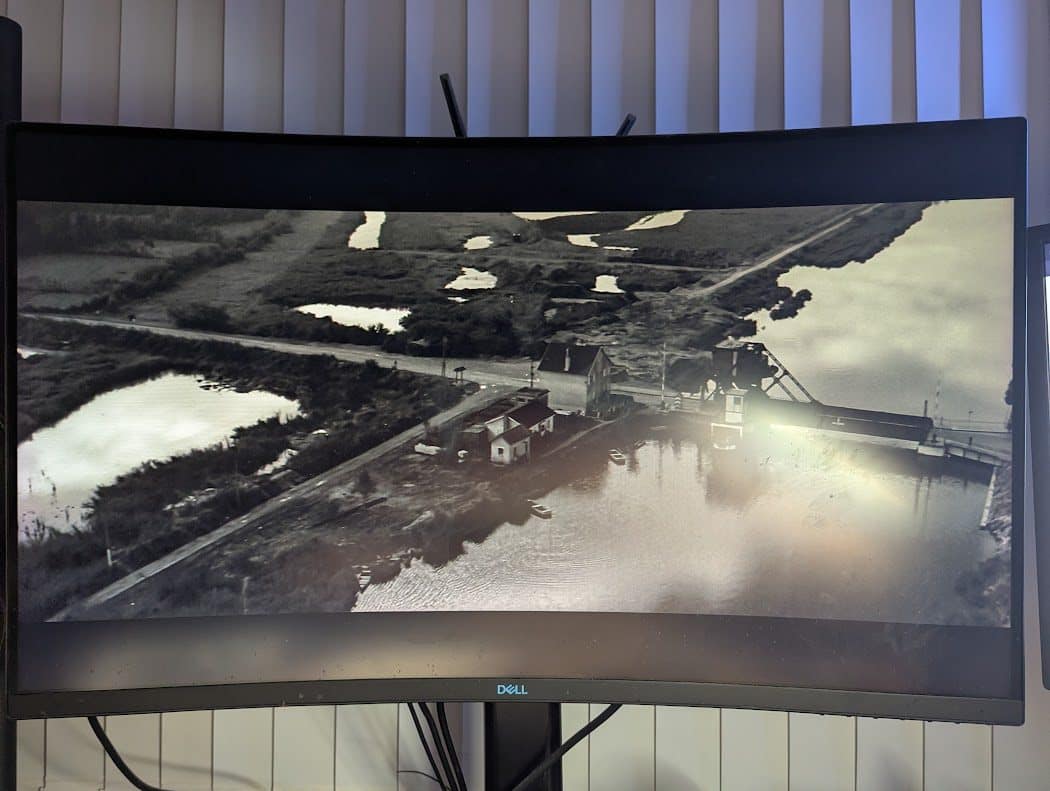
I should probably detail the part of WW2 we’re actually fighting in. Ranville was the first French village liberated on D-Day by the British and would soon become the HQ for the British 6th Airborne on the Eastern flank of the invasion. As well as actions at Pegasus Bridge and the assault on the battery at Merville, the area around the village was one of the landing sites, with a rally point just to the north of the village. This made the village a target of German counter-attacks, mostly by 21. Panzer-Division and the 346. Infanterie-Division attempting to recapture Pegasus Bridge and prevent Allied troops from crossing over the Orne.
In reality, the defence of Ranville on D-Day was mostly performed by infantry and anti-tank guns, with the funny little tanks of the Airborne Armoured Division not arriving until the evening of the 6th of June. However, for our game, we decided that some of the giant Hamilcar gliders landing in the initial wave brought with them a few lightly armed and armoured tanks (probably after the complaint of some uppity cavalry officer with great dreams of swanning around the French countryside). After spending the early hours getting their vehicles ready, the Tetrarchs would be used to assist in the defence, acting as a rapid-reaction force when needed. And boy would they be needed.

Having already launched one probing attack into the edge of Ranville, the Germans would now launch a full attack over a broad front. Their goal was three positions – the supply stockpile at the farm on the right, the Château de Croissant in the centre and the rough area of the road heading offboard and back towards Ranville itself (and the Para HQ). The Germans would need to capture these points to push forward, while the British just needed to stop the advance.


After getting the objectives sorted, it then turned to the forces. With a platoon of Panzergrenadiers, a platoon of Heer Infantry and a mixed Armoured Kampgruppe of three Panzer IVs and a pair of Stugs, the Germans would outnumber the defending British Para Platoon and their assisting armour platoon (three Tetrach Mk1s and a Tetrach CS from Company HQ). However, there would also be plenty of support hanging around – both the defensive elements for being outnumbered and the result of the Creative Regular Opponent and myself rolling pretty well (and we had a table of pieces to choose from). The Germans ended up splitting the support between the infantry platoons, with both of us taking an extra section for reinforcements and a single pre-game bombardment to prevent the Paras from deploying so easily. The Panzer Grenadiers also took a recce team in a halftrack (having a full platoon of tanks does reduce your need for supporting fire), while I expanded my infantry platoon with a medium machine gun team to provide some covering fire and, to lead the assault, a Tiger tank.
Technically, the British Paras didn’t encounter the Tiger Tank on D-Day (they would arrive later in June, notably with the 101st SS Heavy Panzer who gained notoriety around Villers-Bocage), but there were a couple of reasons to include one. First of all, I was acutely aware that the Corporate Regular Opponent had run the maths, and that it was possible (although very unlikely) for a Tetrach to take out a Tiger. I decided to challenge him by giving him the opportunity. The other reason for the Tiger is to induce Tiger Hyperfocus. This is where the arrival of a single powerful unit can act as a magnet to the opponent, diverting attention and firepower to dealing with that unit rather than dealing with the lesser but often more immediately dangerous units pushing on their position. In this case, I wanted as much British AT as possible funnelled to my side of the board, creating an opening for the Panzer IVs and StuGs to roll up.


As with most defensive games, the first few turns were quiet – the Paras kept their powder dry, waiting to see where best to deploy their limited resources. This instead meant the first few moves came from the Panzer Grenadiers and the Heer. The Creative Regular Opponent was quick to get StuGs, Infantry, and the Recce team in their half-track out and pushing along the road into fire positions.


On my side of the action, I initially deployed my MMG team to start brassing up the Chateau’s windows (laying down some suppressing fire) before deploying my initial assault force. The Tiger appeared first, slowly rumbling forward with a section of German Infantry behind it.


And just like clockwork, the arrival of the Tiger (as well as the increasing Panzer Gren push) prompted a reaction from the paratroopers. As you might expect, the first shot out was a 6-pounder, engaging the German armour streaming down the road. At the same time, the first Tetrach rolled into position and engaged with a keyhole shot at the approaching German armour. At the same time, a British Sniper pair deployed into the garden of the Chateau, putting a suppressing shot into the approaching infantry before the machine gun could go on overwatch.

I therefore decided to go with the only suitable approach to clear out the snipers – advance to contact with the Tiger tank. With the driver of the Tiger having ignored the cry of pain from the commander’s cupola due to a HEAT round clanging against it (more on that in a second), the pair of British paras found their hiding place swiftly destroyed and overrun by several tons of German steel, scattering them off the board before they could do too much damage.

So, those incoming rounds – turns out the Chateau was heavily fortified by the paras, and a PIAT team had already got a good angle. The first round hit the commander’s position, wounding him and putting two shock onto the Tiger. A second shot did little more than alert the gunner to where the Paras were shooting from, with equal net hits and saves forcing the Tiger to engage them next turn.
Looking out of the window as the smoke of the exploding round clears, the two Paras are suddenly greeted with the sight of an 88mm main gun slowly turning to a position where they can almost see down the barrel. Oh dear.

Meanwhile, on the other side of the table, the Paras were getting into an intense firefight with the Panzer Grens. The section occupying the two-storey building was laying Bren and rifle fire into the hedgerow to keep the Germans down, while the Tetrach outside plinked 2pdr rounds against the armoured column. The terrain on the edge of town was definitely causing a problem for the Germans, the wide open gaps between the hedges and the buildings allowing for some real suppressing fire.

On my side, we decided to start pushing our infantry across a wider front. With both of us working along the central axis, I moved two infantry squads up to the hedgerow. And this is where we encountered another piece of nastiness – the 3-inch howitzer on the Tetrach CS. Not the largest HE blast, but multiple points of shock and even a casualty were able to cause some havoc to the advancing Germans.

Which is more than can be said for the Tiger’s KwK 36 L/56. Engaging the PIAT after taking a hit, it feels like the loader may have put another AP round in the gun rather than the HE. Mostly because the shot caused a single point of shock (probably from the high-velocity round going through the front of the house and then the roof).
You may also notice the arrival of a second British 6 Pdr in the orchard of the Chateau. This was prompted by the arrival of several nasty things on the Panzer Gren side of the board…

Mostly because it’s time for the German Armour to get stuck in. Having recce’d the position with the Stugs, the Panzer IVs turned up. Unfortunately, this meant that everything started getting hammered – 6pdrs, the paras in the building and (much to everyone’s sadness) one of the Tetrachs exploded after eating a 75mm shell.

However, the Brits would get their revenge – a double phase of PIAT shooting managed to inflict more damage on the Tiger, damaging more subsystems before eventually a glancing hit caused the last point of shock that the Tiger could handle. At this point, the crew abandoned the tank and ran for it (much to the concern of the infantry following along behind).

At this point, one of the Tetrachs appeared on the board and started heading for a flank. This vehicle would end up putting a little pressure on the Heer side of the board, popping in and out of cover to pop off some shots across the board. However, the big news about this guy was the fact (by the end of the game), he ended up overrunning the rear-most Heer jumping off point, which delivered a serious blow to German morale by the time the game ended.

However, at this stage, the defenders of the Chateau were beginning to see German infantry closing in. The team using the Stug for cover was a concern, but multiple infantry gruppe crossing to the orchard wall were getting a little too close for comfort.
And it was at this point that the German players got to experience the impact of SOS Fire.

SOS Fire is something new to Chain of Command V2, and frankly, it’s terrifying. Dropping six hits on every team within 6″ of the aiming point that wound on 4+ and explode on 6s AND causes them to become pinned. We joked on the day this was HMS Belfast deciding to get involved, but with multiple KIA and shock across both of the units in the open, it did its job of blunting the offensive push, especially when the Vickers in the upstairs window joined in the shooting and started laying in the machine gun fire.
This image also shows some of my responses. Having got a unit up to the orchard wall, I was able to then use a Chain of Command die to move one of my JOPs (seen here as the green die) forward and up to a protected position behind the hedgerow. This then meant I was able to set two additional rifle squads out and onto the field, as well as my Senior Leader (perching behind the tank). The first went into cover behind the hedge and started putting down more suppressing fire to try and blunt the Paras on the MMG.

One of the gruppe decided to push the flank, using the hedgerow for cover before aiming to rush to the wall. However, this attempt to push found itself getting caught in the open, engaged by both an upgraded Para section with two Bren guns from the building and even the co-axial of one of the Tetrachs.

However, my final roll of the dice came at a desperate attempt right at the end. With the Senior Leader pulling together the last few members of the squads caught by the SOS Fire, a Reposition action on the ersatz unit put it in position to assault the 6pdr from the flank, clearing it in a hail of grenades and gunfire before beginning to push hard against the building. Unfortunately, as the day wound to a close, I just didn’t have enough mass left standing to enter the building and attempt a close-quarters assault against the full section of British Paras inside – the Chateau remained under Allied control.
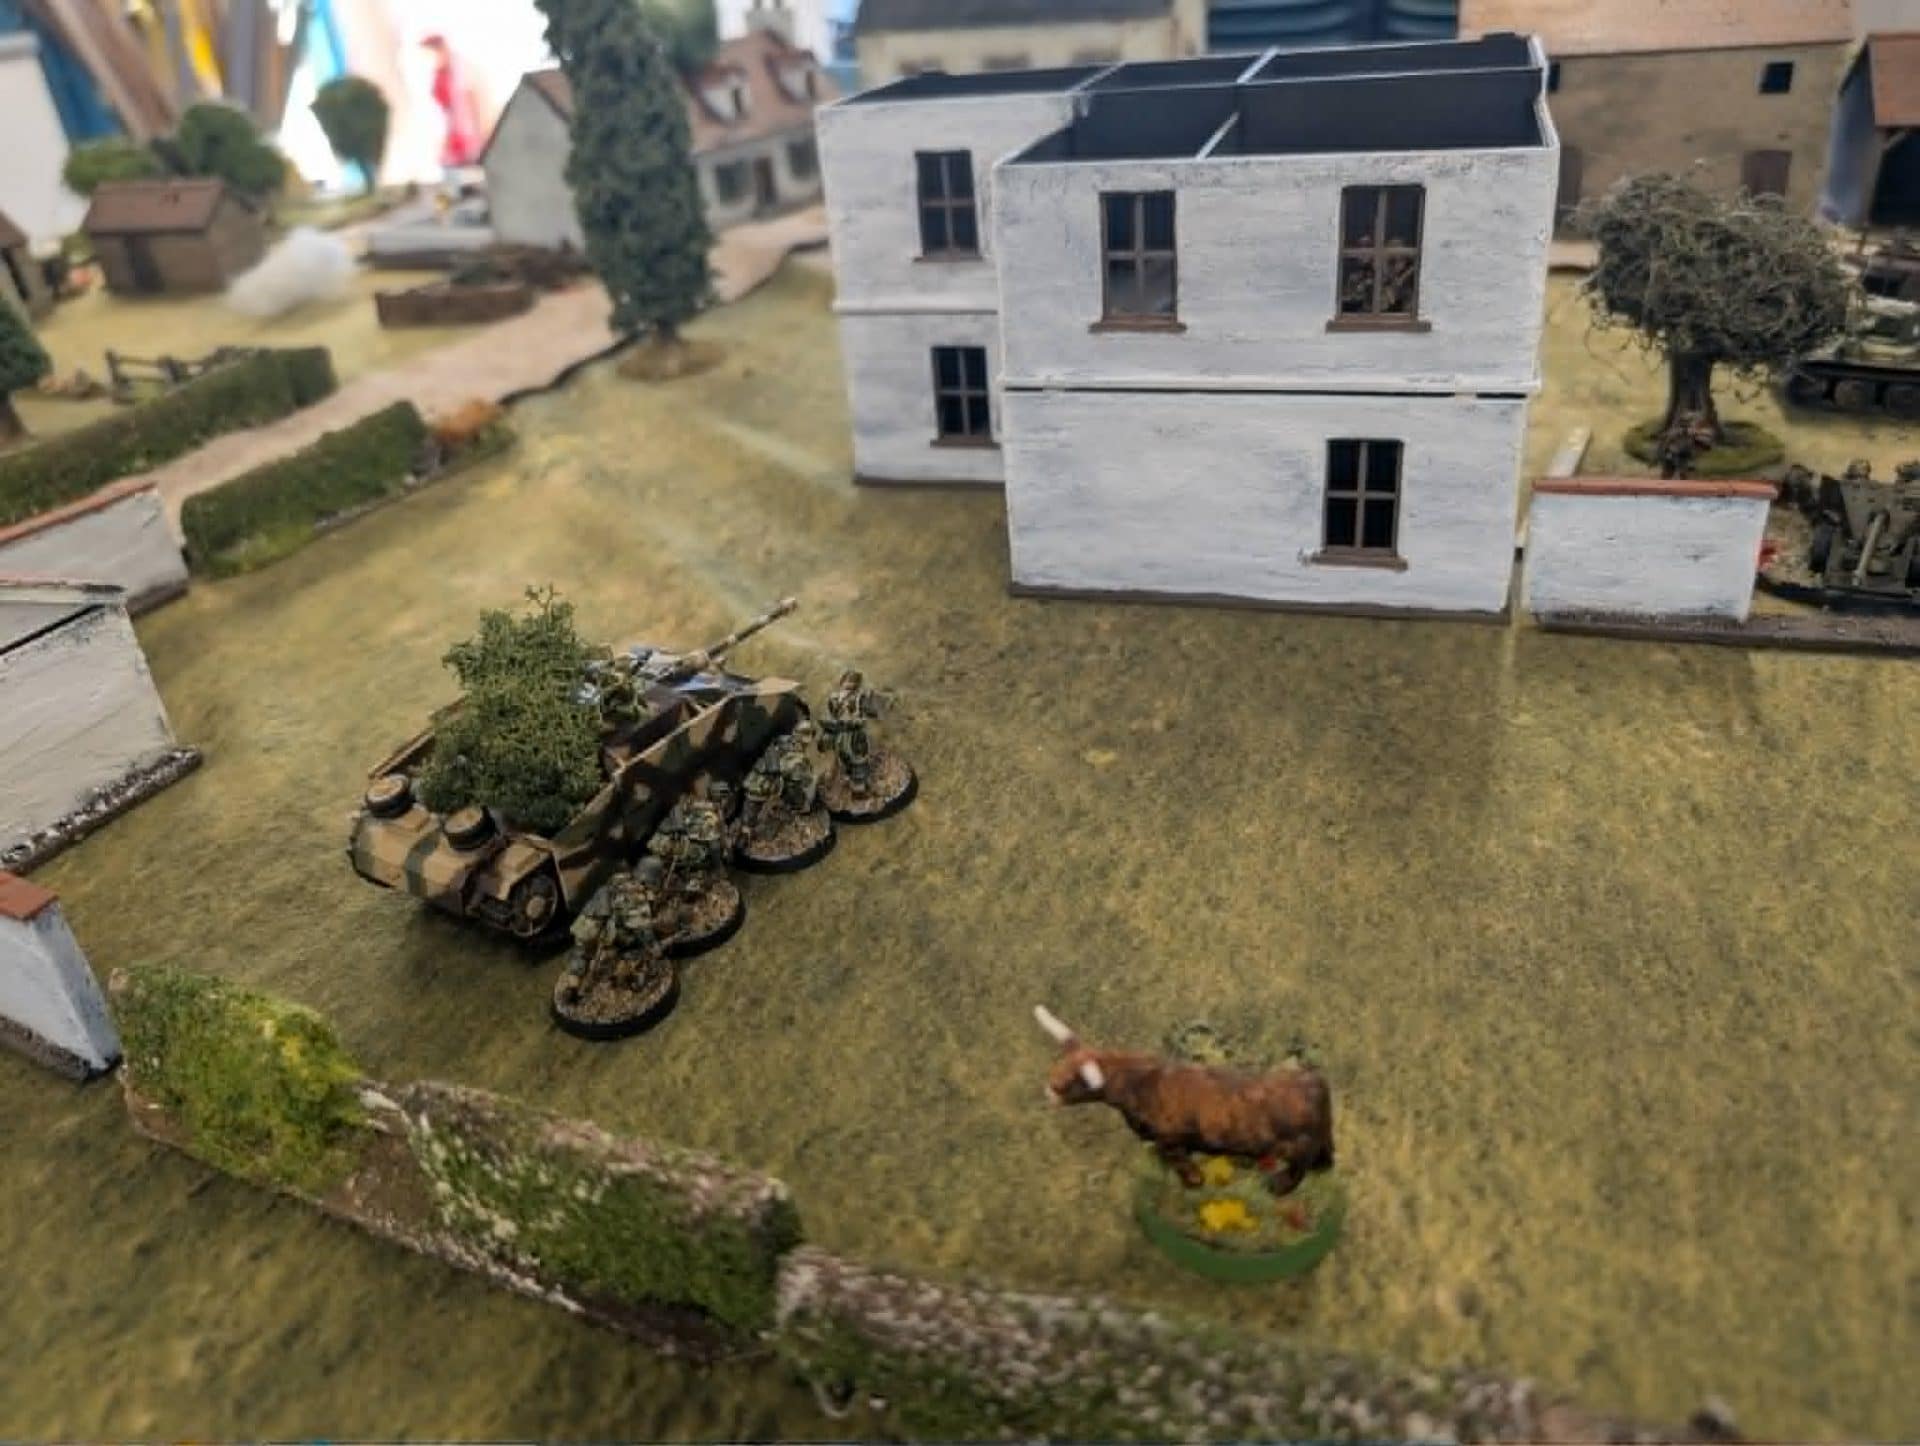
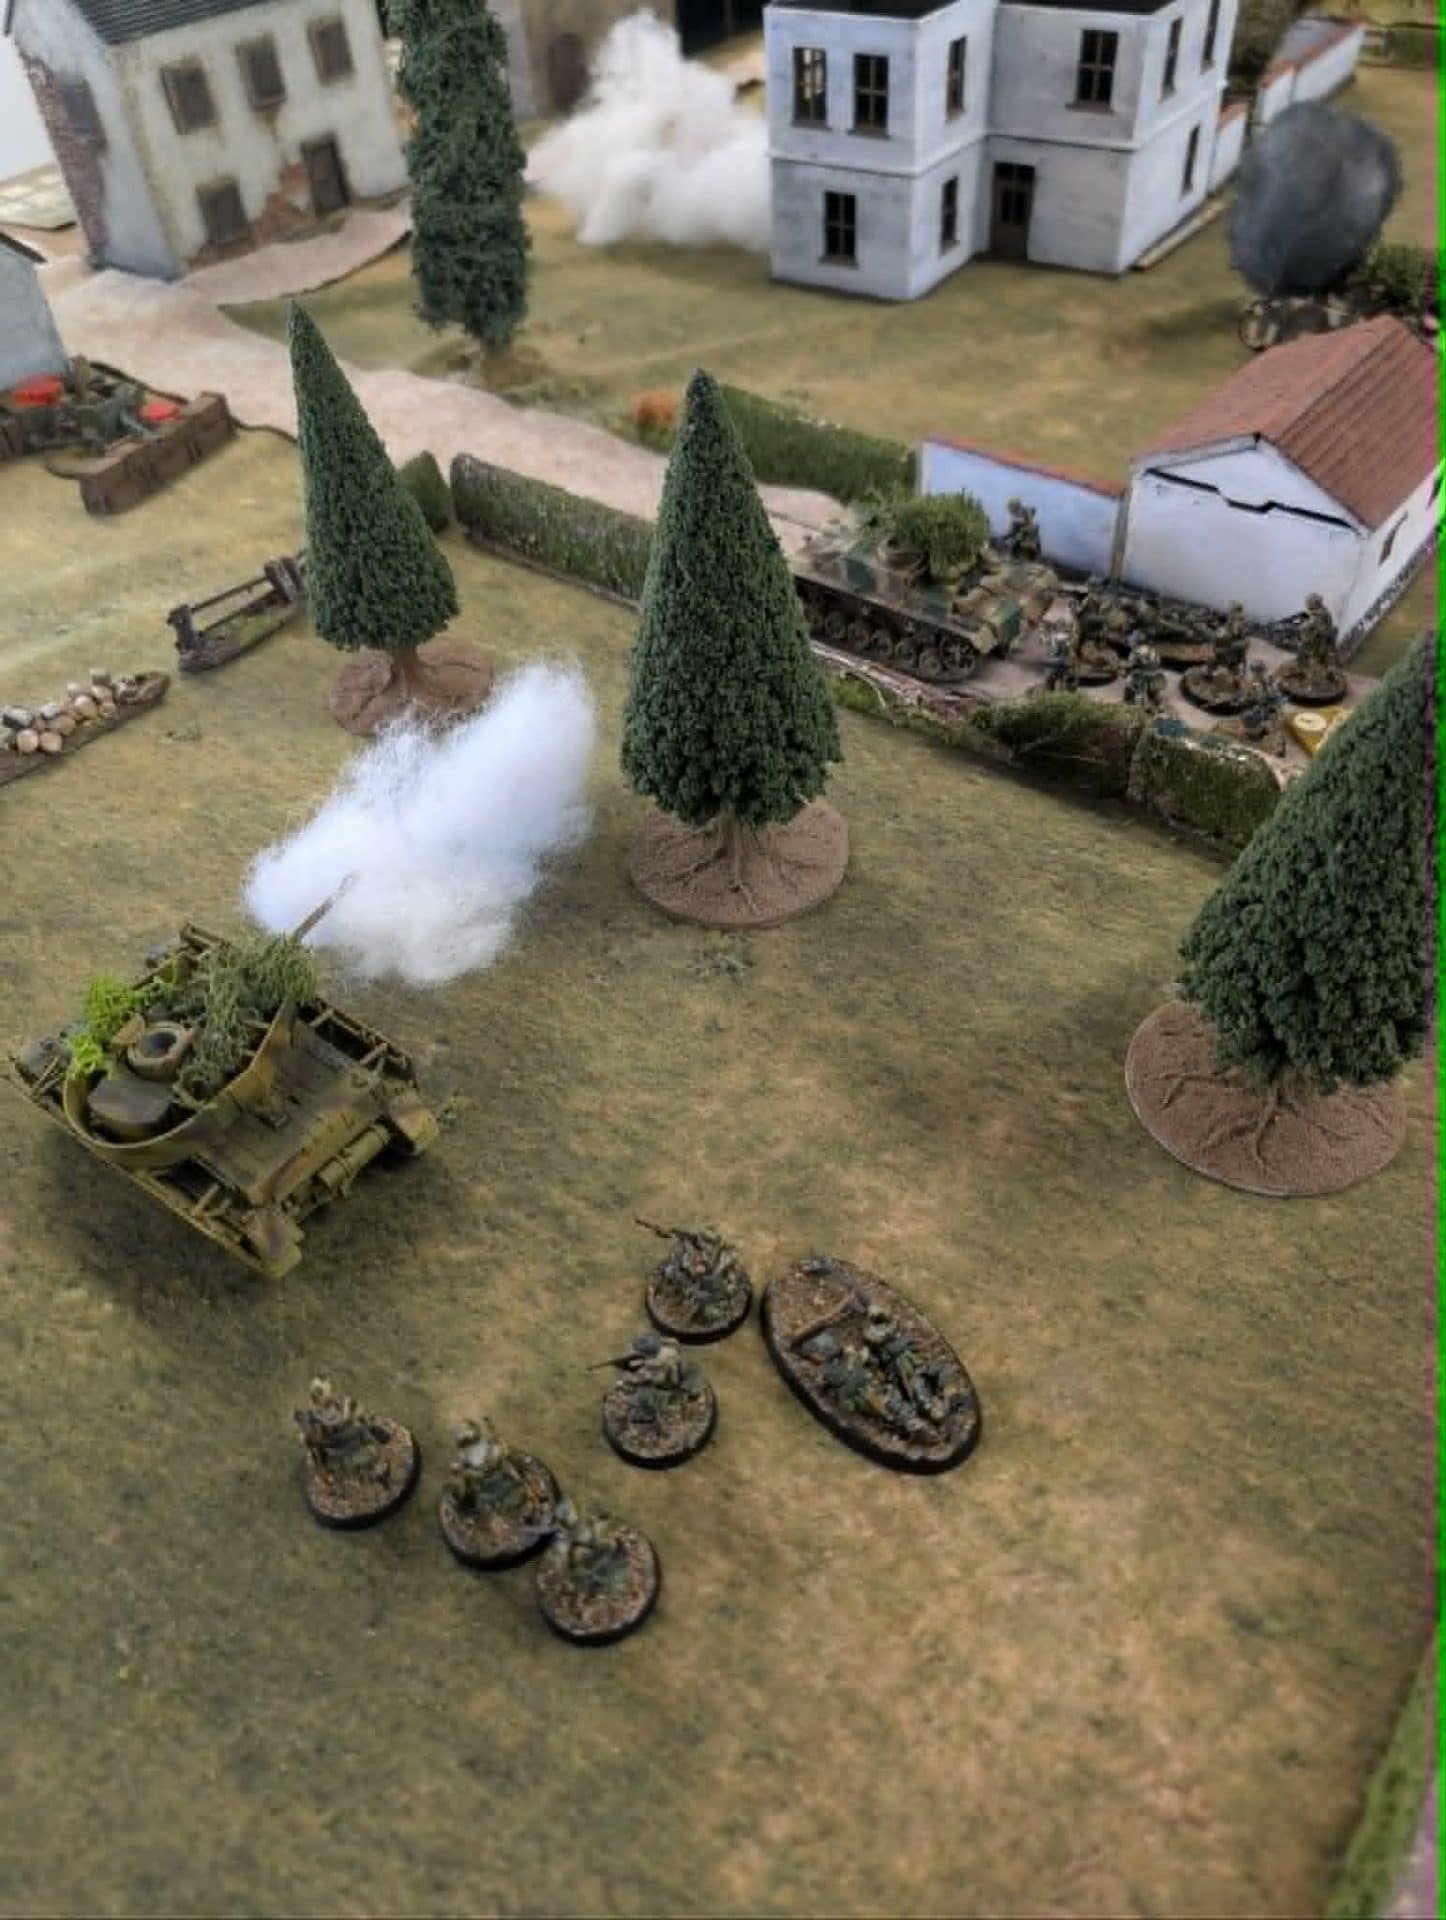
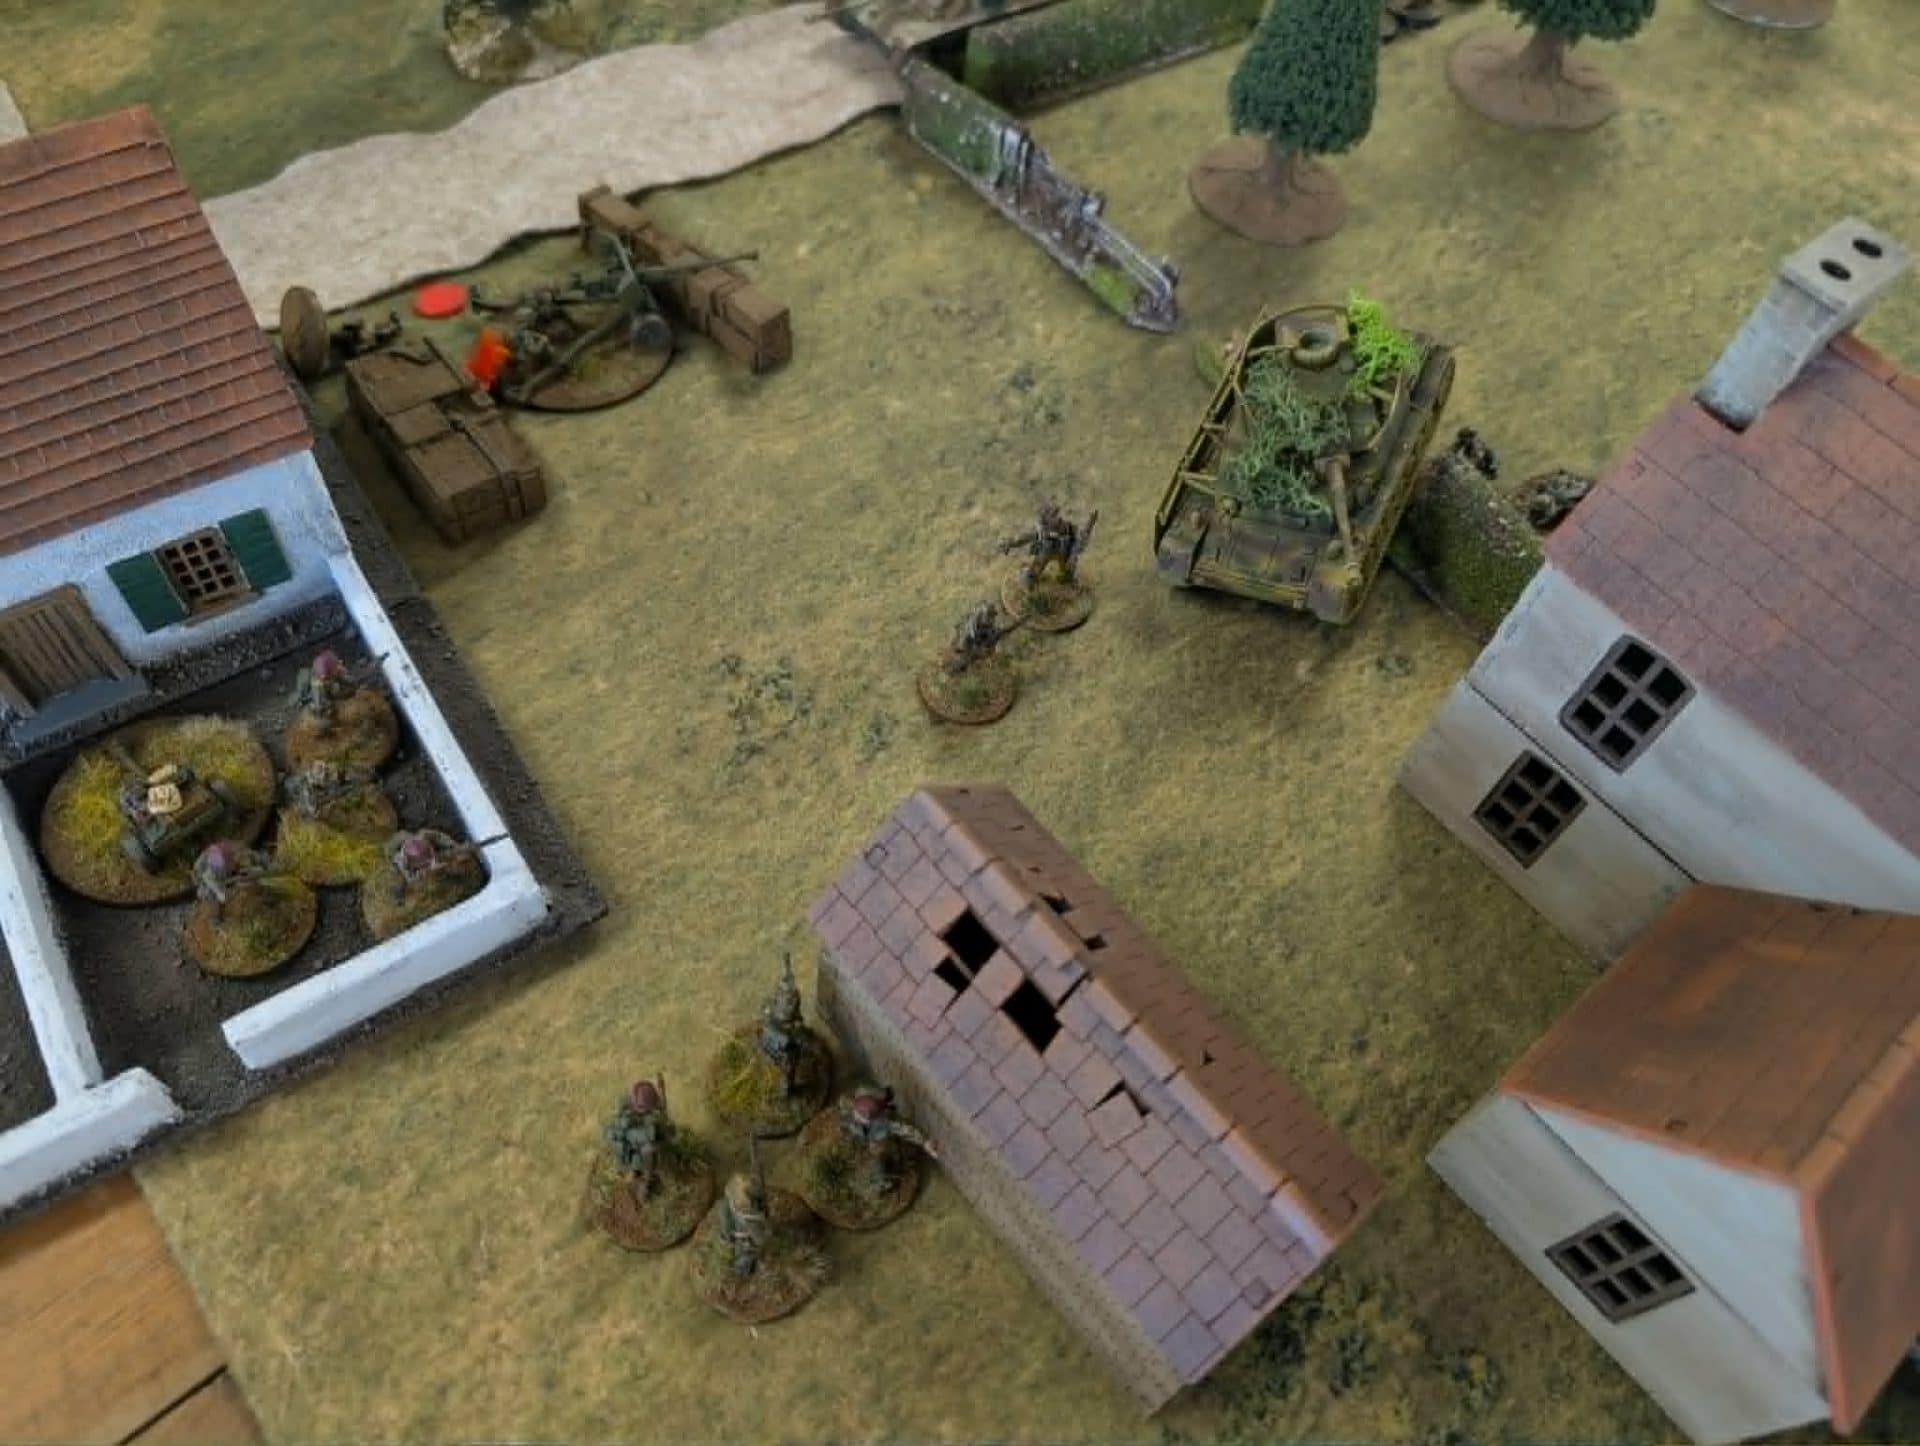
I only covered it partially because my camera and my attention were focused on my own attack, but the Creative Regular Opponent managed to make some headway up closer to the town. Having two Stugs and three Panzer IV’s definitely helped things along (that’s a lot of HE being flung around). The Panzer Grens managed to use one of the Stugs to get close in to the Chateau and could have potentially kicked the door in, before the Stug ate a PIAT round that knocked it out.
However, their bigger success was handling the 6pdr and other defences in the area around the exit to the centre of town. The 6pdr ended up with its crew whittled down to one desperate Para NCO slinging shells (including knocking out a halftrack, I believe) until they got overrun. Even the defenders of the outermost building were eventually forced back, the Germans managing to get within spitting distance of the objective to get off the board and advance on the nearby HQ. However, the British Paras managed to deploy two additional sections and additional PIATs to hold off the advance, leaving the Germans tantalisingly close to entering the town.
For our final result, all four players sat down and looked at the board. The Germans had managed to get deep into the British lines, with infantry almost touching two of the three objectives. However, the British still had plenty of infantry ready to hold the line, decimated several infantry gruppe, and had destroyed several pieces of German armour (including a Tiger) and had even damaged some of the Panzer IVs. The Airborne Armoured Recce had also managed to capture one of the German jump-off points (presumably now wrecking the rear area before falling back to assist the defence). We all decided that this was a British victory, but a very close one – we’ll probably play the next wave of the German offensive soon.
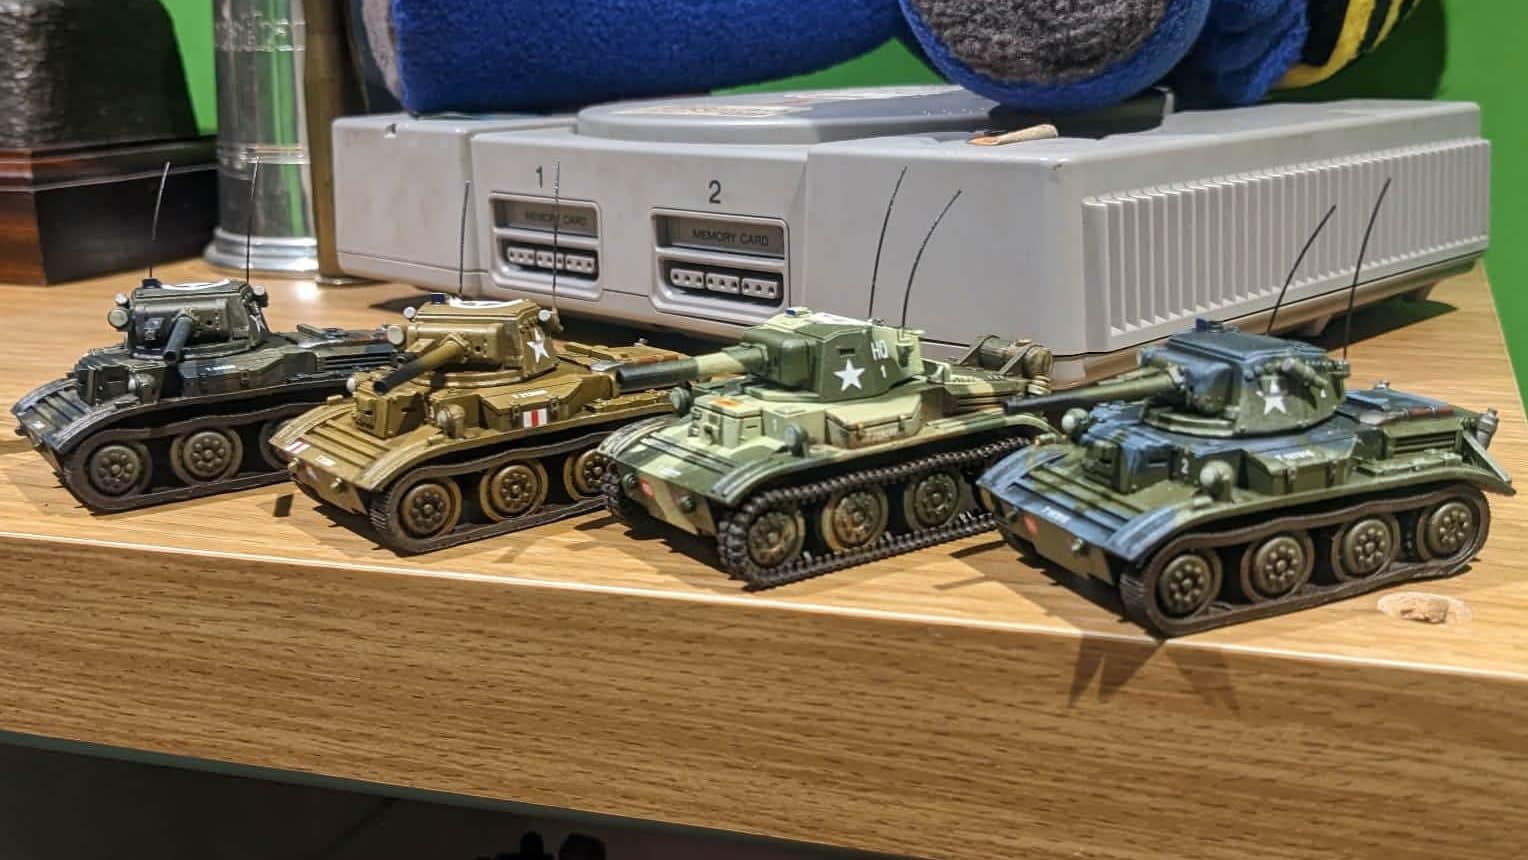
One thing worth mentioning is how the Tetarchs did. I think we had a wide mixture of guesses as to how they would perform – The Dastardly Regular Opponent had plenty of worries for days beforehand, while the Corporate Regular Opponent was already planning to paint Tiger kill markers on one of his tanks. In the end, they ended up being surprisingly useful – the 2pdr may not have been knocking out tanks left, right and centre, but the CS variant was able to drop 6 dice of cover defeating HE each turn. When they got hit, they exploded rather spectacularly, but with some careful play (mostly keeping away from the Panzers), they provided very playable.
For my own thoughts, I feel like I need to be using smoke grenades far more – I lost two gruppes mostly because they got caught in the open and MG’d. The Tiger play was also a little reckless, and while it was amusing, it would have made more sense to carefully advance up the board (rather than going full war movies). I was also disappointed with the HE on the Tiger 1 – next time, I think something a little more HE focused, such as an infantry gun, would have been handy to crack the paras in the chateau.
Overall, it was an excellent game of Big CoC. As a group, we still really like Chain of Command V2, with many of the changes from the original version. Elements such as using CoC points to pull off React Fire and Reposition were both very useful and helped to break the two-way shooting range with no movement we’ve suffered in the past. I also really like the Big CoC rules, especially with how shifting from the 1:1 platoon ratio to a 3:2 ratio really sold the feel of attack and defence. We’ll be back to play some more games soon, and this time I might even be able to play with my paras.


Leave a Reply